

 05-13-2016, 02:56 PM
Last edit by: IB Advertising
See related guides and technical advice from our community experts:
- Camaro and Firebird How to Clean Foggy Headlights<br>Step by step instructions for do-it-yourself repairs.

Camaro Headlight Restoration Write-Up
12-05-2009, 12:00 PM
#1
TECH Apprentice
Thread Starter
iTrader: (9)

Join Date: Sep 2008
Location: Upstate SC
Posts: 387
Likes: 0
Received 0 Likes
on
0 Posts
I have seen a few people asking about this lately and also some threads being bumped up. This isn't hard guys, and it doesn't take a lot of time to make your headlights brand new.
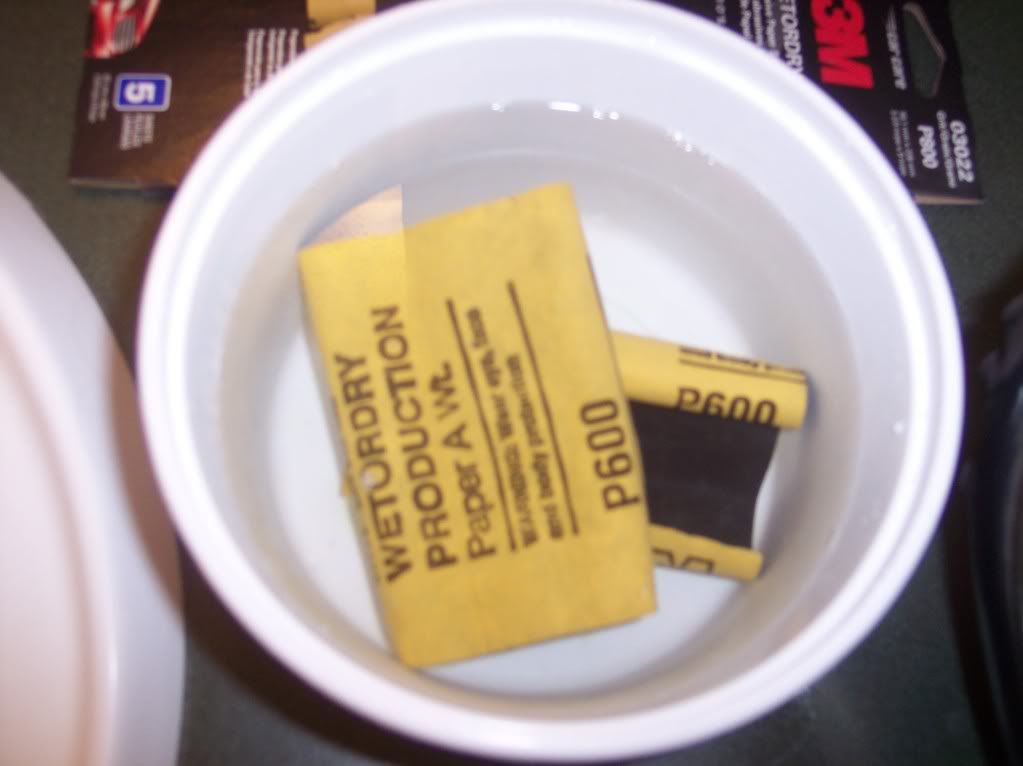
You need: several grits of sandpaper. I used what you can get at Advance Auto "3M Wetordry". I had 220, 600, 800, & 1500 grits. You can go higher or lower depending on how bad yours are. Start out higher if you're just doing a light cleaning. I started out with the 600 on both of mine and realized I needed to use the 220. Don't go extremely rough with the sandpaper, but don't be afraid to scuff them up some...that's the whole point. And almost all of it will polish out if you do it the right way.
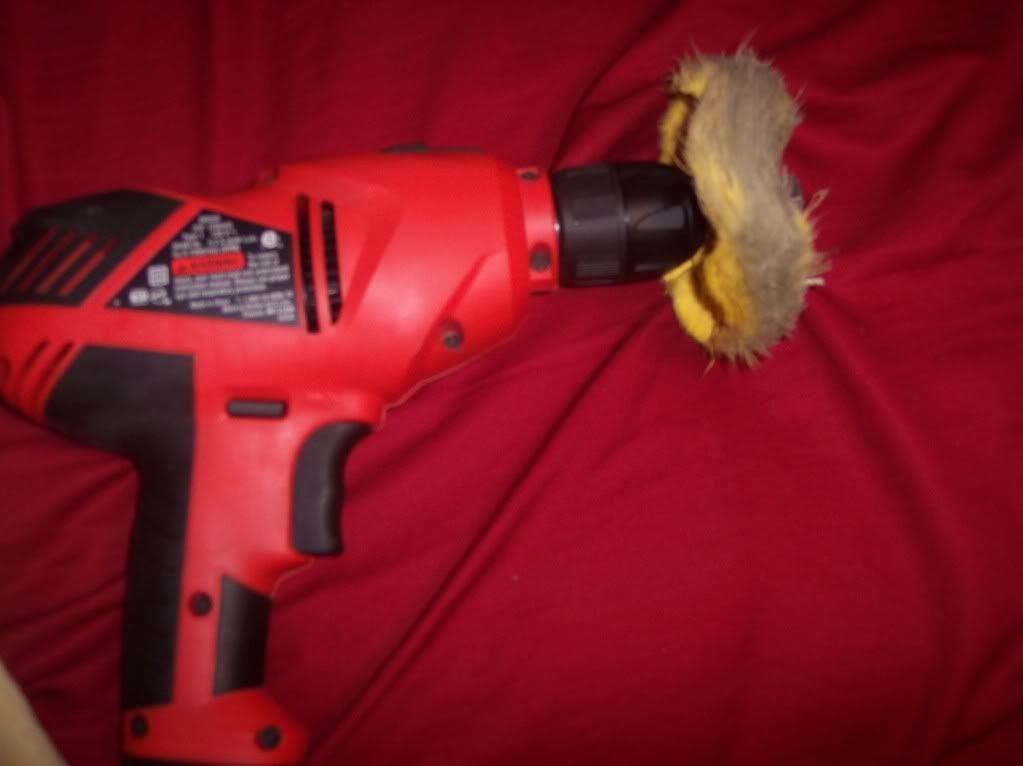
You COULD polish by hand, but that would take forever and probably would not give you the results you wanted. I used my corded drill(cheap from Lowes, just use whatever you have), and A mibro yellow buffing pad. I was lucky and had these things from restoring my draglites a couple months ago.
You need a 10mm socket or wrench to get the one bolt holding the headlights in out.
And some time, I did this in 3 hours for both, and that includes taking them off of the car, and putting them back on.
*Taking the lights off of the car is optional, but it take two minutes to get them off, and you can do a much better job with them off the car. Also, you don't have to worry about taping off the paint or slipping and hitting what you didn't tape with the sandpaper. You also get a chance to clean really good down under and beside them where you normally can't see because of the lights.*
Anywho, here are the pics:
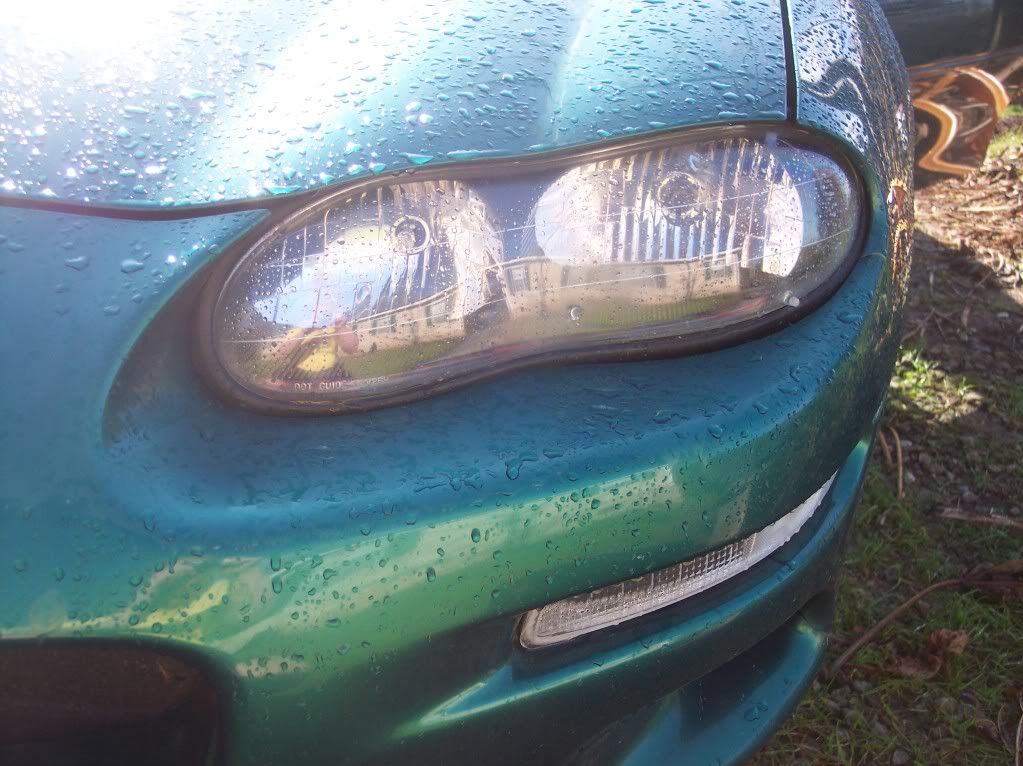
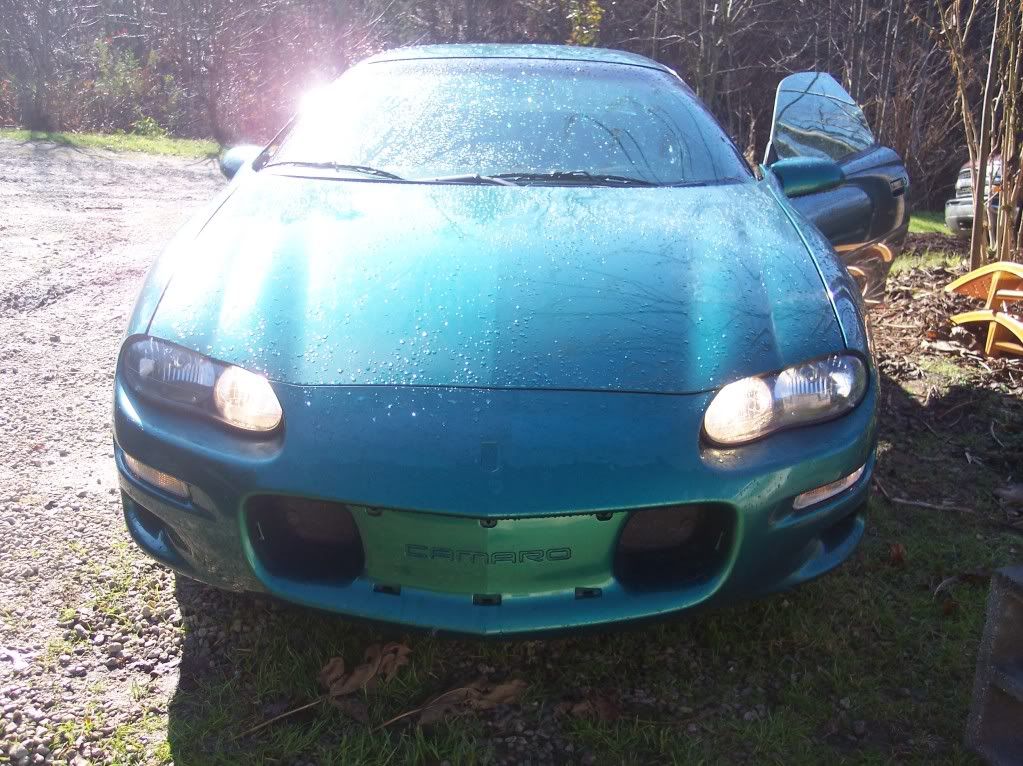
First off, this is when I first got the car, they were really bad just like the rest of the car.
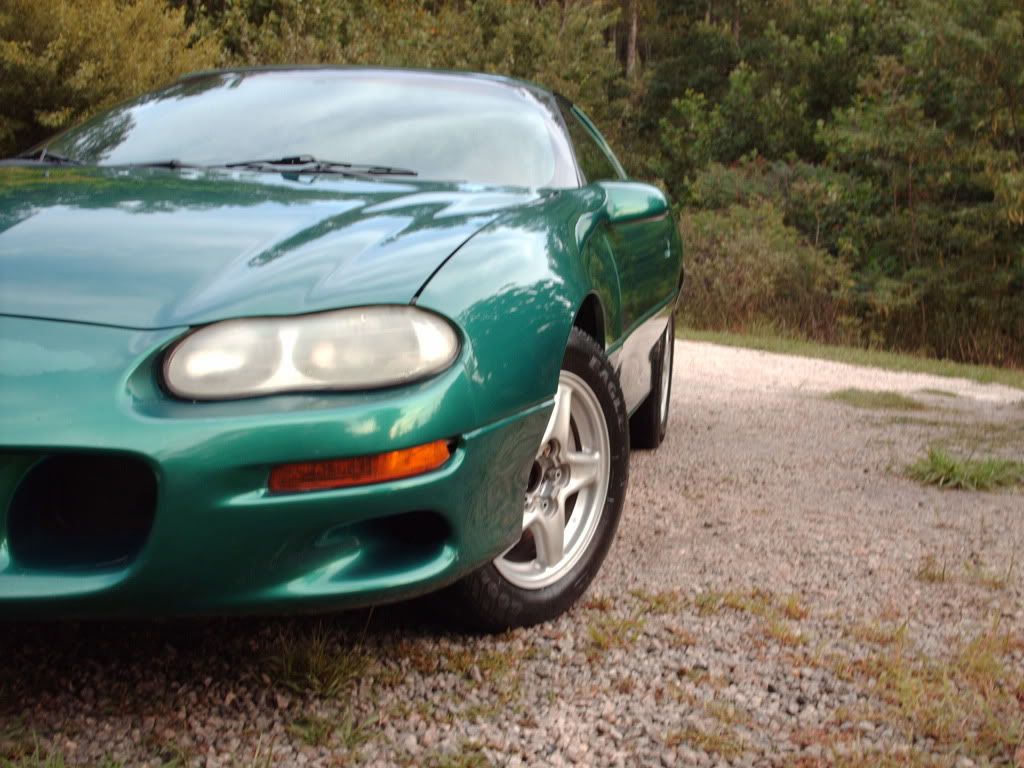
I bought a kit from Advance and got them looking better. Well, they weren't perfect and I got busy so they went to crap again.
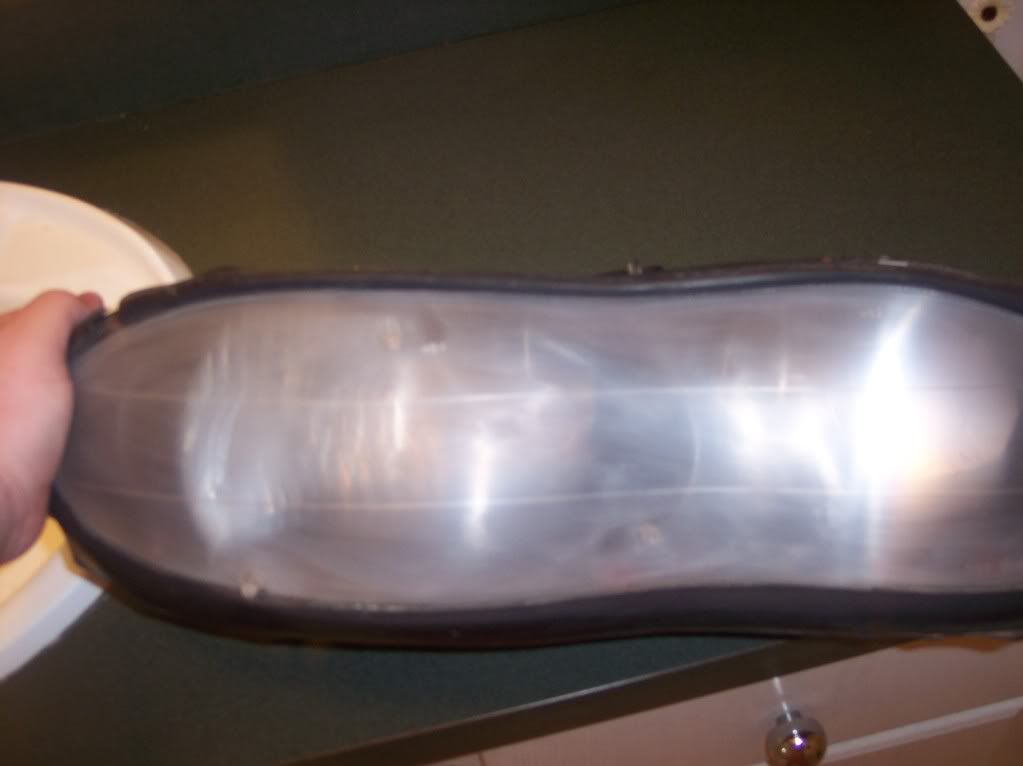
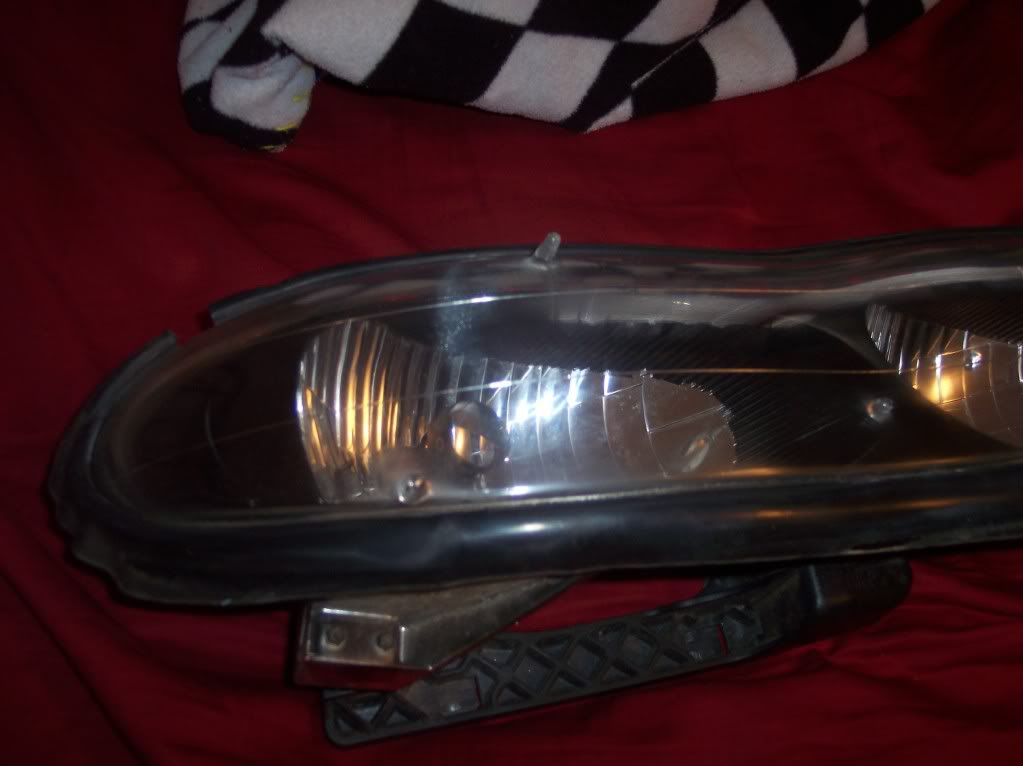
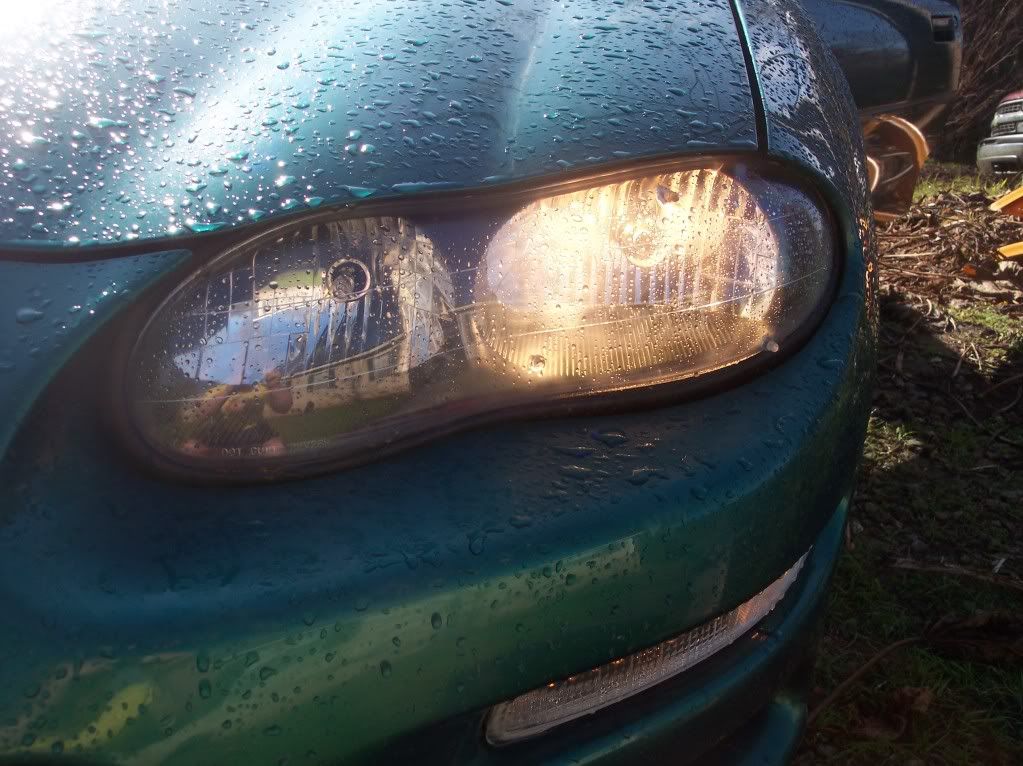
They looked like this when I started:
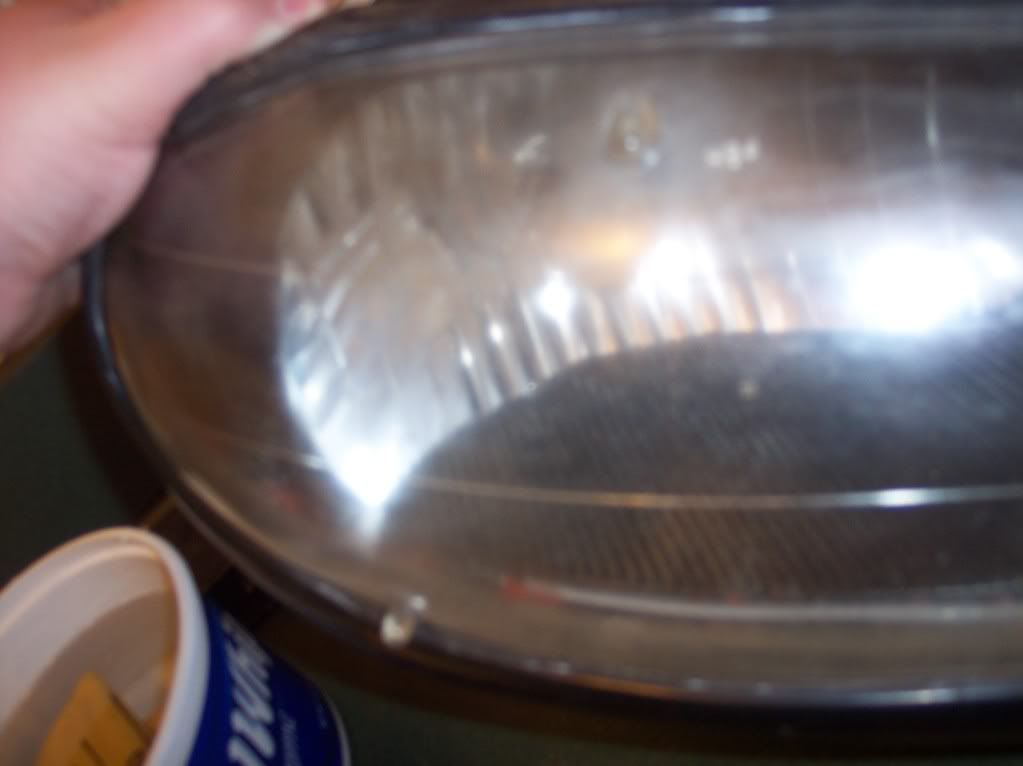

^^Pretty nasty looking with the whistler behind it to show every flaw. And YES, you are seeing it right...I got the wrong color rtv to put them back together with and it is red.
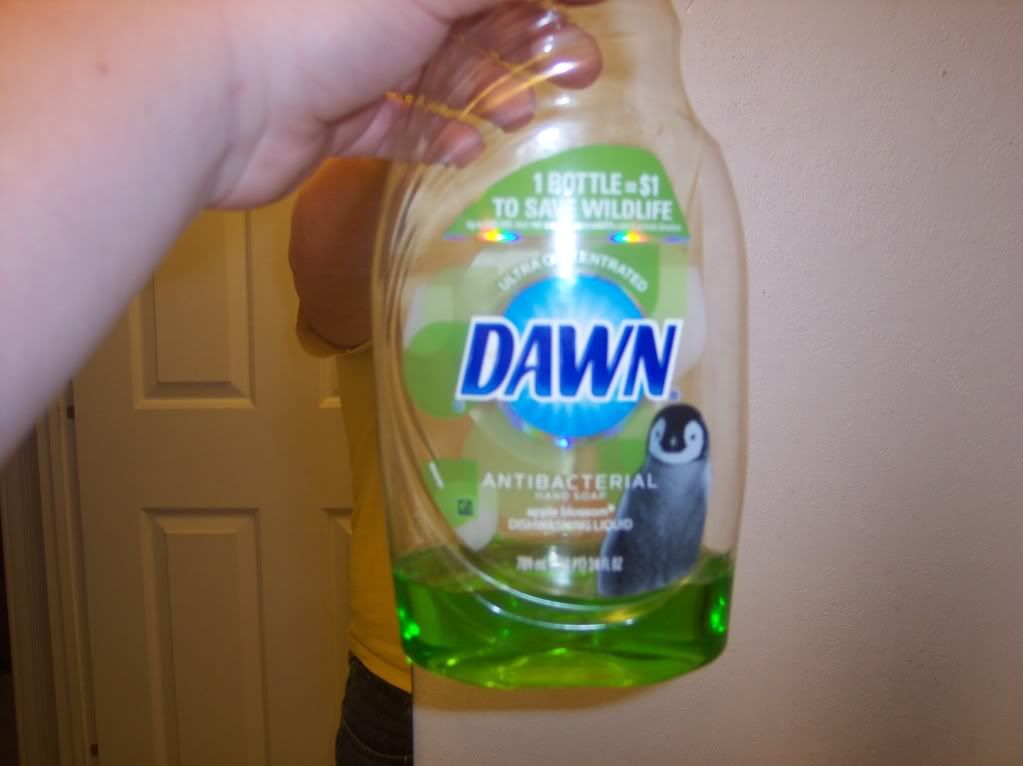
*TIP: Put dawn in your bowl of water, it helps keep down the scratches and acts like a lube for the sandpaper, making it easier and faster.*
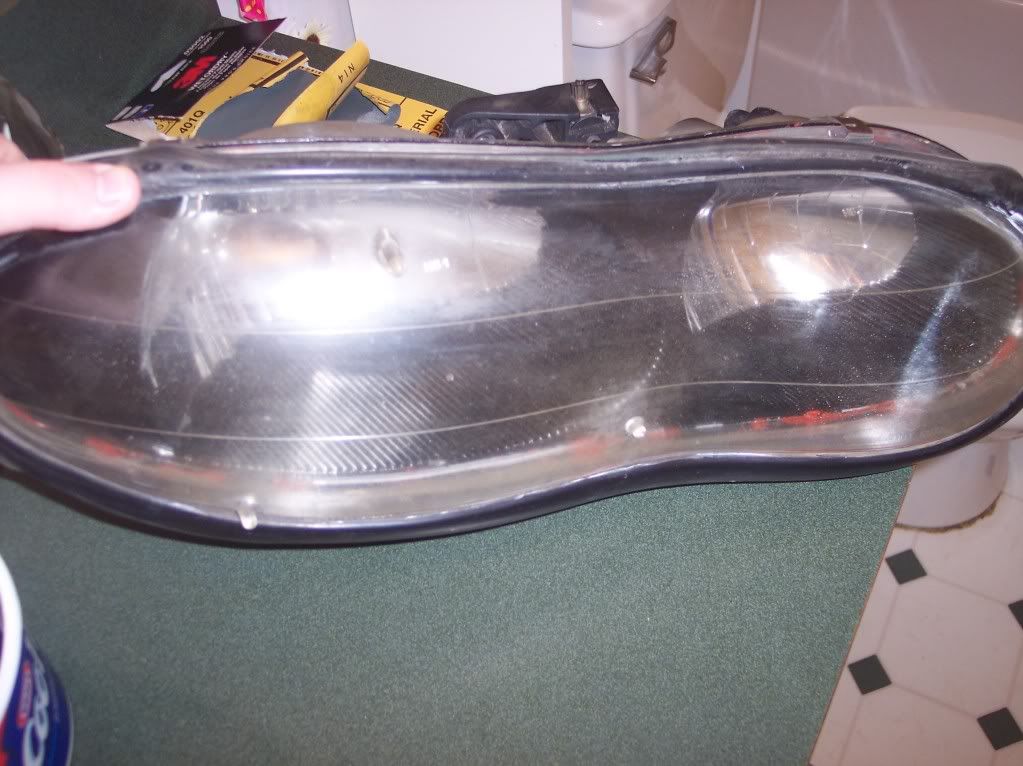
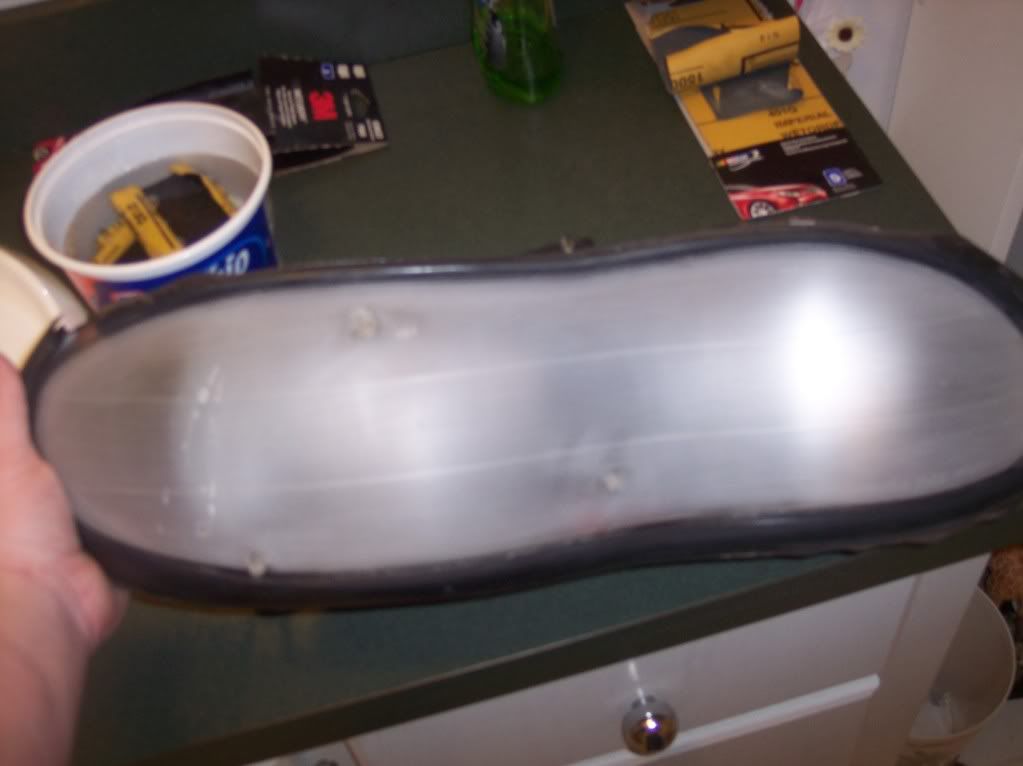
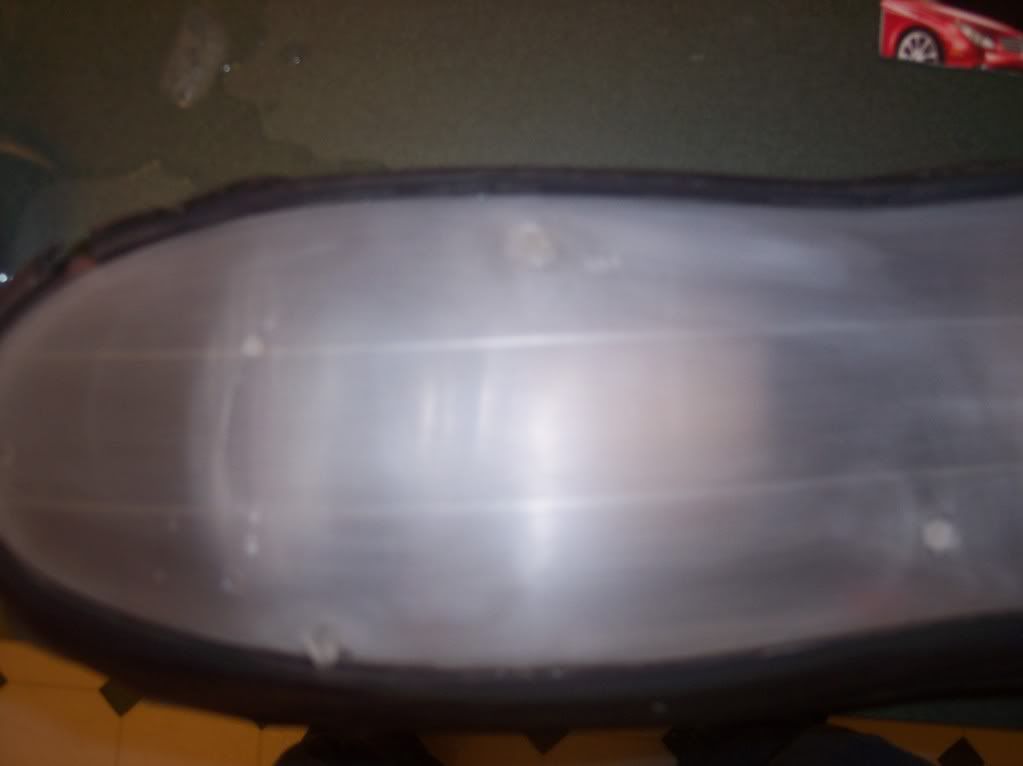
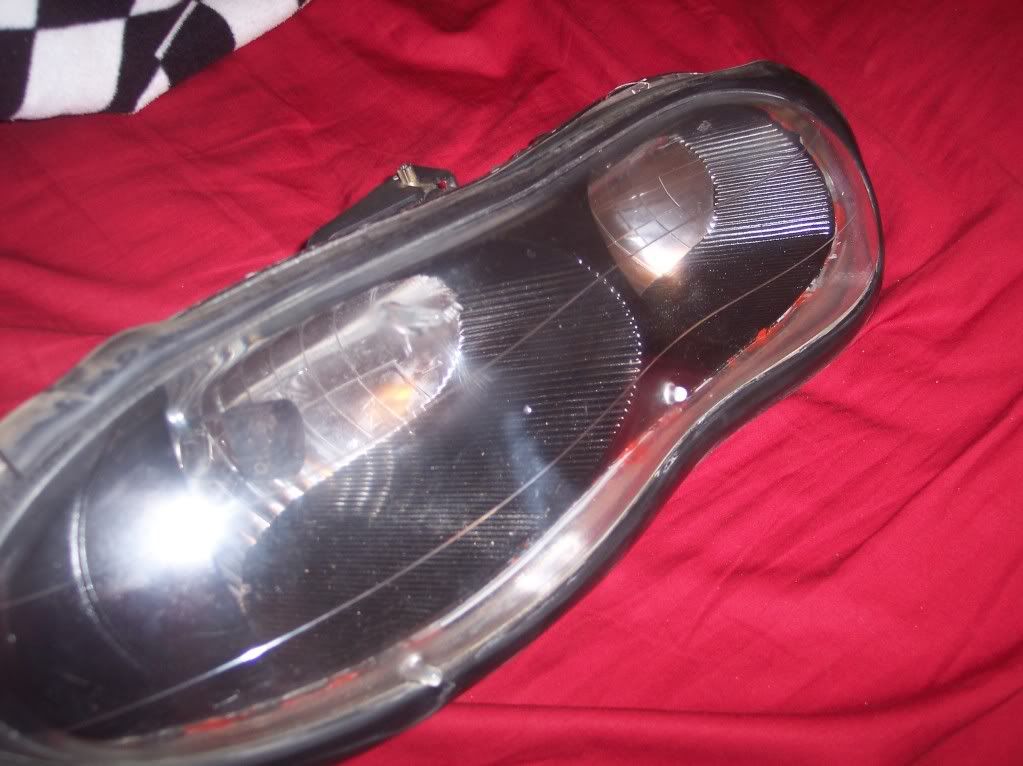
Here they are going through the various grits and stages of wetsanding:
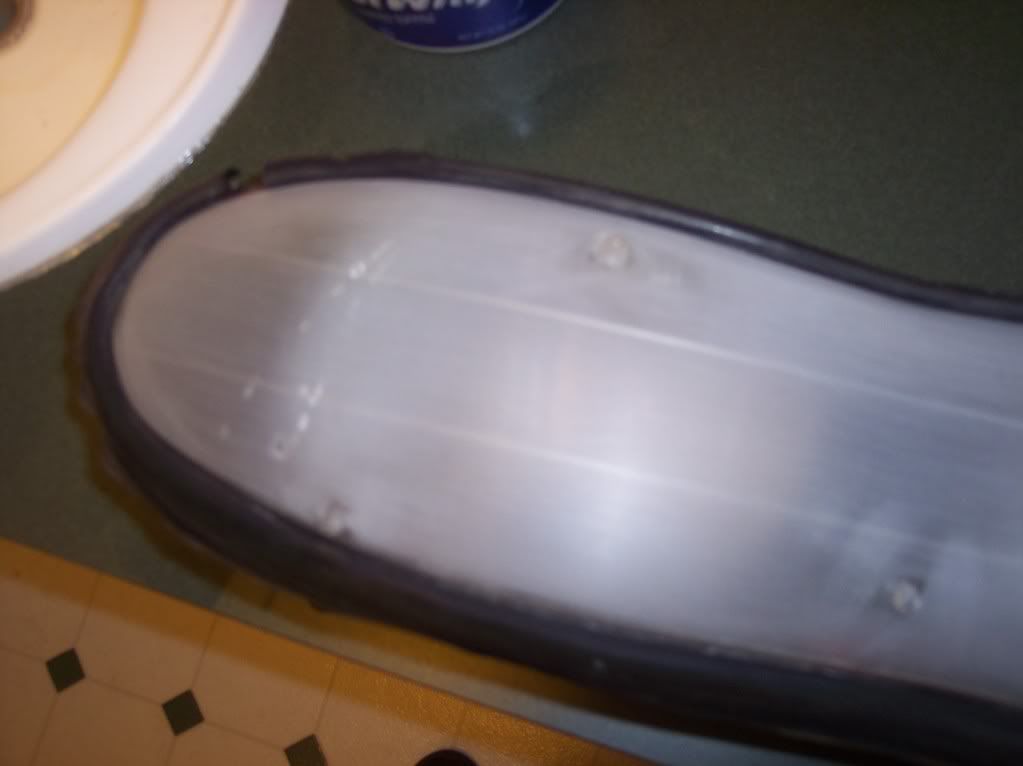
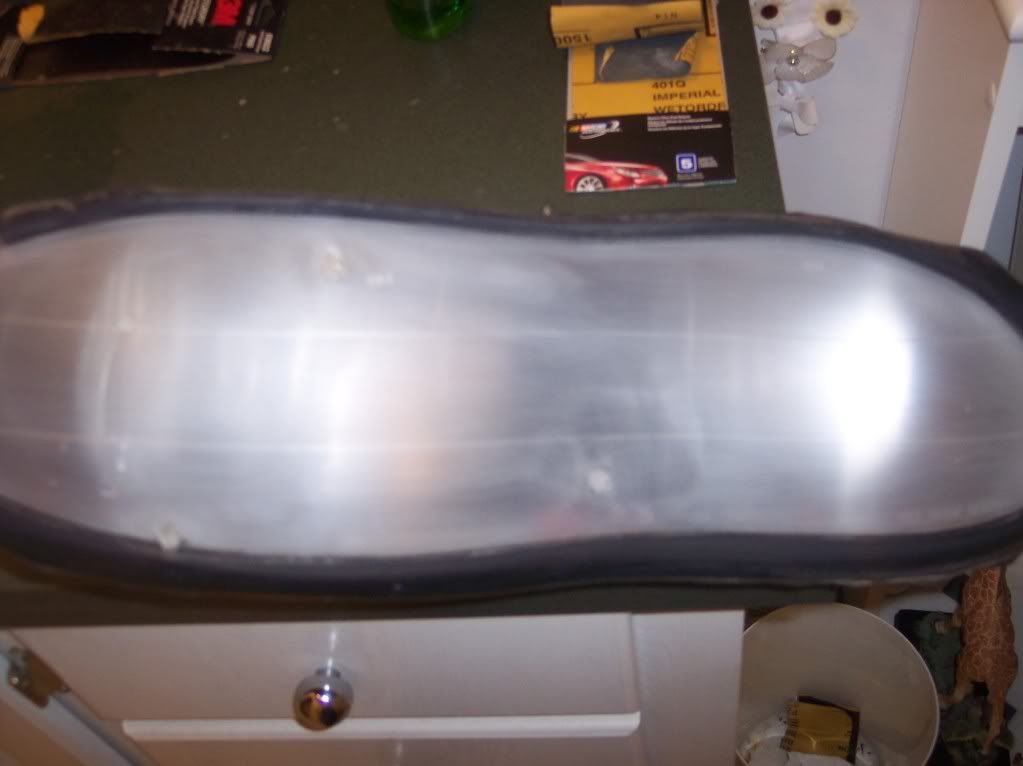
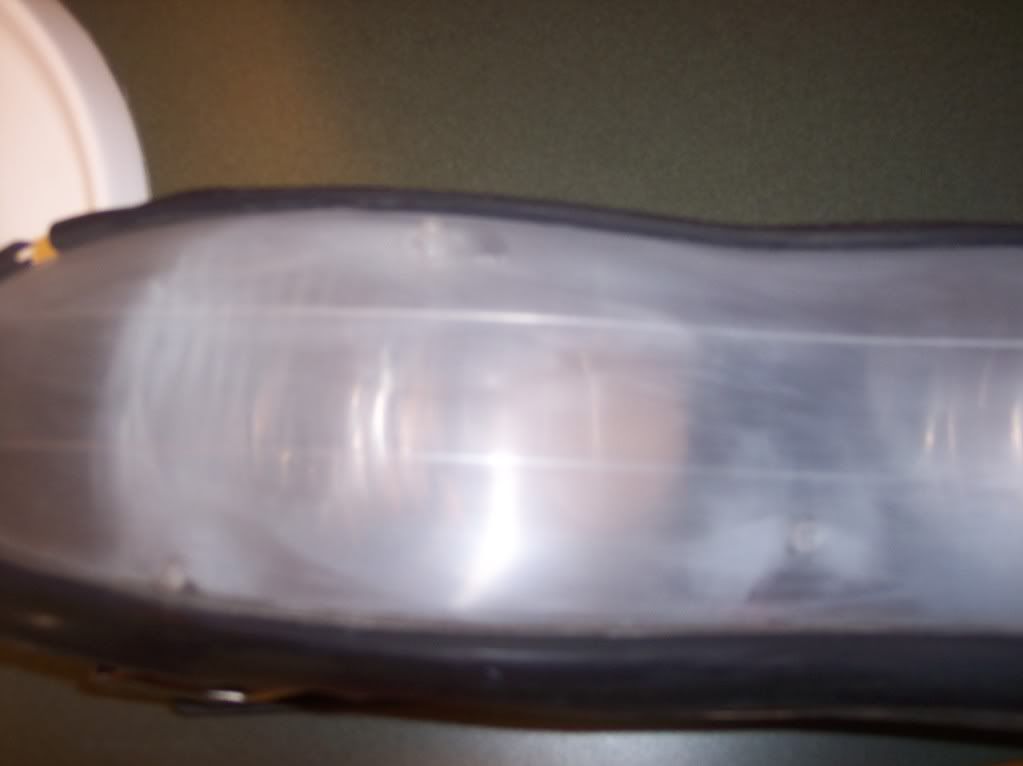
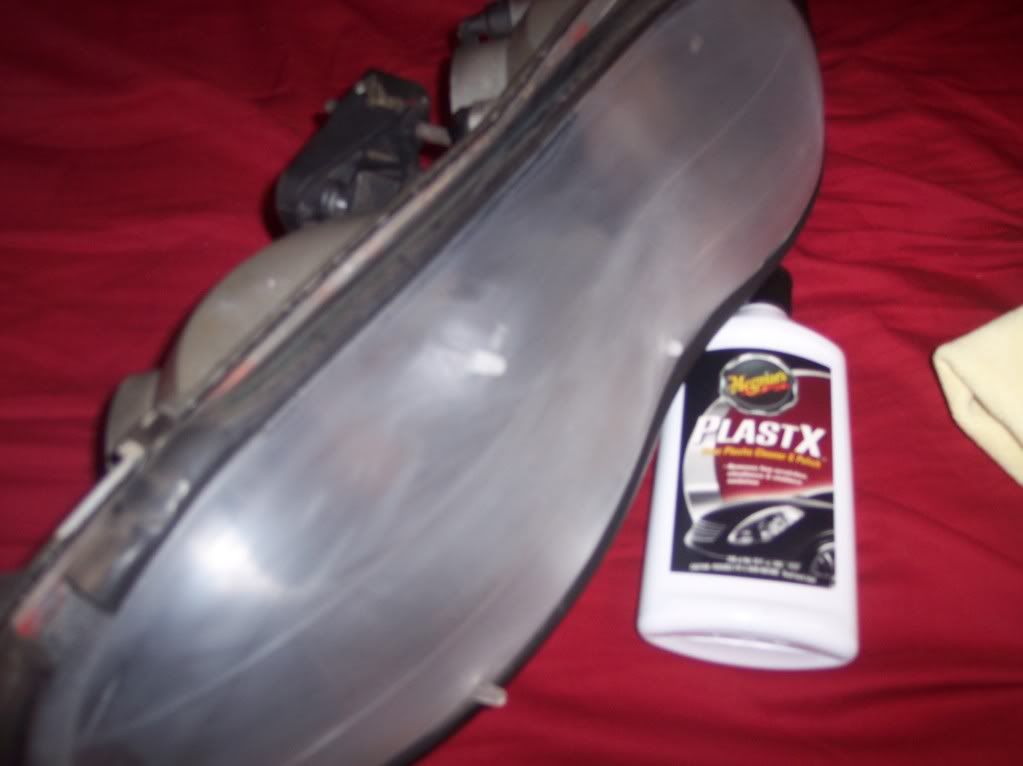
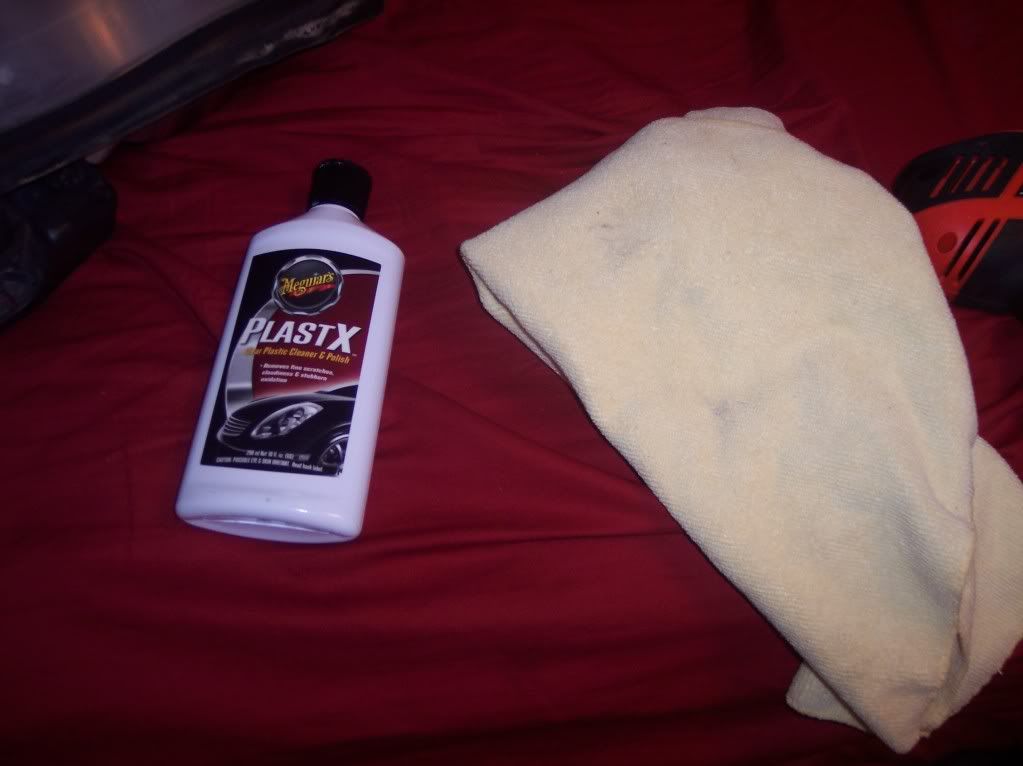
And here they are right before I was about to polish them, done with sanding. Also some of the tools I was using to polish:
And here is the one bolt that you need to remove to take out the lights:

^^Just one 10mm and they will slide right off their hook and pop out after you take the bulbs out of course.
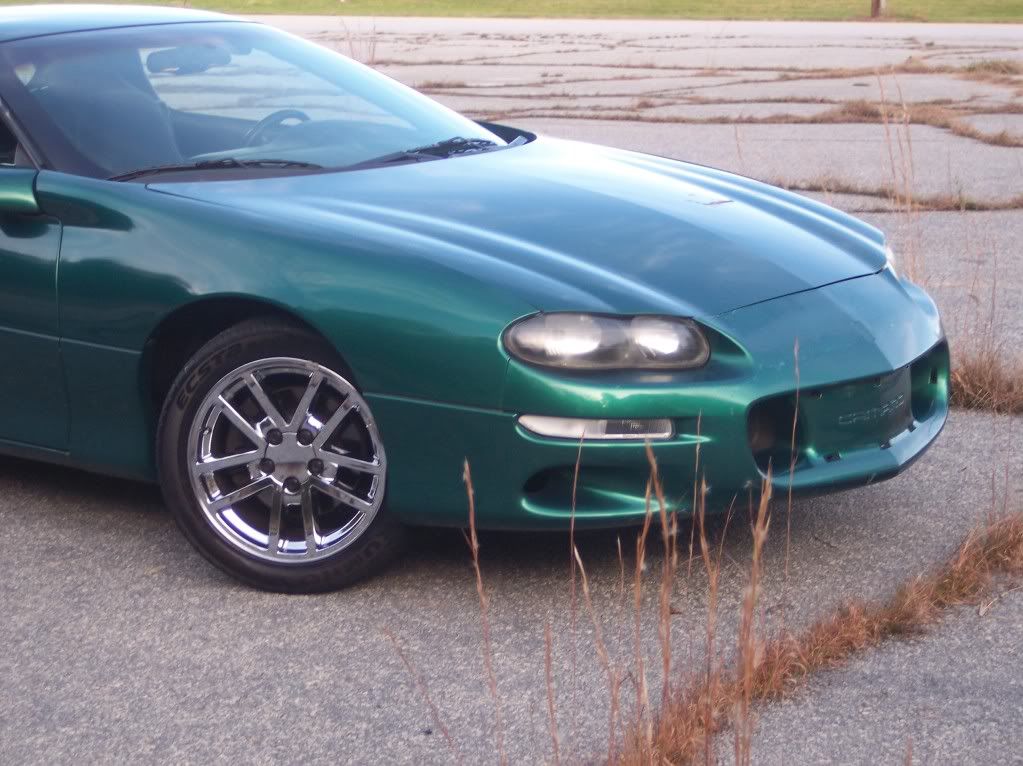
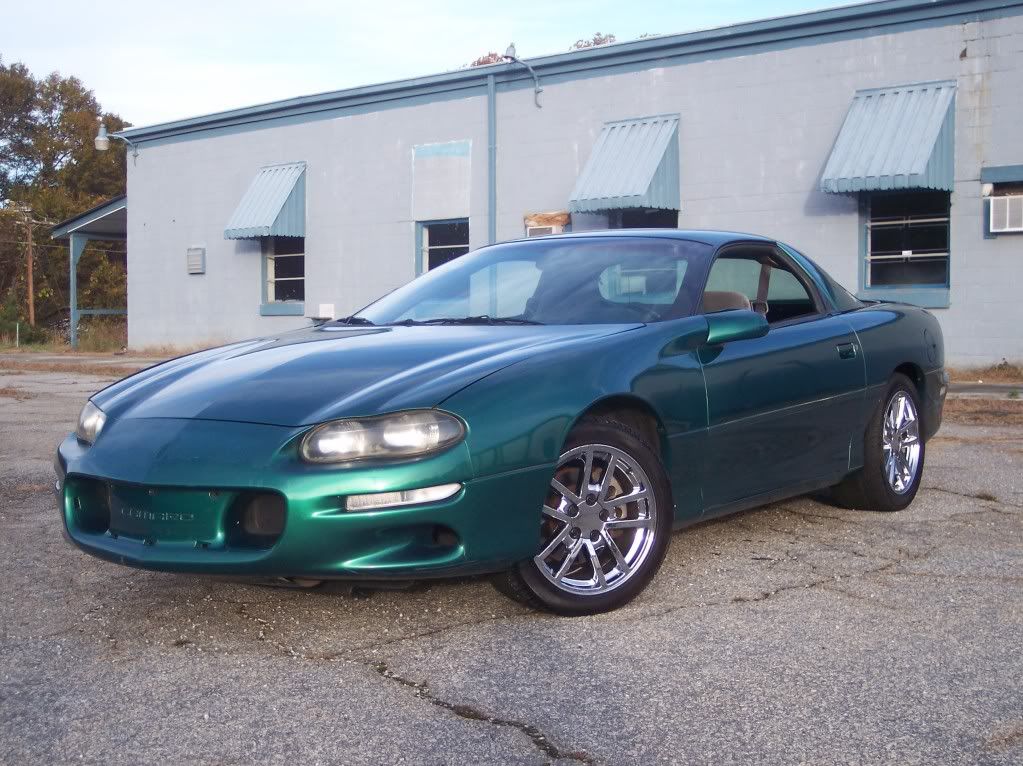
And here are finished pics:
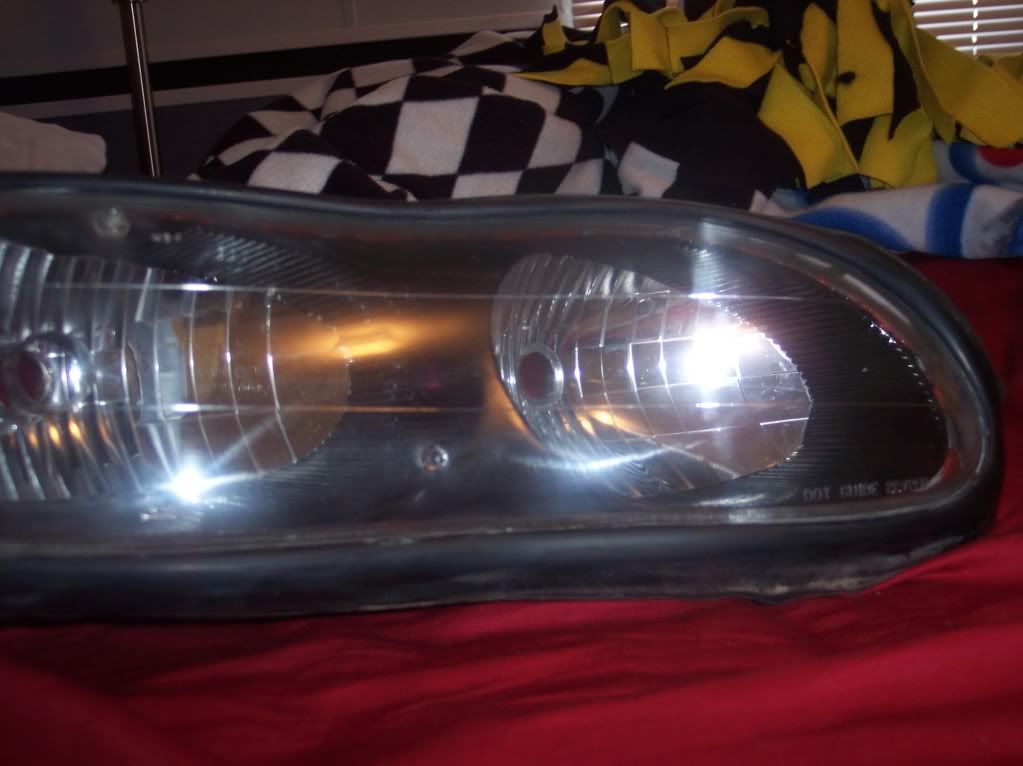
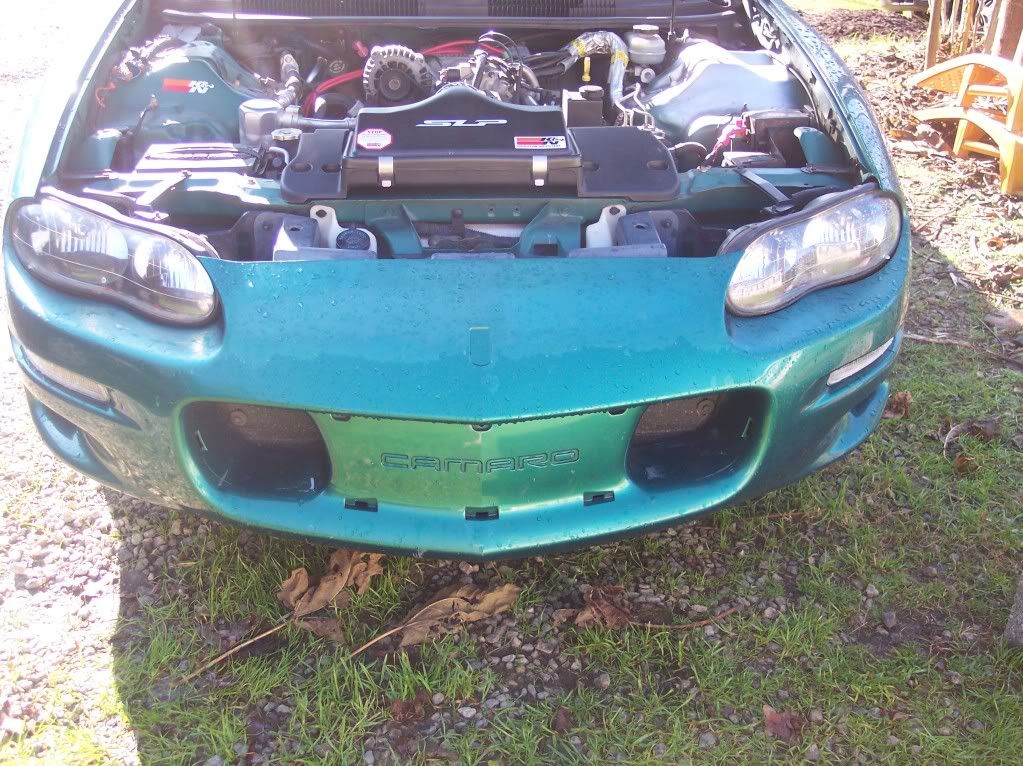
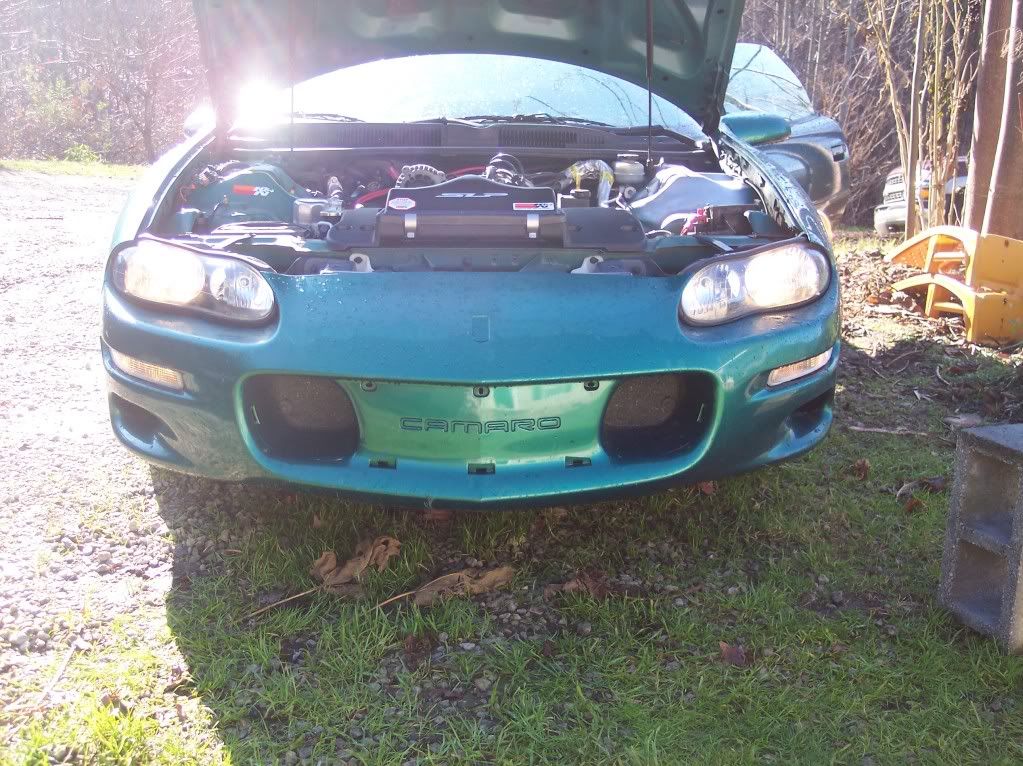
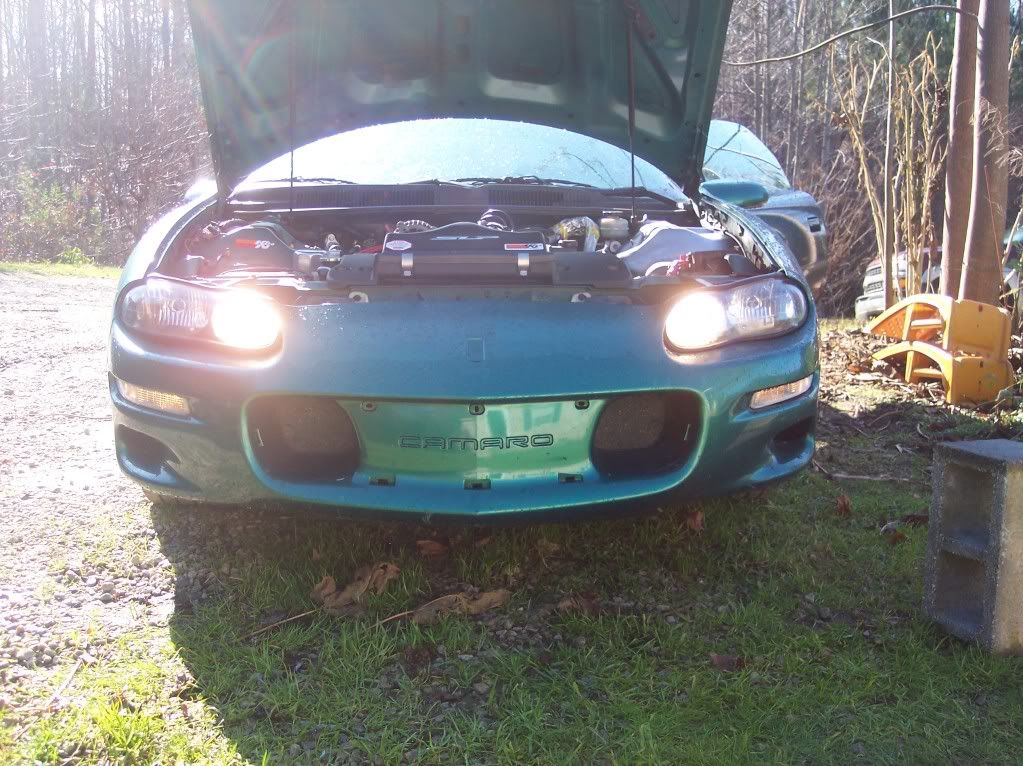
^^Some of those inside pics still look like they need work, and I'm sure with a little more time I could get them to look some better. But, for the most part they look great now. It really sucks when you have the whistler, it looks 10x worse to let them get foggy and yellowed.
Mine do have some deeper cracks in them in some spots, I can't sand deep enough to get them all out, so I just got the majority of it. But you can probably get yours looking good just as easy. I paid just as much for the sandpaper as I did for the kit, and now I can actually do more than one car. Be smart about it, I planned to just buy another kit until I realized I could do the same thing much cheaper.
*I AM IN NO WAYRESPONSIBLE FOR ANY DAMAGE DONE! JUST BECAUSE I DID IT THE RIGHT WAY AND GOT GREAT RESULTS, DOESN'T MEAN YOURS WILL TURN OUT THE SAME WAY. They probably will, but I have heard of some cases where people forget to use enough water, you have to constantly dip your paper and wet the light.
Have fun making your headlights look great!
You need: several grits of sandpaper. I used what you can get at Advance Auto "3M Wetordry". I had 220, 600, 800, & 1500 grits. You can go higher or lower depending on how bad yours are. Start out higher if you're just doing a light cleaning. I started out with the 600 on both of mine and realized I needed to use the 220. Don't go extremely rough with the sandpaper, but don't be afraid to scuff them up some...that's the whole point. And almost all of it will polish out if you do it the right way.
You COULD polish by hand, but that would take forever and probably would not give you the results you wanted. I used my corded drill(cheap from Lowes, just use whatever you have), and A mibro yellow buffing pad. I was lucky and had these things from restoring my draglites a couple months ago.
You need a 10mm socket or wrench to get the one bolt holding the headlights in out.
And some time, I did this in 3 hours for both, and that includes taking them off of the car, and putting them back on.
*Taking the lights off of the car is optional, but it take two minutes to get them off, and you can do a much better job with them off the car. Also, you don't have to worry about taping off the paint or slipping and hitting what you didn't tape with the sandpaper. You also get a chance to clean really good down under and beside them where you normally can't see because of the lights.*
Anywho, here are the pics:
First off, this is when I first got the car, they were really bad just like the rest of the car.
I bought a kit from Advance and got them looking better. Well, they weren't perfect and I got busy so they went to crap again.
They looked like this when I started:
^^Pretty nasty looking with the whistler behind it to show every flaw. And YES, you are seeing it right...I got the wrong color rtv to put them back together with and it is red.
*TIP: Put dawn in your bowl of water, it helps keep down the scratches and acts like a lube for the sandpaper, making it easier and faster.*
Here they are going through the various grits and stages of wetsanding:
And here they are right before I was about to polish them, done with sanding. Also some of the tools I was using to polish:
And here is the one bolt that you need to remove to take out the lights:
^^Just one 10mm and they will slide right off their hook and pop out after you take the bulbs out of course.
And here are finished pics:
^^Some of those inside pics still look like they need work, and I'm sure with a little more time I could get them to look some better. But, for the most part they look great now. It really sucks when you have the whistler, it looks 10x worse to let them get foggy and yellowed.
Mine do have some deeper cracks in them in some spots, I can't sand deep enough to get them all out, so I just got the majority of it. But you can probably get yours looking good just as easy. I paid just as much for the sandpaper as I did for the kit, and now I can actually do more than one car. Be smart about it, I planned to just buy another kit until I realized I could do the same thing much cheaper.
*I AM IN NO WAYRESPONSIBLE FOR ANY DAMAGE DONE! JUST BECAUSE I DID IT THE RIGHT WAY AND GOT GREAT RESULTS, DOESN'T MEAN YOURS WILL TURN OUT THE SAME WAY. They probably will, but I have heard of some cases where people forget to use enough water, you have to constantly dip your paper and wet the light.
Have fun making your headlights look great!

 12-05-2009, 01:26 PM
#3
TECH Apprentice
Thread Starter
iTrader: (9)
Join Date: Sep 2008
Location: Upstate SC
Posts: 387
Likes: 0
Received 0 Likes
on
0 Posts
Thanks and your welcome. I don't think they compare to how they look in person. I wanna start working on my engine bay soon now that I have the lights looking good.
