366 LED Taillight Filler Panel - PICS!
 10-07-2005, 11:20 PM
#1

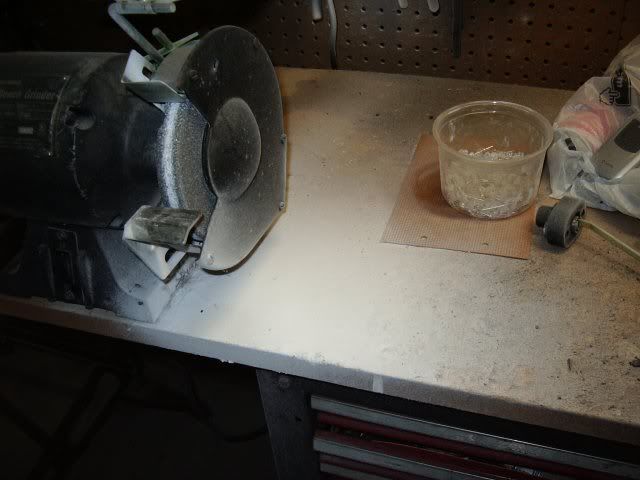
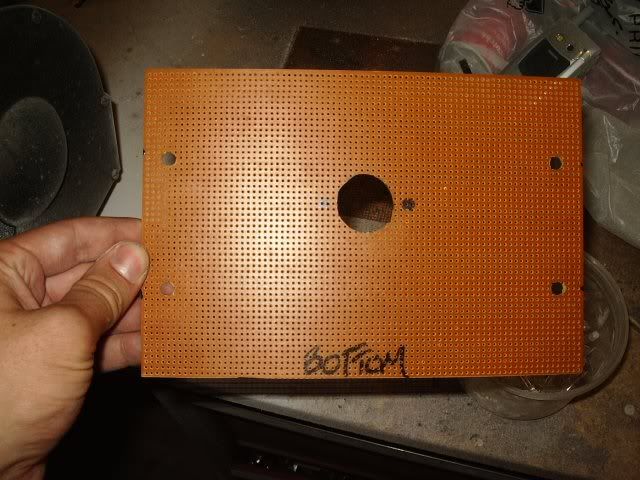
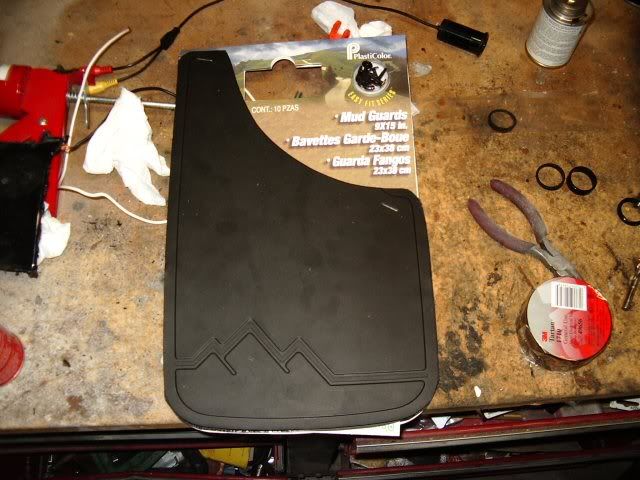
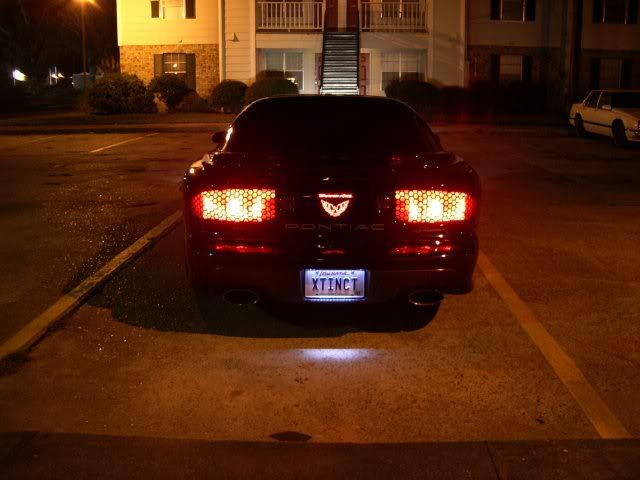
Had this idea and the parts for a while now. It took Rita to start working on it. I was able to fit 366, 8000mcd red LEDs behind it. I grinded the head of each one so it'd dispurse the light better. It's wired for both the running light and the brake light but only the running light is hooked up now. The 3rd brake light wire goes to ground when it's off so it wants to short. I need to figure out a way to use it other than hooking up a SPDT relay to it. I used liquid electrical tape to seal up the soldering and I also used a piece of a mud flap to keep the circuit board off the body of the car so it wouldn't short.
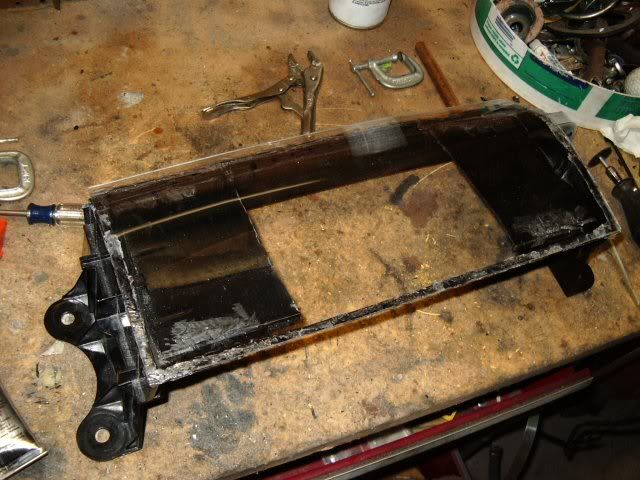
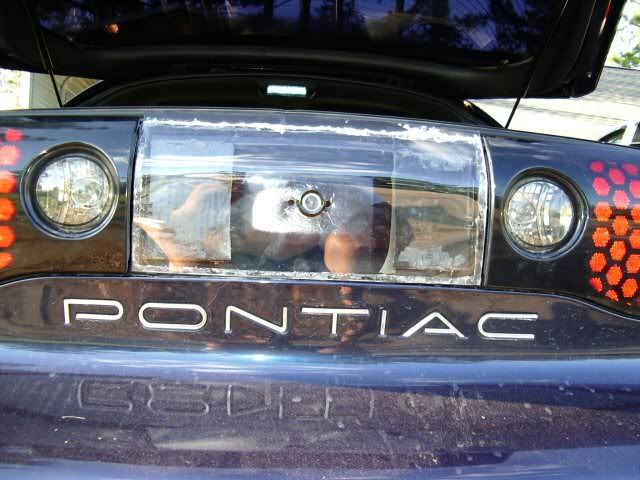
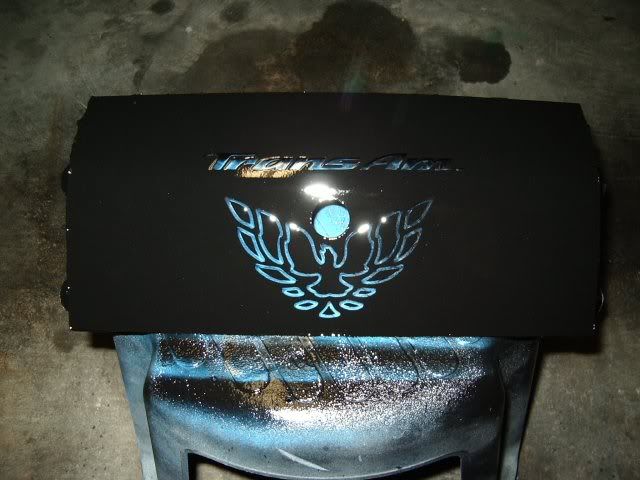
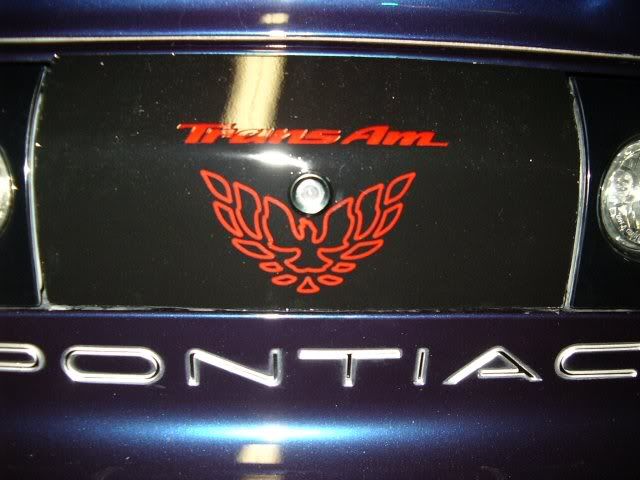
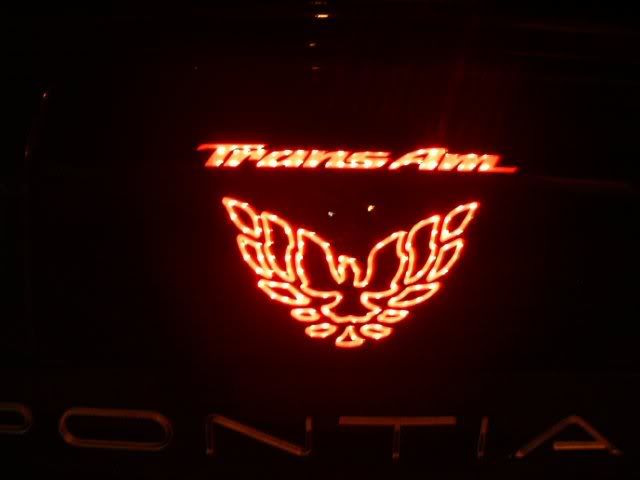
I cut off the stock face and bent a piece of .080 thick plexiglass with a heat gun to contour it. Then glued it to the frame. Came back with some JB Weld on the sides to fill in any open places and make it a little stronger. Then used some black caulk to seal it off so no light would come though. I made my new emblem with AutoCAD and cut it on the vinyl cutter. Notice the bird is not stock, but looks like the front bird. I think it looks better and still appears stock. Painted it with 6 coats of black and 6 coats of clear. I used some Cardinal Red translucent vinyl and put 2 coats on the backside of it.
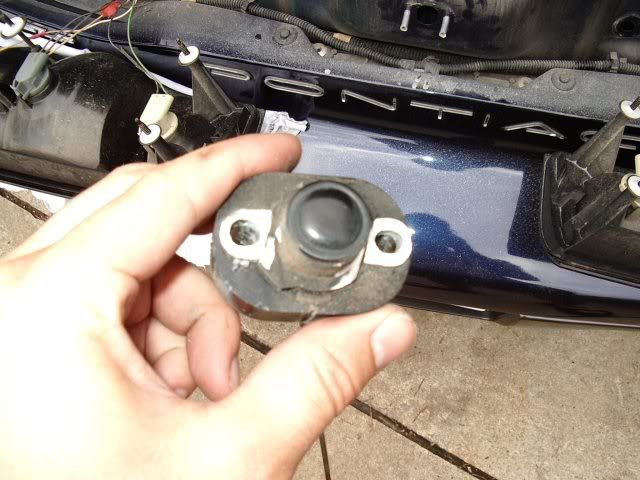
I also took off my key hole and drilled it out a hair bigger to pu a 1" reverse camera for my screen.
Took the lights off
Stock Key Lock
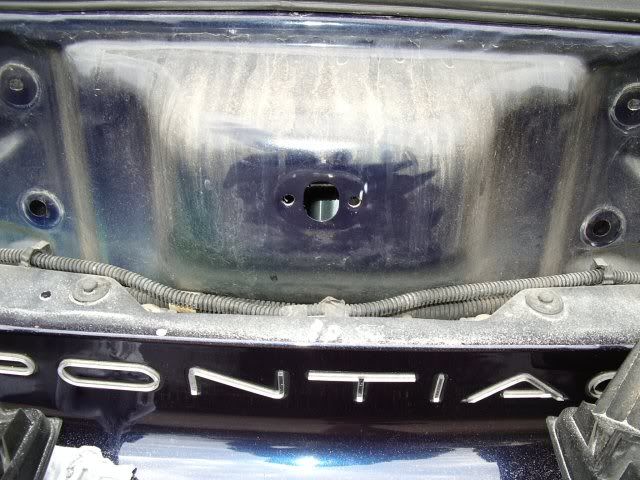
Before Drilling
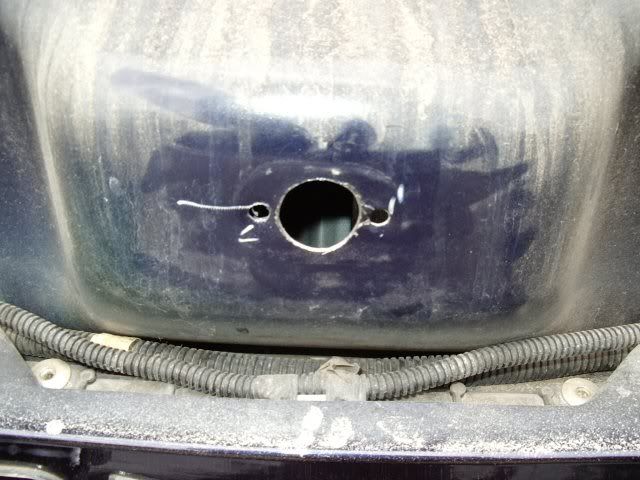
After Drilling
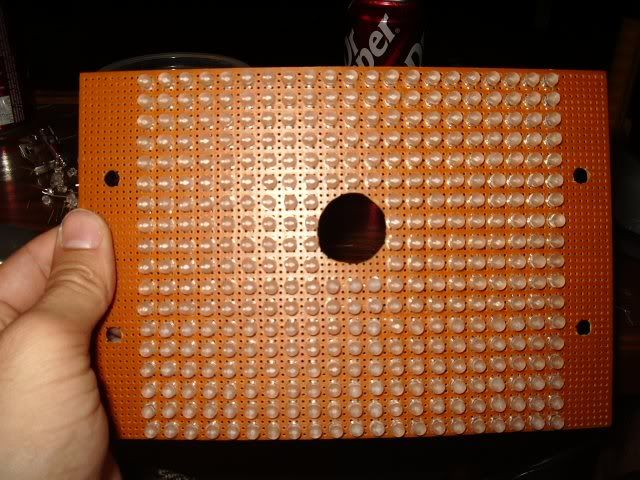
After grinding 370 LED heads flat
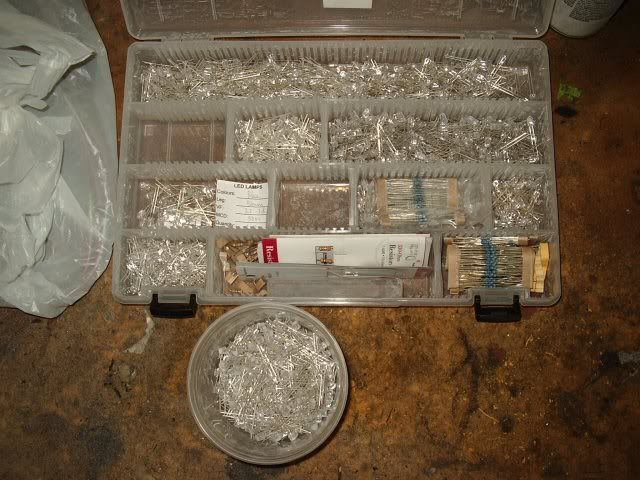
370 LEDs plus my tackle box of my other LEDs
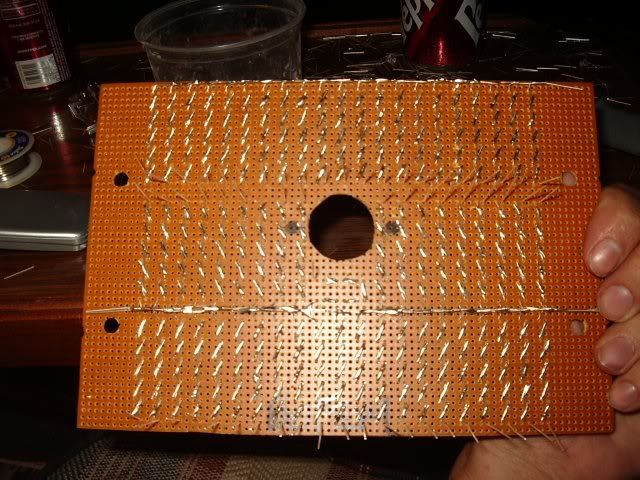
Before Soldering
After Soldering
With Plexiglass Attached
Test Fitting It
Future Look

After Paint
Mud Flap
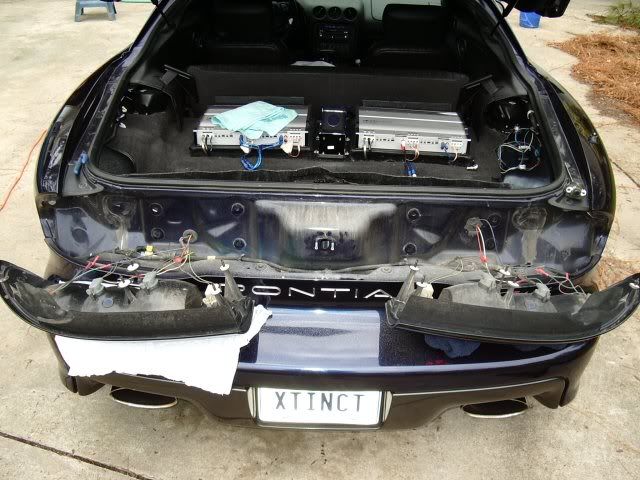
All Installed
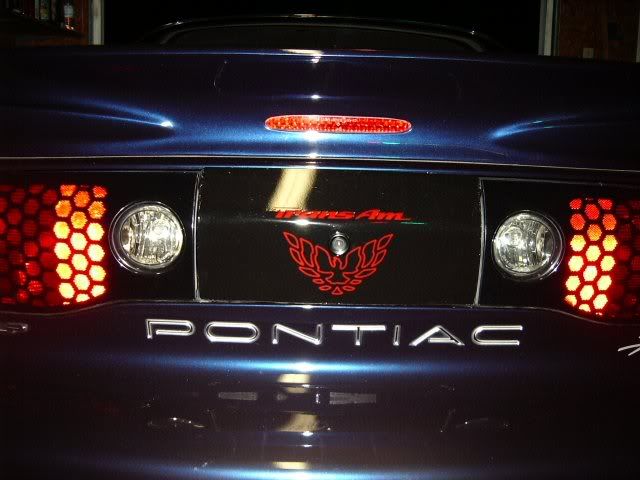
Lit Up!
I cut off the stock face and bent a piece of .080 thick plexiglass with a heat gun to contour it. Then glued it to the frame. Came back with some JB Weld on the sides to fill in any open places and make it a little stronger. Then used some black caulk to seal it off so no light would come though. I made my new emblem with AutoCAD and cut it on the vinyl cutter. Notice the bird is not stock, but looks like the front bird. I think it looks better and still appears stock. Painted it with 6 coats of black and 6 coats of clear. I used some Cardinal Red translucent vinyl and put 2 coats on the backside of it.
I also took off my key hole and drilled it out a hair bigger to pu a 1" reverse camera for my screen.
Took the lights off
Stock Key Lock
Before Drilling
After Drilling
After grinding 370 LED heads flat
370 LEDs plus my tackle box of my other LEDs
Before Soldering
After Soldering
With Plexiglass Attached
Test Fitting It
Future Look
After Paint
Mud Flap
All Installed
Lit Up!


Trending Topics
 10-08-2005, 12:00 AM
#11
Originally Posted by y2k_ta
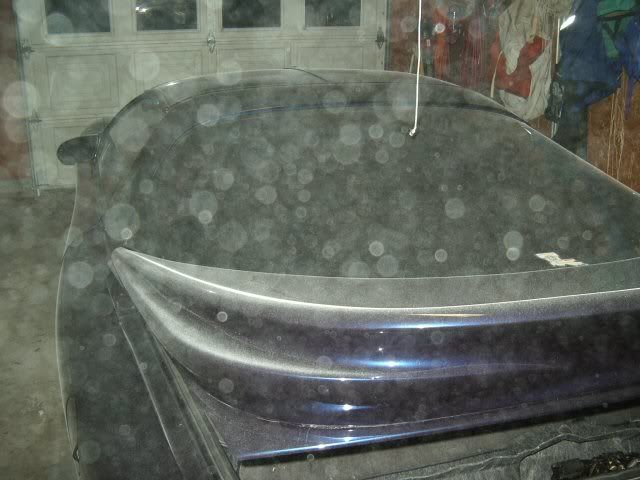
Looks cool. If you ever have it back apart again, you might consider painting the sides of the taillights black. The light gray plastic shows up in the seams on each side of the filler panel.
 10-08-2005, 01:24 AM
#14
Copy & Paste Moderator
Nice work as usual.
Side note....
Either that camera lens was fillthy or your garage is really haunted:
 That is a typical "ghost pic" where the "orbs" are souls.
I dont know if I believe that stuff, but do a search online and you'll find out what I am talking about.
Side note....
Either that camera lens was fillthy or your garage is really haunted:
Originally Posted by InfiniteReality
I dont know if I believe that stuff, but do a search online and you'll find out what I am talking about.


 10-08-2005, 10:01 AM
#20
Third Chrome Wheel Director
iTrader: (1)
Join Date: Jul 2002
Location: North West Houston
Posts: 765
Likes: 0
Received 0 Likes
on
0 Posts

Originally Posted by ZEEMAN
Im sorry but ur **** u do is just to ****** cool
^^^^Co-Sign^^^^
now, wern't we waiting on the Japanese Xenons to come in for the interior???....