4l60e re-fresh with pics
 02-27-2010, 06:27 PM
#1
Ok, well after a two years of beating the hell out of this tranny running 11's first year, now 10's this past year its time for a re-fresh.
It was hitting the limiter on the 2-3 shift(converter issue) and also the fluid was dark.
I'm not getting really detailed with this but I hope it helps and the parts I put in are great upgrades for any tranny thats going to see over 400 wheel hp.
My car runs 10.89 @ 123 1.506 60' with 424 hp and 380 tq running unlocked on a dynojet through a 3600 vig. 4l60e and a 12 bolt. Race weight is 3250.
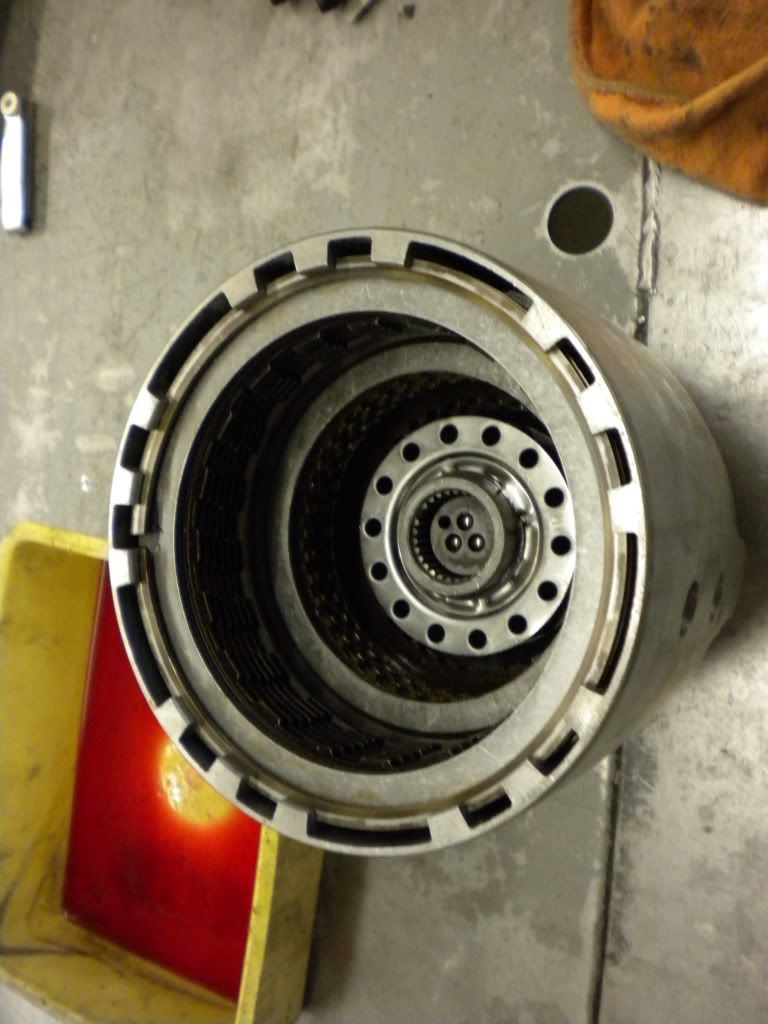
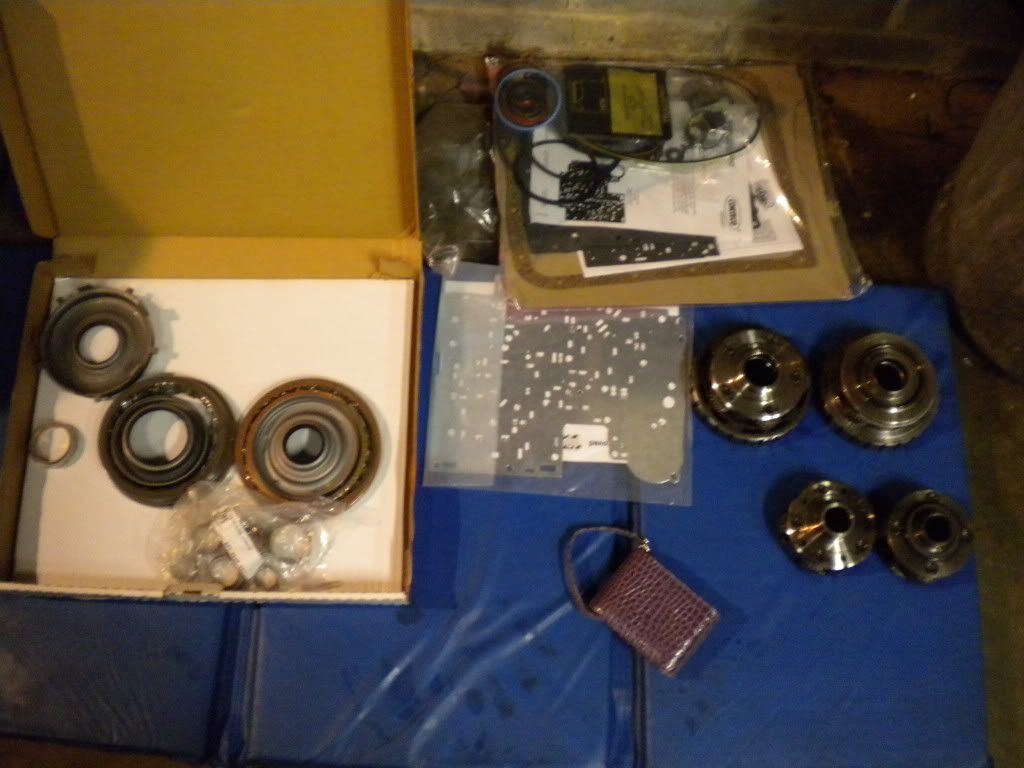
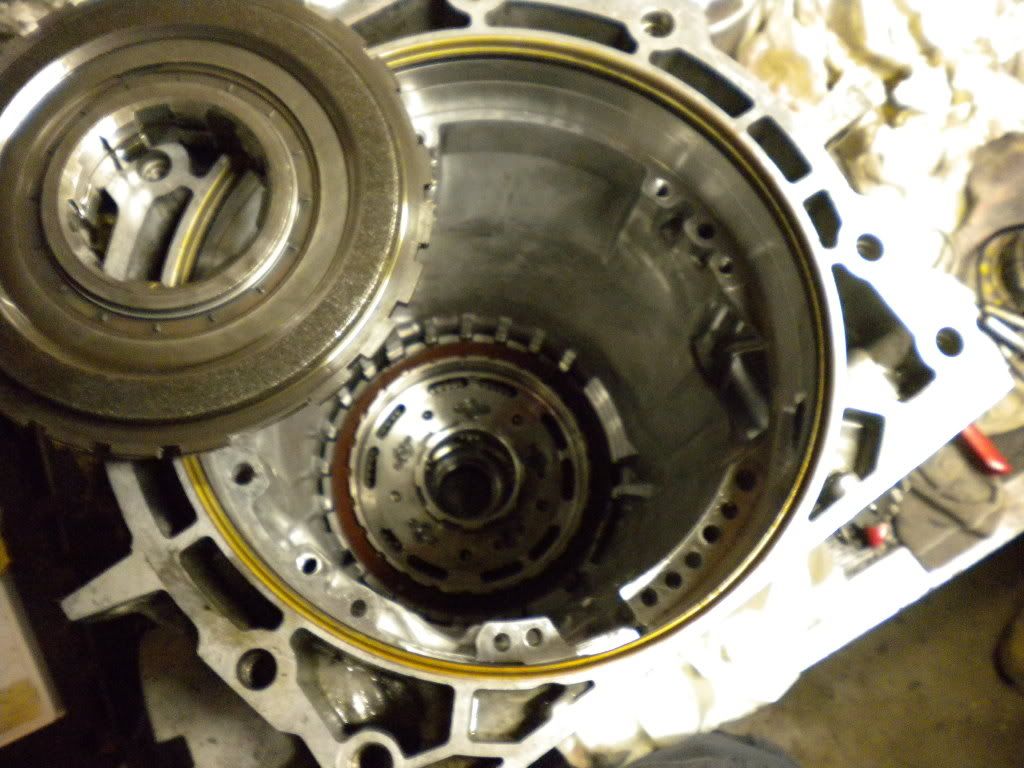
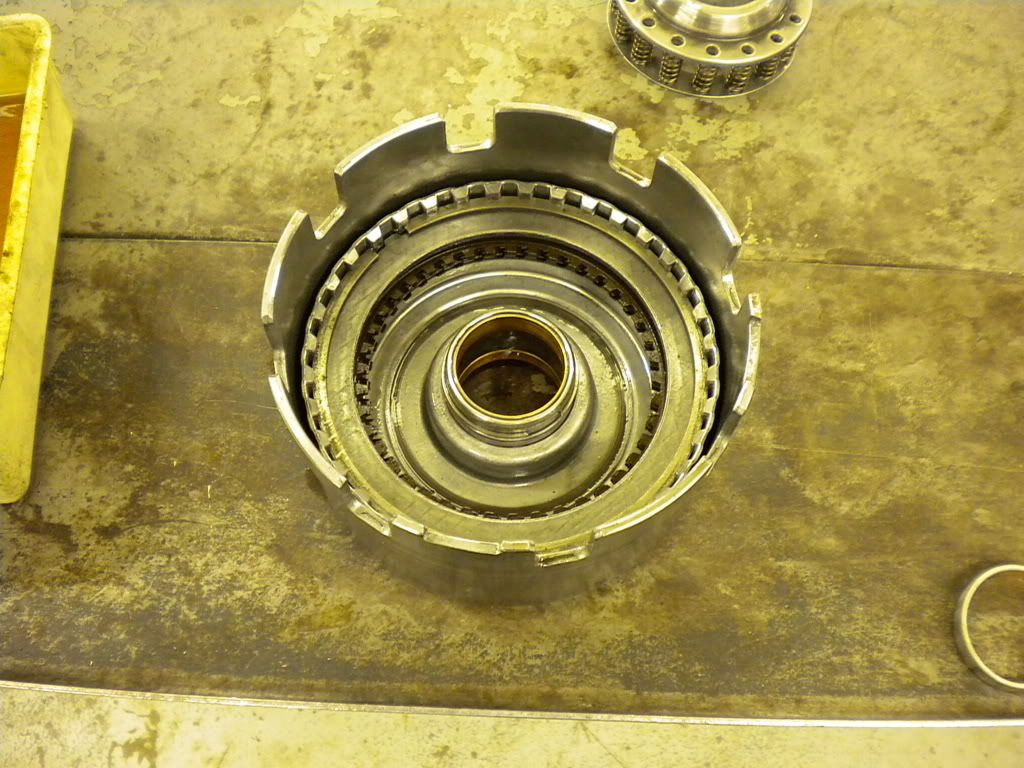
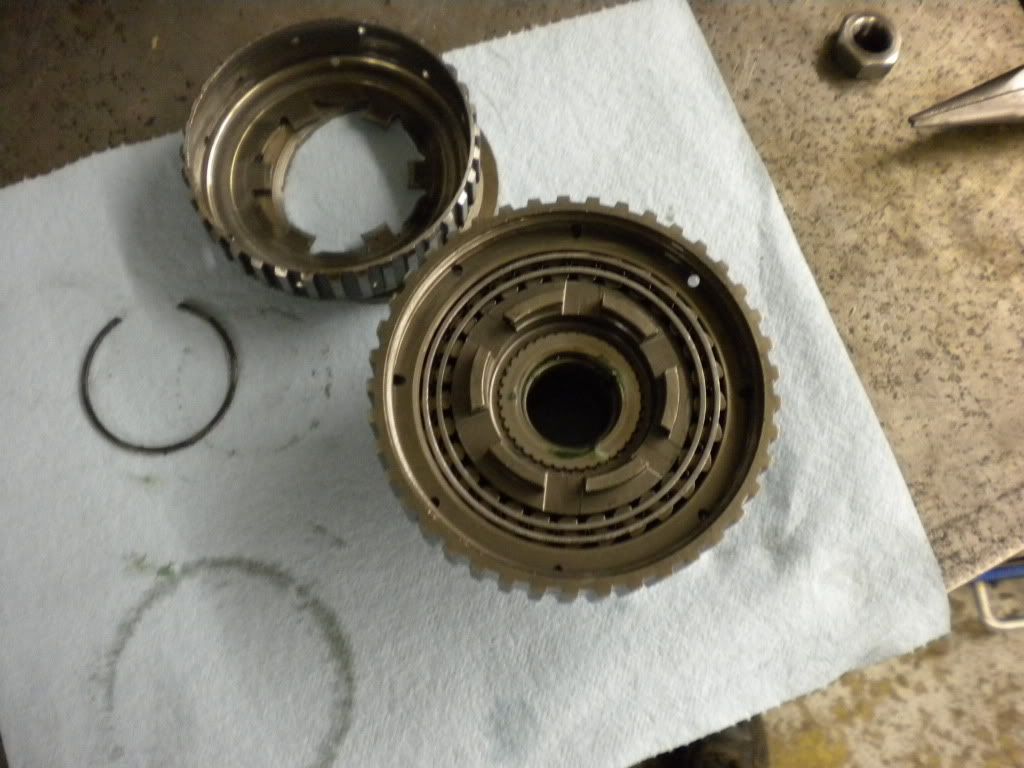
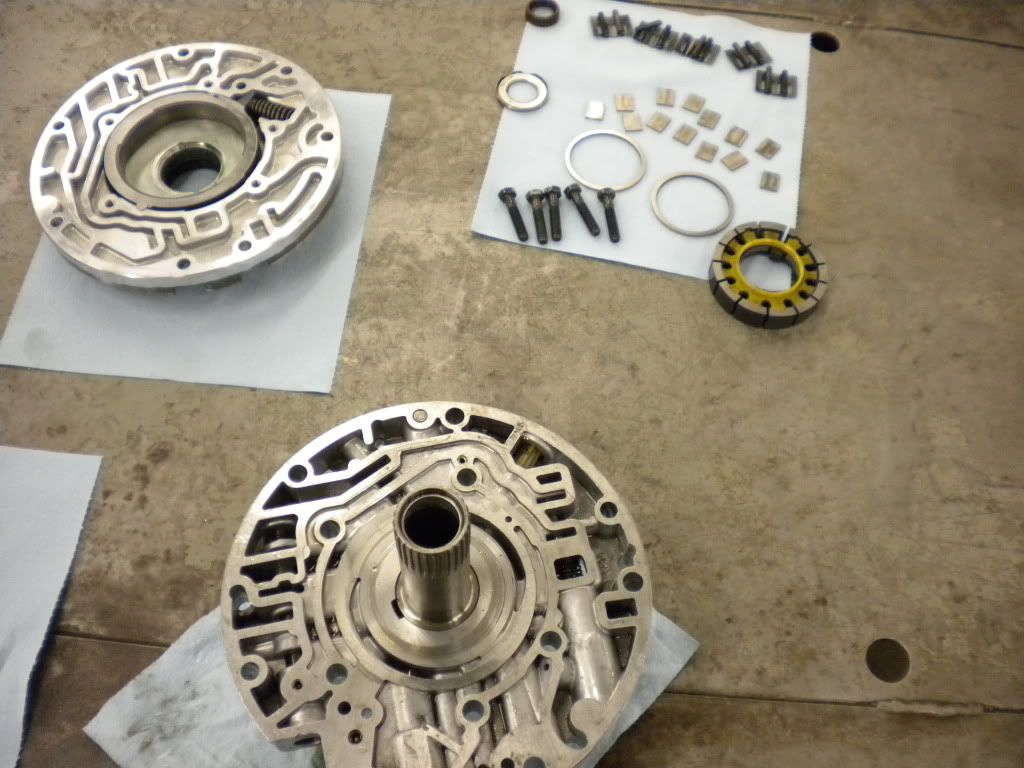
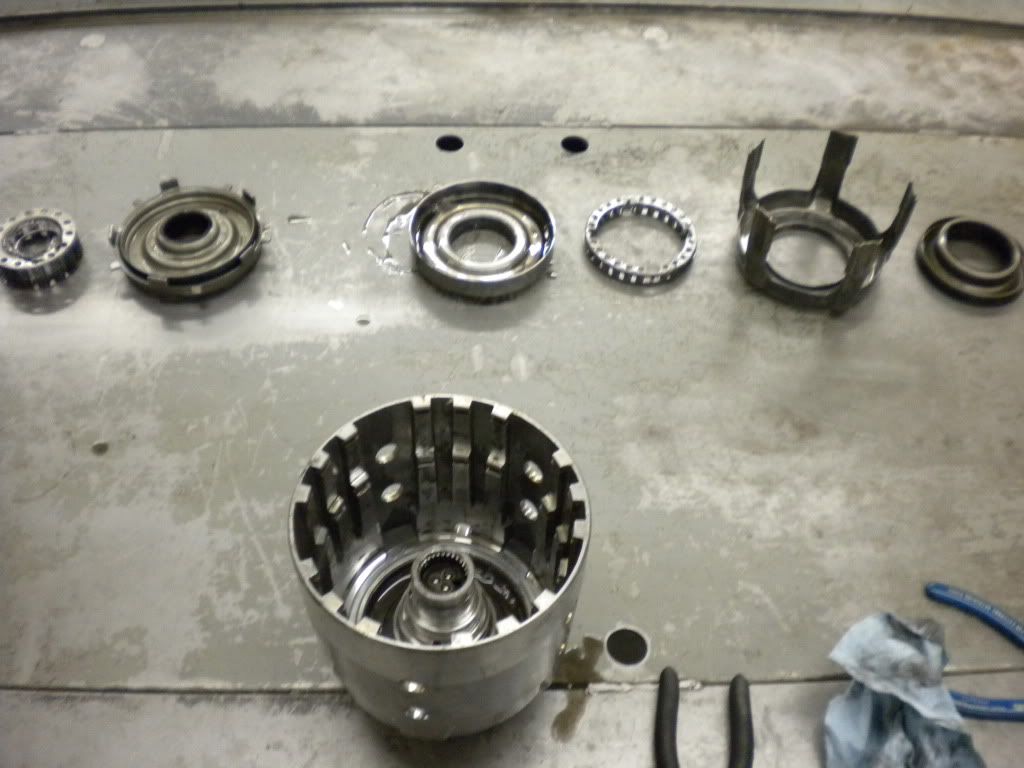
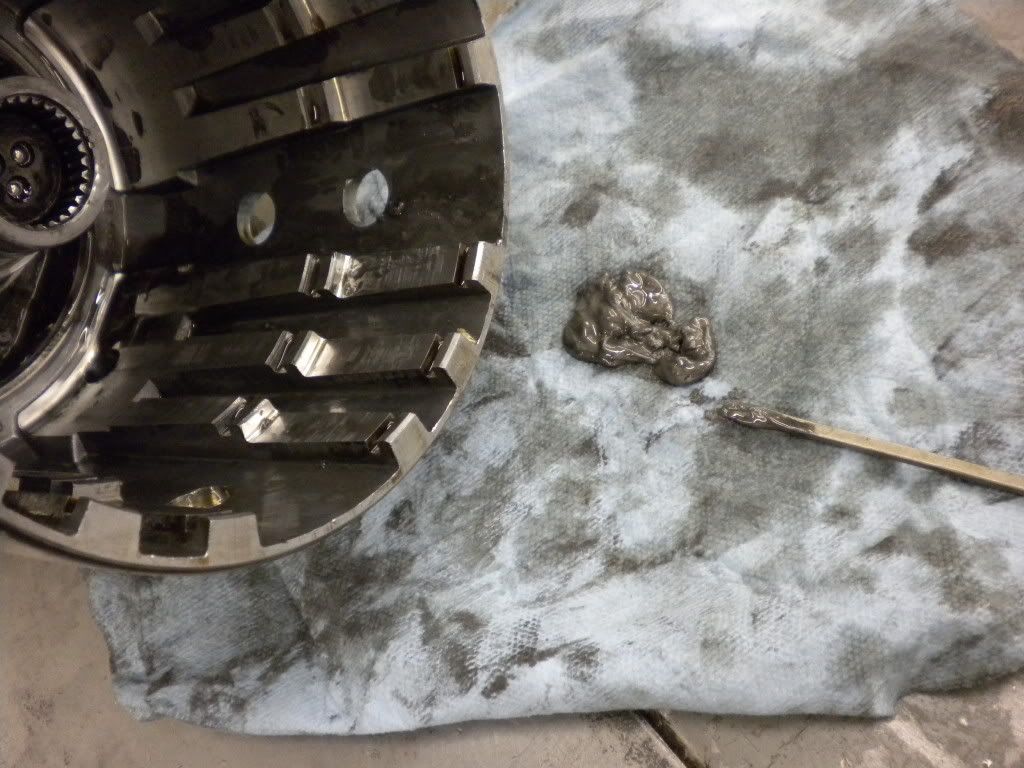
On tear down I found the rear planetary to have loose planet gears and decided to upgrade to the oem gm 5 pinion set. These are rated at 600lbs nearly twice that of the oem 4 pinion.
LOL pink camera case is not mine!!! Its my gf's camera.
It was hitting the limiter on the 2-3 shift(converter issue) and also the fluid was dark.
I'm not getting really detailed with this but I hope it helps and the parts I put in are great upgrades for any tranny thats going to see over 400 wheel hp.
My car runs 10.89 @ 123 1.506 60' with 424 hp and 380 tq running unlocked on a dynojet through a 3600 vig. 4l60e and a 12 bolt. Race weight is 3250.
On tear down I found the rear planetary to have loose planet gears and decided to upgrade to the oem gm 5 pinion set. These are rated at 600lbs nearly twice that of the oem 4 pinion.
LOL pink camera case is not mine!!! Its my gf's camera.
 02-27-2010, 06:30 PM
#2
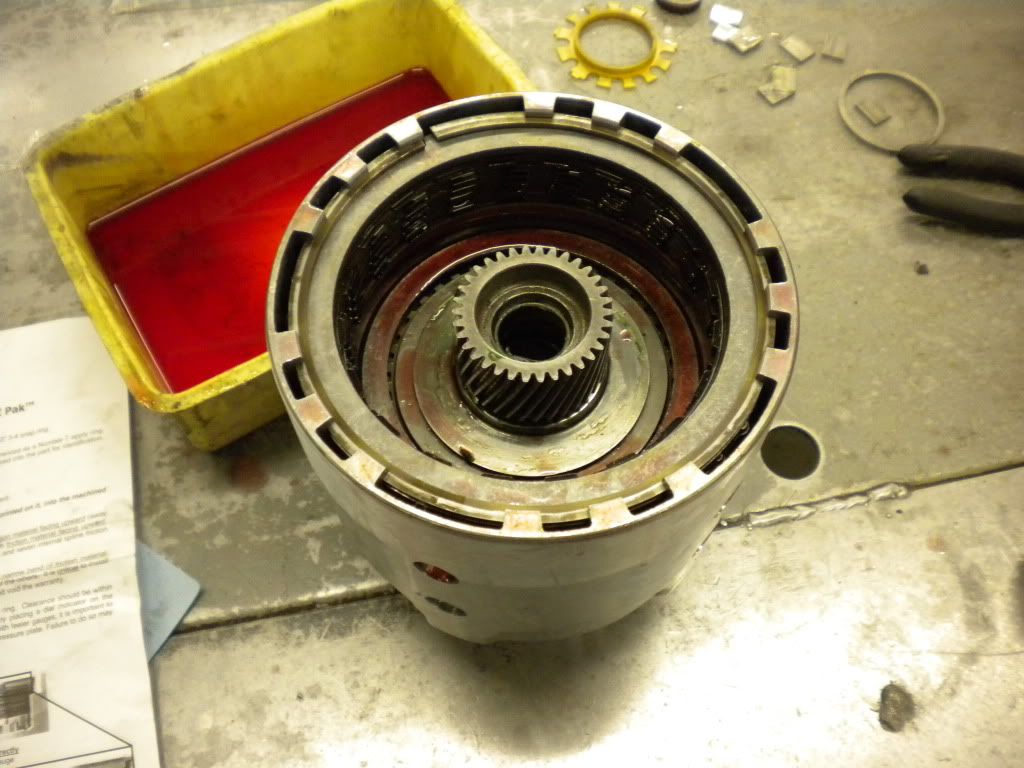
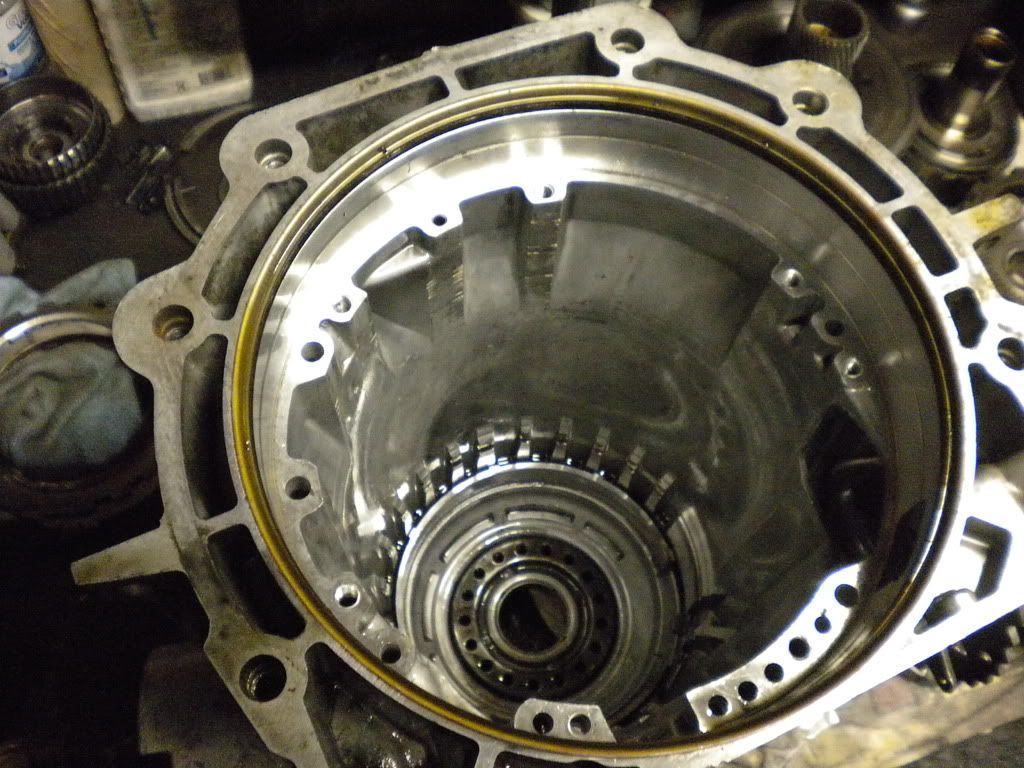
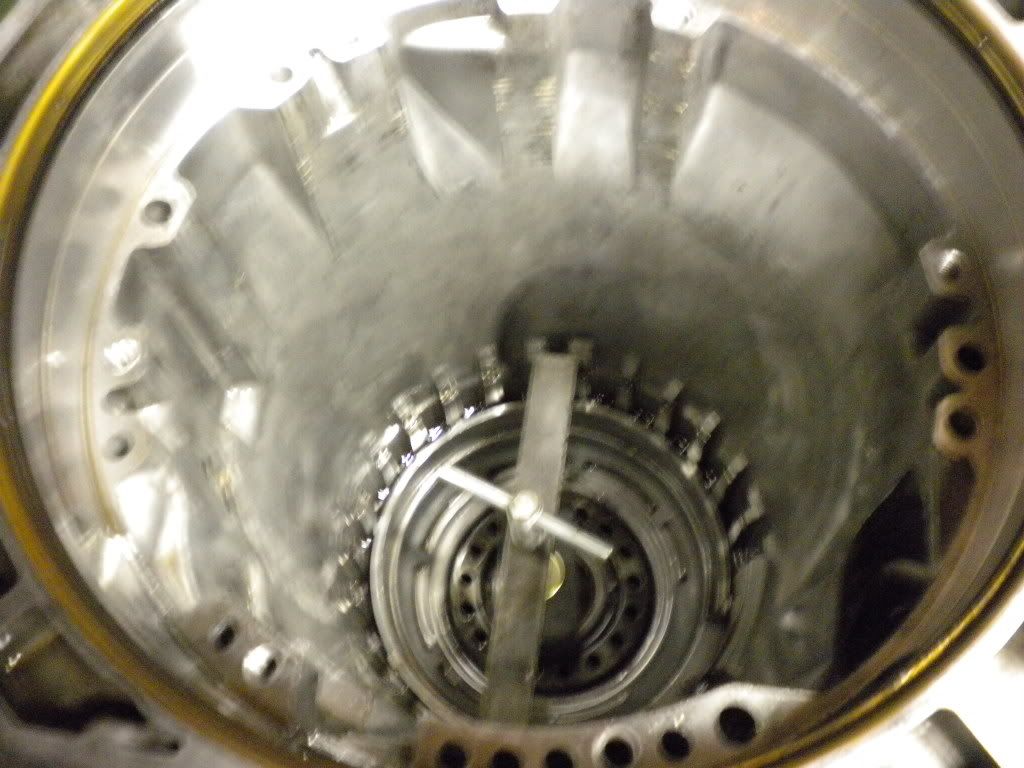
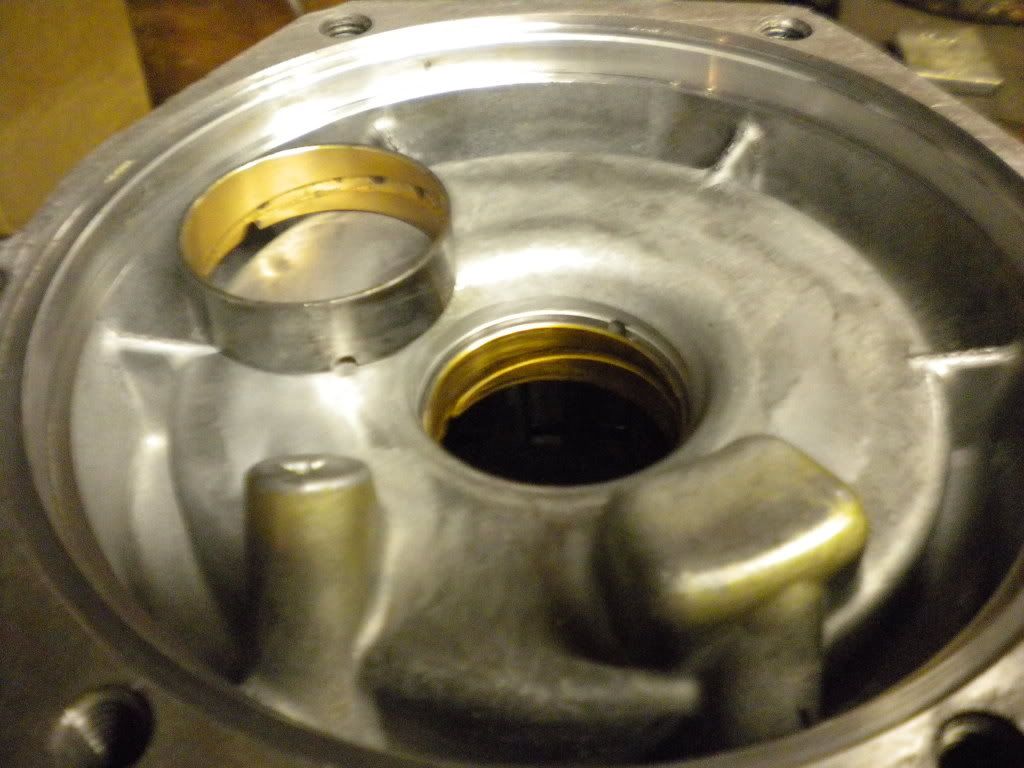
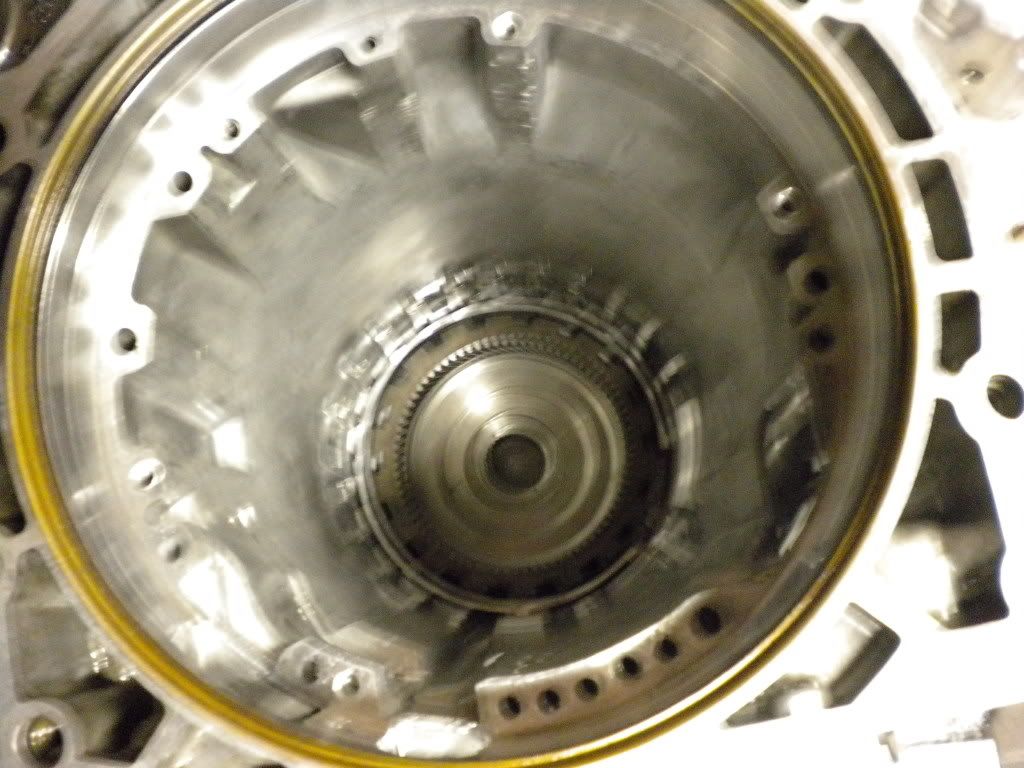
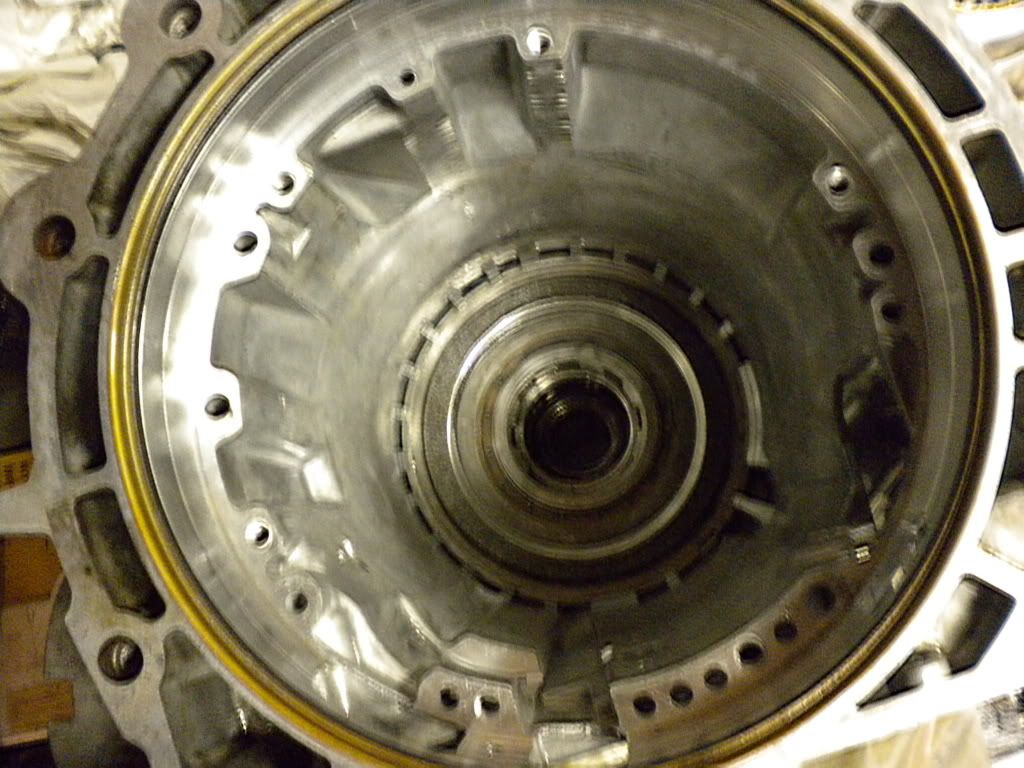
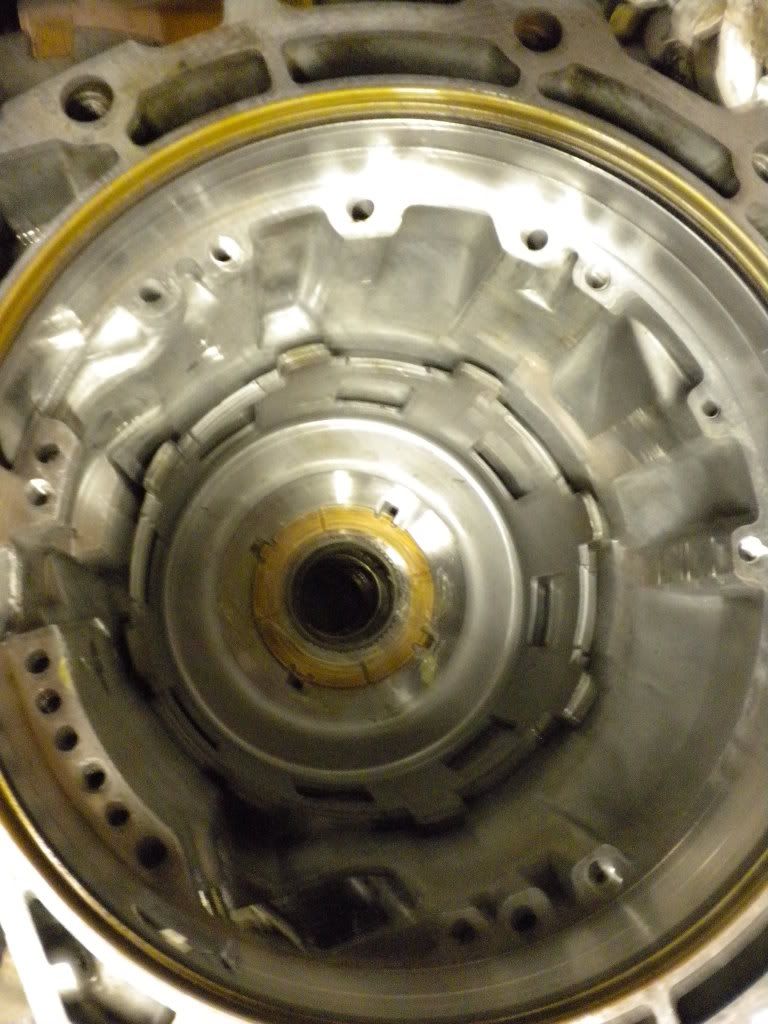
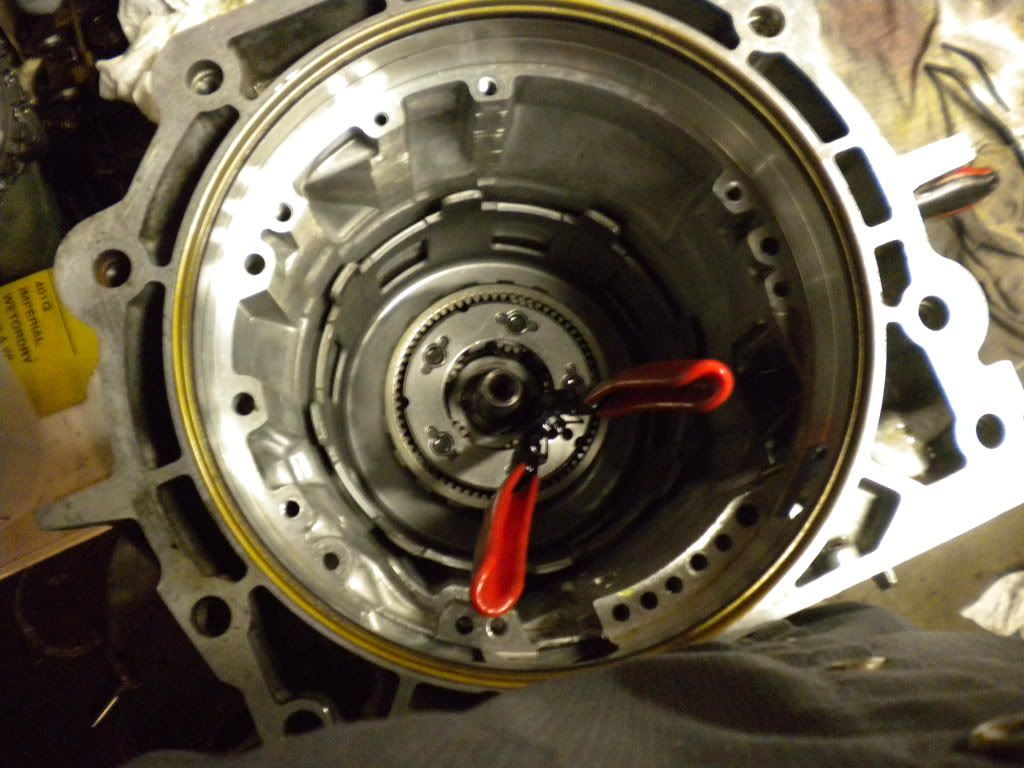
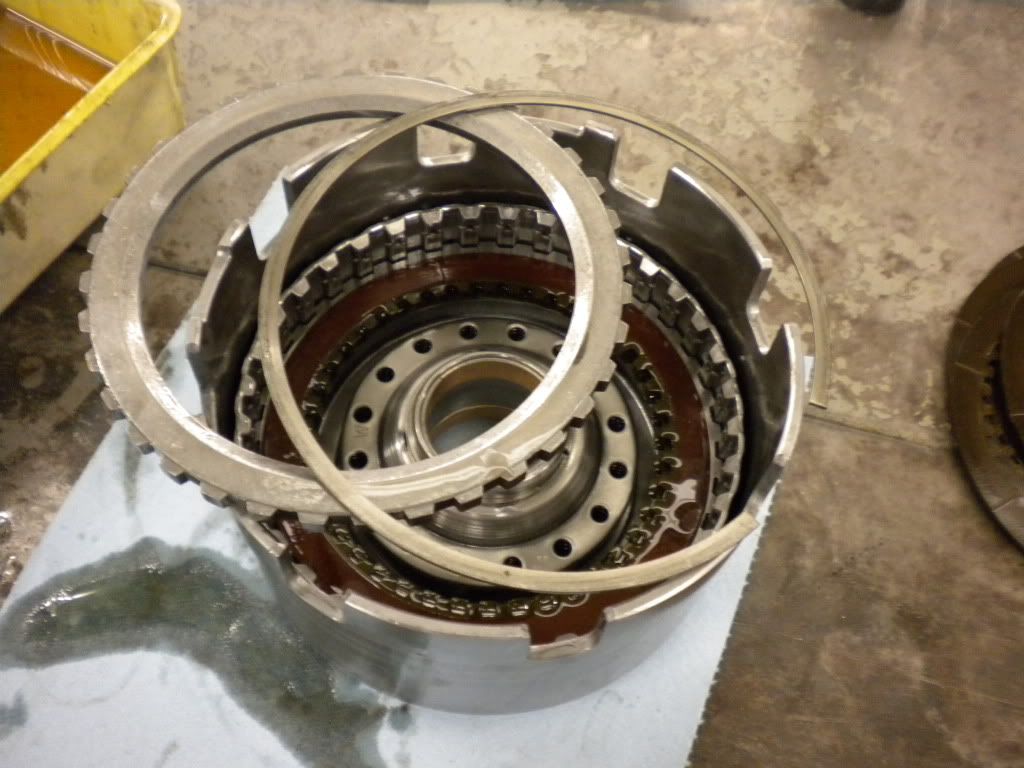
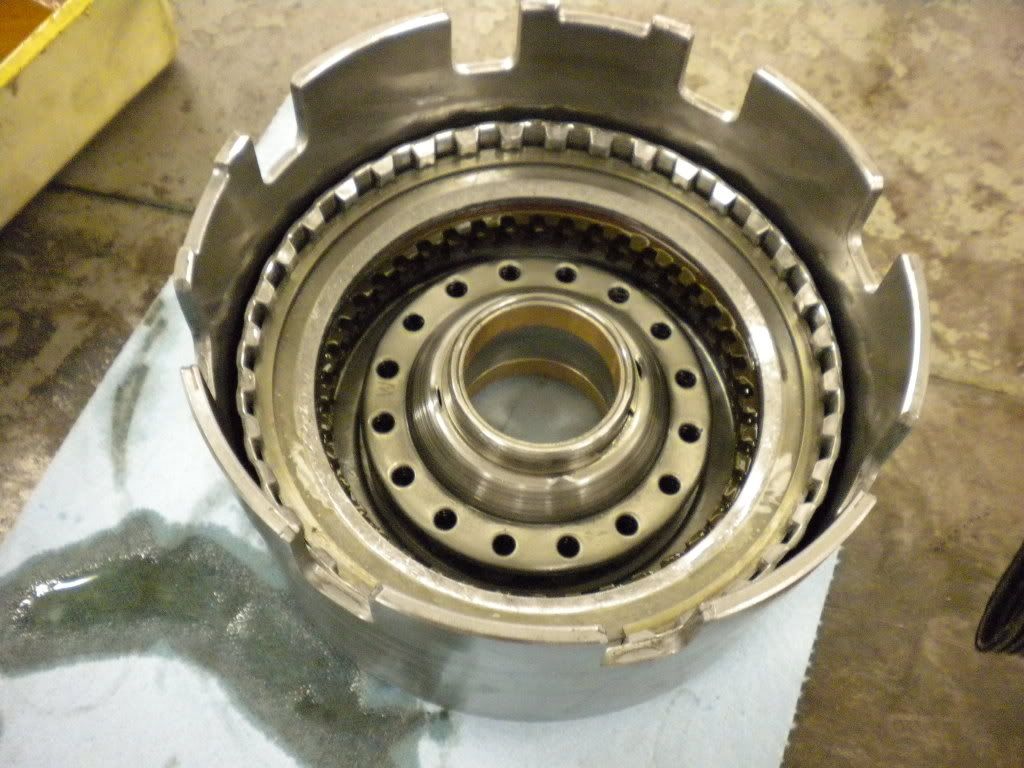
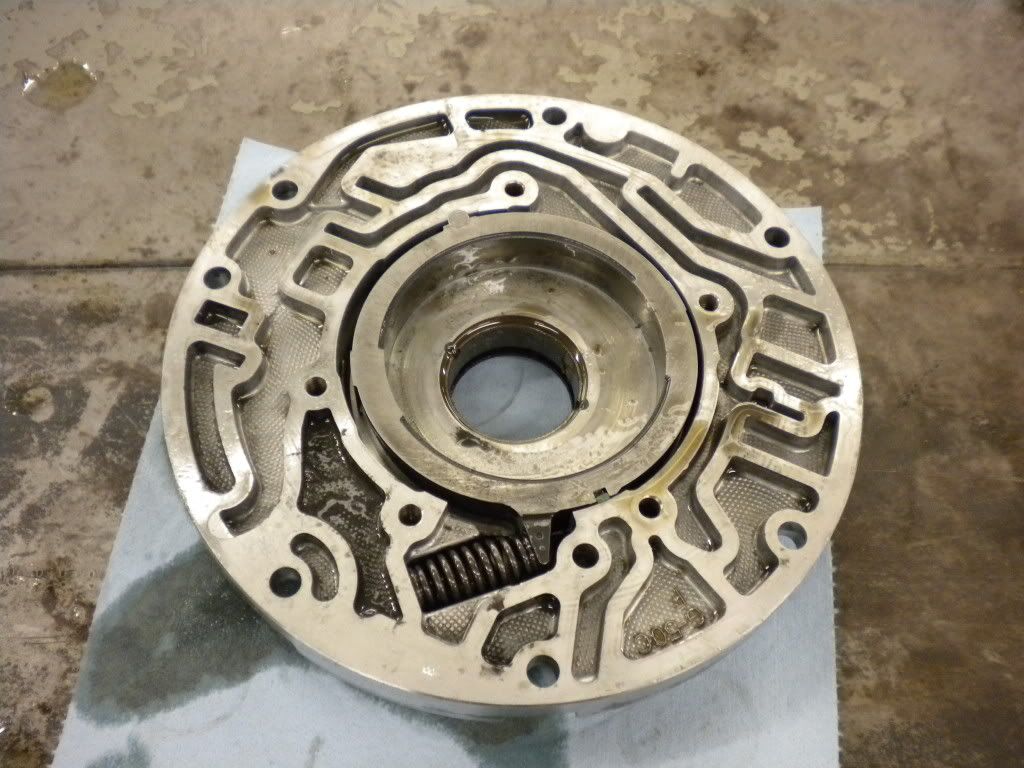
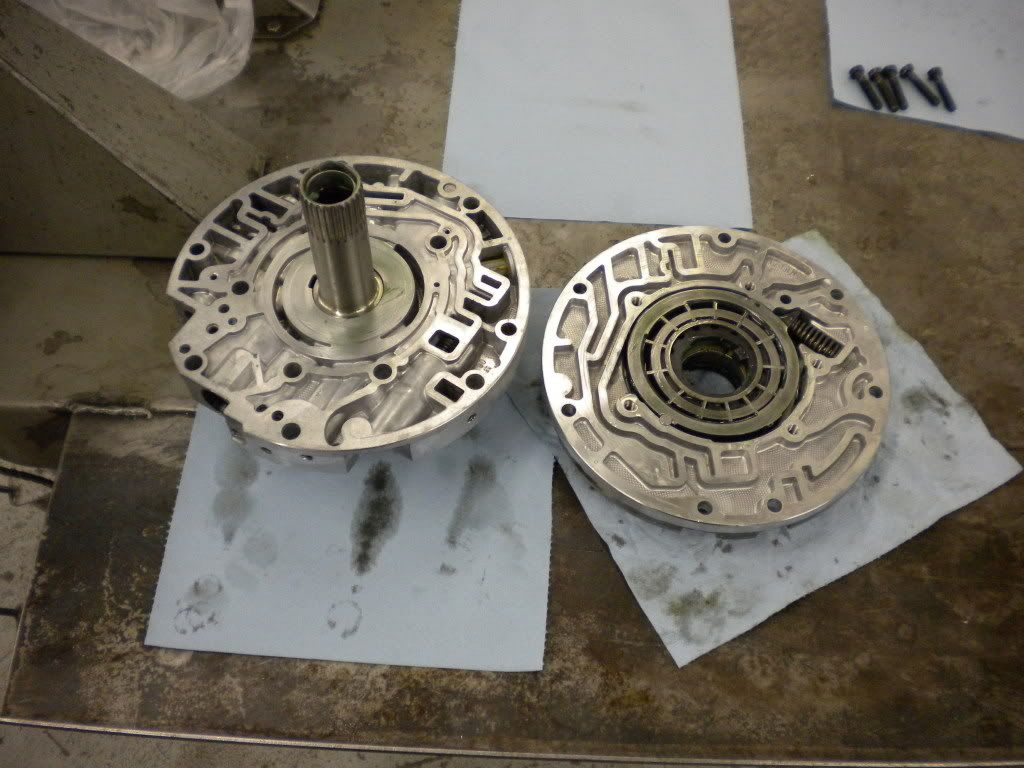
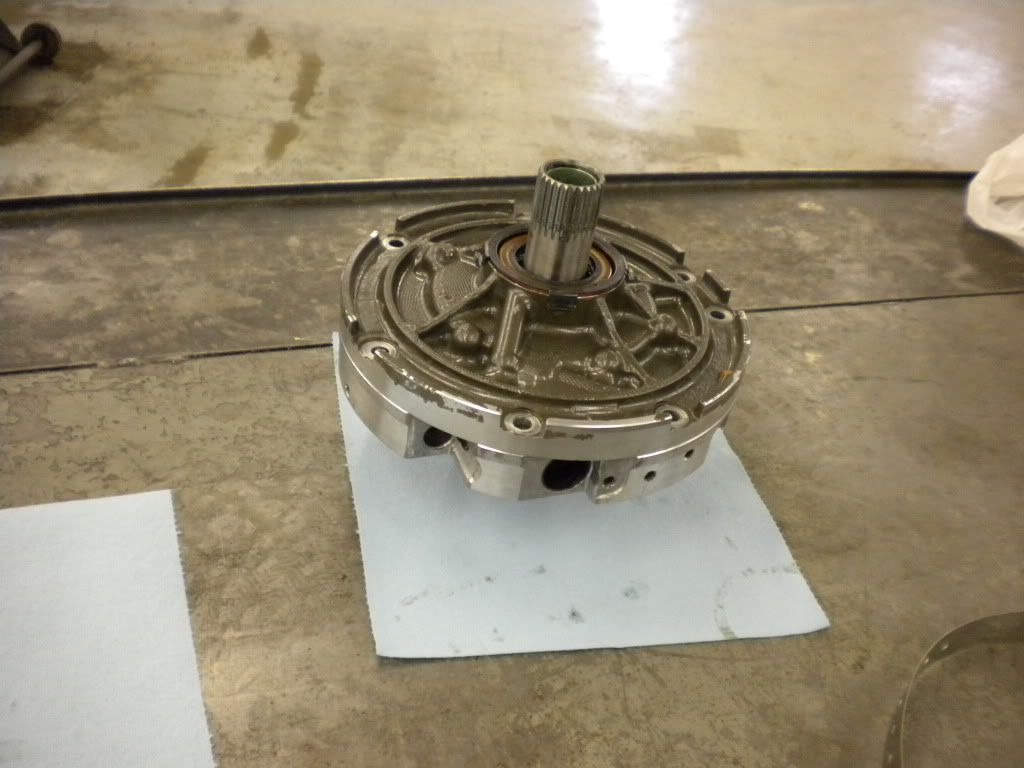
Two cans of brake clean later the case was clean and ready for the rear half of the tranny to go together. Case bushing was all scratched up from material that the rear planetary let loose.
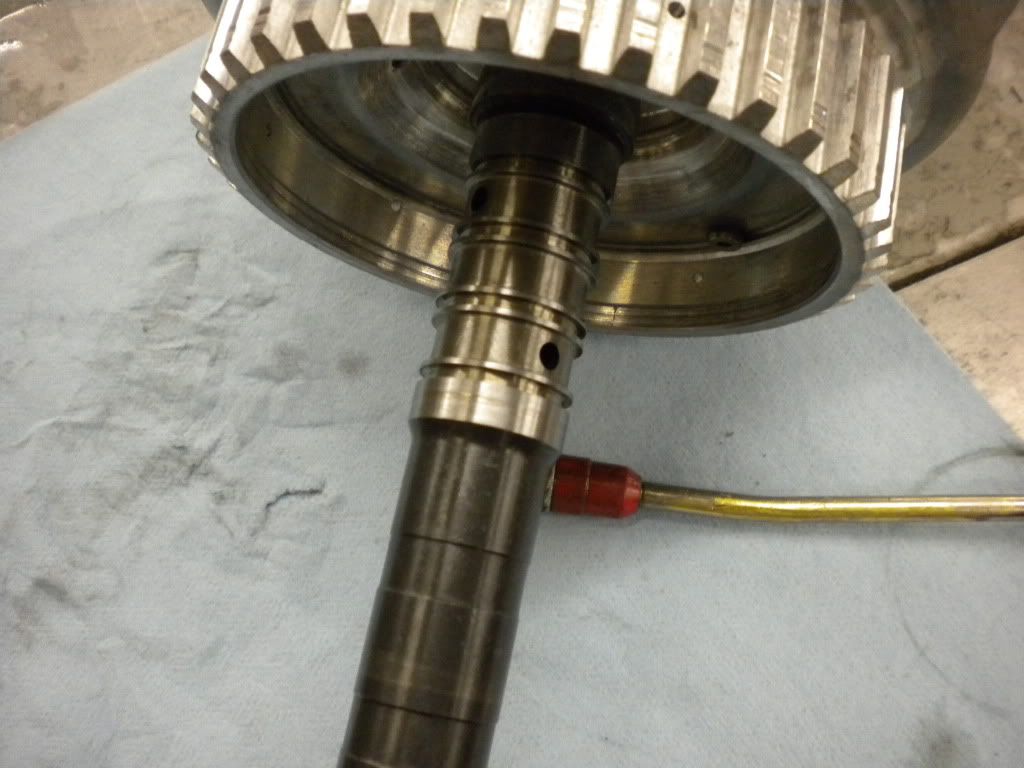
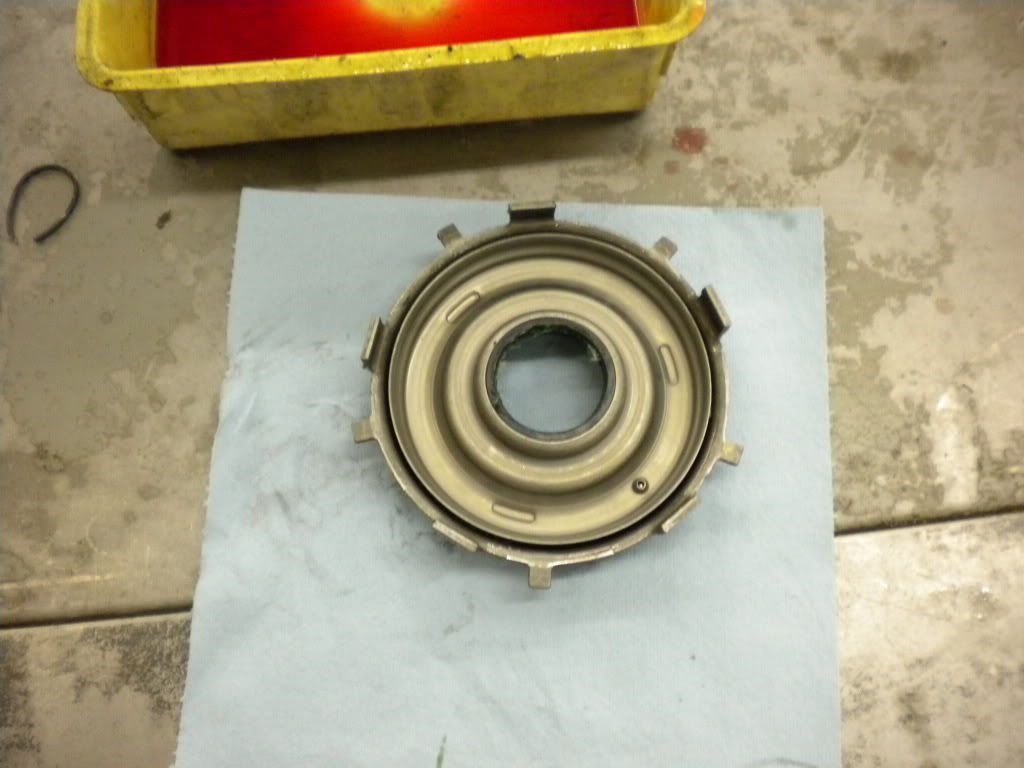
I also replaced rear sun gear bushing, and reation shaft bushings. I already had the beast sunshell so that went back in as well.
I also replaced rear sun gear bushing, and reation shaft bushings. I already had the beast sunshell so that went back in as well.
02-27-2010, 06:33 PM
#3
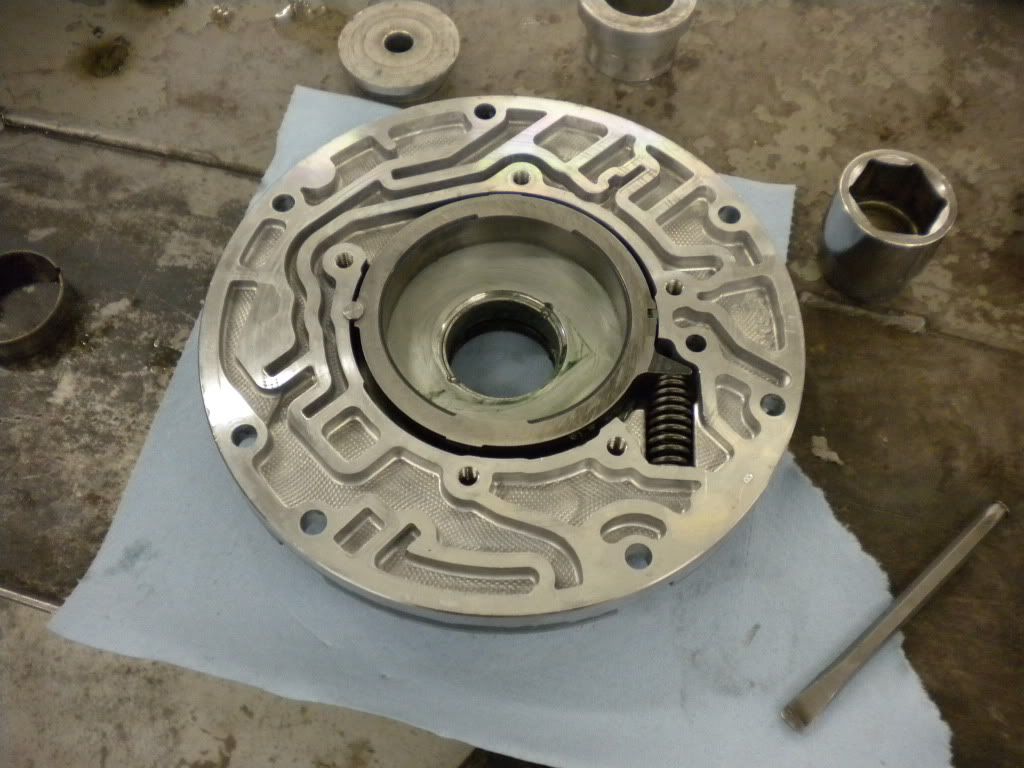
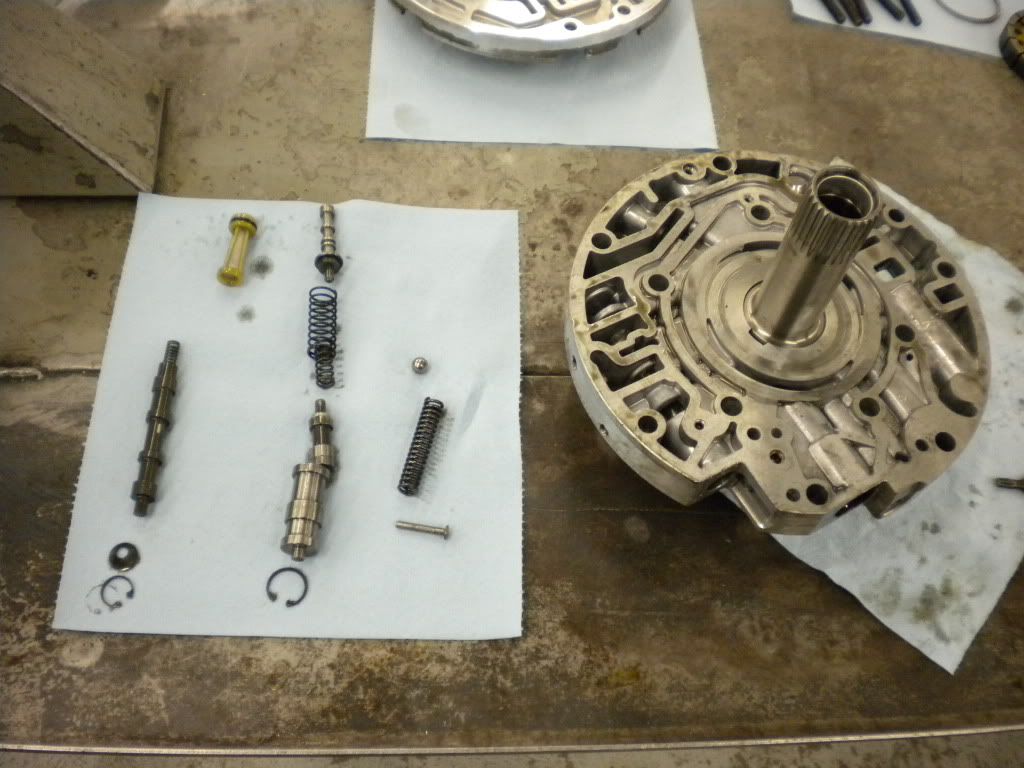
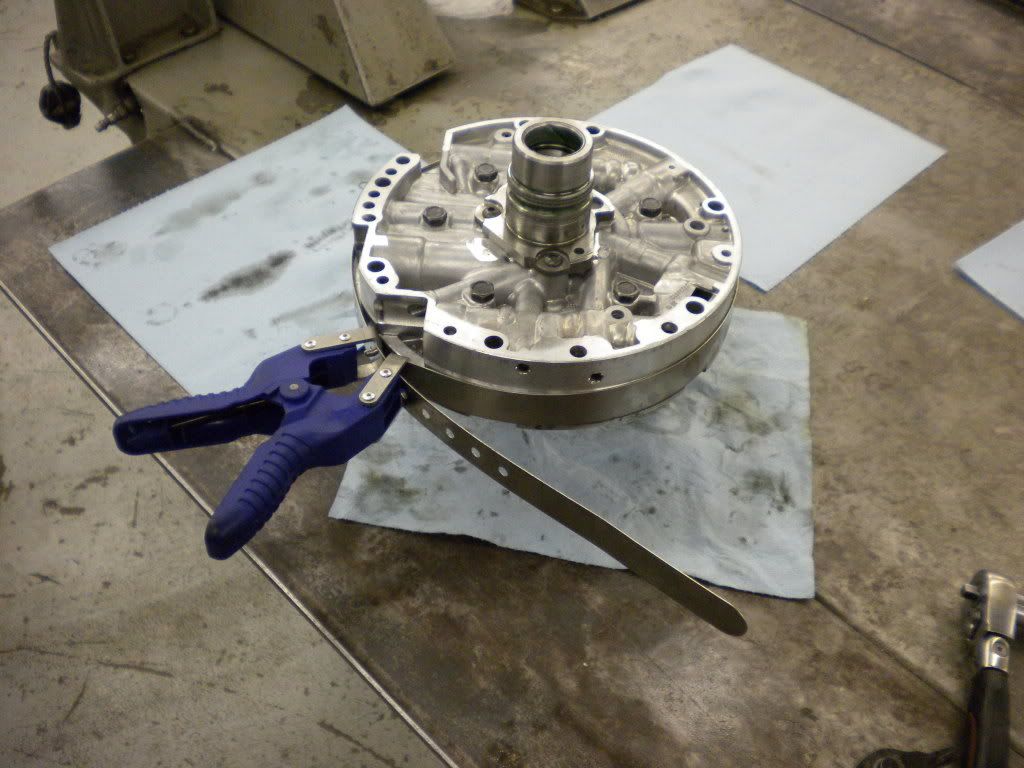
This tranny is not to hard to rebuild but I am leaving alot of things out, so please do not think this is step by step at all. I Have a tech video that I refer to all the time, also I have a manual on it and several spec sheets, diagrams etc....
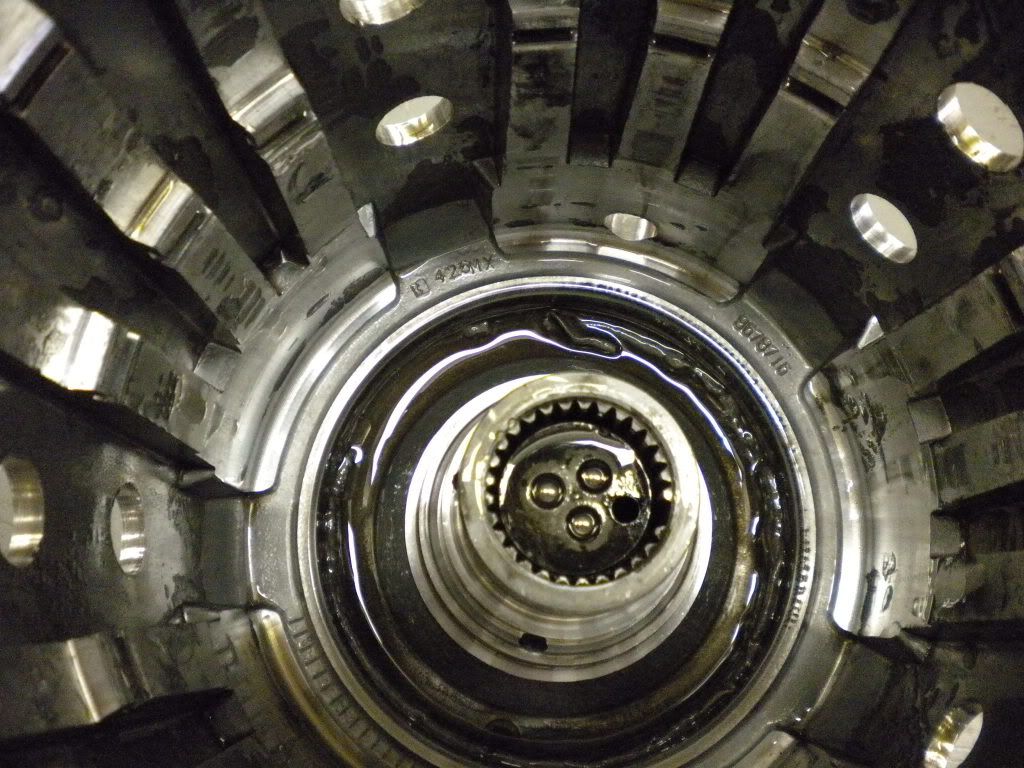
 02-27-2010, 06:39 PM
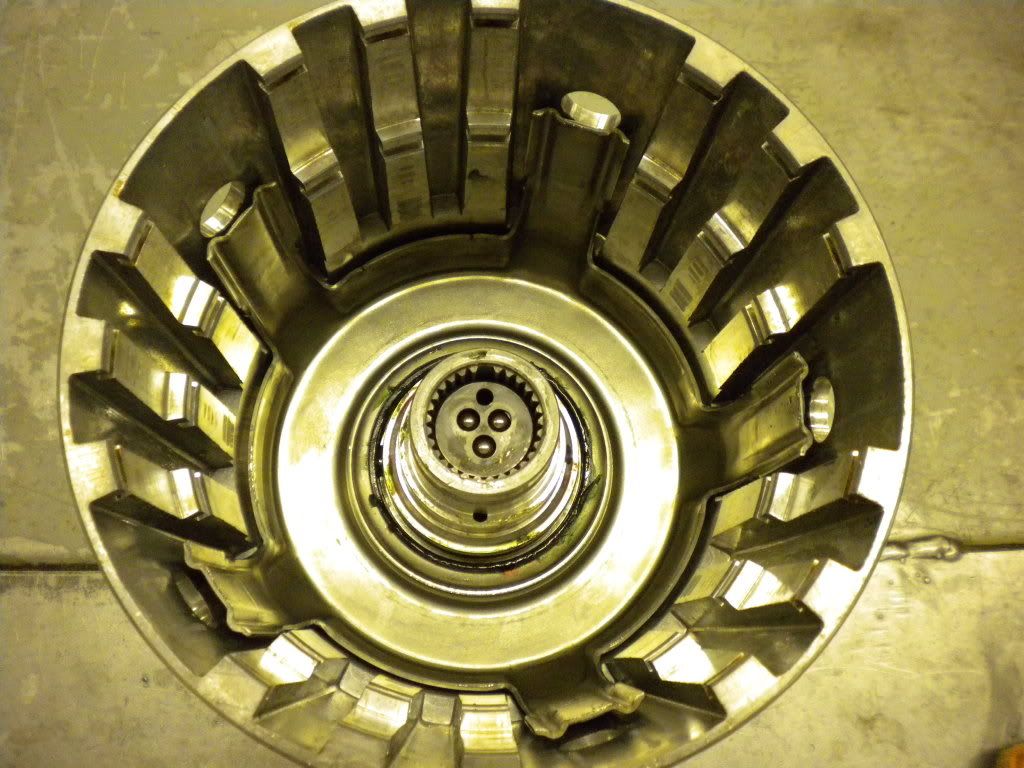
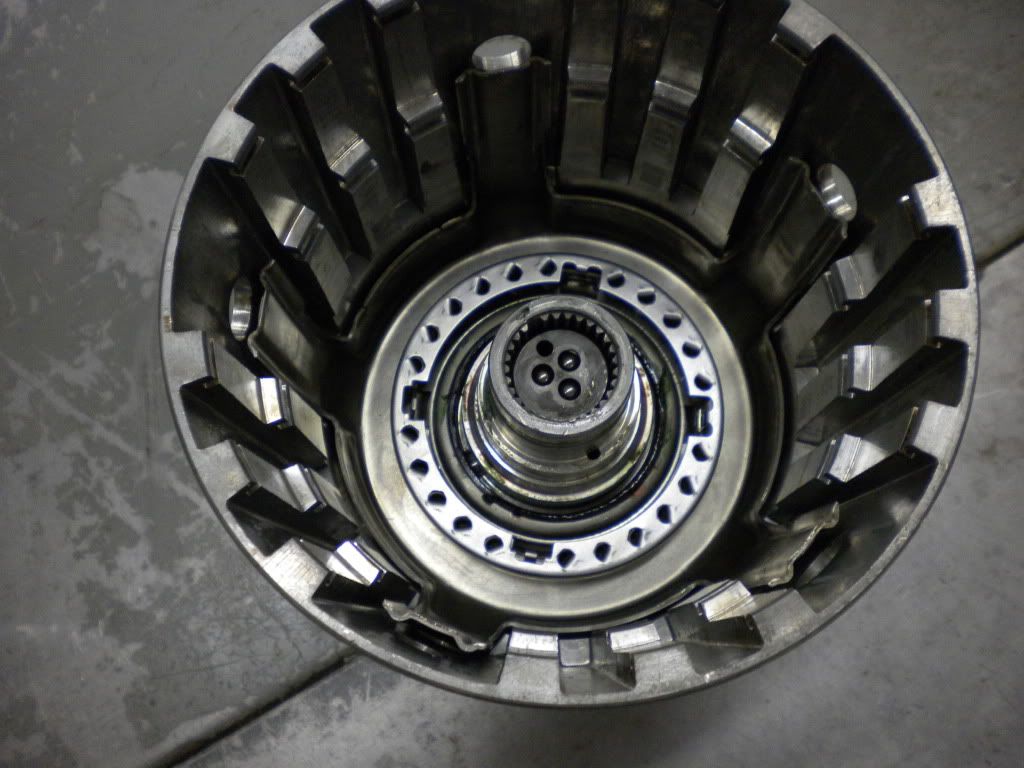
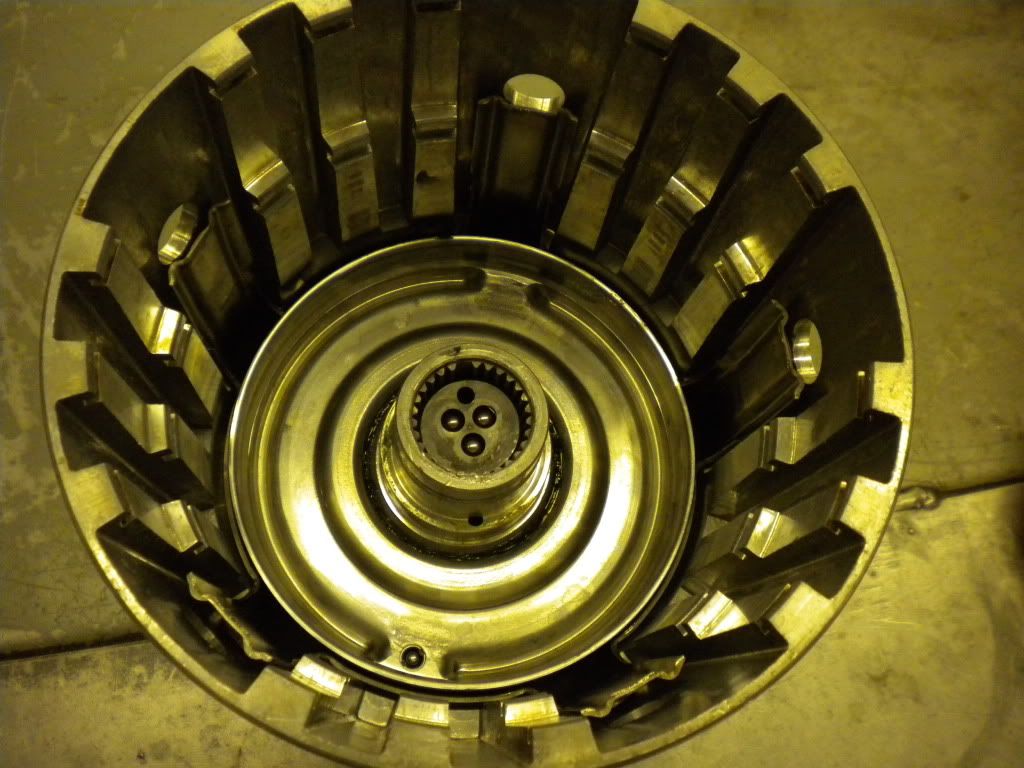
#5
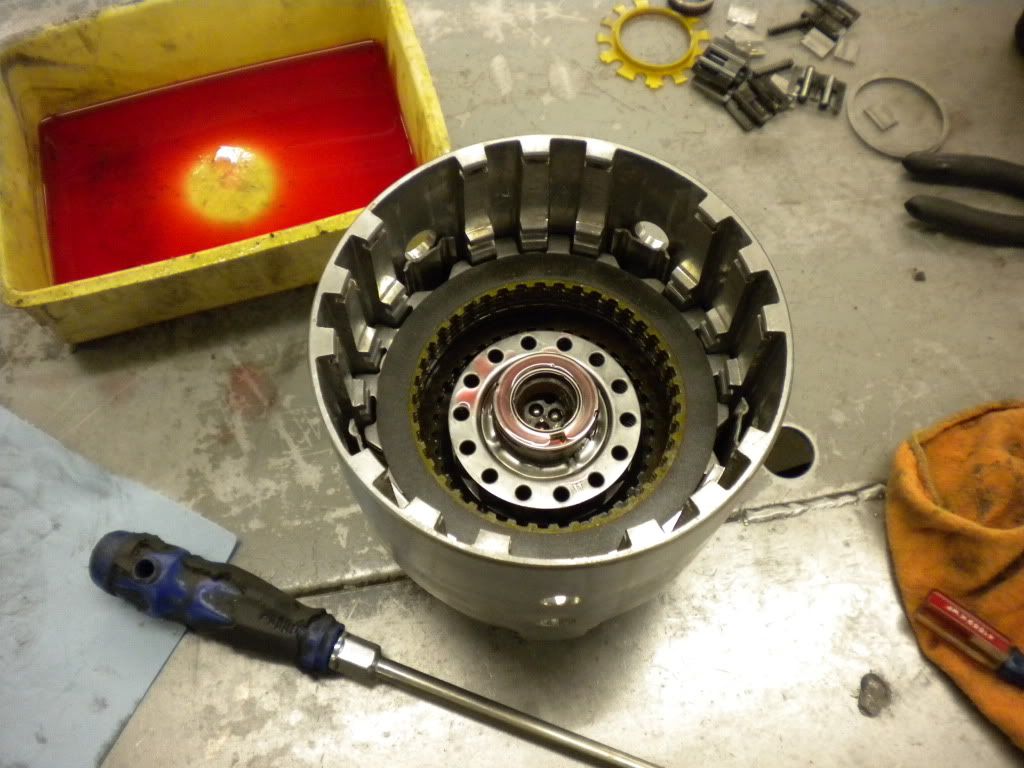
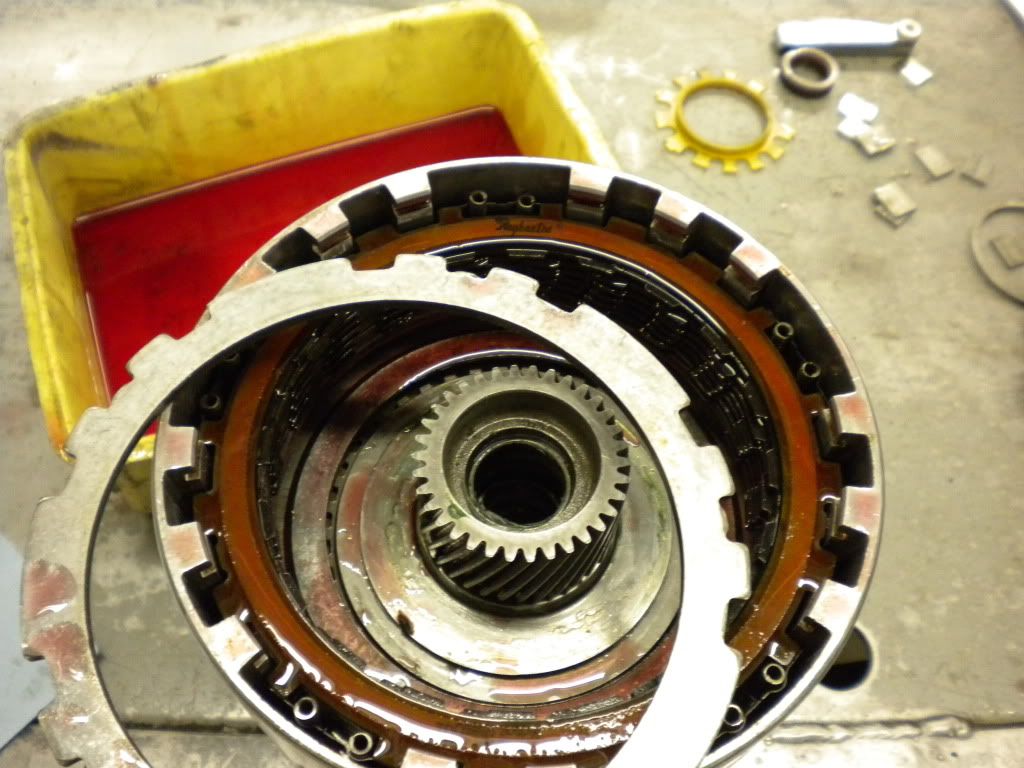
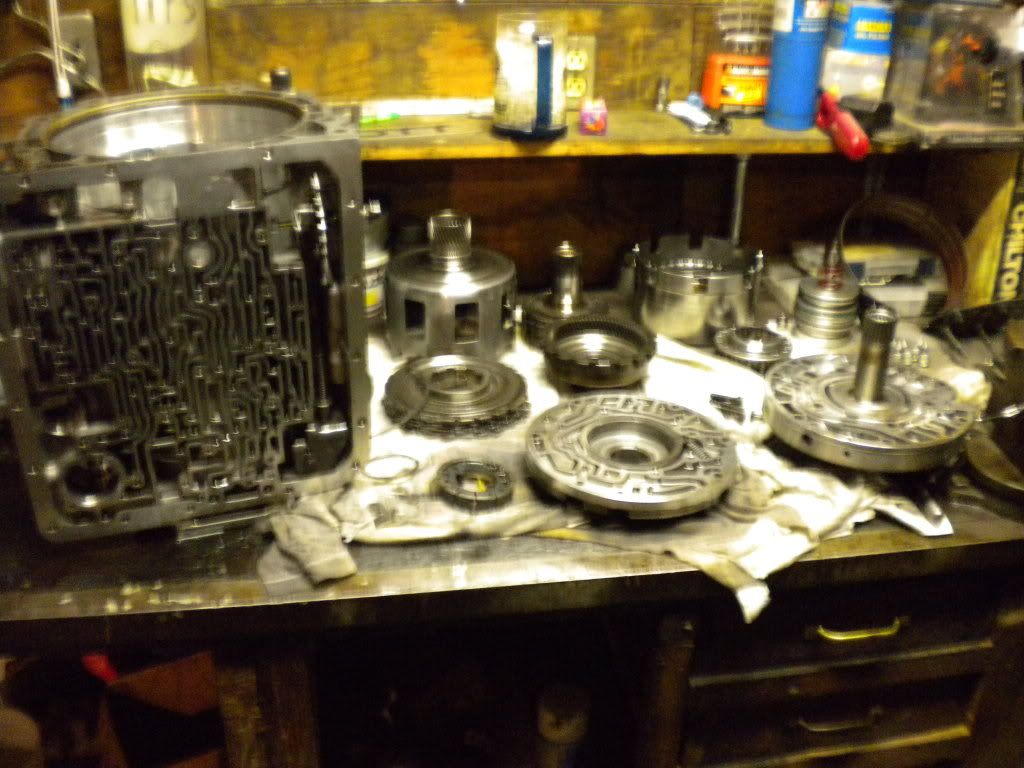
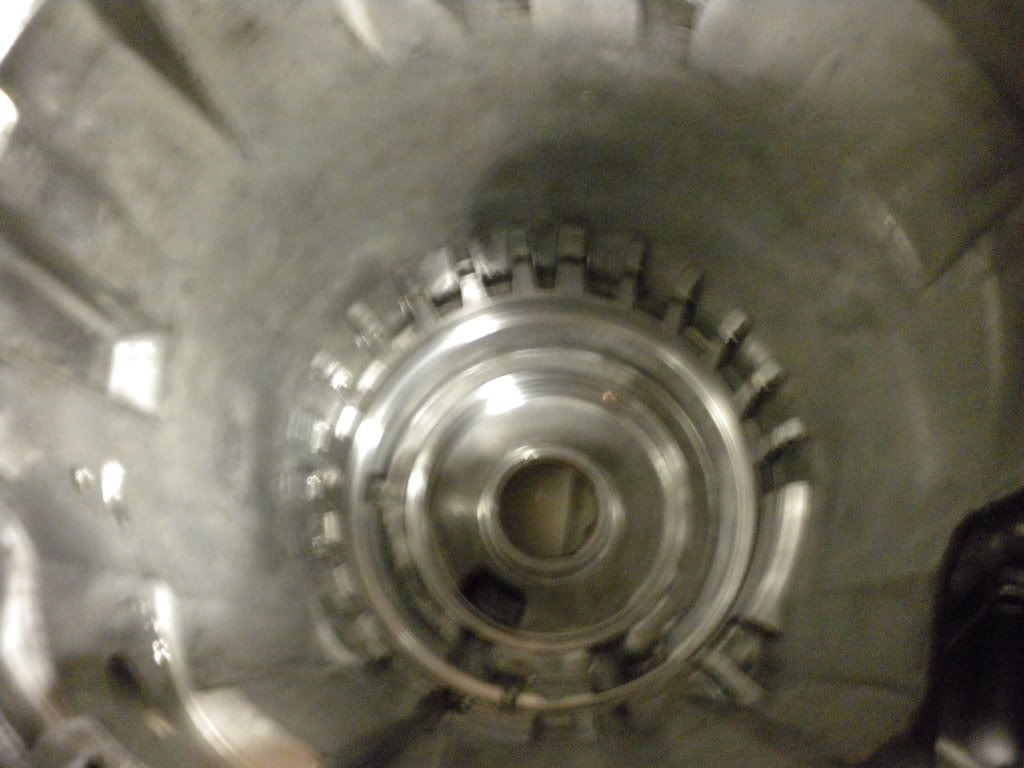
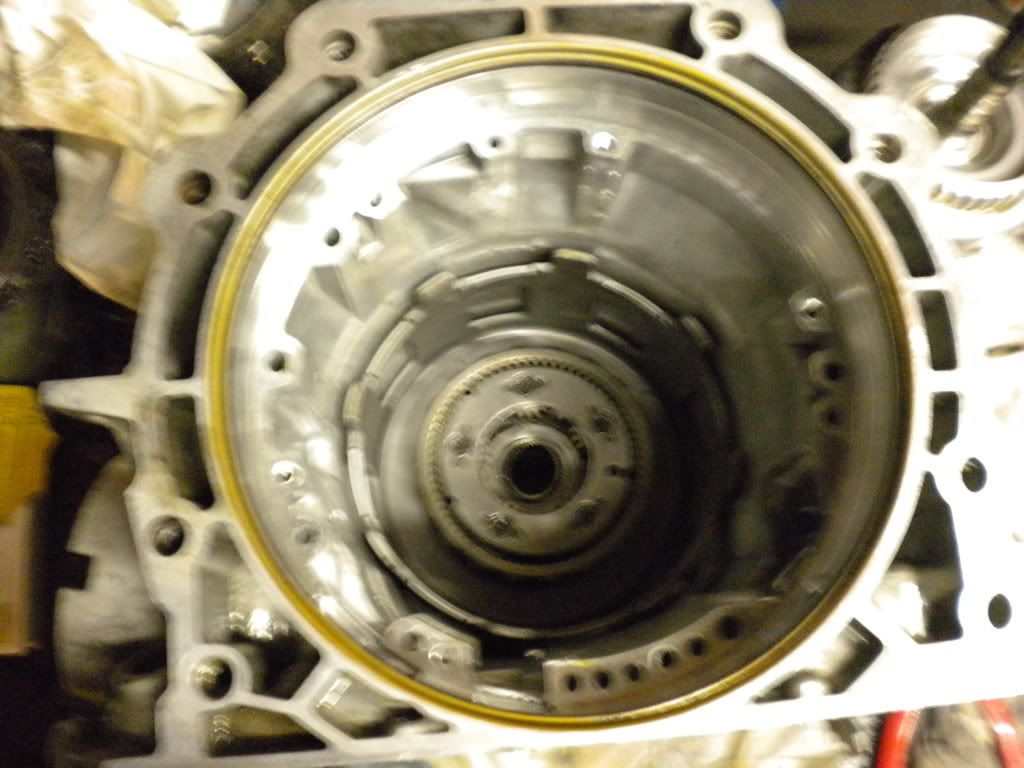
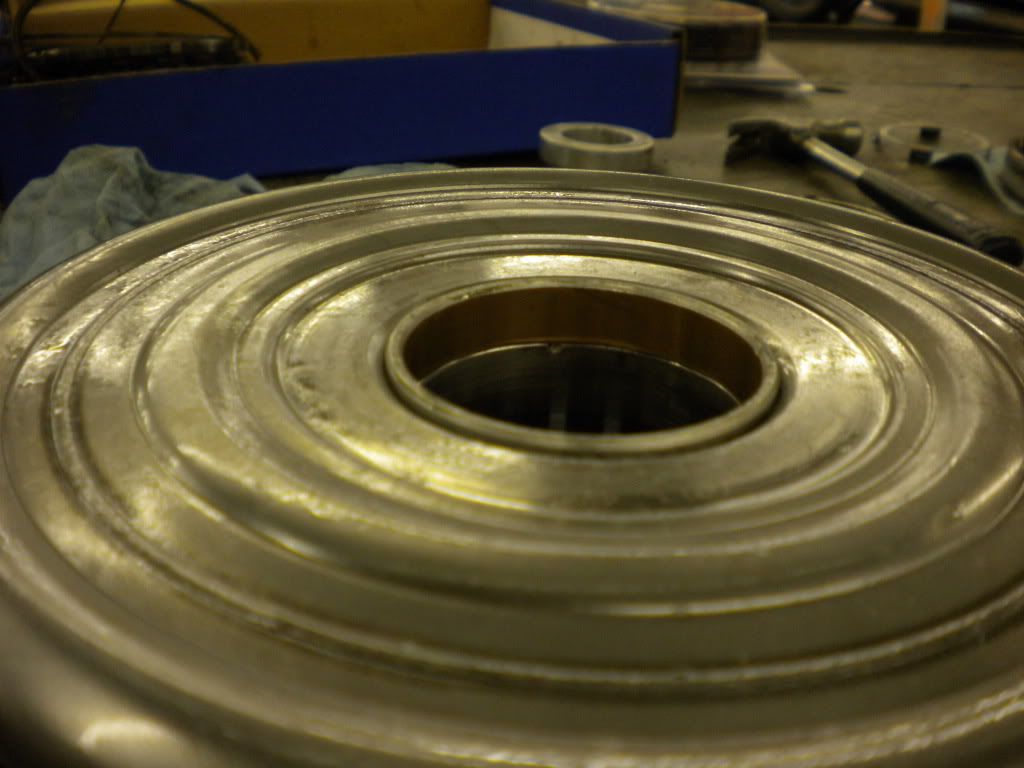
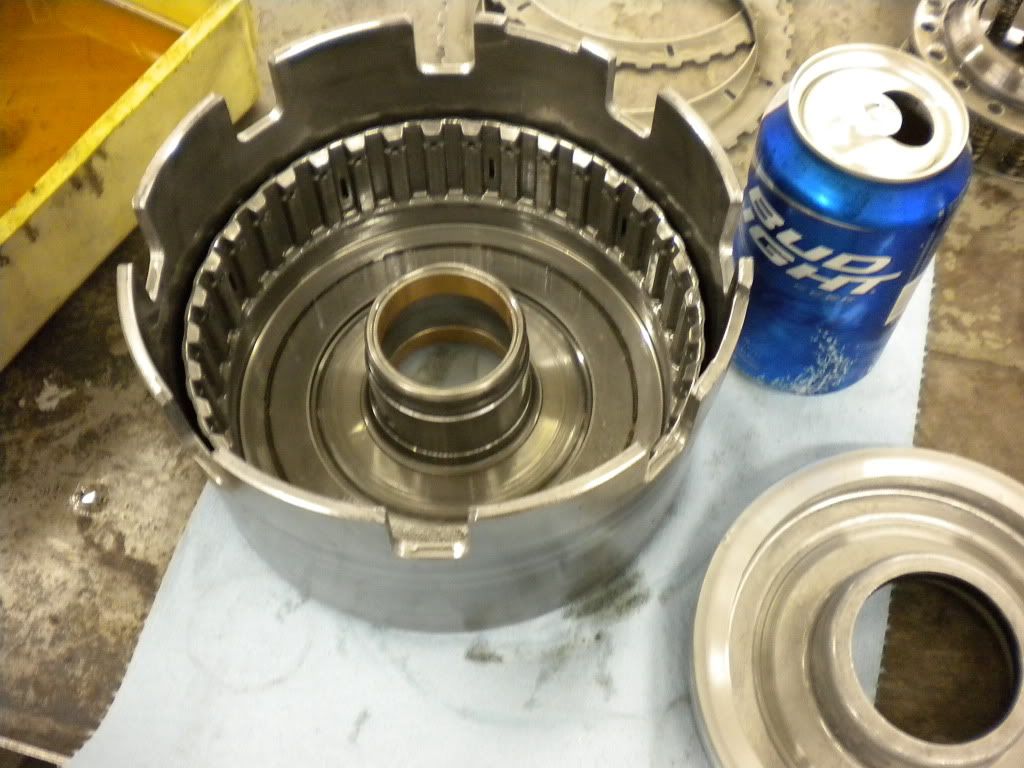
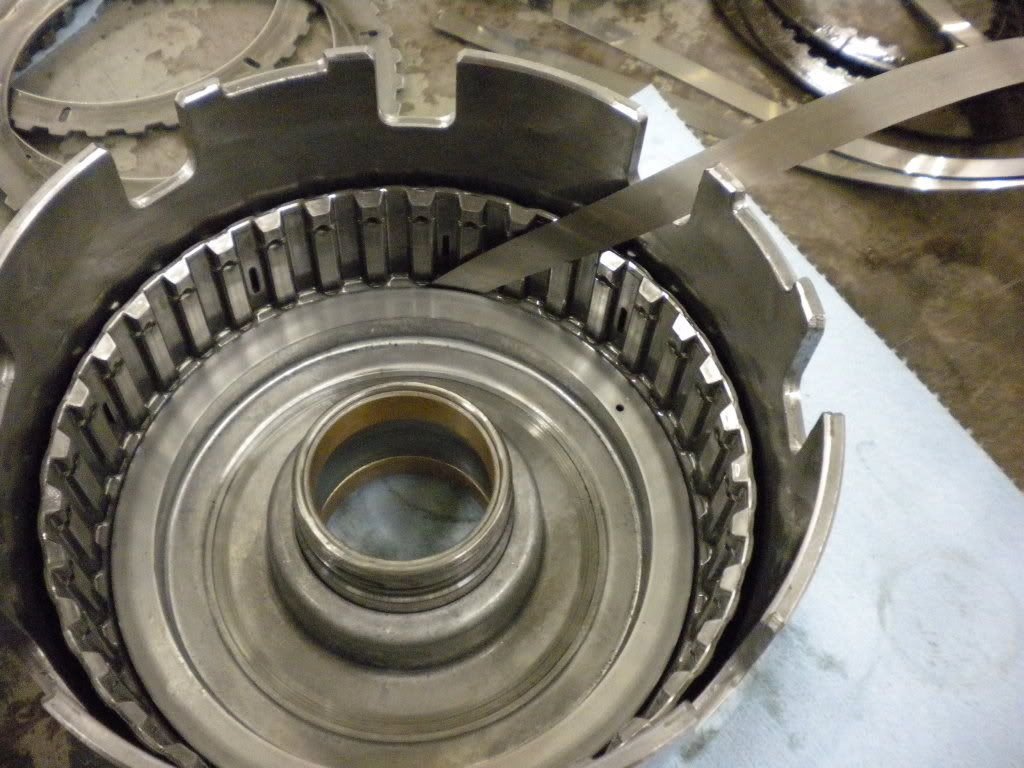
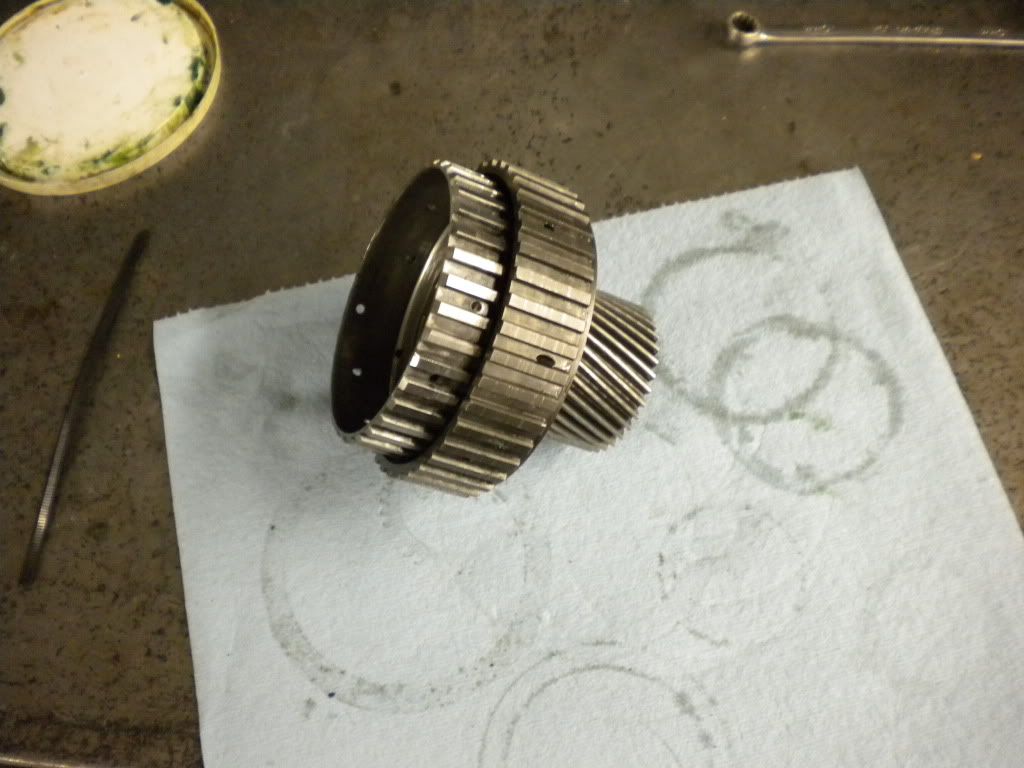
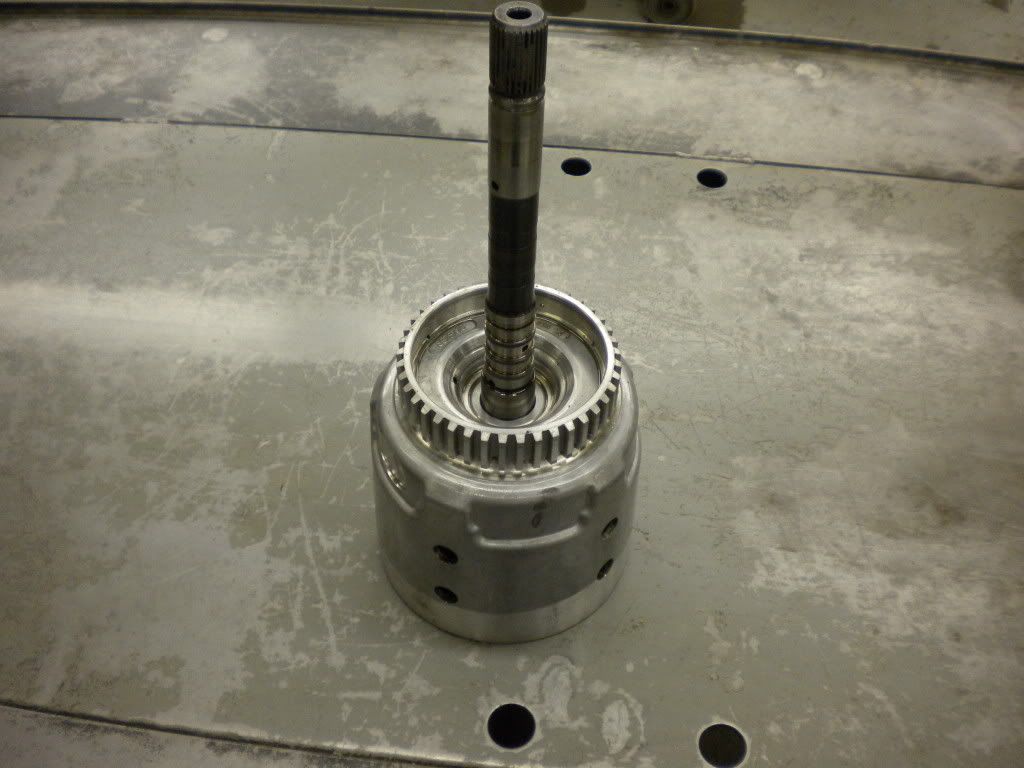
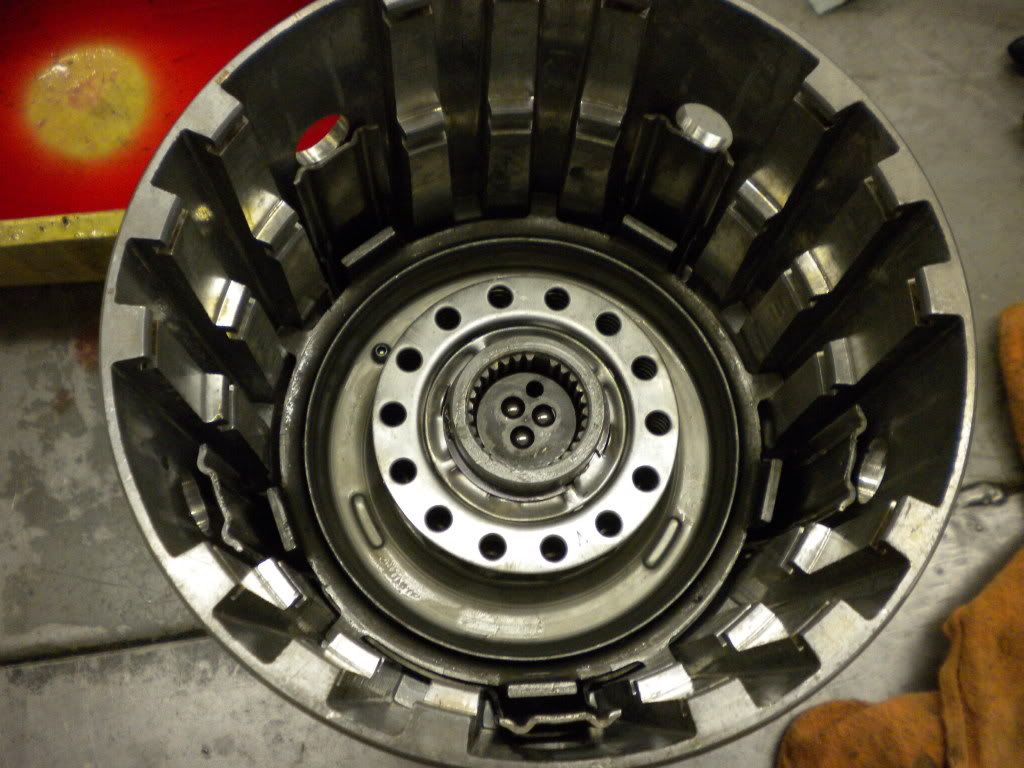
This is the reverse input drum. Its job is to spline in with the beast shell giving 2nd and 4th gear by appling a band on the outer side with servos. The inner clutches provide reverse. This is in perfect condition and I am able to use the wide 2-4 band. If you use a wide band on a higher mileage drum that is not flat you will burn the band up. This drum got new bushings, clutches, and seals in the piston. The feeler gauge is to help seat the lip seals into the drum so that they do not get folded over and cause fluid leaks. Air checked with 40 psi.


Trending Topics
02-27-2010, 06:50 PM
#8
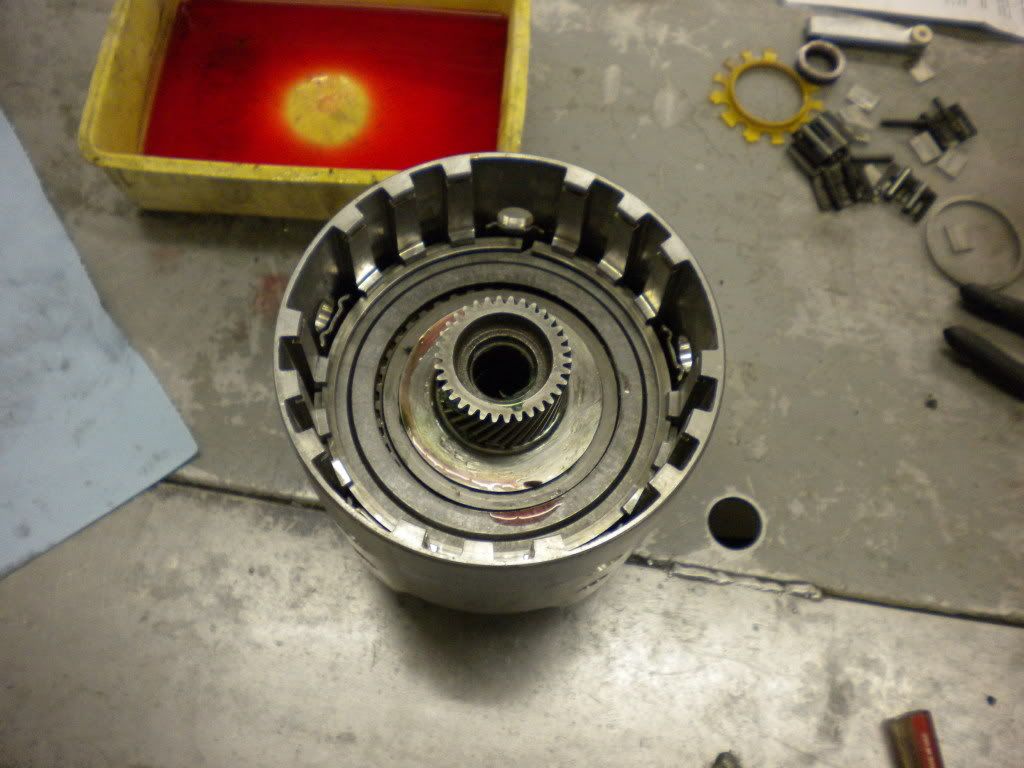
Thats all for now. I will finish the rear pump side and assemle soon. The I need to finish the input drum assembly. This time I am going to try the rebestos Z-pack on the 3-4 setup. I previously ran the red alto 9 clutch setup but they were the only set in this tranny that were dark and one frition was worn down to metal, I'm sure it was mainly from the debris the converter clutch sent out and when the bushings got loose that didn't help matters either.
Tuesday look for more pics!!!
Tuesday look for more pics!!!
02-27-2010, 07:22 PM
#9
How was the converter causing a 2-3 flare?
The 3-4 clutches were worn, I'm going to say the 3-4 clutches caused the 2-3 flare, and what caused the 3-4 clutch material problem was not caused by the converter. It's caused by hard use, and/or bad shift timing. Could even be a mismatch between holes in the seperator plate 3rd apply and band release or many other things.
The 3-4 clutches were worn, I'm going to say the 3-4 clutches caused the 2-3 flare, and what caused the 3-4 clutch material problem was not caused by the converter. It's caused by hard use, and/or bad shift timing. Could even be a mismatch between holes in the seperator plate 3rd apply and band release or many other things.
I believe my converter was getting very loose. On the dyno from time of fresh tranny to current (1 month before) dyno. Car went from 424 hp to 414 hp. On the dyno the converter was "flashing" very high like I had a 4500 stall or something.
Oh and It was not a 2-3 "flare" it would hit the limiter (7,000) rpm and then shift firmly without any noticible 3-4 clutch slippage. Under normal driving I could still haul *** in all 3 forward gears, but under cruise in lockup if I roll into the throttle I felt the converter clutch slip. I know it was either the 2-4 band, converter clutch, or the 3-4 clutch pack. Well the 2-4 band looked perfect, the 3-4 clutch did not slip under WOT in 3rd, so why would it slip in 4th under LIGHT throttle in lockup mode. With all the material I found in this tranny it had to come from more then just the 3-4 pack. the 3-4 pack really wasn't that bad.
My shift timing is dead on for the past 2 years, its been a problem only the past month. I set the 2-3 shift at 6,700 rpm's and 76 mph, Normally works perfect, but now(not for long) the motor will hit the limiter at 73mph(video'd it) and even though it hits the limiter the converter acts as a rubberband, still acc. to 76, then shifts....just as firm as new. 3-4 pack never slipped under WOT 2-3 shift.
02-27-2010, 07:27 PM
#10
Either way man, this tranny is getting the works now. new bushings, seals clutches, ETC. Whatever the problem was before its gotta be fixed after a full re-fresh.
I sent the converter off weds. I should see it back before next weekend, I will be able to text the car a few days afterwards as I like to put a 100 miles or so on a fresh tranny, double check for leaks, fluid level, etc.
I will call Vig. and ask what they found in the converter..Maybe cooked lockup clutch? I will also ask about the impellor, stator, internals to see if they think it was cavitating at all.
02-27-2010, 08:18 PM
#11
Maybe I'm not describing it right but when it hits the limiter its not during the shift, its right before it......I think I have a video of it doing it. You can hear the quick firm 2-3 shift, its just that it hits the limiter before the shift because(I think) the convter is cavitating from debris. The tranny is programmed to shift when it sees a mph and rpm from the sensors. Its at 72 ish mph when it hits the limiter, will still acc to 76, then bamm, fast shift into third. about 4 years ago I had a slipping 3-4 clutch pack and what happened was during the 2-3 shift at WOT the rpms would slowly go down as the 3-4 pack was trying to engage.
Here is a vid.
http://www.youtube.com/watch?v=pPBnCoVS1kc
02-27-2010, 09:03 PM
#12
The thing I always had problems with is shift timing. As you may know the 3rd apply pushes the band off.
I'm obviously not a pro trans builder and this is my weak spot building these.
I had one release the band before applying the 3-4, it would do what yours is doing in the video. I only let it do this a few times before it came back out and the 3-4 was adjusted, the seperator plate hole sizes changed.
Then it had a bind up at 2-3 where it would feel like it slowed down a second before the shift, again I dropped the valve body, changed the hole sizes and got it right.
Going by what you've said it sounds like you just need a rebuild, get it together and take a drive, you'll know right away if it's right. If it's not take it apart and make adjustments until it is.
I hate this part of building these.
To do the 2-3 adj. you didn't pull the tranny...right? just pan, valve body, and re-size separator plate feed hole?
02-27-2010, 09:07 PM
#13
Do you remember what size you made the hole in the separator plate? If I remember right, when I use the trango separator plate they tell me to drill the hole to .093...if this is the same hole you are talking about. When I get to that part I will supply more detail photos so that maybe this will become less of an issue for everyone. As for now I am going to size my new plate to the old one so that will be the same.
03-01-2010, 07:12 PM
#14
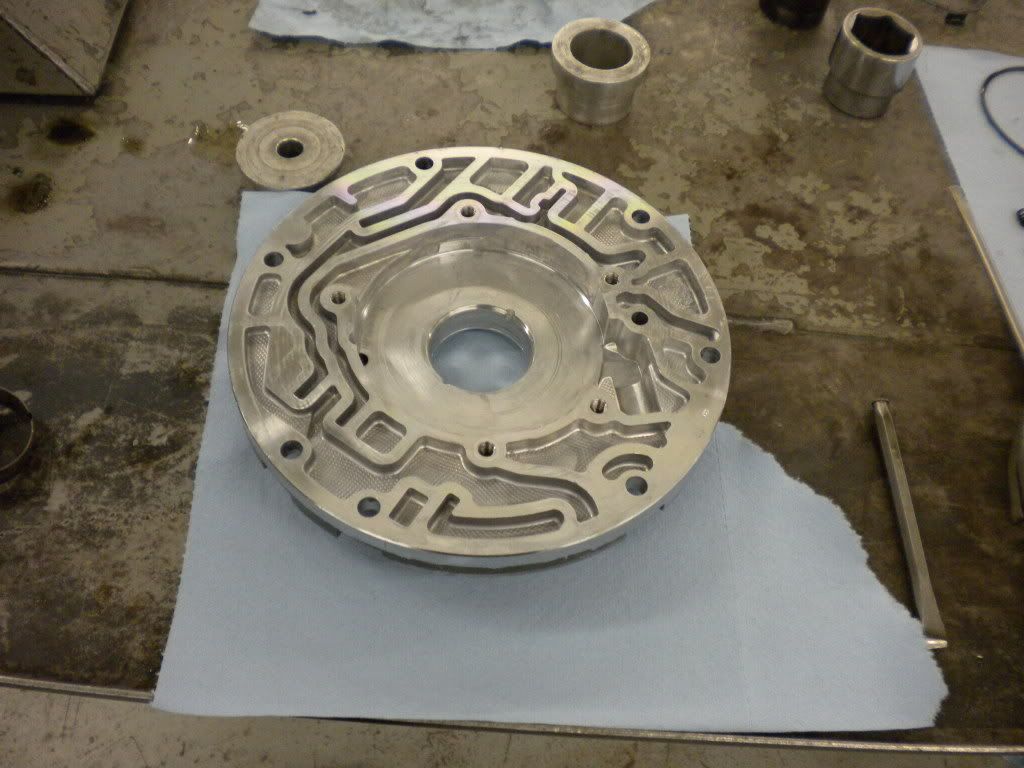
Other pump half received a cleaning today. I lightly sanded on the pump rotor surface to rid it of any burs. Also the valve line up was very sticky from all the trash that was in there, cleaned it out and everything felt smooth again
 03-02-2010, 02:52 PM
#16
After the pump is assembled, I use a long skinny pick to make sure that the pump rotor is free and not pinched by the pump halfs. Mine was just slightly stiff, but that was from the assemble lube in there, I dripped some tranny fluid in there and it freed up very nicely.

 03-02-2010, 03:06 PM
#19
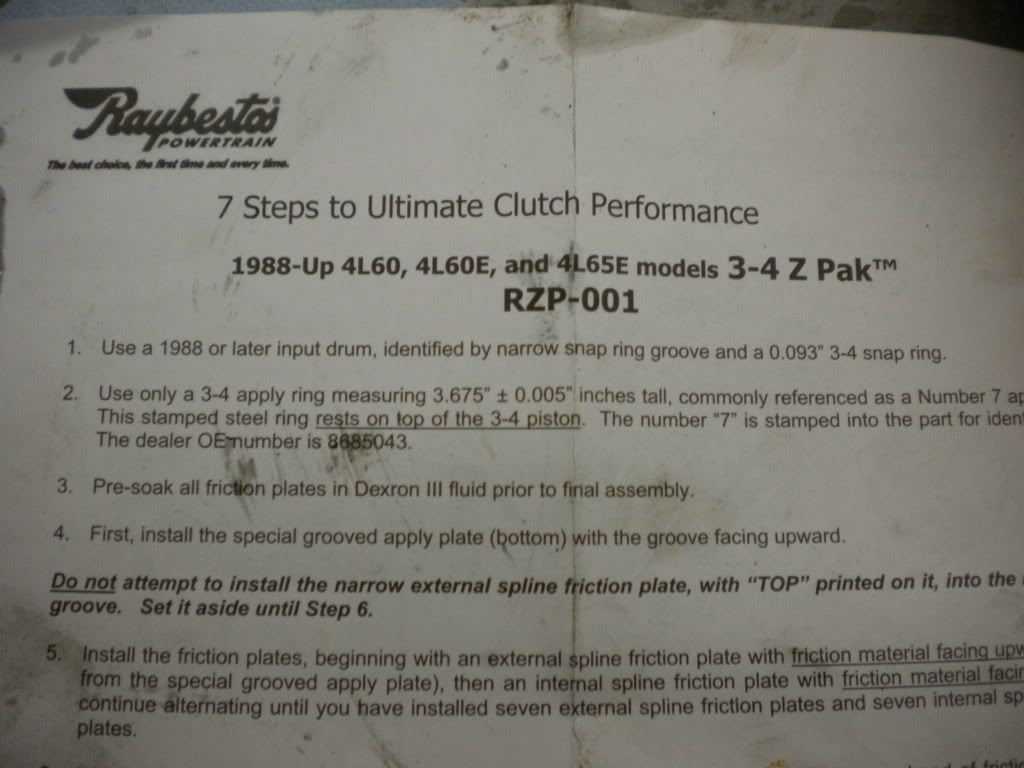
Installing the clutch packs for air testing and clearance check. z-pack recommends a .050-.070 clearance...mine ended up being .060...perfect, I like them on the looser side as it helps dissengage and keeps them from dragging as much in 1st and 2nd gear.