View Poll Results: Power Poll (Sig Motor) 10psi, 93oct.


470-480


0
0%
480-490


0
0%


Voters: 13. You may not vote on this poll
Time for my Front mount!
 09-07-2009, 10:49 PM
#1
TECH Enthusiast
Thread Starter
iTrader: (9)
Join Date: Oct 2005
Location: Greenville, Raleigh NC
Posts: 702
Likes: 0
Received 0 Likes
on
0 Posts

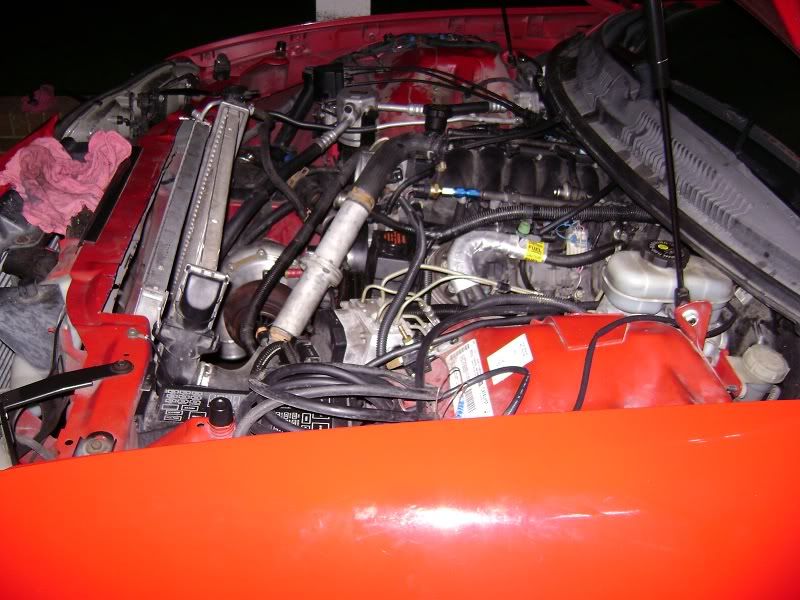
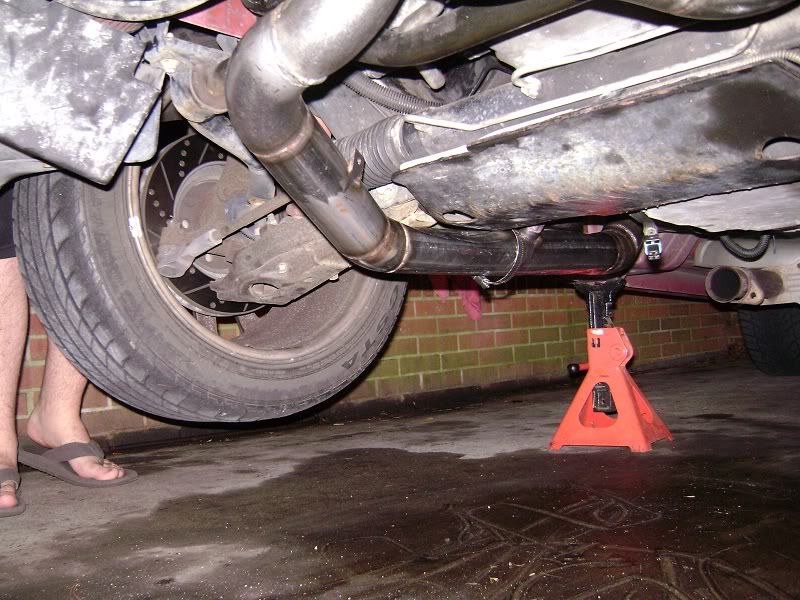
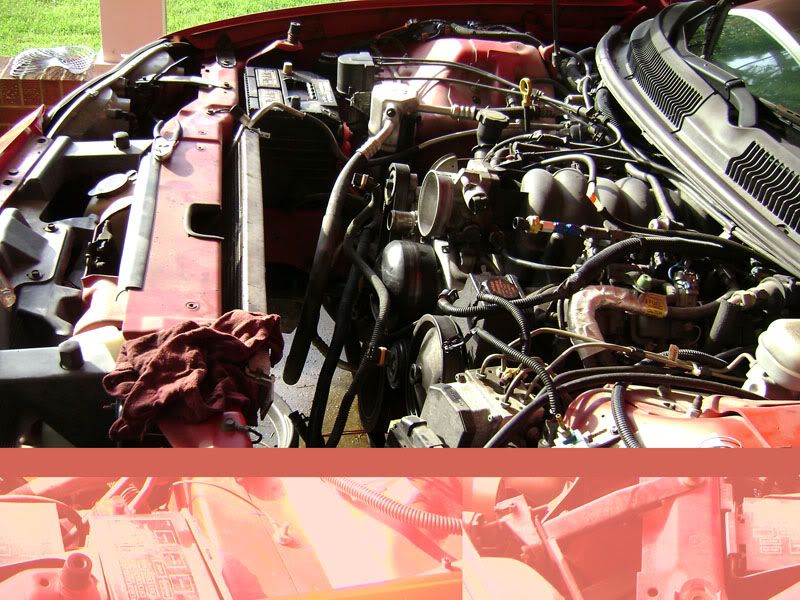
So I took advantage of the long weekend to get some wrench time in on my camaro, I have a long thread on here for the custom rear mount setup which I abandoned in lue of a front mount setup...
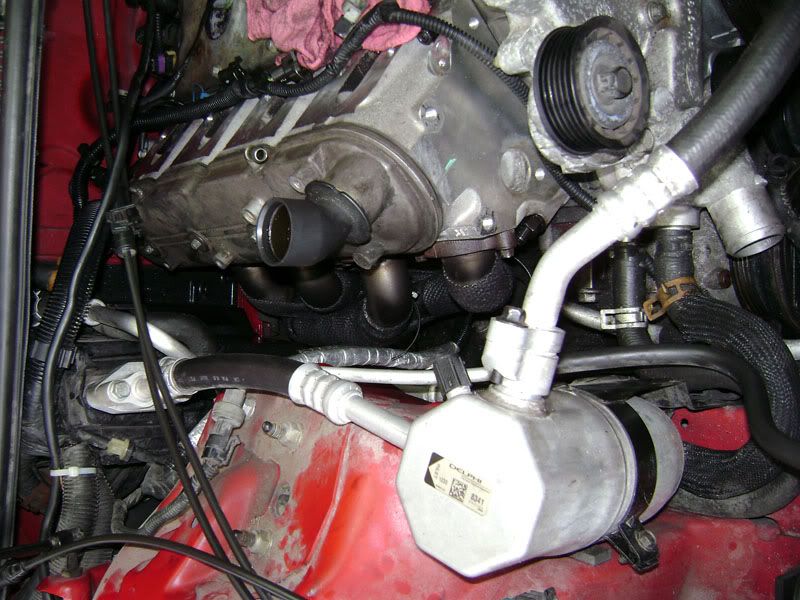
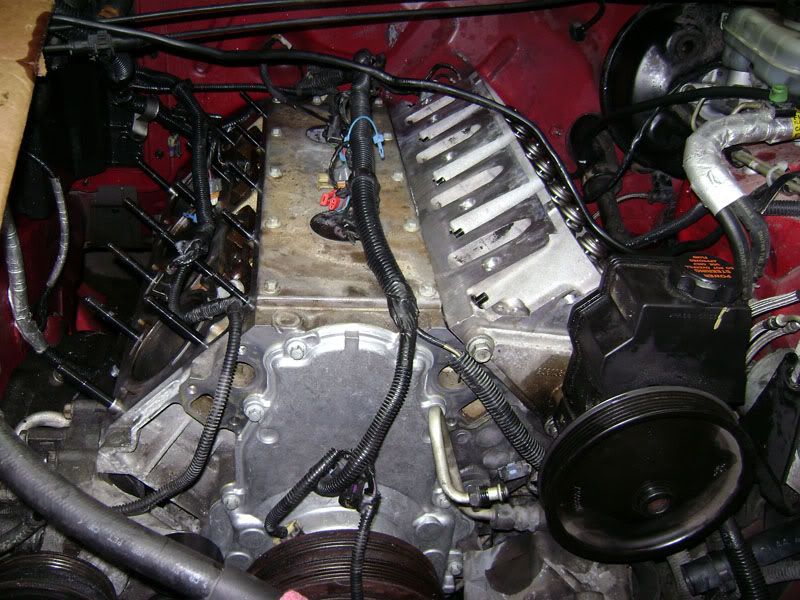
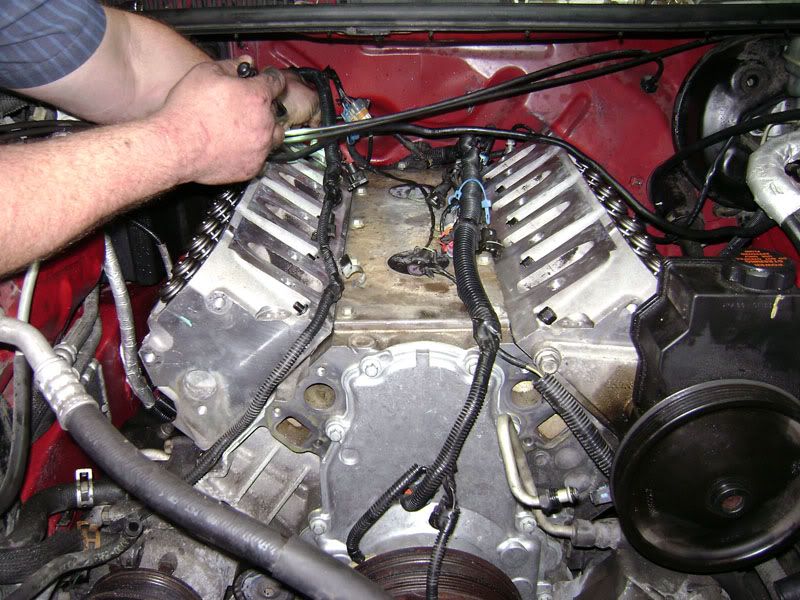
For this round of mods I got an old (but never used) Phamspeed turbo kit reusing my intercooler and scavange pump from my old kit, adding 317's with springs new pushrods and a z06 cam, some 65lb/hr precision injectors and a 2 bar map to go SD. So below are the pics of the progress over the weekend..
For this round of mods I got an old (but never used) Phamspeed turbo kit reusing my intercooler and scavange pump from my old kit, adding 317's with springs new pushrods and a z06 cam, some 65lb/hr precision injectors and a 2 bar map to go SD. So below are the pics of the progress over the weekend..
 09-07-2009, 10:54 PM
#2
TECH Enthusiast
Thread Starter
iTrader: (9)
Join Date: Oct 2005
Location: Greenville, Raleigh NC
Posts: 702
Likes: 0
Received 0 Likes
on
0 Posts
[Thanks Mods]
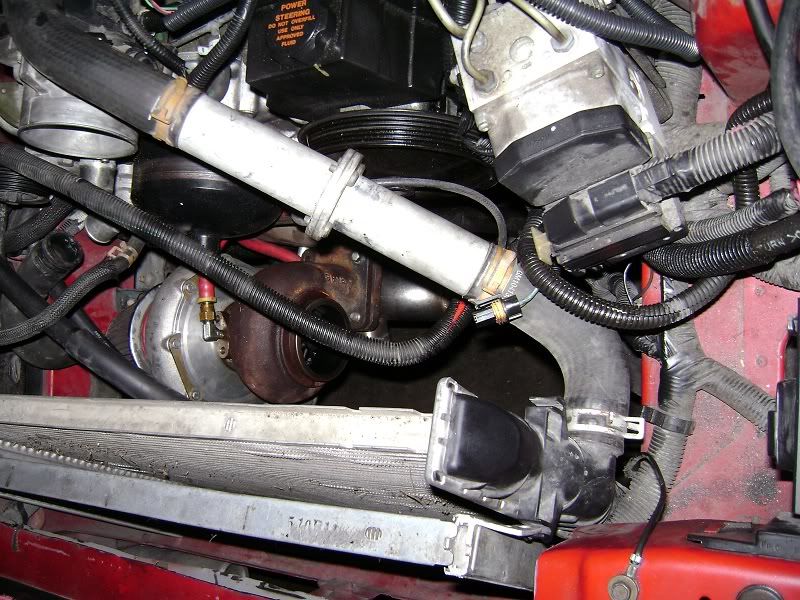
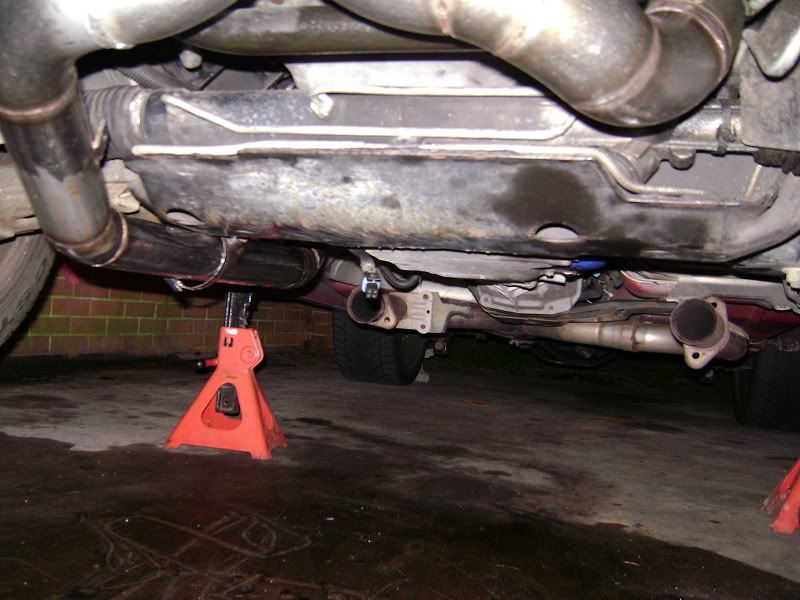
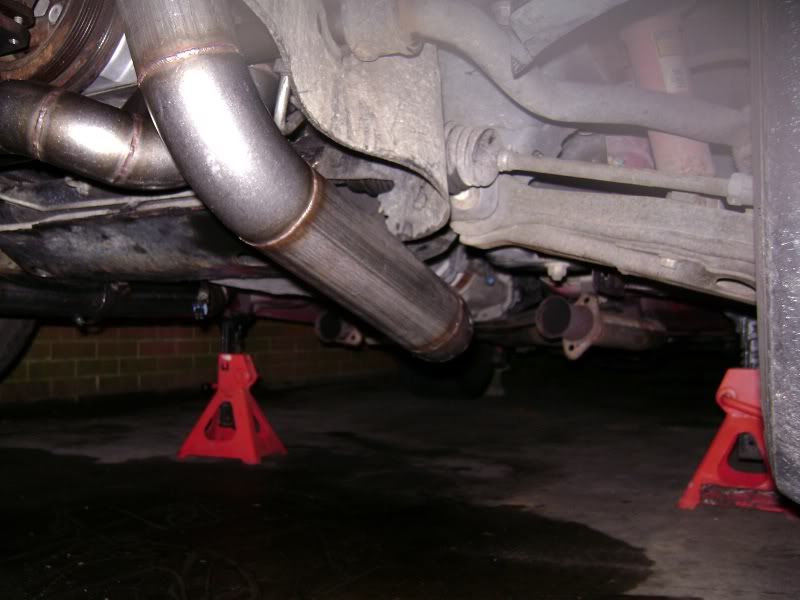
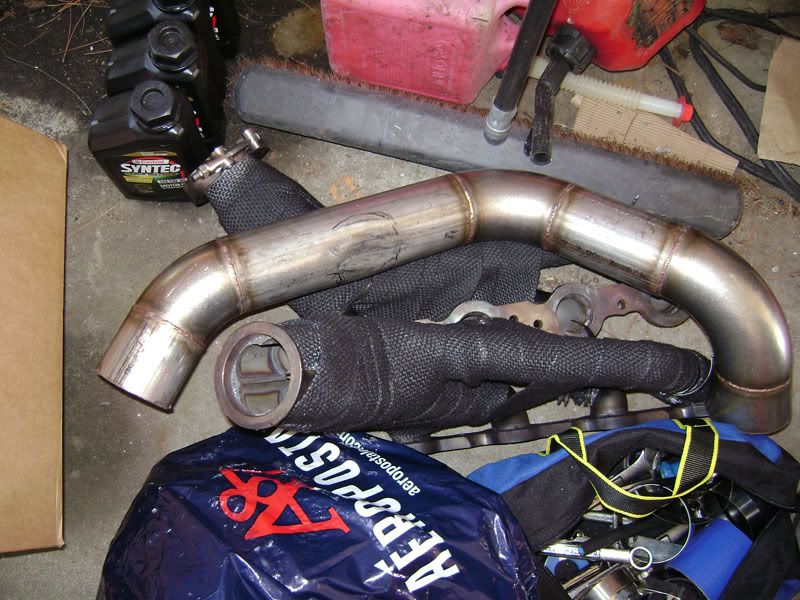
this is the original Phamspeed kit, not the one that is being faked on E-Bay right now, although I might have had better luck with that one, everything seems to fit okay but I am going to have to take the car to a fab shop the pass. side v-band flange does not line up with the header its the right length and all, just the wrong angle so i'll have it cut an re-welded.
other than that everything has gone mostly unhitched, wont get a chance to work on the car again till next weekend, hope to clearance the radiator a bit more and mount the return oil pump, plum the lines and get the new thin puller fans mounted, I will also need an alt. relocation bracket, if anyone has one send me a PM or if you know where I can get a good one or make my own I need help with that.
Last edited by Super Slow SS; 09-08-2009 at 02:02 PM.
09-08-2009, 08:00 AM
#4
TECH Enthusiast
Thread Starter
iTrader: (9)
Join Date: Oct 2005
Location: Greenville, Raleigh NC
Posts: 702
Likes: 0
Received 0 Likes
on
0 Posts
So while im in here might as well put the questions up too.
I have a guy that is going to fix the v-band flange angle for me and weld some other things, for my old setup I used 2.5" intercooler piping even thought the turbo and the intercooler itself have 3" openings, my question is, should I redo everything in 3" piping, is it worth the money to replace everything when I have it already in 2.5"?
I have a guy that is going to fix the v-band flange angle for me and weld some other things, for my old setup I used 2.5" intercooler piping even thought the turbo and the intercooler itself have 3" openings, my question is, should I redo everything in 3" piping, is it worth the money to replace everything when I have it already in 2.5"?
09-08-2009, 08:12 AM
#5
TECH Fanatic
iTrader: (4)
Join Date: Mar 2004
Location: San Antonio
Posts: 1,886
Likes: 0
Received 0 Likes
on
0 Posts
So while im in here might as well put the questions up too.
I have a guy that is going to fix the v-band flange angle for me and weld some other things, for my old setup I used 2.5" intercooler piping even thought the turbo and the intercooler itself have 3" openings, my question is, should I redo everything in 3" piping, is it worth the money to replace everything when I have it already in 2.5"?
I have a guy that is going to fix the v-band flange angle for me and weld some other things, for my old setup I used 2.5" intercooler piping even thought the turbo and the intercooler itself have 3" openings, my question is, should I redo everything in 3" piping, is it worth the money to replace everything when I have it already in 2.5"?
Trending Topics
09-08-2009, 10:36 AM
#8
TECH Enthusiast
iTrader: (31)
Join Date: Jan 2006
Location: Denver, CO
Posts: 726
Likes: 0
Received 0 Likes
on
0 Posts
Looks good, at least step it up to 3" from intercooler outlet to t-body. Look at this thread for making your own alt bracket. https://ls1tech.com/forums/forced-in...old-build.html
09-08-2009, 11:46 AM
#10
TECH Enthusiast
Thread Starter
iTrader: (9)
Join Date: Oct 2005
Location: Greenville, Raleigh NC
Posts: 702
Likes: 0
Received 0 Likes
on
0 Posts
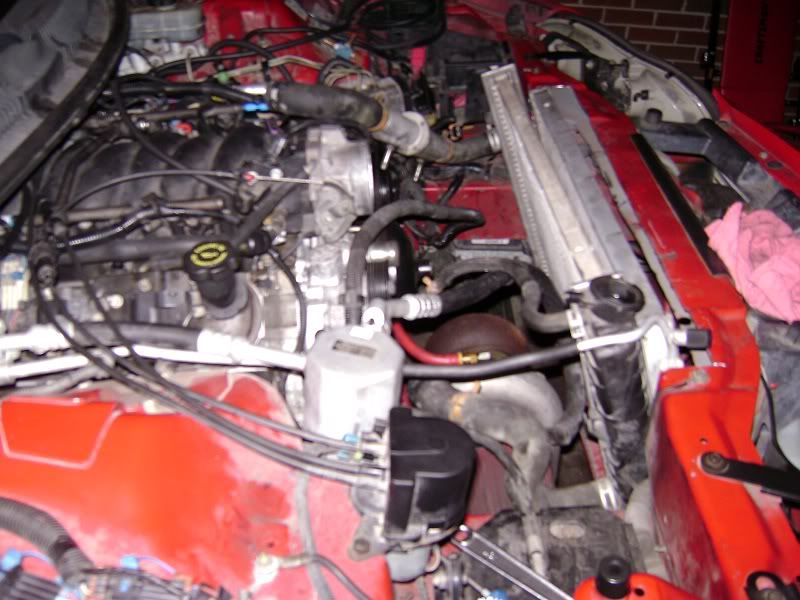
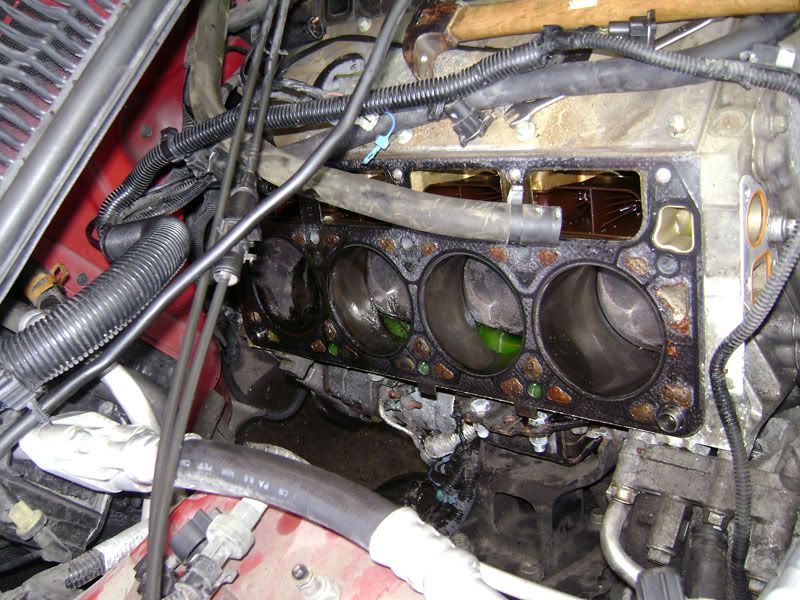
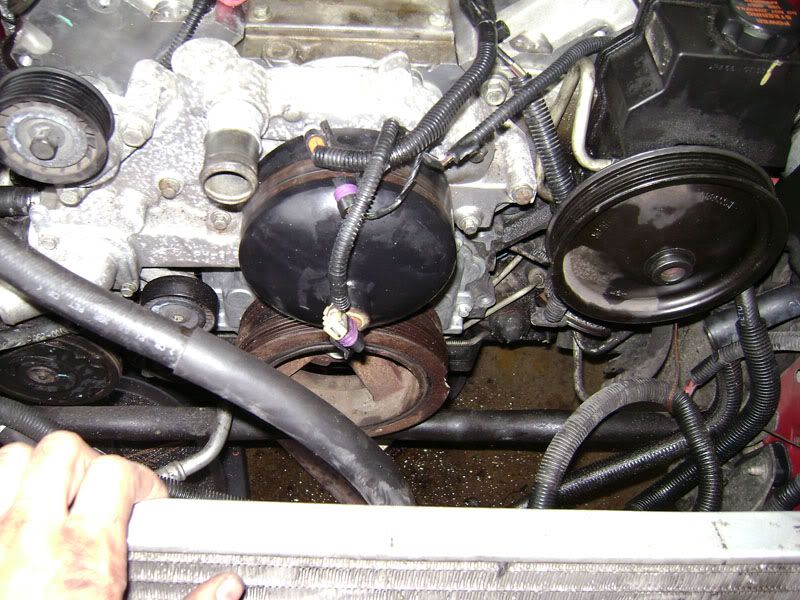
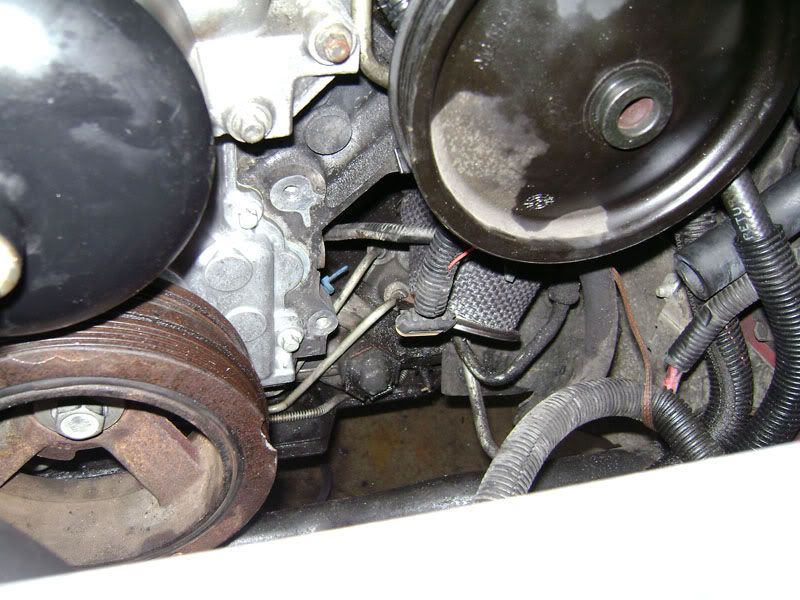
That is a line I had for the return when it was rear mounted I just kind of looped it around so no foreign stuff could get into the turbo, I have a SS line for the feed that i got from nitro daves and the return line I got from inline fluid power, they are a local shop that does a lot of high temp high pressure fittings and hoses.
09-08-2009, 11:47 AM
#11
TECH Enthusiast
Thread Starter
iTrader: (9)
Join Date: Oct 2005
Location: Greenville, Raleigh NC
Posts: 702
Likes: 0
Received 0 Likes
on
0 Posts
Looks good, at least step it up to 3" from intercooler outlet to t-body. Look at this thread for making your own alt bracket. https://ls1tech.com/forums/forced-in...old-build.html
09-08-2009, 02:06 PM
#12
TECH Enthusiast
Thread Starter
iTrader: (9)
Join Date: Oct 2005
Location: Greenville, Raleigh NC
Posts: 702
Likes: 0
Received 0 Likes
on
0 Posts
Does anyone have pics of how their pipes come from the ends of the intercooler through the black plastic boxes where the horn and overflow tank are one the passenger side and where the air pump is on the drivers side? (I am no longer using the air junk, and will be removing that pump.
09-08-2009, 02:22 PM
#13
TECH Enthusiast
iTrader: (31)
Join Date: Jan 2006
Location: Denver, CO
Posts: 726
Likes: 0
Received 0 Likes
on
0 Posts
Does anyone have pics of how their pipes come from the ends of the intercooler through the black plastic boxes where the horn and overflow tank are one the passenger side and where the air pump is on the drivers side? (I am no longer using the air junk, and will be removing that pump.
09-08-2009, 02:37 PM
#14
TECH Enthusiast
Thread Starter
iTrader: (9)
Join Date: Oct 2005
Location: Greenville, Raleigh NC
Posts: 702
Likes: 0
Received 0 Likes
on
0 Posts
But i just dont know how people are moving the stuff that those boxes cover, it seems like a 3" pipe wont fit without moving some things in there.
 09-08-2009, 09:47 PM
#17
TECH Enthusiast
Thread Starter
iTrader: (9)
Join Date: Oct 2005
Location: Greenville, Raleigh NC
Posts: 702
Likes: 0
Received 0 Likes
on
0 Posts
Just got off the phone with my fab guy, he is coming over to look the parts over tomorrow and hopefully start welding some of the odds and ends for me, have someone else working on a alt. bracket tomorrow and Thursday.
If I can get my tune modified so it will start it just might be able to crank it this weekend.
If I can get my tune modified so it will start it just might be able to crank it this weekend.
09-14-2009, 03:51 PM
#18
TECH Enthusiast
Thread Starter
iTrader: (9)
Join Date: Oct 2005
Location: Greenville, Raleigh NC
Posts: 702
Likes: 0
Received 0 Likes
on
0 Posts
Coming back up, got some progress this weekend and some pics, will be up later tonight.
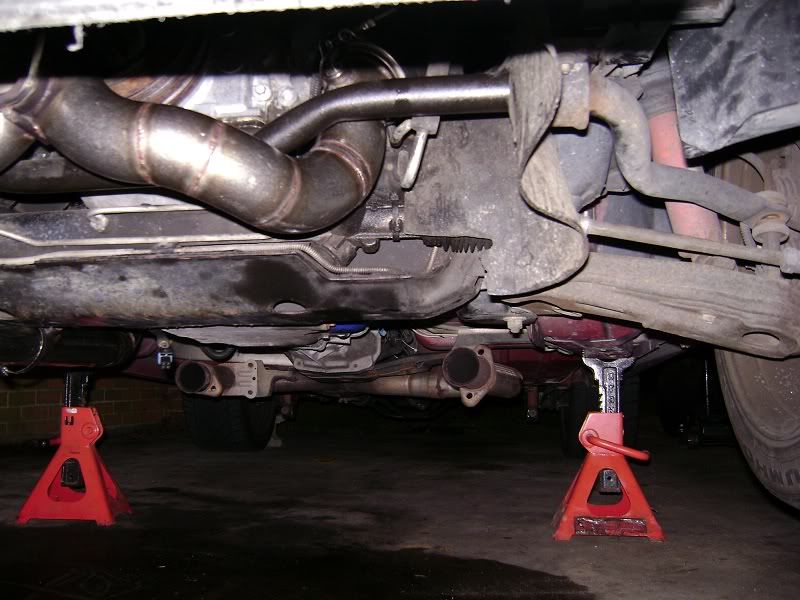
Got the kit fixed to match up to the headers downpipe made, wastegate flange changed, clearanced the radiator support and now rewiring the stock fan (just one) to be a pusher.
Got the kit fixed to match up to the headers downpipe made, wastegate flange changed, clearanced the radiator support and now rewiring the stock fan (just one) to be a pusher.
09-14-2009, 08:33 PM
#20
TECH Enthusiast
Thread Starter
iTrader: (9)
Join Date: Oct 2005
Location: Greenville, Raleigh NC
Posts: 702
Likes: 0
Received 0 Likes
on
0 Posts
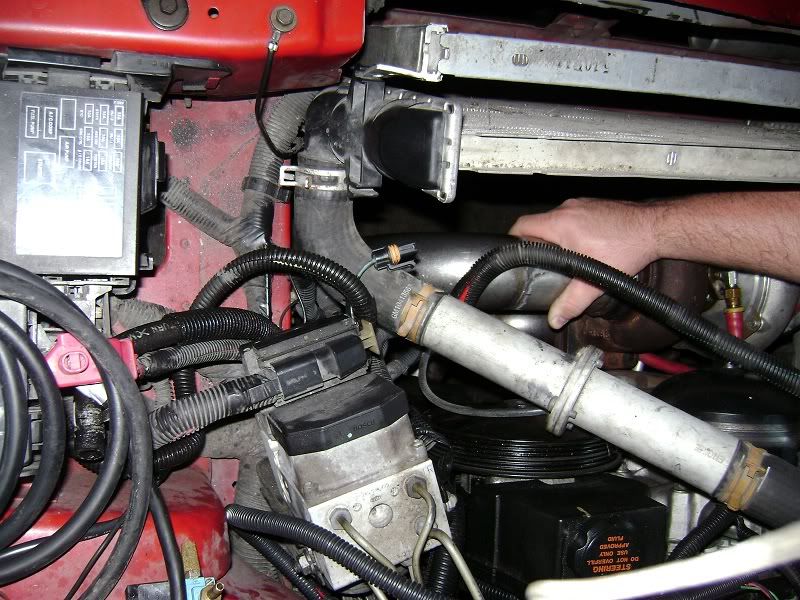
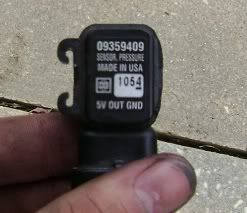
Well here are the pics as promised, but i think I have ran into a problem, I think I got the wrong map sensor, it is pictured. Looking up the number it came off of a cobalt but I think it is a 1 bar .. and I dread changing it if it is.