How to: Antenna Delete
 12-28-2006, 09:47 AM
#1
Banned
Thread Starter
iTrader: (6)

Join Date: Oct 2006
Posts: 258
Likes: 0
Received 0 Likes
on
0 Posts
My first how to post on LS1TECH!
First off, I have a State trooper car, so a couple of things may be a little different than what yours may look like, but overall it should be the same situation. Here goes.
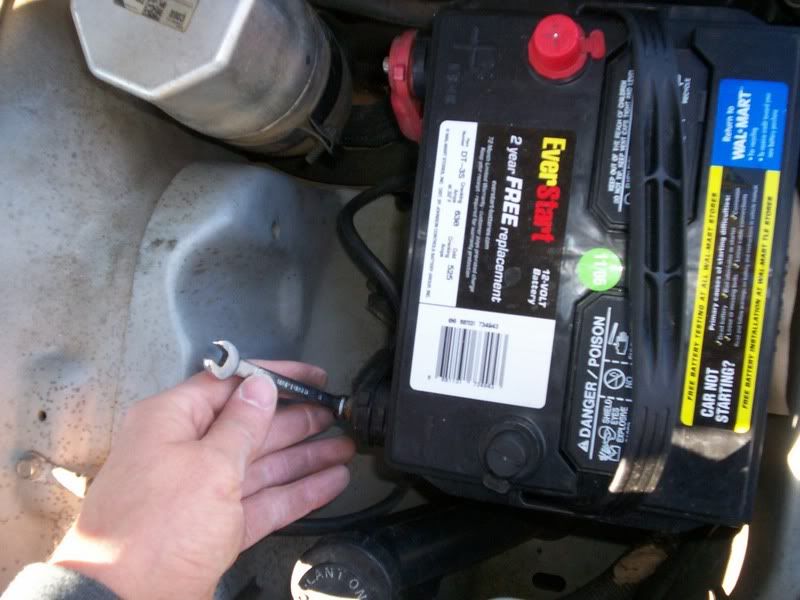
First thing, remove the stock antenna.
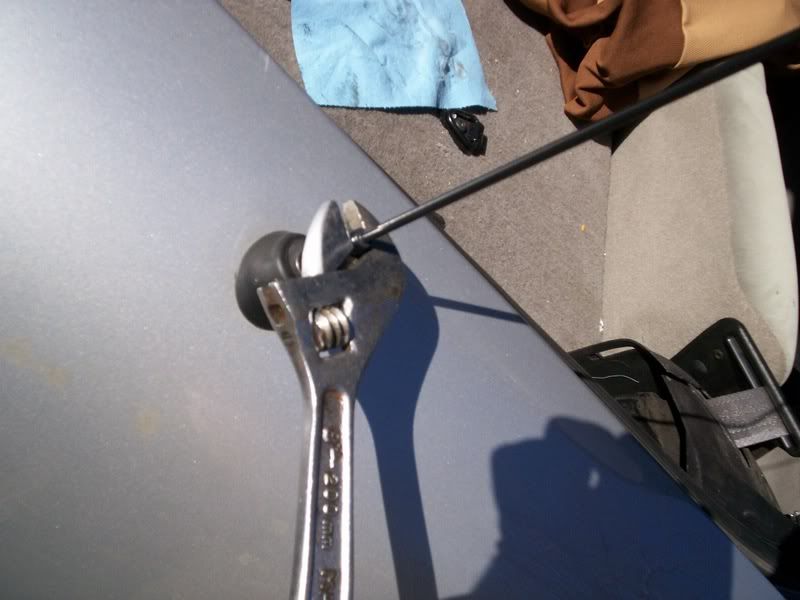
(I think this step is where your stock car will be different. The state had some police mombo jombo hooked up here for their radio system) I had a long bracket attached to the antenna cord, so I unbolted the bracket. Then I just easily pulled down on the anteanna from inside the interior pannel, and MY antenna just slipped out of the rubber groment.
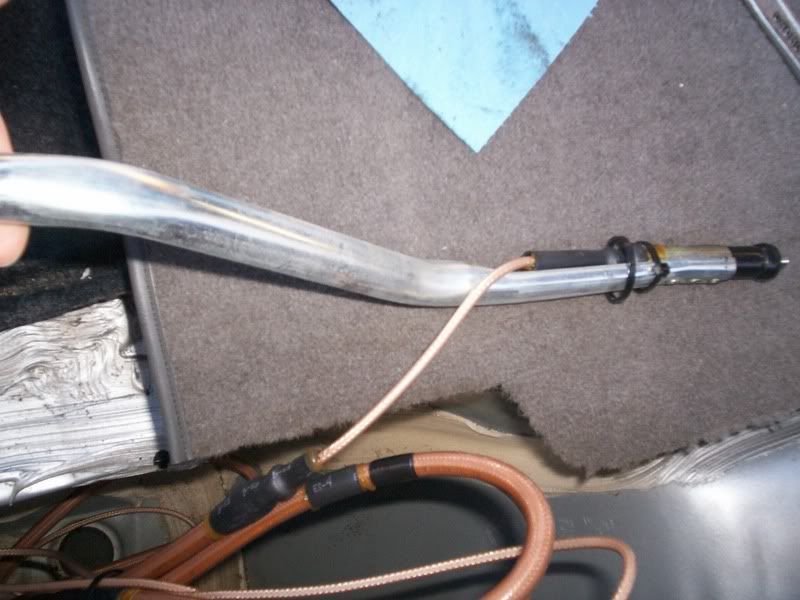
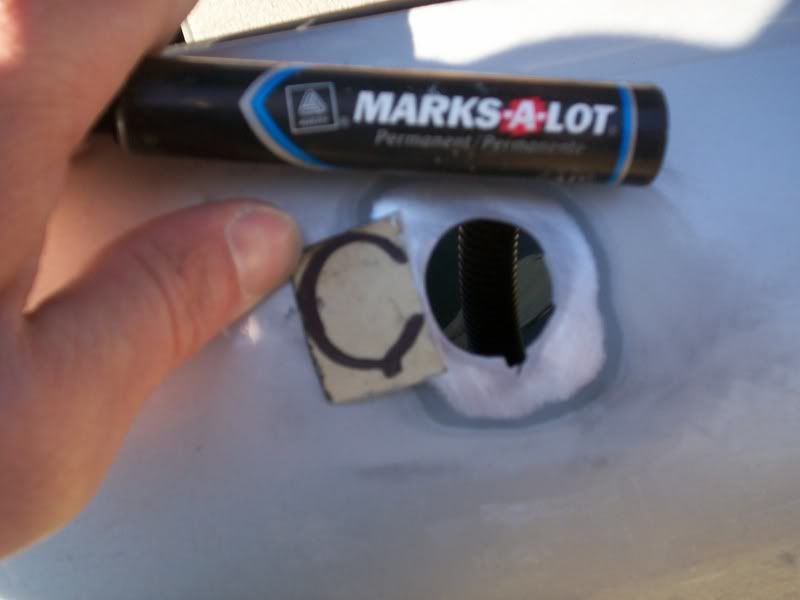
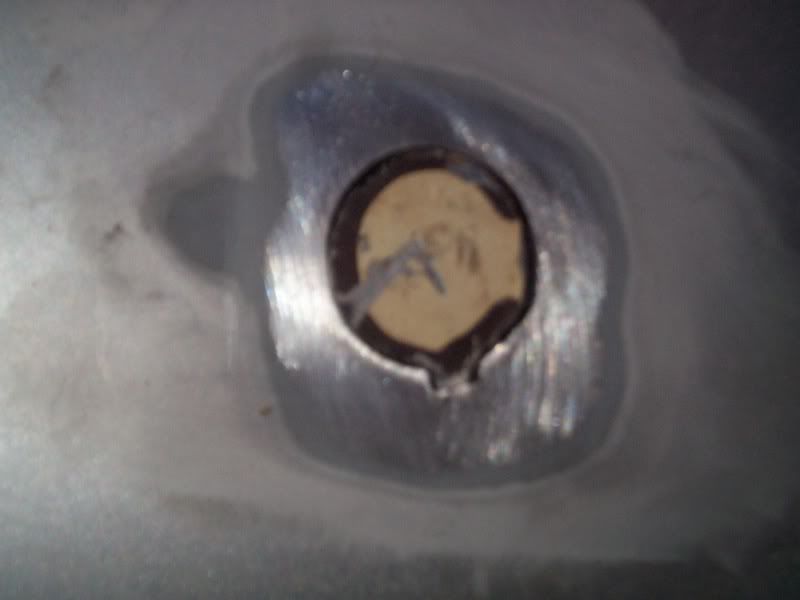
Then I just squeezed the rubber groment, and pulled it out of the hole.
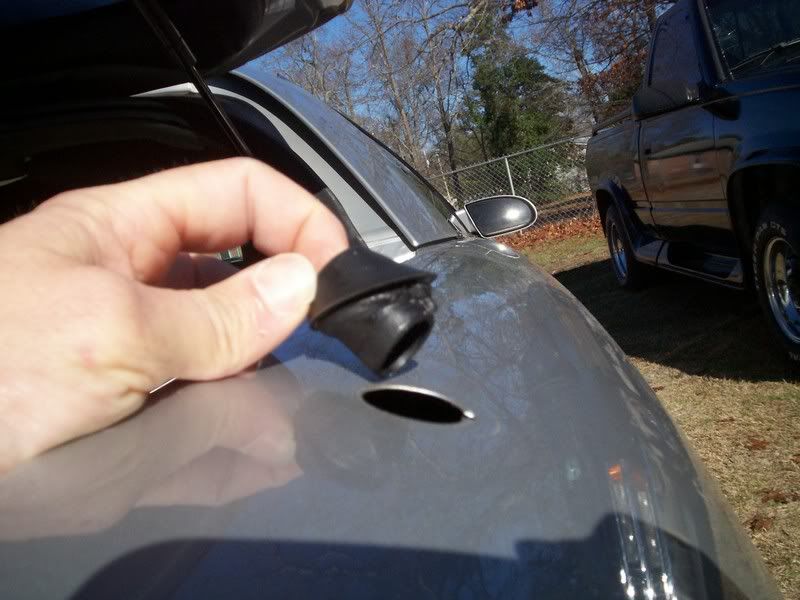
This is what you antenna hole should look like
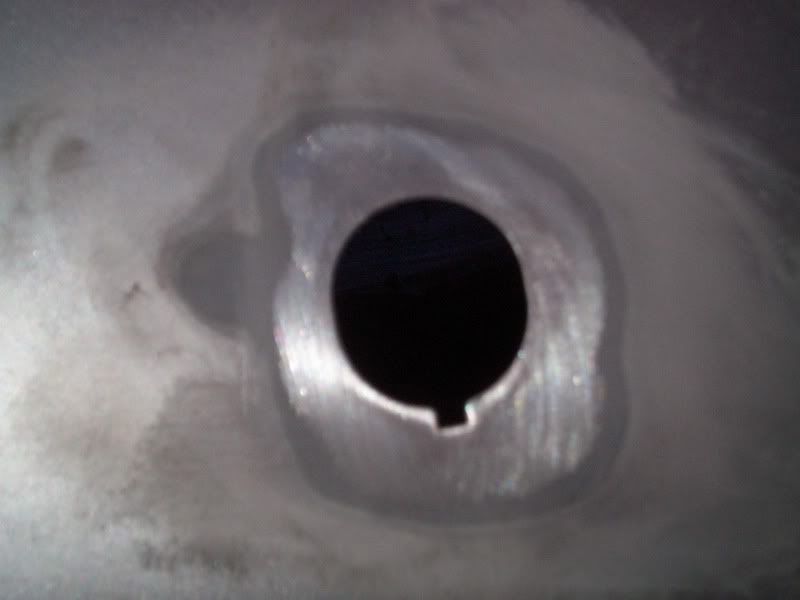
Now it's time to find some filler metal to use. I had some old truck replacement panels from when I was playing with an old 70 model truck, so I opted to use that.
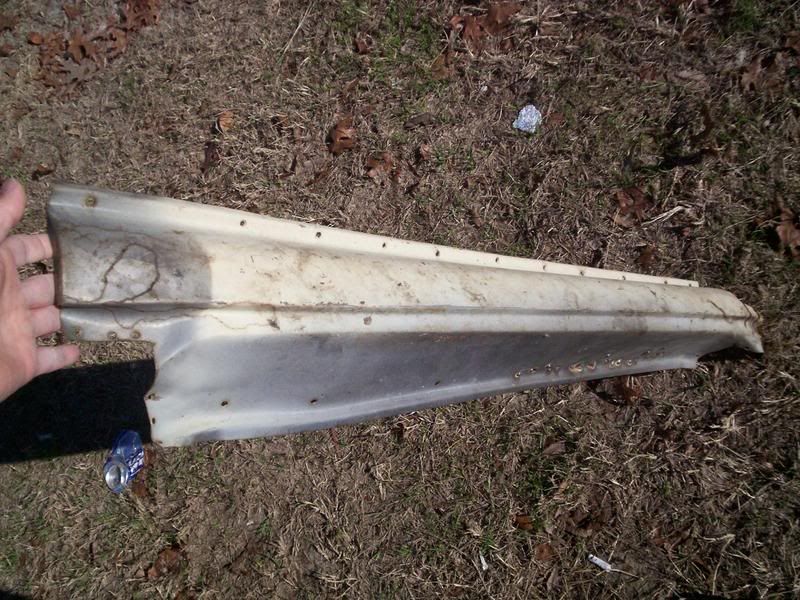
I cut me a square a little oversized so I could trim it down to size. When I cut the square, I placed it UNDERNEATH the quarter pannel, and took a magic marker and traced the hole size onto the filler metal
Now BEFORE you go any futher, at least get some sort of saftey protection, preferably SAFTEY GLASSES, EAR PLUG, AND GLOVES.

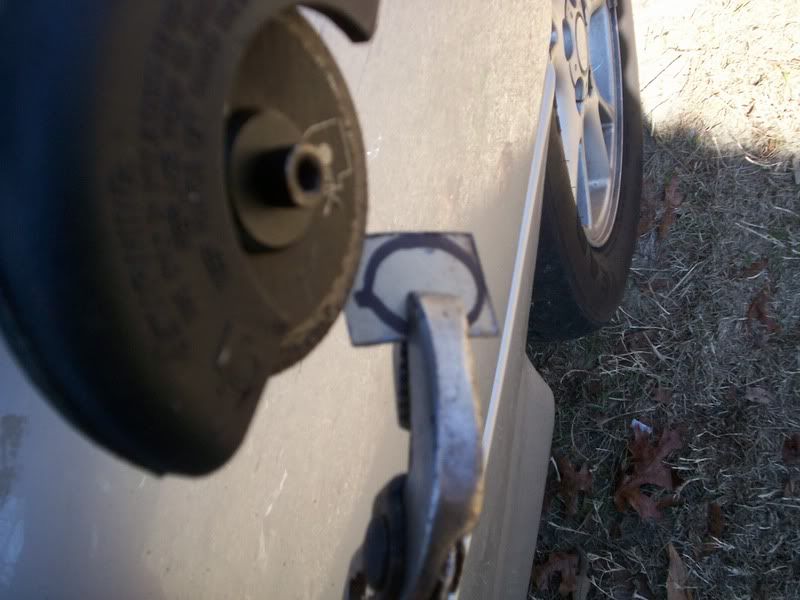
Then I took my die cutter, and begin to deeply score a line on the filler metal against the magic marker line. You can cut the filler panel completely out with the cutter, it won't hurt a thing.
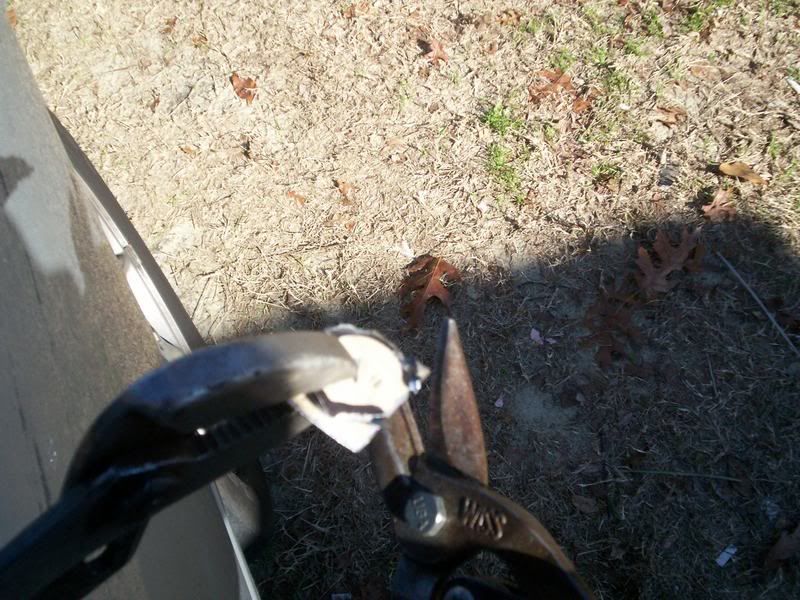
Then I took my tin snips
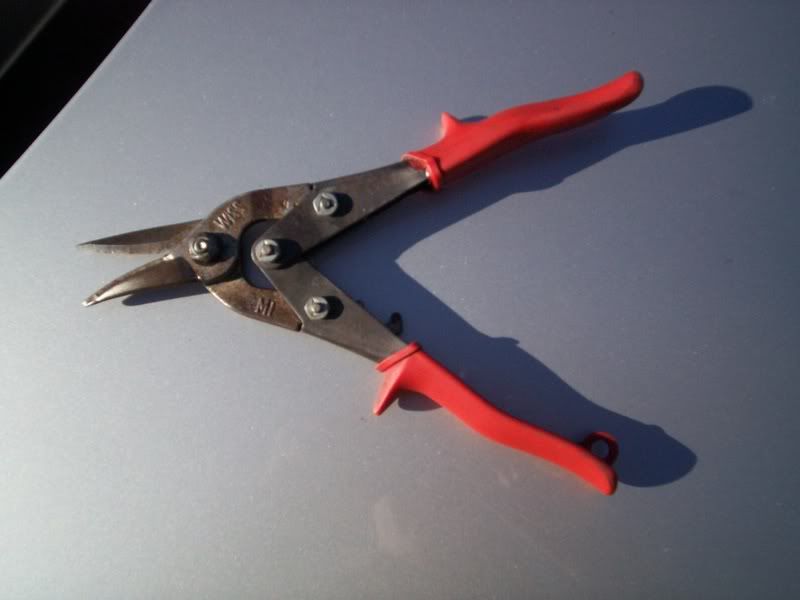
and finished cutting out the filler panel to the shape that I wanted.
when finished, you should have something that looks like this:
From this pic, it is hard to see, but when I put the filler pannel in the hole, it had more of a curve to it than the quarter panel did, so I had to straighten it out a little so it would match the curve.
I took the panel and placed it FACE down on a block of wood, and hit it from BEHIND with a hammer to flaten it out a little. It worked.
For the next step, sand off the primer/surface of the new filler metal. If you want to save yourself a headache, sand the filler metal BEFORE you cut it off the bigger panel in step 3! It's a bitch to hold a small 1" piece while sanding it.
Here is your next step!
Different welders use different heat and wire speeds, but for my millermatic 175 with .030 solid core wire and 75% co2 gas, this was my settings. (use really thick leather gloves also, along with a welders helment!)

All you want to do here is spot weld the panel. Spot it in one place, and then jump across the panel and spot weld it there. Dont start on one side and go around like a clock, or the panel will move due to the heat on one side and then you have a mess. And don't worry about trying to weld it all in, cause it'll be too much heat on the quarter panel, and it'll warp, just several tacks and leave it be for now. (beer break for those over 21!)
GLASSES, EARPLUGS AND GLOVES AGAIN!
Easily grind down on the peaks of the spotwelds until you get them close to the surface of the quarter panel. Don't overdo it here, that quarter panel is thin, and you can grind through it. Plus, you can overheat the panel here too, and it'll warp.
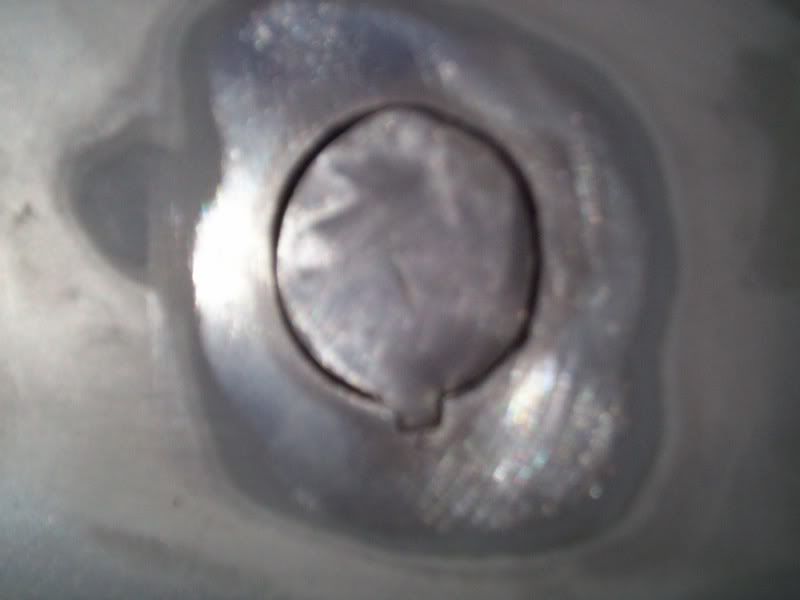
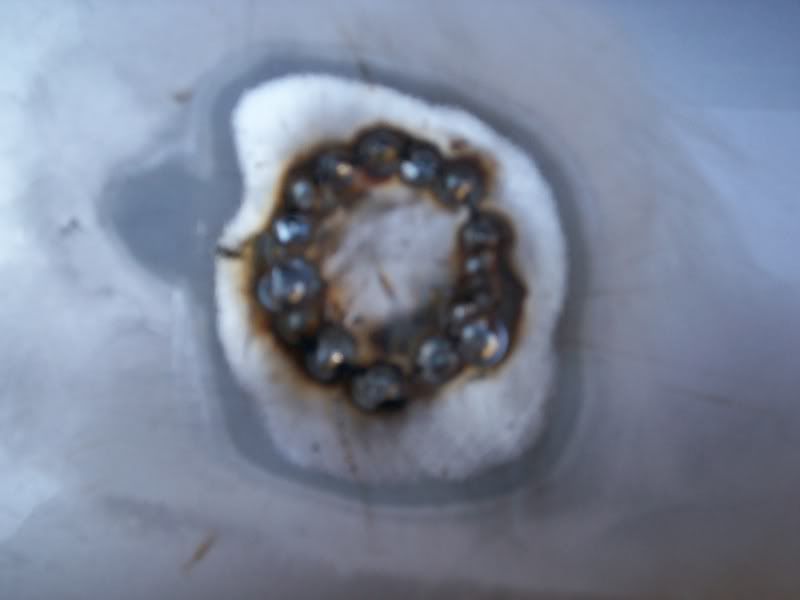
Spot weld again to fill in the gaps......
let cool, then grind with the grinder again.....
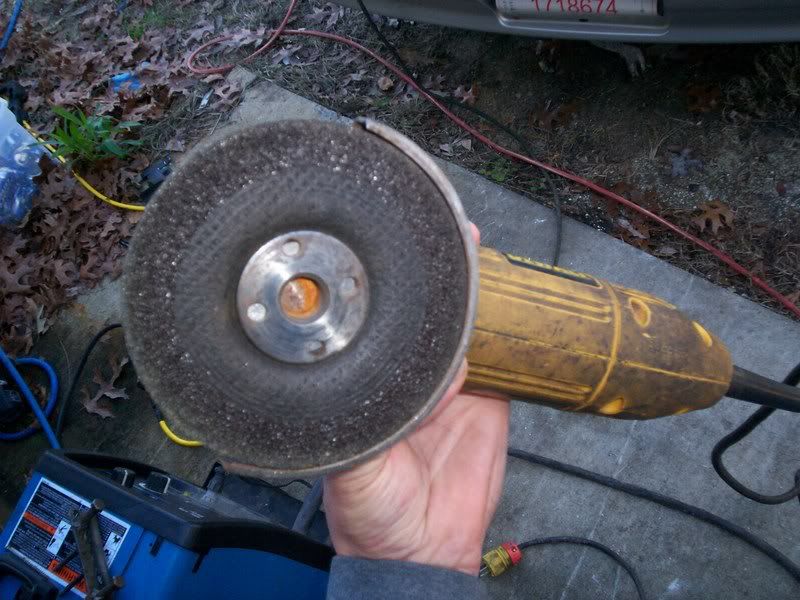
Then once you grind down the spot welds again, take off the grinding wheel and get a sandpaper wheel like this........
http://i25.photobucket.com/albums/c5...e/100_0525.jpg
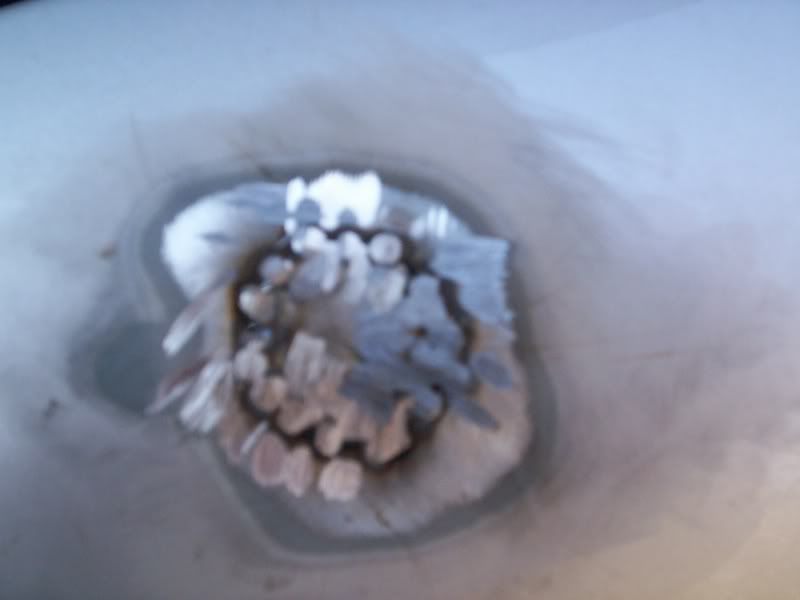
and then easily work the surface till you get a flat rough surface. (Don't do like me and OVERHEAT the panel! I should have sanded half and then beer break, then got the other half)
http://i25.photobucket.com/albums/c5...e/100_0524.jpg
Then come back with your favorite filler.........
http://i25.photobucket.com/albums/c5...e/100_0526.jpg
Self etching primer and high build primer is next, followed by some sanding, but I only got that far yesterday, so I'll update this later!
Moss
First off, I have a State trooper car, so a couple of things may be a little different than what yours may look like, but overall it should be the same situation. Here goes.
First thing, remove the stock antenna.
(I think this step is where your stock car will be different. The state had some police mombo jombo hooked up here for their radio system) I had a long bracket attached to the antenna cord, so I unbolted the bracket. Then I just easily pulled down on the anteanna from inside the interior pannel, and MY antenna just slipped out of the rubber groment.
Then I just squeezed the rubber groment, and pulled it out of the hole.
This is what you antenna hole should look like
Now it's time to find some filler metal to use. I had some old truck replacement panels from when I was playing with an old 70 model truck, so I opted to use that.
I cut me a square a little oversized so I could trim it down to size. When I cut the square, I placed it UNDERNEATH the quarter pannel, and took a magic marker and traced the hole size onto the filler metal
Now BEFORE you go any futher, at least get some sort of saftey protection, preferably SAFTEY GLASSES, EAR PLUG, AND GLOVES.
Then I took my die cutter, and begin to deeply score a line on the filler metal against the magic marker line. You can cut the filler panel completely out with the cutter, it won't hurt a thing.
Then I took my tin snips
and finished cutting out the filler panel to the shape that I wanted.
when finished, you should have something that looks like this:
From this pic, it is hard to see, but when I put the filler pannel in the hole, it had more of a curve to it than the quarter panel did, so I had to straighten it out a little so it would match the curve.
I took the panel and placed it FACE down on a block of wood, and hit it from BEHIND with a hammer to flaten it out a little. It worked.
For the next step, sand off the primer/surface of the new filler metal. If you want to save yourself a headache, sand the filler metal BEFORE you cut it off the bigger panel in step 3! It's a bitch to hold a small 1" piece while sanding it.
Here is your next step!
Different welders use different heat and wire speeds, but for my millermatic 175 with .030 solid core wire and 75% co2 gas, this was my settings. (use really thick leather gloves also, along with a welders helment!)
All you want to do here is spot weld the panel. Spot it in one place, and then jump across the panel and spot weld it there. Dont start on one side and go around like a clock, or the panel will move due to the heat on one side and then you have a mess. And don't worry about trying to weld it all in, cause it'll be too much heat on the quarter panel, and it'll warp, just several tacks and leave it be for now. (beer break for those over 21!)
GLASSES, EARPLUGS AND GLOVES AGAIN!
Easily grind down on the peaks of the spotwelds until you get them close to the surface of the quarter panel. Don't overdo it here, that quarter panel is thin, and you can grind through it. Plus, you can overheat the panel here too, and it'll warp.
Spot weld again to fill in the gaps......
let cool, then grind with the grinder again.....
Then once you grind down the spot welds again, take off the grinding wheel and get a sandpaper wheel like this........
http://i25.photobucket.com/albums/c5...e/100_0525.jpg
and then easily work the surface till you get a flat rough surface. (Don't do like me and OVERHEAT the panel! I should have sanded half and then beer break, then got the other half)
http://i25.photobucket.com/albums/c5...e/100_0524.jpg
Then come back with your favorite filler.........
http://i25.photobucket.com/albums/c5...e/100_0526.jpg
Self etching primer and high build primer is next, followed by some sanding, but I only got that far yesterday, so I'll update this later!
Moss
Last edited by dmoss69; 12-28-2006 at 09:49 AM. Reason: pic didn't show up

 12-28-2006, 07:27 PM
#6
TECH Apprentice
iTrader: (2)
Join Date: Mar 2006
Location: Katy, Texas
Posts: 370
Likes: 0
Received 0 Likes
on
0 Posts
Why didn't you just come in from behind the quarterpanel and just tack weld a piece of metal bigger than the hole and level it with filler? That is how the body shop that did mine did it and it looks awesome. Seems a bit easier, but I'm sure your way will come out just as good.
Trending Topics
12-28-2006, 08:28 PM
#9
Originally Posted by RedRyder518
Why didn't you just come in from behind the quarterpanel and just tack weld a piece of metal bigger than the hole and level it with filler? That is how the body shop that did mine did it and it looks awesome. Seems a bit easier, but I'm sure your way will come out just as good.
12-28-2006, 09:06 PM
#10
TECH Senior Member
iTrader: (1)
Join Date: Apr 2005
Location: Vancouver,[KITSILANO].B.C. Canada *WestCoast*
Posts: 8,810
Likes: 0
Received 0 Likes
on
0 Posts
Originally Posted by Genesis_26317
Is the guy in pic 7 one of the required "tools" as well?
...get it "tool".
Oh come on here people...
...get it "tool".
Oh come on here people...
 [good job man]
  12-29-2006, 12:26 AM
#12
Originally Posted by NHRAMAN
That is the "Main Tool".............. [good job man]
[good job man] Thank you, finally some respect for a good joke!!
I think he did the major work way as opposed to the easy way (of going through the back) just to do that little extra pride factor of doing a really extensive and good job.
Like when I completely cleaned the inner panels of my 4th gen and cleared out any extra material from the panels as well when I did my interior swap.
Nobody even noticed that the underskin of the inside of the car that was completely unseeable was extra clean except for me. It made me feel so warm and fuzzy inside
 .
.Like when you just polished your mechanical cutout as opposed to leaving it rusty looking. The only guy seeing that is Jimbo at Wal-Mart doing your oil change for you.
12-29-2006, 07:15 AM
#14
Banned
Thread Starter
iTrader: (6)
Join Date: Oct 2006
Posts: 258
Likes: 0
Received 0 Likes
on
0 Posts
I guess I could have put a bigger panel behind there, but you still have to weld it all the way round the original hole, then you'd catch hell trying to grind the welds flat due to the step down (old panel surface to the new panel). If you can't grind the welds flat, then you have to come back with the wire brush and try to get the welding slag/black residue out of the weld before you can prime or bondo it. You wouldn't want any oil, dust, or inpurties underneath the filler.
I guess you could grind the weld flat, but then the stock panel would be really thin, which may cause more trouble for me than it's worth. Plus less filler.
Or....... I though this was the best way to do it. I always heard to keep all the original metal that you can (restoring old rusted metal panels), and put the least amount of aftermarket metal on a car possible.
Either way of fixing it is good, As long as you come out with the same result..........a painted surface that is slick as glass!
And I have been used for my "tools"!
Moss
01-21-2007, 11:29 AM
#16
12 Second Club
iTrader: (1)

Join Date: Jan 2006
Location: Abq
Posts: 163
Likes: 0
Received 0 Likes
on
0 Posts

Originally Posted by dmoss69
I guess I could have put a bigger panel behind there, but you still have to weld it all the way round the original hole, then you'd catch hell trying to grind the welds flat due to the step down (old panel surface to the new panel). If you can't grind the welds flat, then you have to come back with the wire brush and try to get the welding slag/black residue out of the weld before you can prime or bondo it. You wouldn't want any oil, dust, or inpurties underneath the filler.
I guess you could grind the weld flat, but then the stock panel would be really thin, which may cause more trouble for me than it's worth. Plus less filler.
Or....... I though this was the best way to do it. I always heard to keep all the original metal that you can (restoring old rusted metal panels), and put the least amount of aftermarket metal on a car possible.
Either way of fixing it is good, As long as you come out with the same result..........a painted surface that is slick as glass!
And I have been used for my "tools"!
Moss
I guess you could grind the weld flat, but then the stock panel would be really thin, which may cause more trouble for me than it's worth. Plus less filler.
Or....... I though this was the best way to do it. I always heard to keep all the original metal that you can (restoring old rusted metal panels), and put the least amount of aftermarket metal on a car possible.
Either way of fixing it is good, As long as you come out with the same result..........a painted surface that is slick as glass!
And I have been used for my "tools"!
Moss
 01-21-2007, 12:39 PM
#18

Originally Posted by RedRyder518
Why didn't you just come in from behind the quarterpanel and just tack weld a piece of metal bigger than the hole and level it with filler? That is how the body shop that did mine did it and it looks awesome. Seems a bit easier, but I'm sure your way will come out just as good.
because where the 2 pieces overlap moisture will get trapped in there and rust eventually.
Peter B.
Huntington Autobody & Performance
Houston, TX
The following users liked this post:
LS7Bird (04-02-2020)
 01-21-2007, 09:36 PM
#20
Banned
Thread Starter
iTrader: (6)
Join Date: Oct 2006
Posts: 258
Likes: 0
Received 0 Likes
on
0 Posts
I've get an anteana to go inside the car. I haven't gotten one yet, I just left the anteanna down in the hatch back of the car. Reception is dukie, but it's ok if you're in town.
I'll post up the solution to that when I get it.
Also, I'm sanding on the car now, so I need to get some more pictures up of the sanding process, since this is posted in the paint and body section.
D Moss
I'll post up the solution to that when I get it.
Also, I'm sanding on the car now, so I need to get some more pictures up of the sanding process, since this is posted in the paint and body section.
D Moss