
My LS1 RX7 Build
 11-17-2006, 01:21 PM
#1
This will be my on going thread from now on I will post ever pic in here. I'm going to be working on the car almost every weekend from here on out.
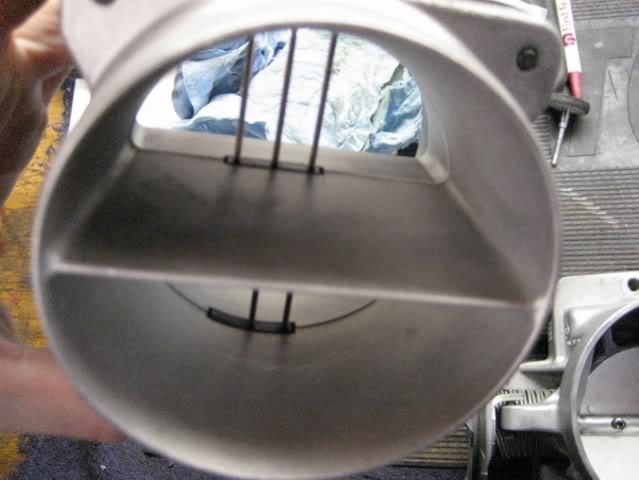
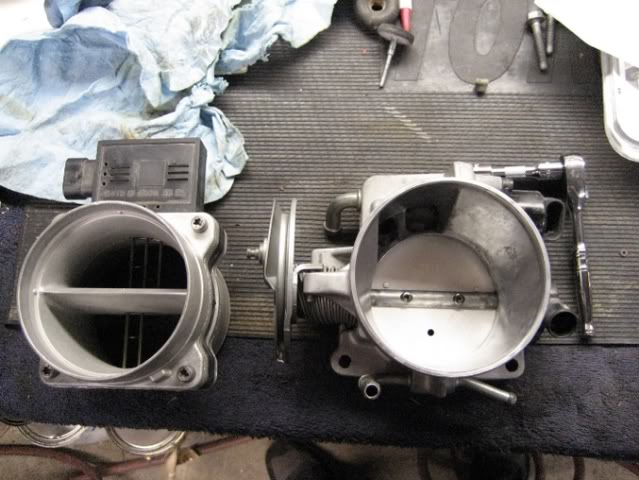
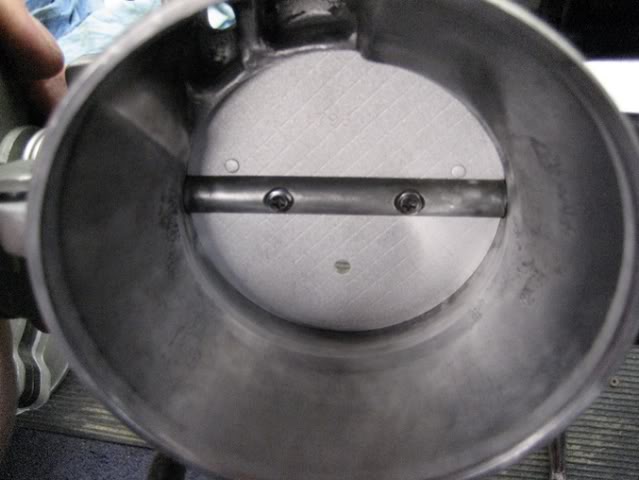
This is just the start for today. I beadblasted the TB and the MAF then did some polishing on the TB. Now I'm going to be droping the tank and taking out the rear to put bushings in the rear mount. Pics will come later.
Next weekend is the cam swap!!!
This is just the start for today. I beadblasted the TB and the MAF then did some polishing on the TB. Now I'm going to be droping the tank and taking out the rear to put bushings in the rear mount. Pics will come later.
Next weekend is the cam swap!!!
 11-17-2006, 01:22 PM
#2
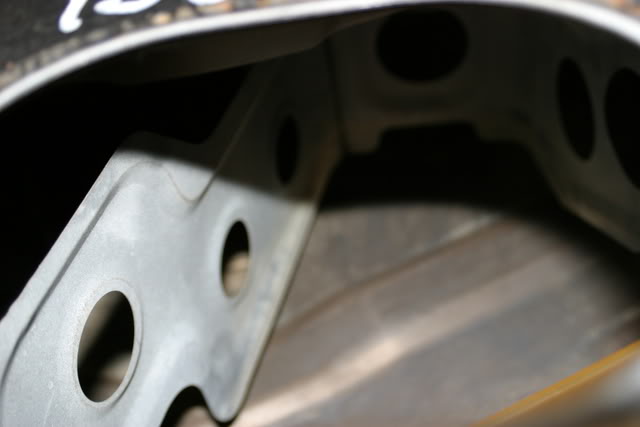
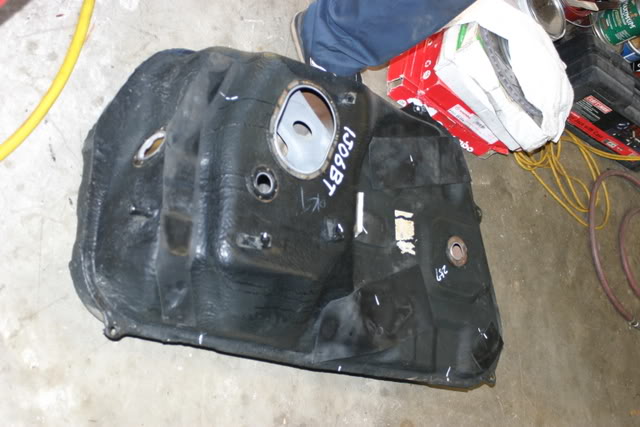
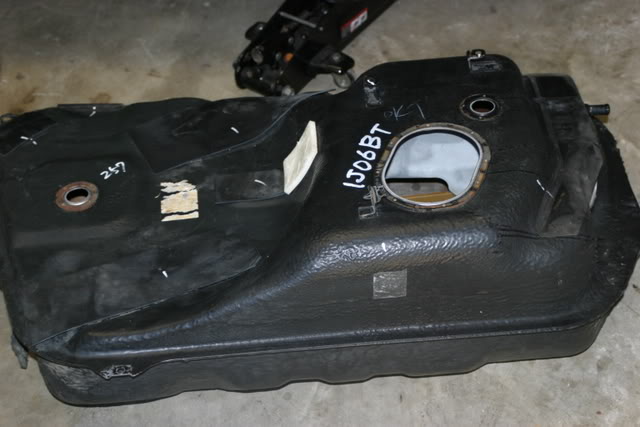
well the fuel tank is out and here is what I found.
RUST!!!!!! AHHHHH
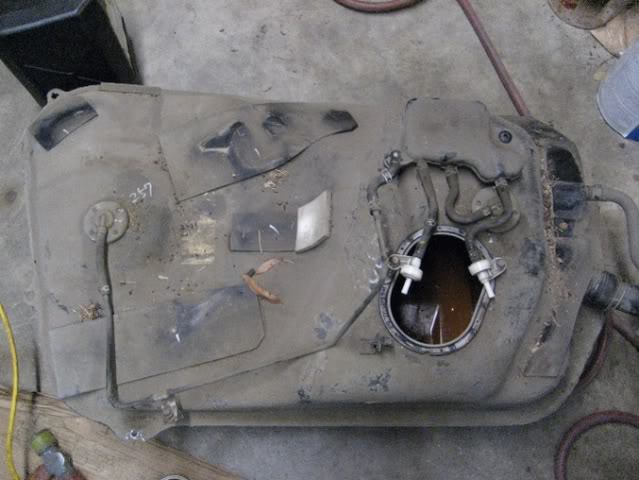


The Pickup and pump.

The one with the white tape is the return and the other is the pressure side.
Sand Blasted and hi temp paint this was earlyer today

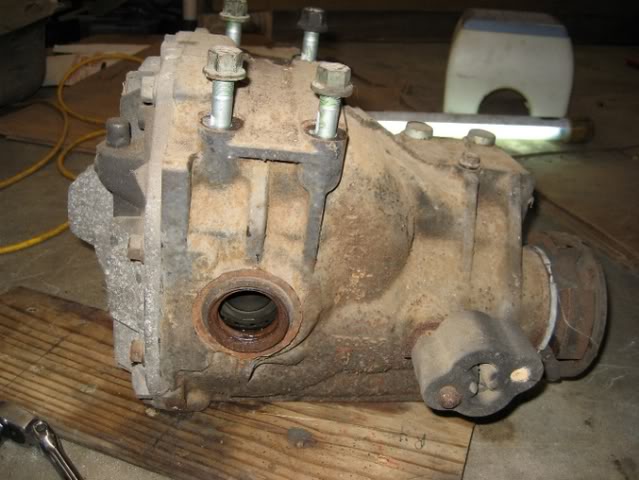
Then about 1:30 AM I finished with the diff out and got the new bushings in there.
After
I dont know what the plan is for the tank just yet I'm looking into having it cleaned out. The cam I have is Custom Comp Grind .589/.589 lift 236/236 Dur 112LSA
I Got the rear back together today but I dont have time to put it in the car got to drive back to Charlotte.
Here it is.
RUST!!!!!! AHHHHH
The Pickup and pump.
The one with the white tape is the return and the other is the pressure side.
Sand Blasted and hi temp paint this was earlyer today
Then about 1:30 AM I finished with the diff out and got the new bushings in there.
After
I dont know what the plan is for the tank just yet I'm looking into having it cleaned out. The cam I have is Custom Comp Grind .589/.589 lift 236/236 Dur 112LSA
I Got the rear back together today but I dont have time to put it in the car got to drive back to Charlotte.
Here it is.
11-17-2006, 01:25 PM
#3
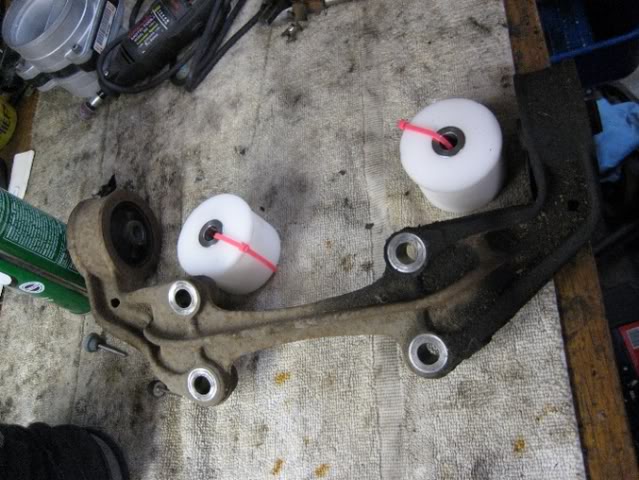
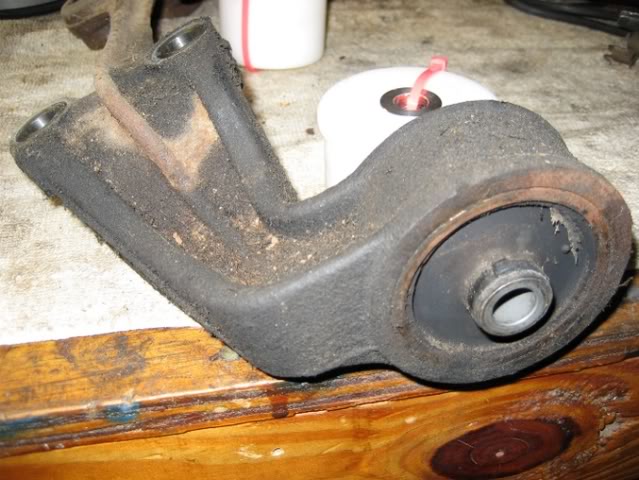
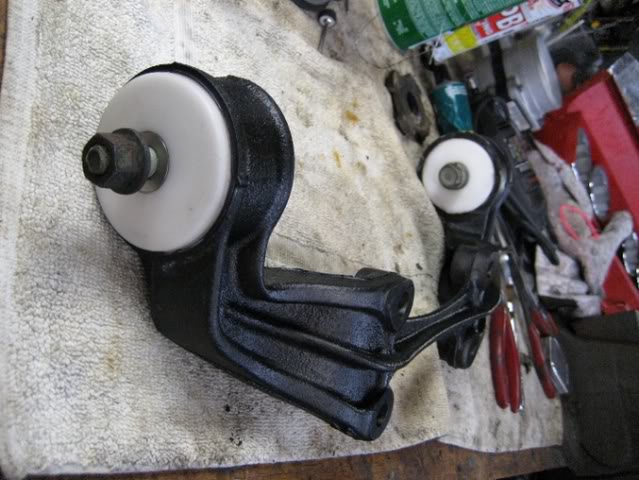
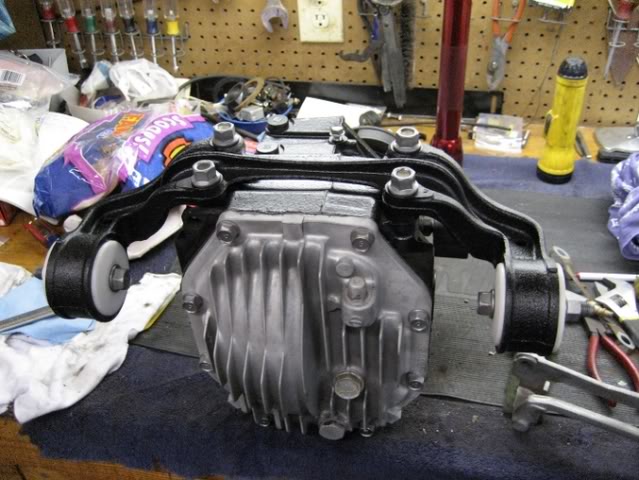
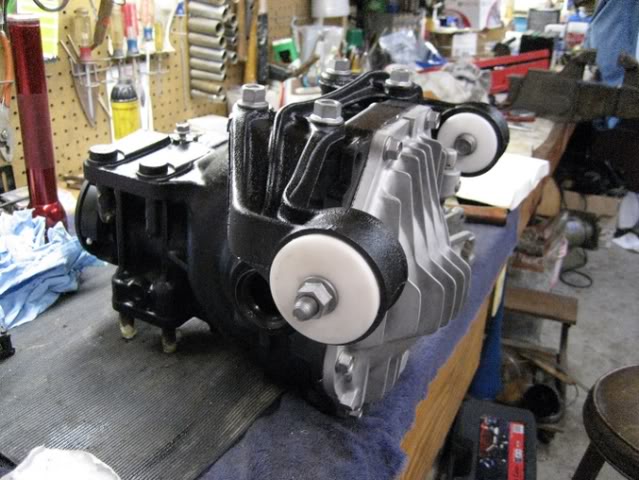
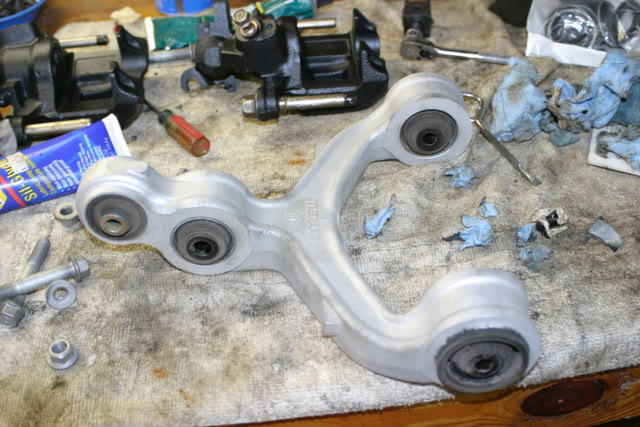
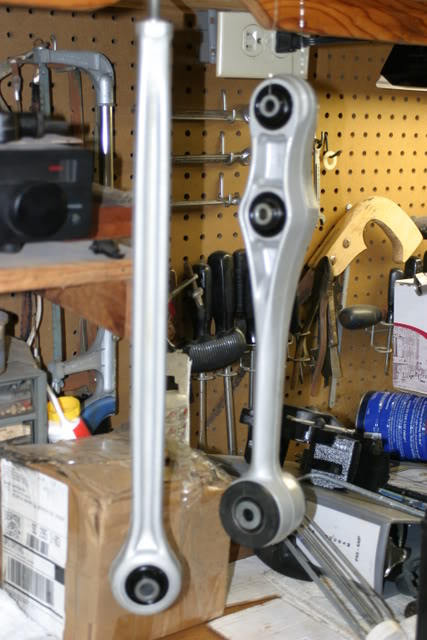
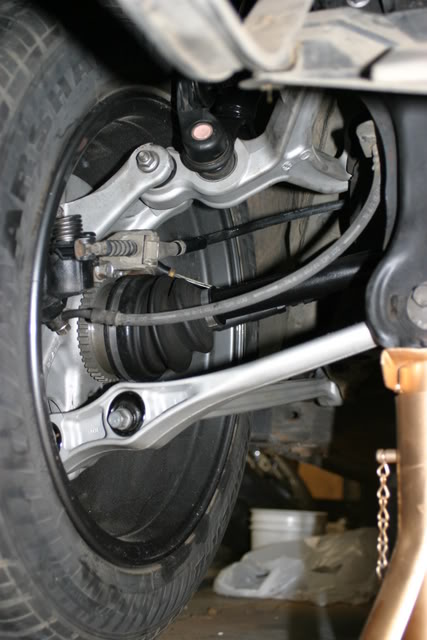
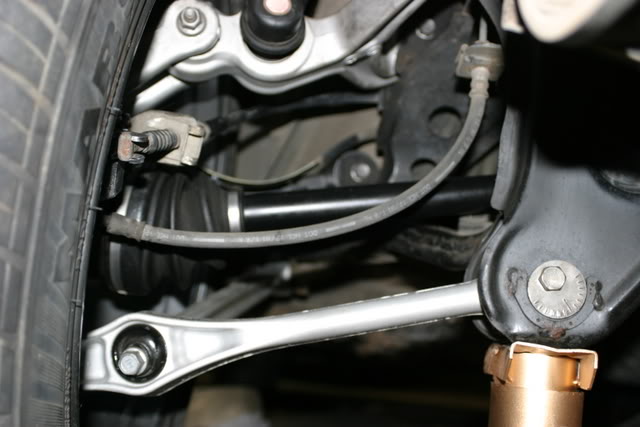
I got all the rear suspension out of the car and bead blasted and painted. In the morning the rear will go back in and the front will come out to be sand blasted and painted. I hope to get the suspension all back in the car cleaned and painted tomrrow. After that the brakes will be addresses and then I dont have a plan for later sunday. Here are the pics from tonight.
This was all last nite.
This is how all the parts came out of the car looking.

This is how well they all cleaned up in the bead blaster. Everything Aluminum got cleared and everything that is steel got painted black.
This is a upper before I painted it.


This was all last nite.
This is how all the parts came out of the car looking.
This is how well they all cleaned up in the bead blaster. Everything Aluminum got cleared and everything that is steel got painted black.
This is a upper before I painted it.
11-17-2006, 01:26 PM
#4
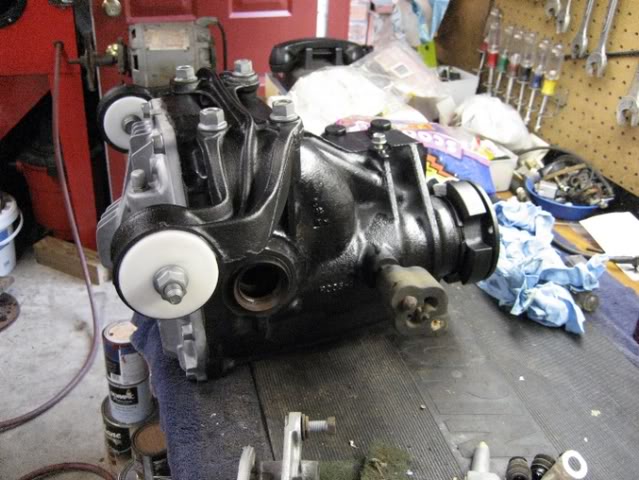
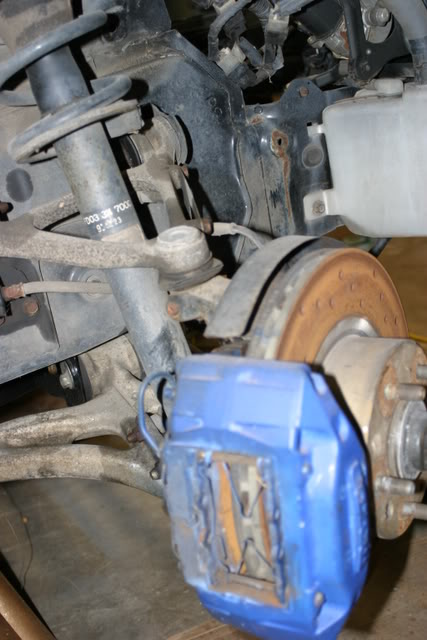
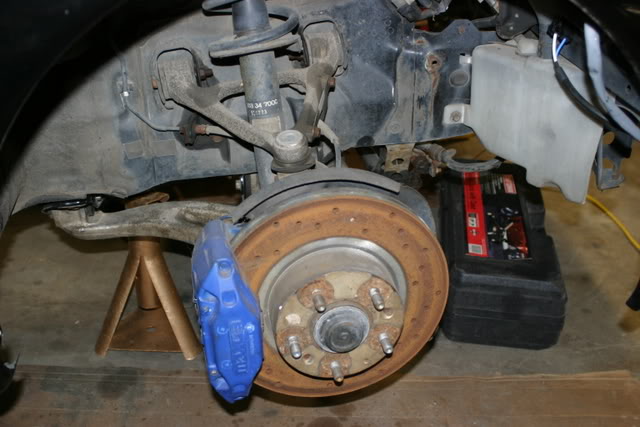
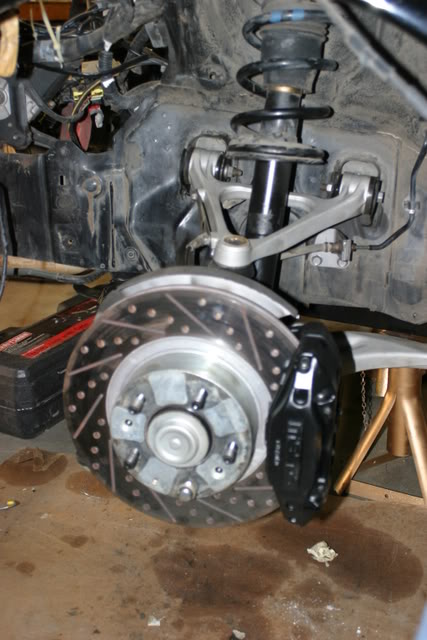
Well I'm done for tonight I got the rear all back in all of the suspension is also back in the car and I even got the new brakes on the car as well.
I even got the old man out there to help me tonight haha.
Here are more pics.
Everything back on the car.
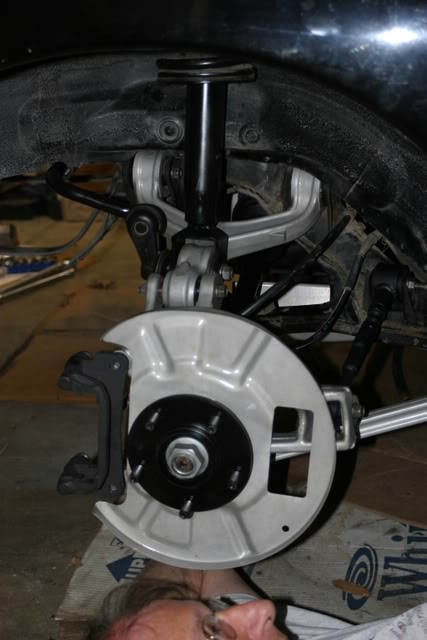
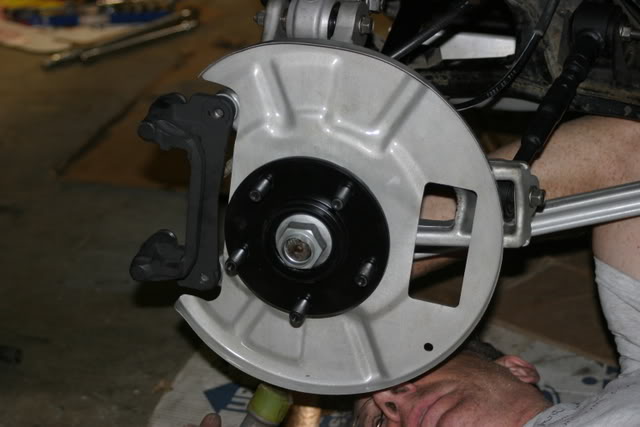
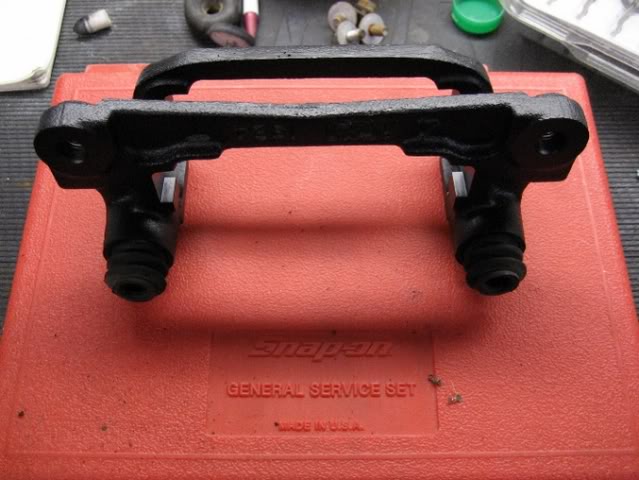
The new brakes and Brembo rotors with Hawk Black pads
I even got the old man out there to help me tonight haha.
Here are more pics.
Everything back on the car.
The new brakes and Brembo rotors with Hawk Black pads
11-17-2006, 01:26 PM
#5
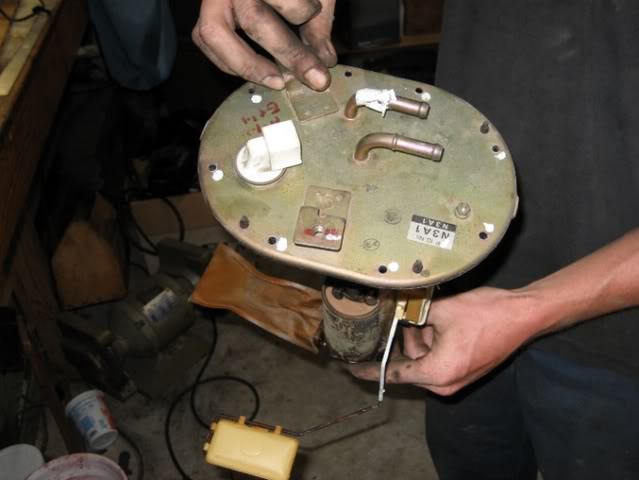
ok I got the Fuel pump mounted all nice and wired. I took some time and took apart the factory connector and reused the tabs in it to wire the walbor pump to the connector so it looks factory.
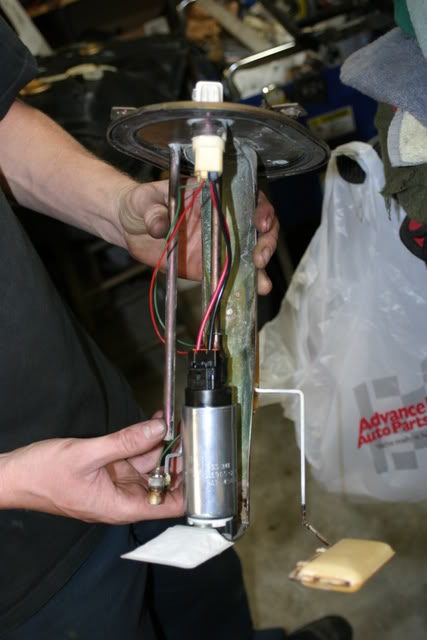
And say good bye old rusty gas tank.
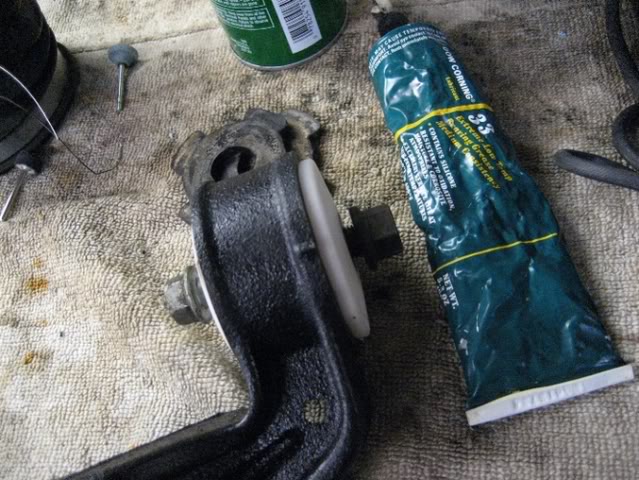
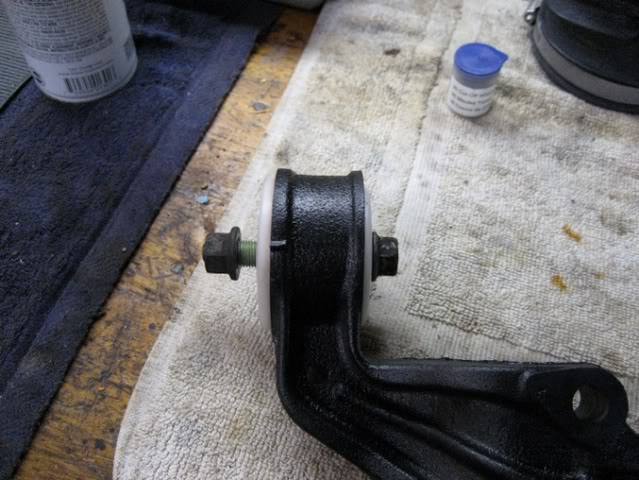
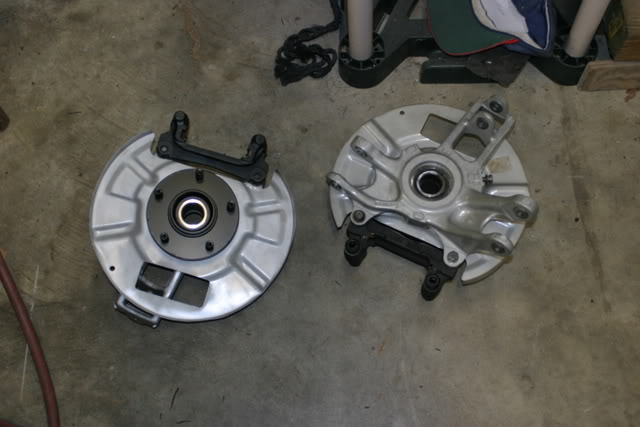
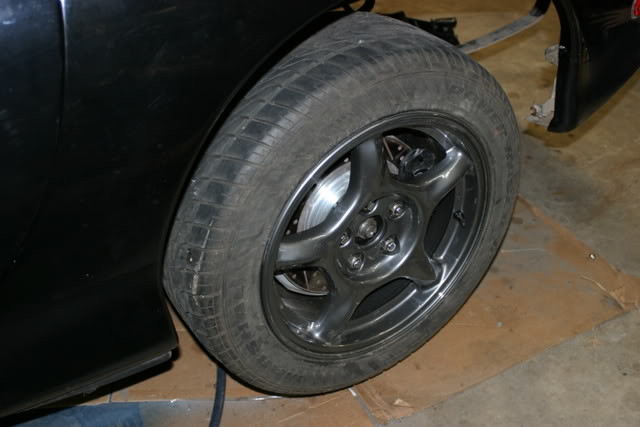
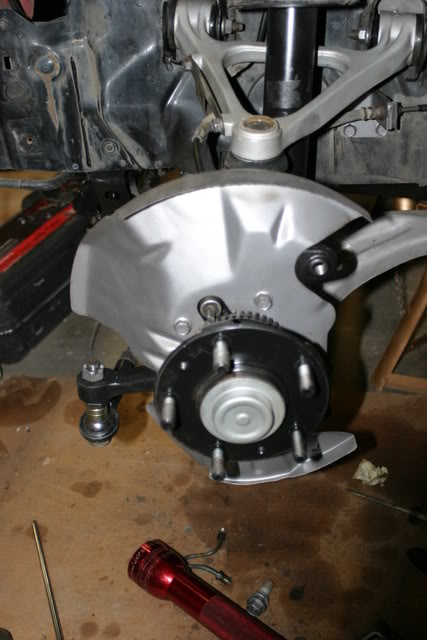
I thought I was going to get the whole front end done this weekend; but that did not happen there are so many parts to blast and paint.
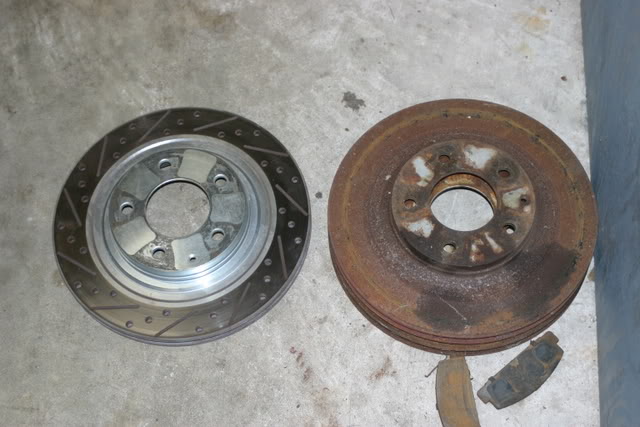
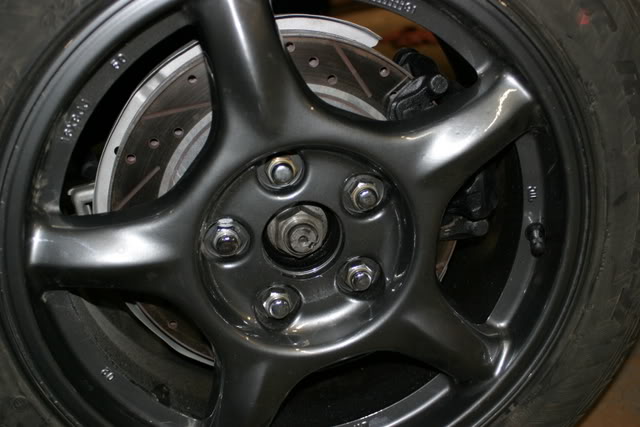
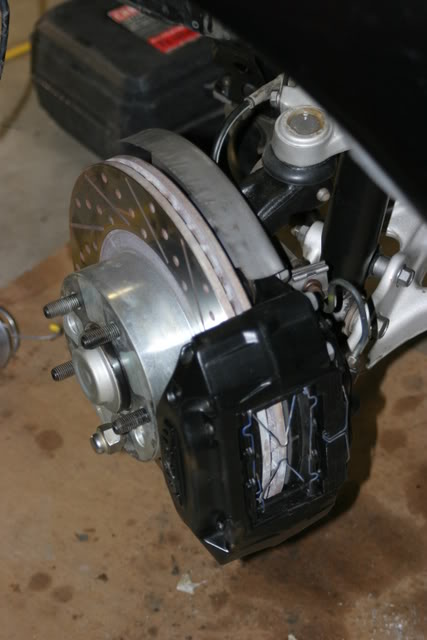
Here is what happen this weekend I got everything taken out of the left front and bead blasted, got new ball joint boots upper and lower. The brakes are does with rebuilt calipers, finally got the right kits for them.
Before
After
And say good bye old rusty gas tank.
I thought I was going to get the whole front end done this weekend; but that did not happen there are so many parts to blast and paint.
Here is what happen this weekend I got everything taken out of the left front and bead blasted, got new ball joint boots upper and lower. The brakes are does with rebuilt calipers, finally got the right kits for them.
Before
After
11-17-2006, 01:27 PM
#6
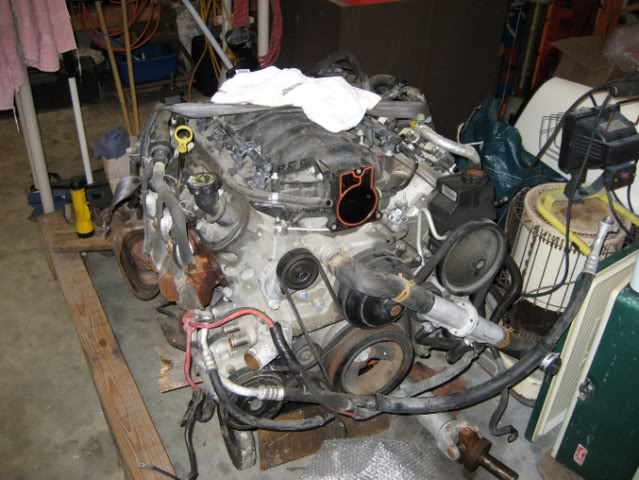
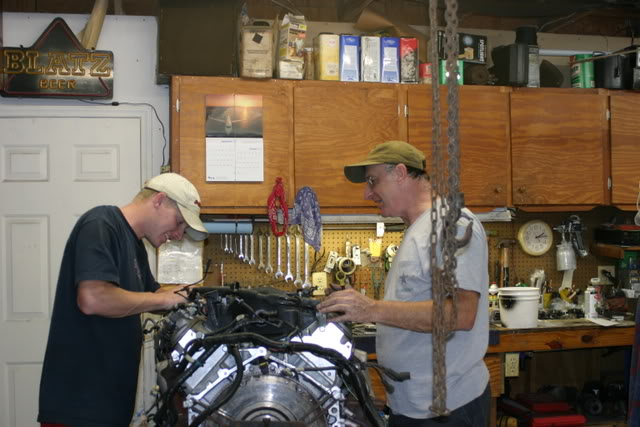
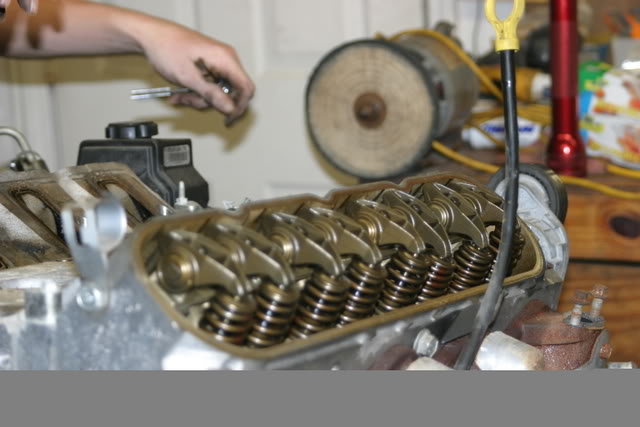
Well I I tore into the LS1 this weekend. Did not get as much done as I would have liked. But anyways, I got the ARP Rod bolts in and I'm going out there now to put the springs and cam in there now.
Here are all the parts I'm putting in the motor.
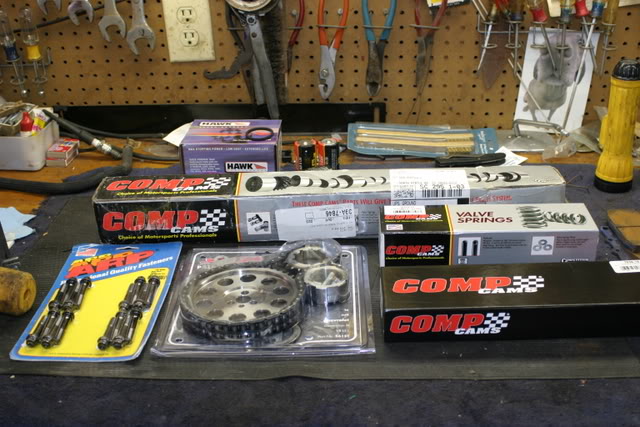
Me and my dad taking it apart the other nite.
If you are putting in Torque to yeld bolts here is a easy way to make sure you get the Angle torque right with out having to go out and buy the special tool.
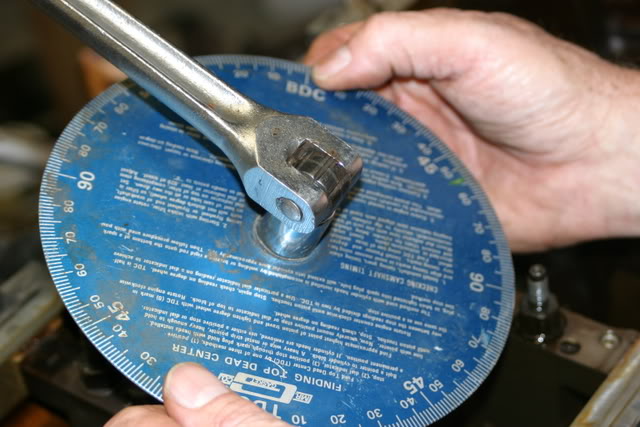
Take a degree wheel and use it to get the angle right.
Here are all the parts I'm putting in the motor.
Me and my dad taking it apart the other nite.
If you are putting in Torque to yeld bolts here is a easy way to make sure you get the Angle torque right with out having to go out and buy the special tool.
Take a degree wheel and use it to get the angle right.
Trending Topics
 BOSS APPROVED!


 that is going to be one bad ride.
11-18-2006, 11:15 PM
that is going to be one bad ride.
11-18-2006, 11:15 PM
#13
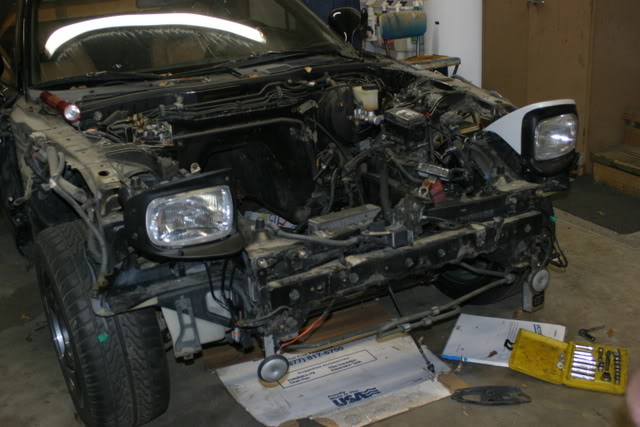
ok guys I got a update for ya.
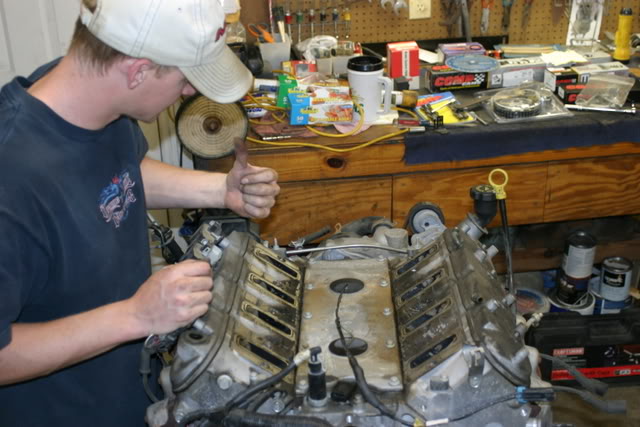
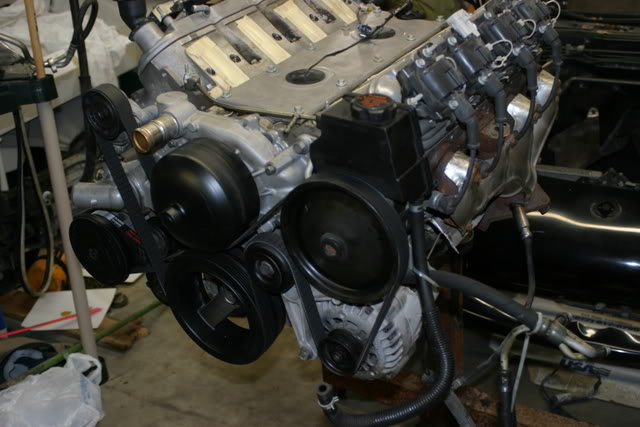
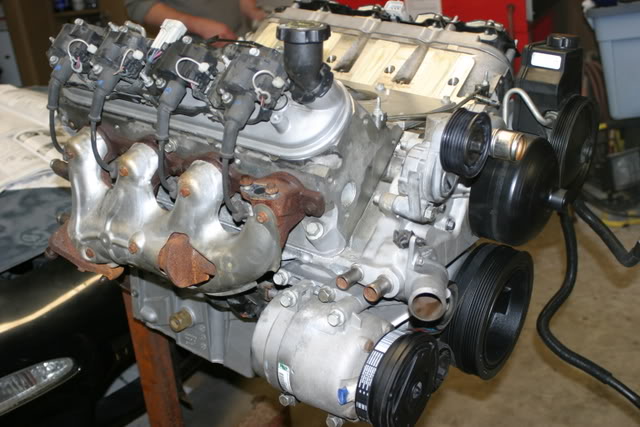
I have been working all day and nite so far this weekend. I got the motor all back together, it is ready to go in the car. Now I'm starting to prep the car for the motor to go in cleaning up and removing a few things.
Here are the pictures so far.
Here is the stoping point for tonite.
I have been working all day and nite so far this weekend. I got the motor all back together, it is ready to go in the car. Now I'm starting to prep the car for the motor to go in cleaning up and removing a few things.
Here are the pictures so far.
Here is the stoping point for tonite.
11-19-2006, 05:07 PM
#14
SSU'S Vice Mod
Join Date: Jul 2004
Location: Hazard Co. Maryland
Posts: 2,391
Likes: 0
Received 0 Likes
on
0 Posts

Originally Posted by Sabre002
oh there is tape on them now, that was just right after I took it apart.
Thanks guys
Thanks guys
You can track this or drag it? Or both?
11-20-2006, 02:15 AM
#16
Launching!
iTrader: (2)

Join Date: Dec 2003
Location: Bay Area,Ca
Posts: 239
Likes: 0
Received 0 Likes
on
0 Posts
Sabre002 Your build up looks good. It looks like you are using stock heads. Do you plan to run 10's on the motor or with NOS? There have only been 2 RX7's too run 10's NA with a stock short block with ported heads.


