
Rod bolts, Prothane mounts INSTALLED with pics!
 10-23-2007, 12:13 PM
#1
Restricted User
Thread Starter
iTrader: (18)
Join Date: Apr 2007
Location: Fayetteville, NC
Posts: 1,515
Likes: 0
Received 0 Likes
on
0 Posts
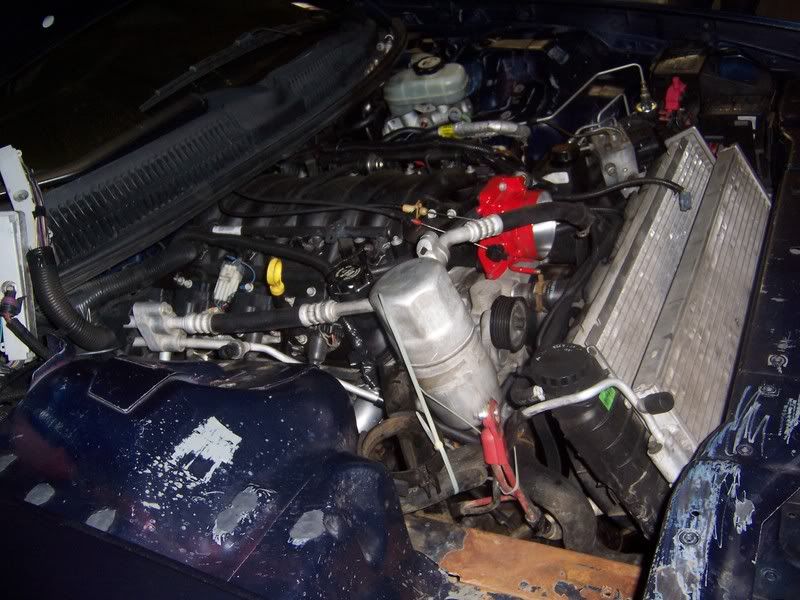
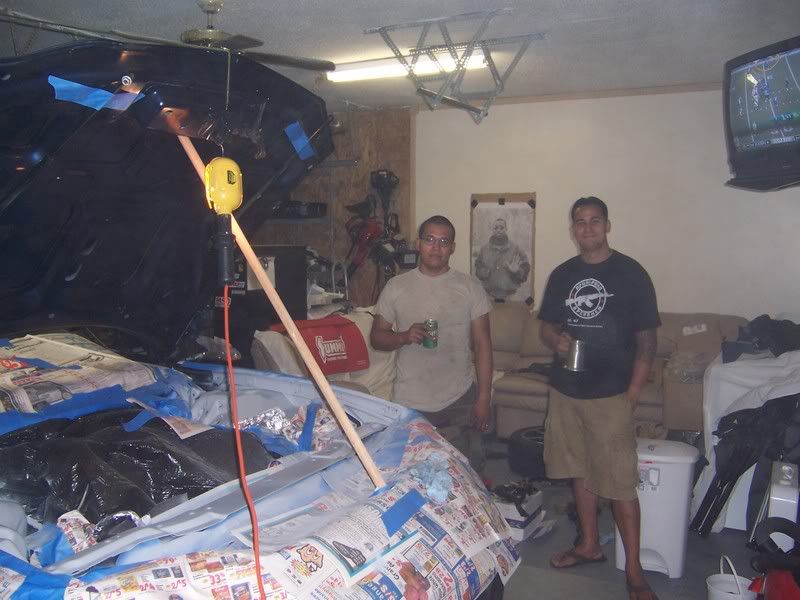
What's up techies! Well, it's been about three months since my cam install and I've had the smallest oil leak just soaking my entire K member and bottom end. I narrowed the leak down to my oil pan. Seems I may have fouled the gasket while installing my oil pump and timing chain. I realized I would have to drop my K member to replace the gasket so I said, **** it, while I'm here I'll do rod bolts and prothane motor mounts too. Also, when I bought the car it seems a battery had exploded in it and the under hood paint was fucked. I figured I'd do something about that too while the motor was lowered so here's some pictures of the before and the steady progress.

 10-23-2007, 12:17 PM
#2
Restricted User
Thread Starter
iTrader: (18)
Join Date: Apr 2007
Location: Fayetteville, NC
Posts: 1,515
Likes: 0
Received 0 Likes
on
0 Posts
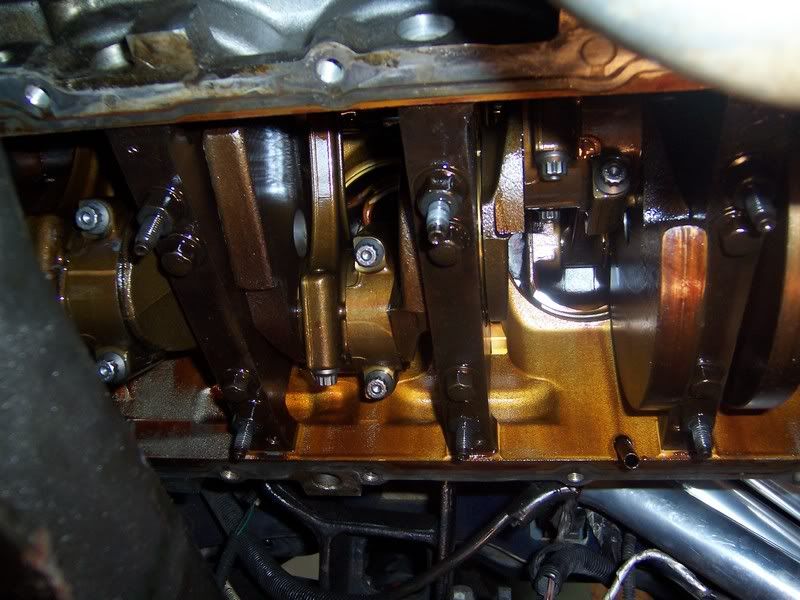
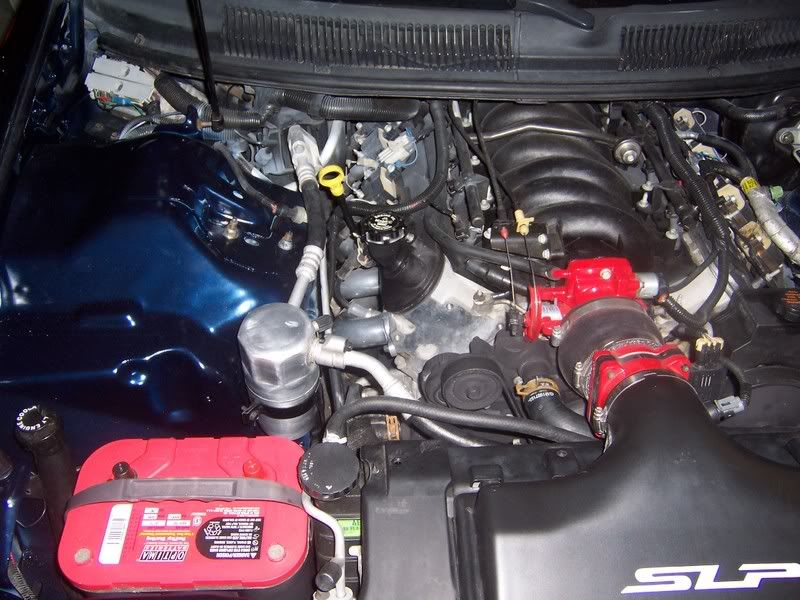
I made sure to burnish the rod bolts correctly to ARP specs for proper rod bolt stretch. Apply assembly lube on the threads and hat then tq. to 40ft/lbs, loosen, torque, loosen, then torque a final time to 40.
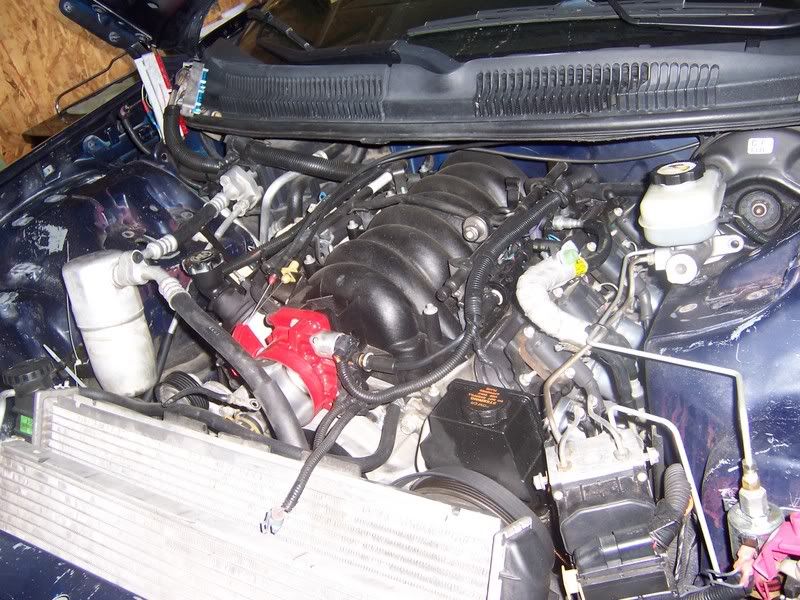
The rust was pretty bad so I coated all rust spots with POR-15. I also filled in all the holes where I did my wire mod, relocated the factory grounds, then primed and painted. The underhood paint has always annoyed this **** out of me. I like to show off my bolt ons here and there but hate when people notice my paint. I know it's not perfect but it's leaps and bounds ahead of what it was.
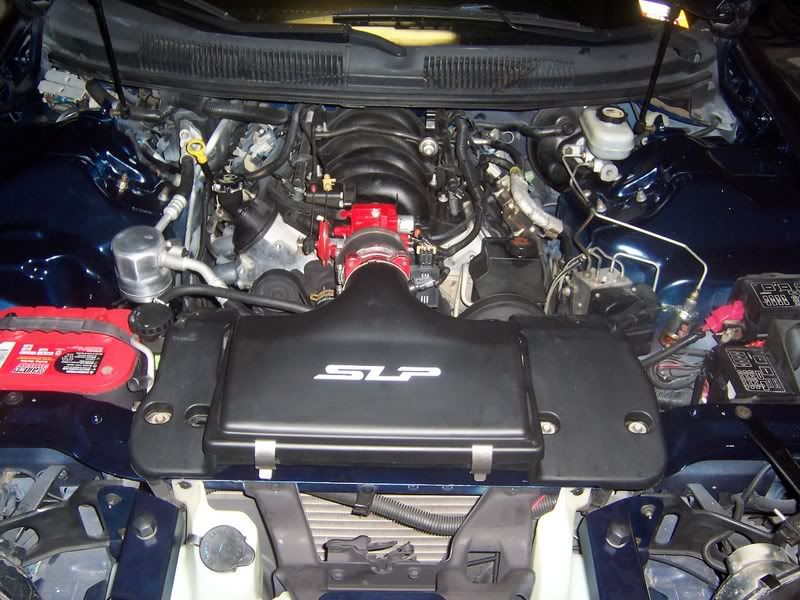
The rust was pretty bad so I coated all rust spots with POR-15. I also filled in all the holes where I did my wire mod, relocated the factory grounds, then primed and painted. The underhood paint has always annoyed this **** out of me. I like to show off my bolt ons here and there but hate when people notice my paint. I know it's not perfect but it's leaps and bounds ahead of what it was.
Last edited by socmguy; 10-23-2007 at 12:24 PM.


Trending Topics
10-23-2007, 03:57 PM
#8
I'm glad I replaced my battery before it did that...I have heard way too many stories about that happening.
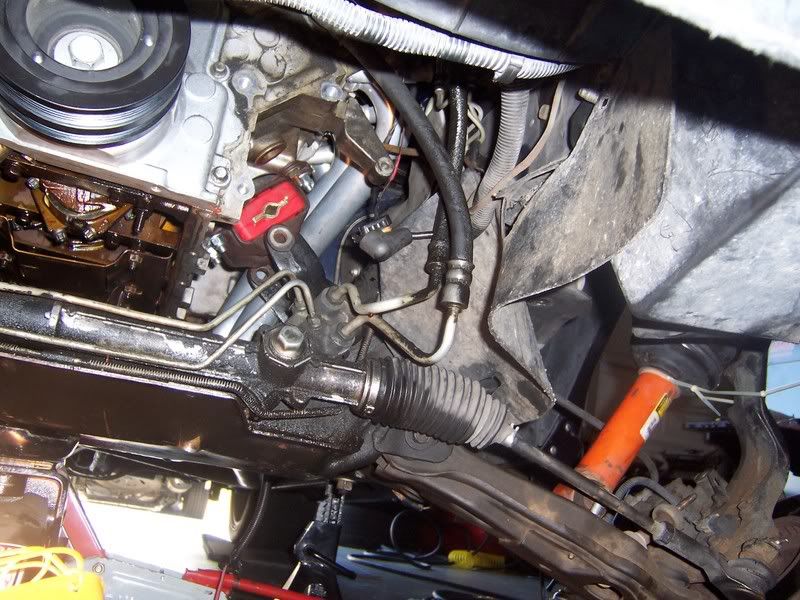
I also noticed that your power steering pump looks like it is on its way out...mine was leaking just like that, and I just went ahead and replaced it with a Turn One pump. No leaks for me
I also noticed that your power steering pump looks like it is on its way out...mine was leaking just like that, and I just went ahead and replaced it with a Turn One pump. No leaks for me
10-23-2007, 04:25 PM
#9
Restricted User
Thread Starter
iTrader: (18)
Join Date: Apr 2007
Location: Fayetteville, NC
Posts: 1,515
Likes: 0
Received 0 Likes
on
0 Posts
As far as my PS pump, I haven't had any issues w/ steering or anything, works just fine, just gets a little dirty from time to time.
10-23-2007, 05:43 PM
#10
TECH Resident
iTrader: (24)

Join Date: Oct 2004
Location: Ft lewis,Ft sill and thats all i hope.Katy texas
Posts: 839
Likes: 0
Received 0 Likes
on
0 Posts
ya my stocker ate part of the metal bellow it, gonna fix it soon... so what did i do bought another stocker cause i was stupid and didnt realize thats what had happened.... It also took out my driver seat during my heads and cam swap these ac delco batteries are crap
10-23-2007, 07:37 PM
#13

looks great u did a nice job
how do you lower the k member with out droping the motor ? or did you just raise the motor up a little bit ?
a battery busted in my car and the caused the metal under it to rust so i had to sand it all down then paint i put some off that rubberized stuff that they us in truck beds there to protect it in the future if it were to happen again
10-23-2007, 09:24 PM
#15
Restricted User
Thread Starter
iTrader: (18)
Join Date: Apr 2007
Location: Fayetteville, NC
Posts: 1,515
Likes: 0
Received 0 Likes
on
0 Posts
Thank everyone, I've been receiving a few PMs on painting so I'll go over it: BTW, this is not a one afternoon job, so if your car is a DD I wouldn't try this unless you have a back up ride. As with everything that goes with painting, IT'S ALL IN THE PREP WORK! That being said, move as much **** out of the way as possible. If I was just painting I don't think I would have lowered the K member, some things you can work around. It was just a good opportunity to paint with the engine lowered down in the engine bay a little (~6 in.) I started by removing everything that could be moved: Battery, Surge tank, PCM, Lid & MAF, Master cyl, slave cyl, Relay panels, Headlight brackets and AC Canister & Bracket. Next it's time to prep your surfaces. I removed all paint that I even thought might have some rust under it with a sander. If you have rust issues from battery acid, now is the time to deal with it! There is a product out there called POR-15 that can be painted over rust that will prevent it from ever coming back. Take care of any cancer now or you'll be doing this again later. I also recommend you do the !wire mod before attempting this. It'll be easier when you paint, and look a ton better in the end. Also, relocate your grounds to less conspicuous place but be sure it's a good gnd. In the same way you do the '!wire mod' you can also relocate your hood latch cable on the driver's side. Next I sanded all the holes I was going to fill to bare metal and filled with metal filler/JB Weld. Once that hardened I sanded the surfaces flat and came back with finishing body filler. Again, it's all in the details, you may have to repeat the process several times to get everything flat but it will be worth it in the end. Next, use painters tape to cover and conceal anything you don't want painted, I used a trash bag to cover the motor. For hard to tape wires and lines like the AC I used aluminium foil and it worked very well. Here it goes, now I may get flamed for this but oh well, I've seen it done before and my results also speak for themselves. I used duplicolor paint and primer, yes, the cans at auto zone for $6 each. I sprayed primer, let it dry, corrected any imperfections and sanded w/ 400. Primered again to be sure it was ready for paint and sanded w/ 600. Then I painted, let dry for a day, wiped off any dust and cleared. I waited another week to be sure everything was completely dry, then I used some meguiars cleaner wax and buffed the **** out of it. Even in the sun, I can't tell the difference between the colors. I hope I covered everything, need anymore info just ask! I know a true professional would have dropped the engine and used an HVLP gun in a spray booth, cleared it and then charged me $600. For EVERYTHING: Rod bolts, Gasket set, Prothane motor&tranny mounts, and paint. Then entire project costed me ~$200 and some free time doing what I enjoy with the help of some friends and a few beers.
10-23-2007, 09:31 PM
#16
Restricted User
Thread Starter
iTrader: (18)
Join Date: Apr 2007
Location: Fayetteville, NC
Posts: 1,515
Likes: 0
Received 0 Likes
on
0 Posts
looks great u did a nice job
how do you lower the k member with out droping the motor ? or did you just raise the motor up a little bit ?
a battery busted in my car and the caused the metal under it to rust so i had to sand it all down then paint i put some off that rubberized stuff that they us in truck beds there to protect it in the future if it were to happen again
how do you lower the k member with out droping the motor ? or did you just raise the motor up a little bit ?
a battery busted in my car and the caused the metal under it to rust so i had to sand it all down then paint i put some off that rubberized stuff that they us in truck beds there to protect it in the future if it were to happen again
