When you click on links to various merchants on this site and make a purchase, this can result in this site earning a commission. Affiliate programs and affiliations include, but are not limited to, the eBay Partner Network.
LQ4 into a 3rd Gen/1972 Nova - twin 6466's + T56 Magnum
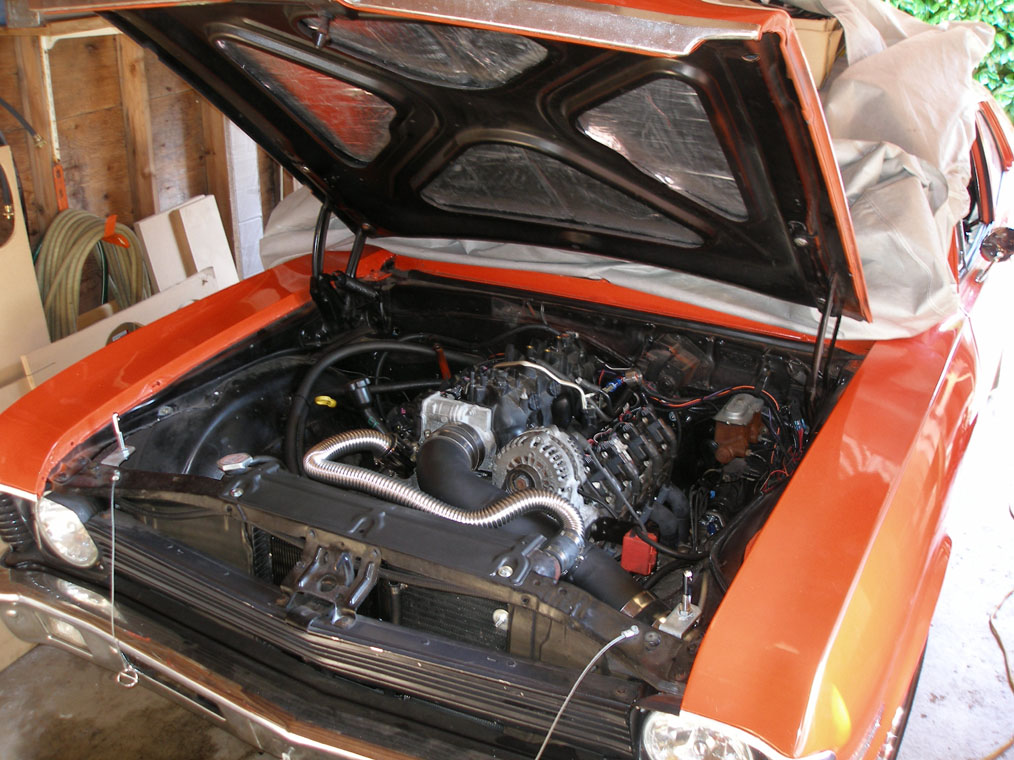
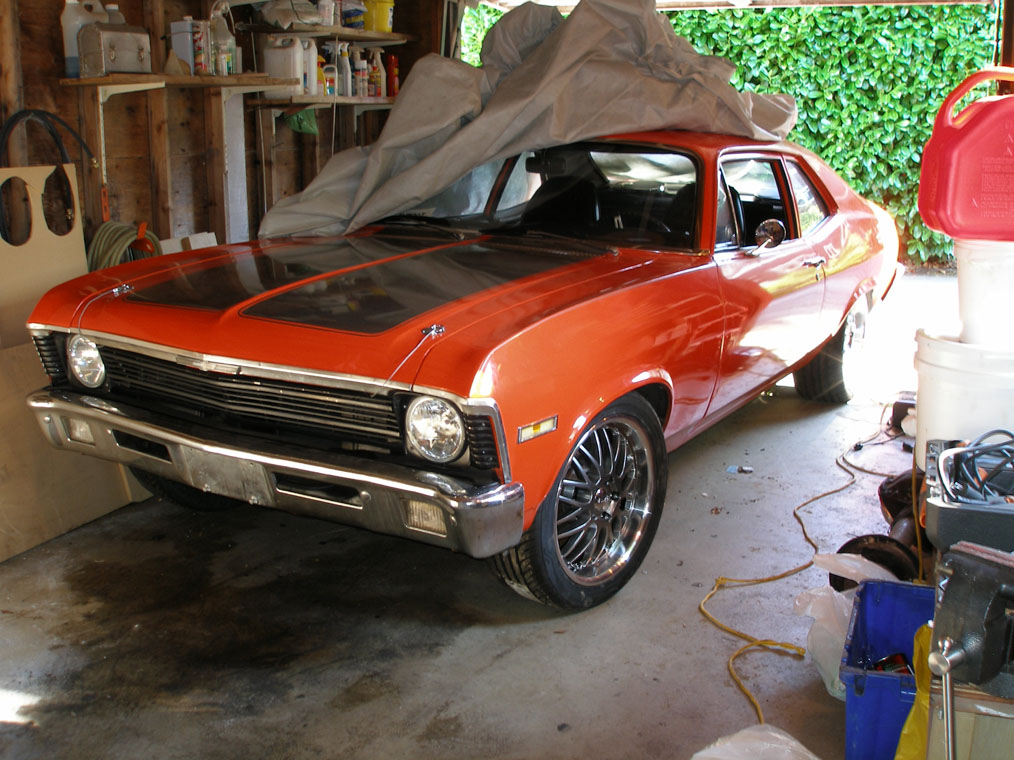
I have a 1972 Nova with a stock LQ4 swapped into it that took me about 5 months to do in my spare time, with the main reasons being increased fuel economy and way better starting reliability (stupid broken-choke, broken-vacuum advance Quadrajet ). I started the original engine swap as a 21 year-old mechanical engineering student, so I wanted to do this on the tightest budget I could manage within reason, and also it�s a great distraction from the studies/school. I bought the engine at the beginning of a summer job in June �07, but didn�t really get into it until this Jan, and finished around May-ish �08. Grand total cost me approx. $5,400 for the engine and required parts to get it driving under the new engine�s power (lots more money went into the rest of the car but that�s a whole other several stories!). I�ve attached (link: List of parts with PN's & prices!!) a list of all the parts, part numbers, and prices that I used for just the engine swap, hopefully this could be a good guide for anyone looking into this swap (or into a 1st gen Camaro).
EDIT: I soon realized I wanted more power, so I then created a single turbo and then twin turbo setup for the car... so this has become more of an on-going progress thread...
Soon after I got the car, in glorious 305cid form...
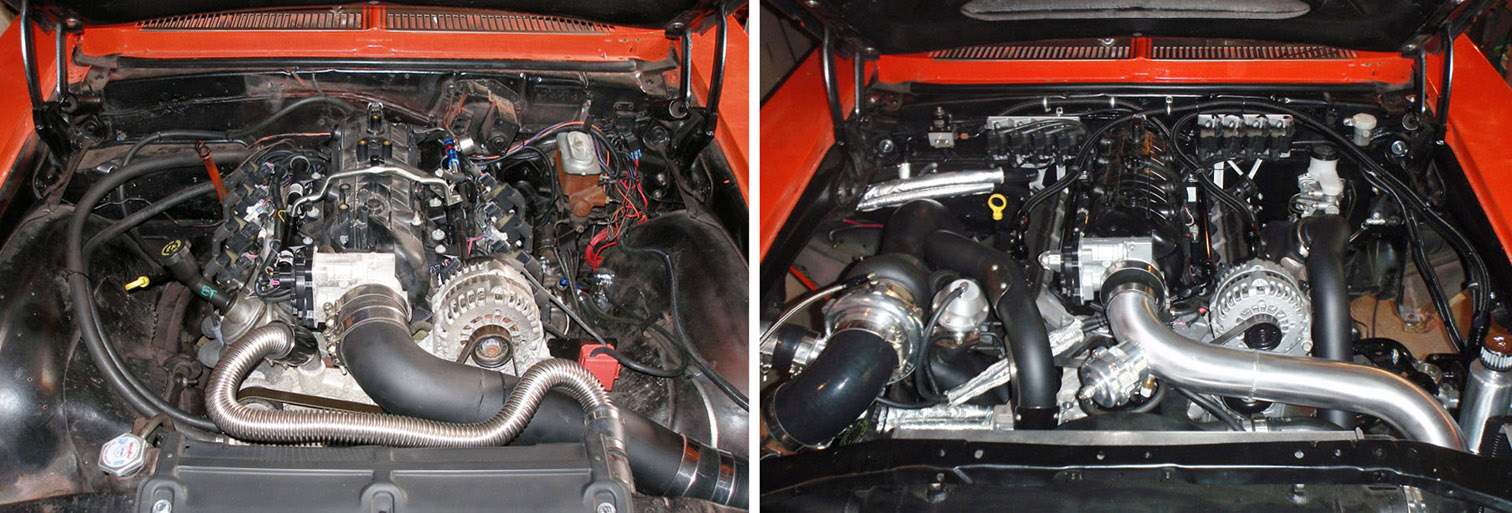
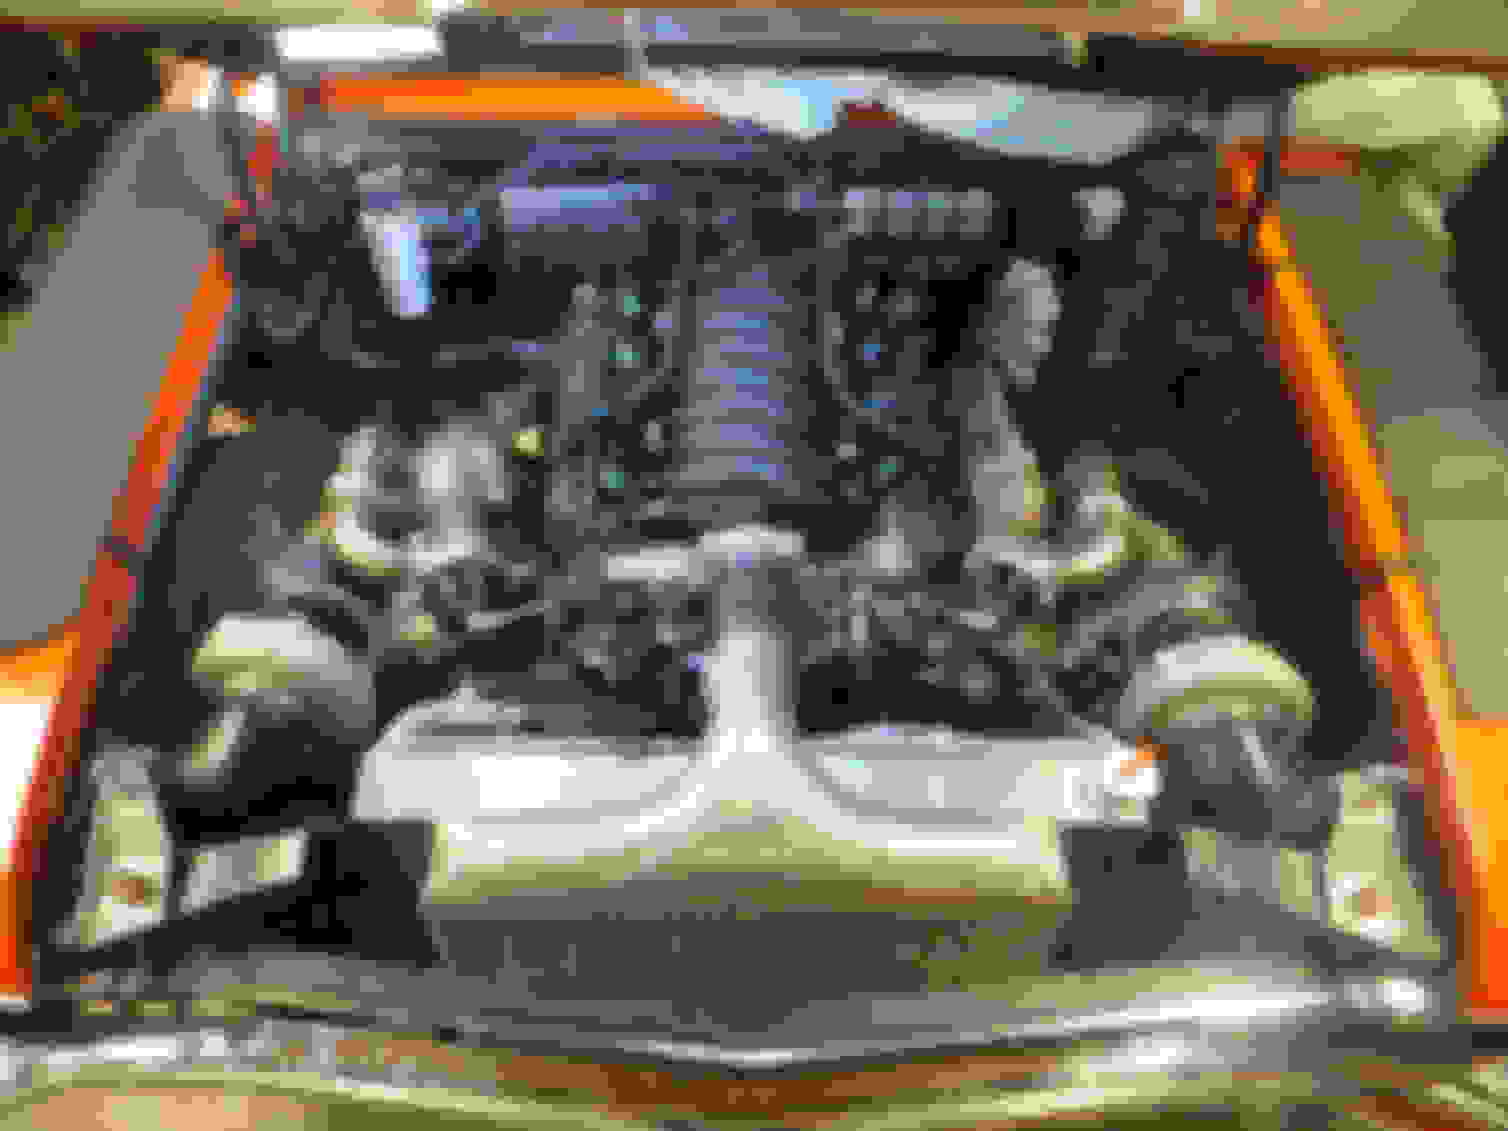
The initial stock LQ4 swap on the left, and the single turbo setup on the right...
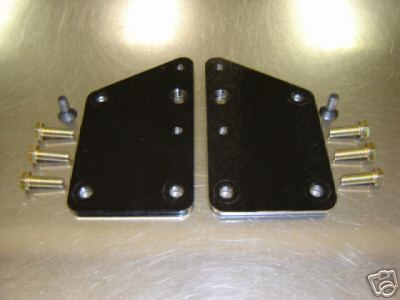
I made my own motor mount adapter plates (identical to the (Carshop)/S&P adapter plates) and bolted short-and-wide SBC motor mount to them, which gave me enough crossmember-oilpan clearance when using a stock truck oil pan. These adapter plates DID however move the engine forward approx. 1inch.
Carshop adapter plates look like this...
I used this template...
Oil Pan
I took a truck oil pan and had 2.5” lobbed off the bottom of it, and had �” 6061 plate welded up to it (apparently media-blasting the pan with a very fine sand is enough to clean it up decently). To make the truck oil pickup fit, I had to section it in a couple places to take out enough height so it would clear the bottom of the pan. In hindsight it saved me from having to buy a Camaro pickup, but even if my labour was “free” it was a bitch to do.
(modified truck pan: go to page 2 or click here)
(modified truck pickup: go to page 2 or click here)
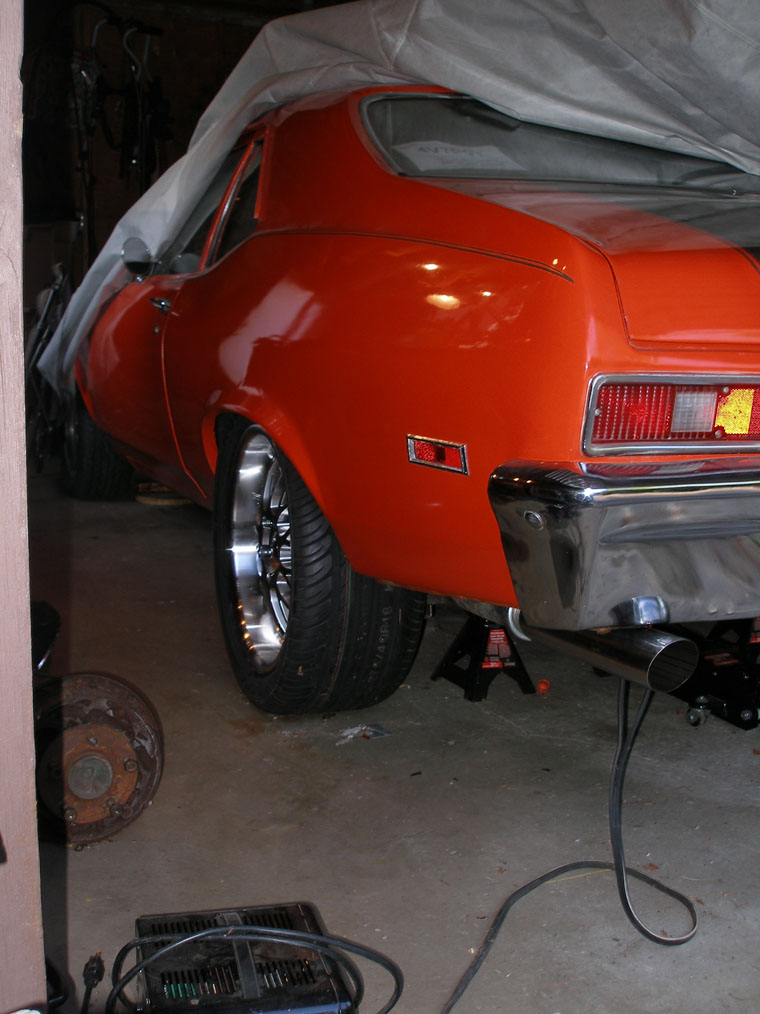
Exhaust
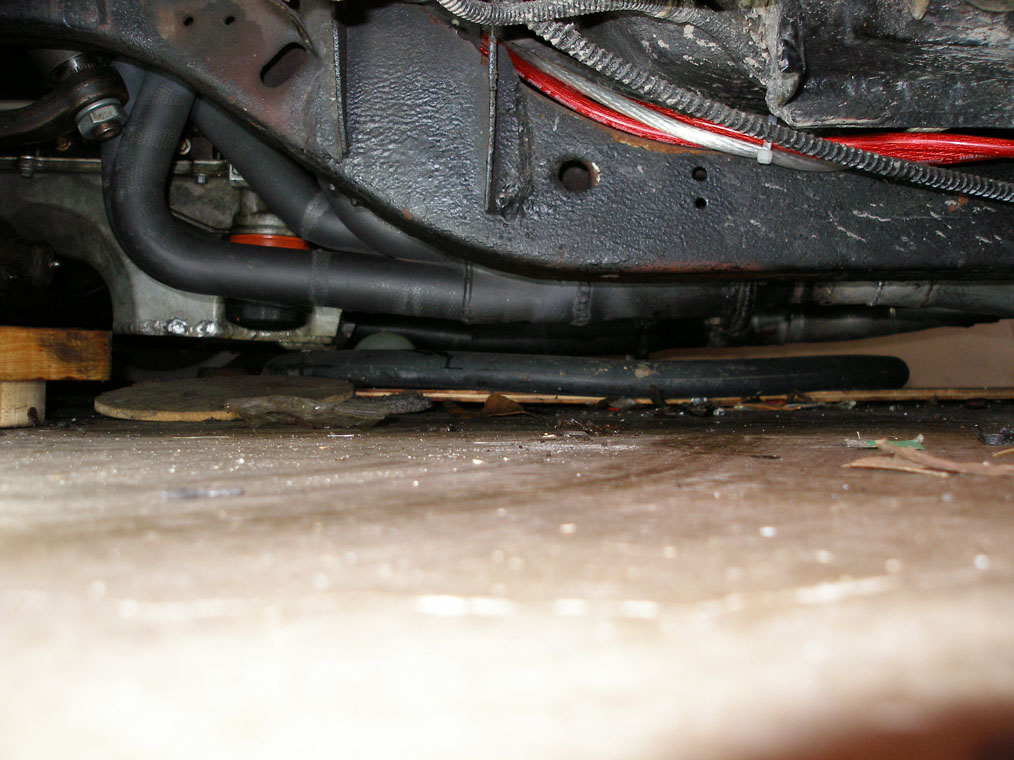
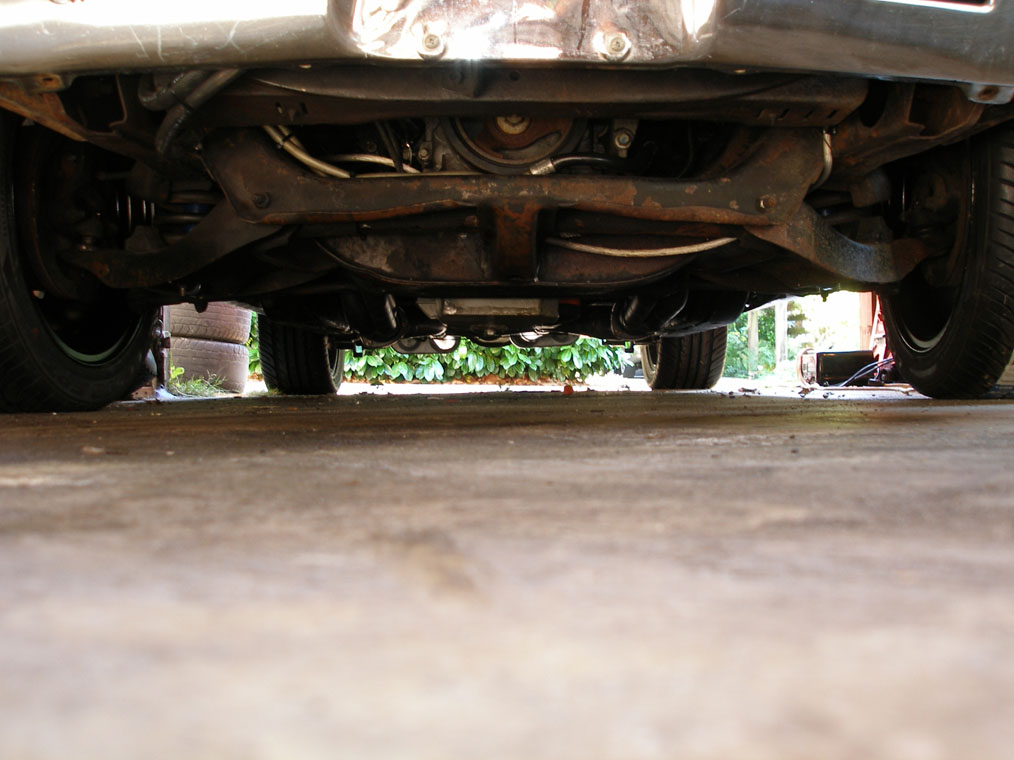
I had Hooker Competition full-length headers from the SBC that was in the car previously, and I cut off the flanges as well as sectioned most of the primaries. This was pretty straight-forward on the passenger side due to all the room, but there was a lot of trial-fitting on the driver’s side. On the driver side I had to section out even more tubing because for some reason SBC headers always hang lower on the driver side (???) and re-arranged several of the tubes in order to get proper steering box wiggle room without BFH “clearancing”. I also welded in O2 bungs near the collector. NOTE: making my own swap headers this way didn’t cost me anything but was LABOR INTENSIVE!!!!! see below for some pics...
Intake
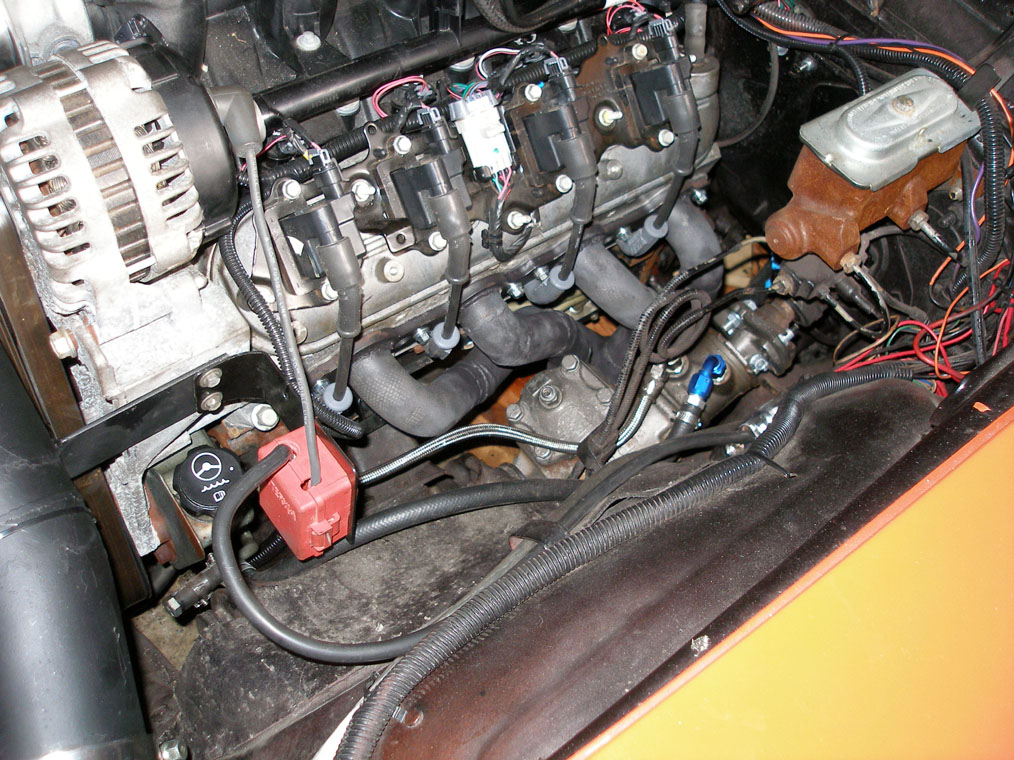
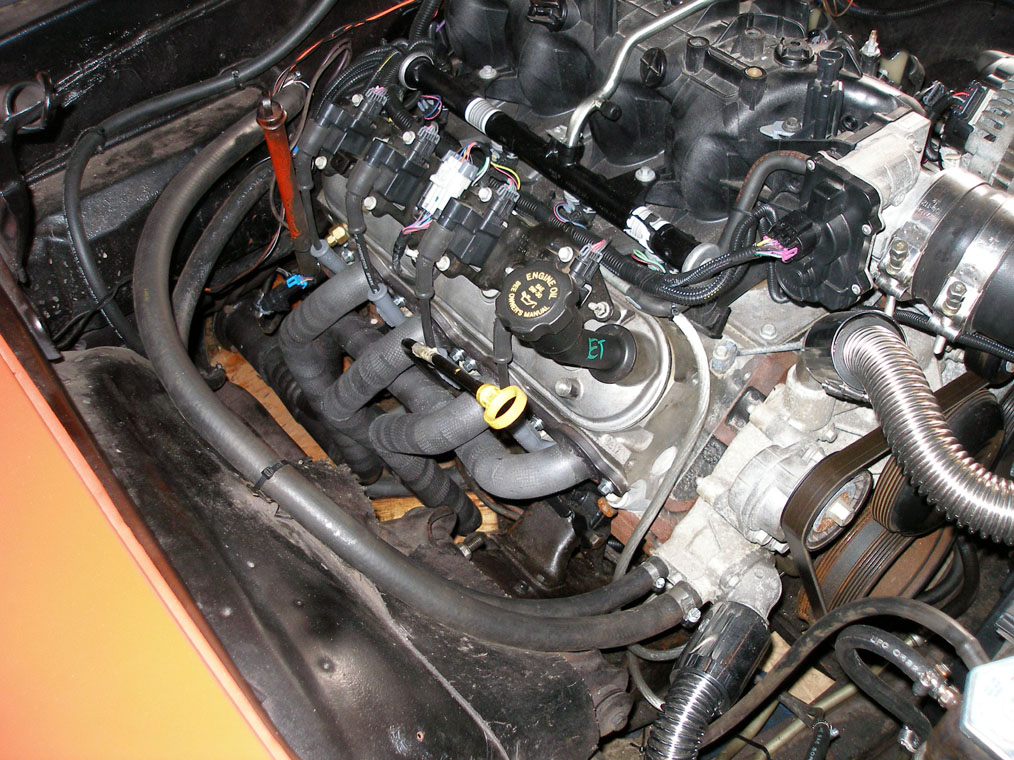
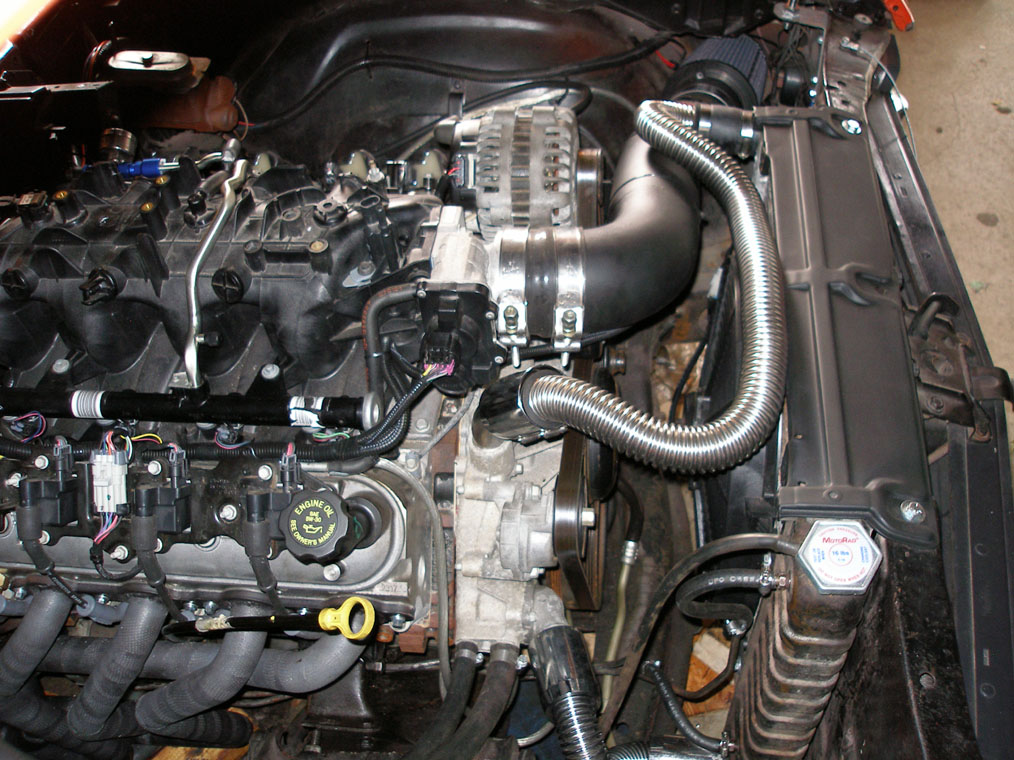
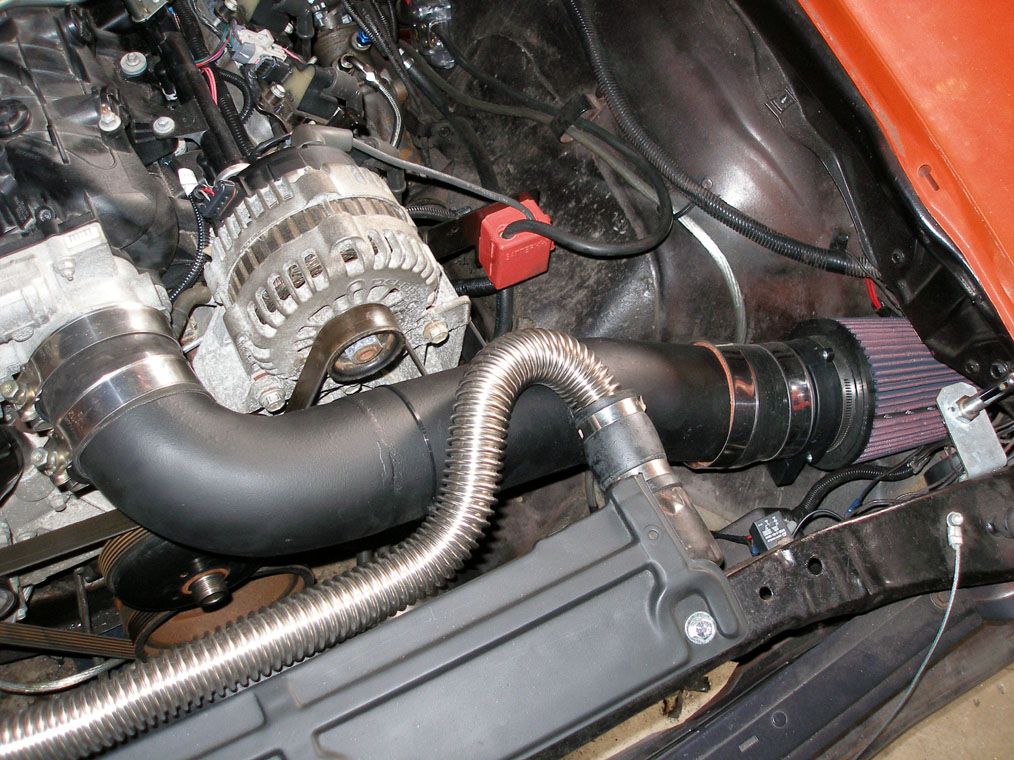
I used the truck intake manifold, and with the flipped motor mount plates the intake fit under the stock hood no problem. I did have to exclude the truck’s Vortec “beauty” cover and trim about �” off one of the cover’s mounting bosses. I got lazy towards the end of the build and rather than fabricate my own intake tube, I bought one off of a member LS1chevelle. However, apparently a Nova has less room in the engine bay than a Chevelle, so I still had to take a section out of it, but it nicely tucks the 7” cone filter almost entirely behind the driver side headlight.
Wiring
I am pretty decent with wiring and soldering, but I simply didn’t want to deal with splicing the original harness. I called John at Speartech (http://speartech.com/) and he made one for me. I did have to extend the MAF plug wires by about 16”, but the main loom was plenty long enough to mount the PCM underneath the middle of the dash (above the ashtray). Regardless, his work was quality, enough said. Also, I picked up some gauges for the engine’s vitals. A water temp gauge is heavily recommended but an oil pressure gauge is ESSENTIAL. Had I not bought it I wouldn’t have known that I was having oil pressure problems (oil pump/pickup o-ring seal) and likely shot my engine.
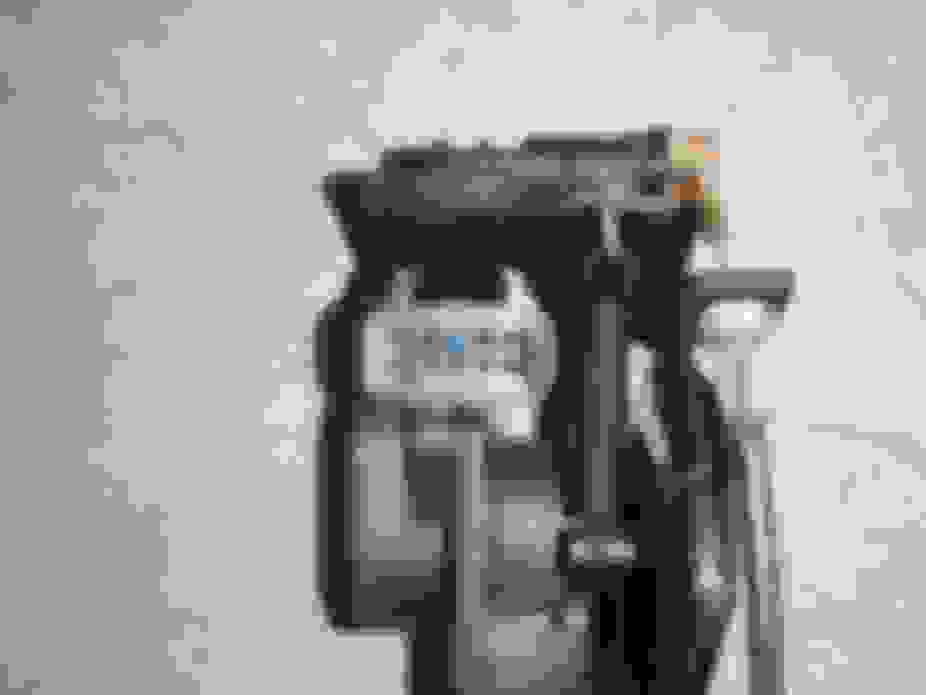
Throttle Body/DBW Pedal
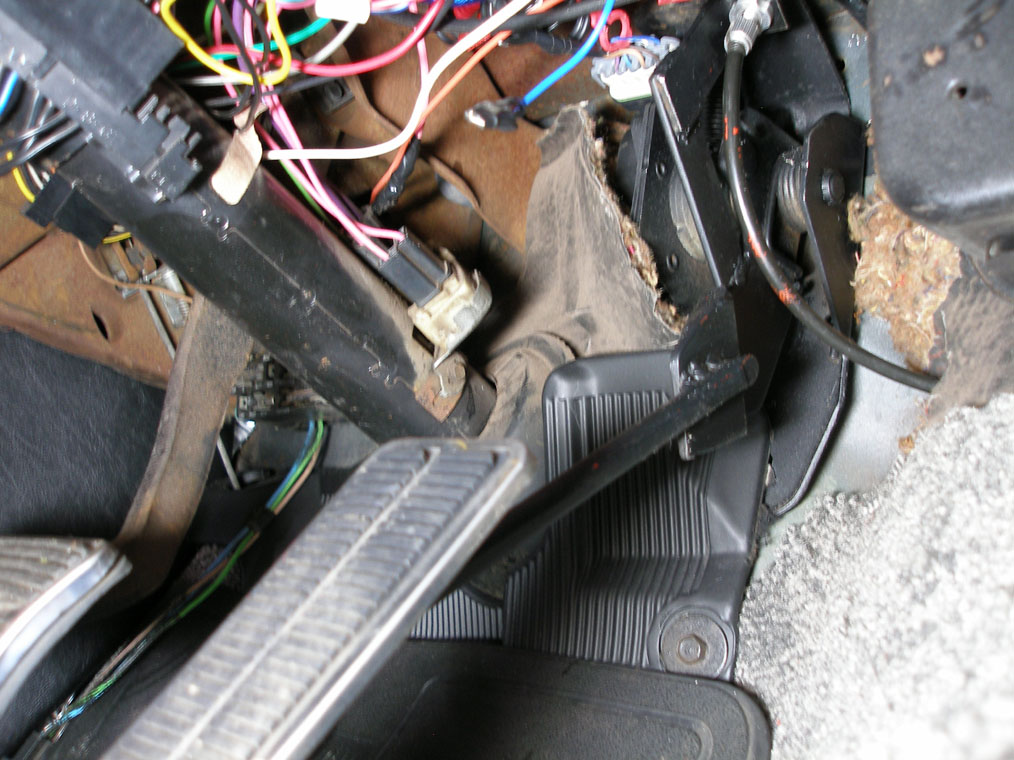
I used the stock 78mm fly-by-wire electronic throttle body, and found an FBW pedal and TAC module out of an Avalanche to use with it. I made a Franken-pedal by cutting off the stock original pedal, and did a little cut-and-paste onto the upper part of the FBW pedal assembly to retain the 70’s-looking pedal pad on the electronic pedal’s position-sensing servo (see below for a pic of it). As is noted later on, I used a TH350 which I needed to find a place to mount the kickdown cable to. Since this pedal is the only point in the acceleration-control system that actually rotates, I had to rig up the kickdown cable to the electronic pedal. I did this by measuring the pedal sweep in degrees, and through some nifty trigonometry I found out where on the pedal and the pedal’s base to weld on some bracketry to mount the cable, in order for the cable to be pulled 1inch through the pedal’s 20degrees of rotation.
DISCLAIMER: this one of the first things I attempted welding, please don't judge me!!...
Steering
I hooked the LQ4 power steering pump up to a 1st gen Camaro quick-ratio steering box by making my own high-pressure lines. I bought 3ft of high-pressure braided line from Russell, and using two stainless steel 90* hose ends which adapt to -6AN male thread. I then got an adapter going from the high-pressure -6 to an 11/16” inverted-flare fitting for the steering box. Connecting the high-P line to the pump is an adapter going from a -6AN to metric 16X1.5mm o-ring style fitting. The steering return line is a 5/8” inverted flare from the box to a clamped hose fitting on the pump. Future plans are for a cooler, to tee the high-pressure line to run up to a hydroboost brake booster, and also to have the high-pressure line going to the box run through a pressure-regulating variable restrictor (either automotive-specific or not), because right now the steering is as easy as my friend’s Cadillac Fleetwood! There have been no leaks at all so far.
(EDIT: I have changed the PS setup, for a description & diagram of what the new setup will be, click here)
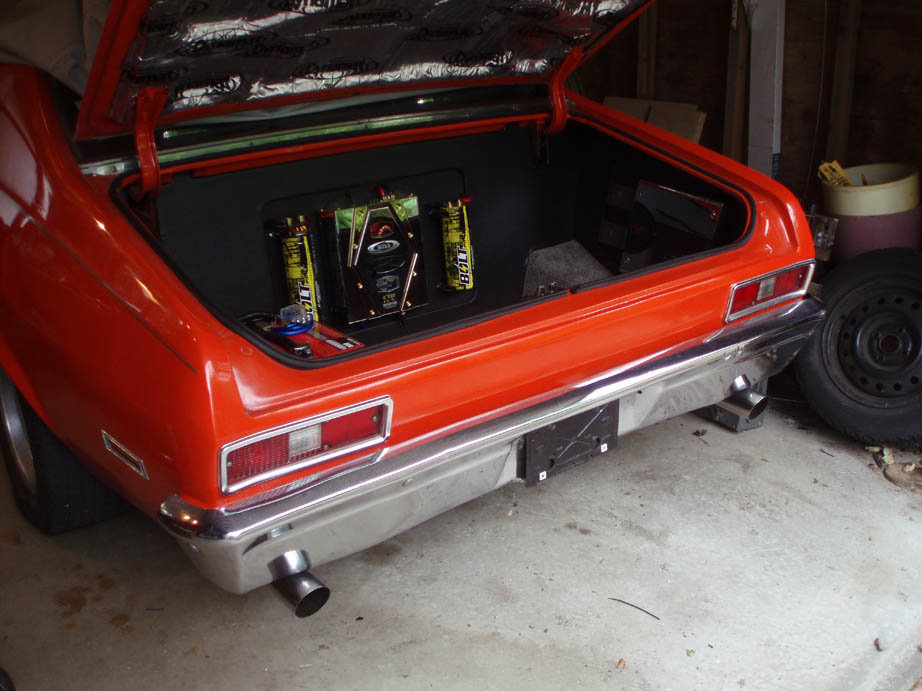
Fuel
I used the stock tank and replaced it with a stock-style 3/8” fuel pickup/sender. I then connected a Walbro 255lph external pump to it, after which went a ’99 Corvette fuel pressure regulator, which oddly enough is listed in the GM catalog under “fuel filters”. The return goes to one of the stock tank ports originally used for the charcoal canister breather line (there’s two of these ports). And the 2nd port I hooked up a breather line which loops around and dumps any fumes underneath the rear bumper. I used hose barb fittings and hose clamps on all these, and used EFI-rated 3/8” line all the way up to the front, where a GM-style quick disconnect fitting from Russell sealed the deal to the stock fuel rail cross-over tube. So far there have been no leaks whatsoever.
(EDIT: I have changed the fuel setup, for a description & diagram of what new setup will be like, click here
Transmission
I re-used the TH350 that came on the 305 which the car came with. Now I know I want a 5- or 6-speed in it, so I tried as hard as possible to spend little-to-no money on this stupid auto. It bolted up fine to the 6.0L flywheel (no spacers required, but unfortunately I ordered them before I found out I didn’t need them) BUT the mounting holes on the flywheel did need some love from a 7/16” drill bit to reduce the bolt circle diameter around �” overall. Also, I needed to use 1/8” washers between the torque converter and the flywheel to get it to bolt up. Because the engine was moved forward an inch, I needed to get the driveshaft lengthened, which even if it is a bit pricey is a good thing going from 2.75” x 0.050” to 3” x 0.063”. Additionally, I welded 3/8” plate onto the front of the original trans x-member and drilled slots, so that the 1-inch-further-forward trans mount would actually be supported by something!
(EDIT: after the one and only drive of this car with the new engine, it's now off the road until it has a T56 in it )
As you can probably tell my build centered mostly around more fabrication and less buying, which did help me save $$ I figure, especially for things like the exhaust headers, tranny cross-member, and various other custom mounting brackets, not to mention welding the entire exhaust piping myself. It was all a big job, but a helluva learning experience for my first LSx swap (of hopefully at least several). Next, 8 cyclinders into some silly formally-FWD import super-sleeper….
I drove it once... however the oil pressure dropped almost to zero. I'm living in a different city now so have to wait 'til christmas break to pull the engine and see what's going on.
Awesome. Nice to see a build thread with lots of pics!
I remember when you were offering me some truck intake advice before. Looks like it clears by a mile in most spots.
Few questions though, when you trim the mounts for the "beauty cover" can they get trimmed flush or will that make holes in the intake?
I'm torn between keeping the truck intake or going with an LS1 intake and injector setup since I can find them locally for about $100. Do you know if the TB's the same? If I keep the truck intake are there readily available larger injectors? Curious since I heard they were different from car ones and since I'm going to add some boost so I know I'll need larger either way.
Also, how much clearance is there for the alternator to the hood?
The mounting bosses can be trimmed flush, no holes will be made in the intake due to how the whole thingy is injection-molded when manufactured.
I do not know if the throttle body is the same as the ls1. I think ls1 injectors should work on the truck intake, but i've heard that you can't swap the truck fuel rail assembly over to the ls1 intake due to different sapcing between the injectors, so i think you'll need an ls1 rail but maybe still are able to re-use the truck injectors?
The alternator didn't need any clearancing around the hood structuce or anything, it is approx. same height as throttlebody and intake tube silicone coupler, which all clear fine on the Nova hood, but it's a pretty flat stock hood. A firebird hood might have a bit more front downslope so it might contact the alternator/throttlebody?
Absolutely wonderful. I am in the middle of doing the exact same setup in my '71, so this is GREATLY appreciated. I take it you used the stock truck accessories?
Yes, I did use all the truck stuff. The engine as it sits in my car is the exact same as when it arrived on a slate, except I pulled the clutch fan.
Yea I am a member of Steve's but I hardly eve go on there, I've been meaning to get on it more to read all the posts over there, seeing as I've more or less read most of the posts in the Conversions section here
great write up.. I guess that schooling is paying off... good job on the low cost swap.. It goes to show you can get one done without going the high cost (bling and show stuff) way. Being a Stock, many low cost alternative can be used.
Good engineering on the TV cable and using it on the pedal ! How about a few more pictures of the setup.. When i do my 71 Nova.. I might take your route on it, it will also clean up the engine bay by not having one more cable being routed into it.
Overall. great car...! keep us posted on your oil problem.
Thanks!
Yea for the electronic throttle body there really is no other way of connecting the TV cable <-- (wrong, actually a kickdown cable) that I could see because nothing external physically rotates anywhere on the throttlebody, so the pedal idea is really the only thing I could think up. I've tried taking pics but it seems camera's don't like being so close and in such little light, very few pics are even half-decent, but I'll try again sometime soon.
I wanted to dump as little money into the th350 as possible because I knew I'd eventually want a stick, but now I think I'm just gonna throw in a T56 ASAP and get rid of the auto.
As for the whole swap, I will eventually clean things up when I get a TIG welder/make my own stainless headers/possibly turbo?/have the time and garage space to rip the subframe out and redo everything ground-up with fresh paint. So far it's a temporary-ish setup to just get everything running so I can drive the damn thing!
The paint looks a bit better in photos than in life, it's got some scratches and dents that are noticable in person, and paint will be the very last thing I do to it. I kinda like it like that, build it up with speed parts but have it still a bit raggy like I'm "just another young kid in an old car with rims..."
Also, the oil problem... I'm thinking it's the oil tube itself. I cut and welded the stock truck oil pick-up so it'd fit in the modified pan, but the tube might've warped during welding and so when the pickup support strut bolts to the windage tray bolt, it torques it and doesn't let the pickup seal to the o-rin/pump properly, because I've already replaced the o-ring.
PS.. I've tried to be as helpful/descriptive as possible to share my experience and knowledge gained, because it seems that questions about an LS1 into a 3rd gen Nova are popping up more and more.. (even though 1st gen Camaro's and 3rd gen Nova's have damn similar underpinnings)
I posted a link to this thread in the LSx rally point and "LSx into a 3rd Gen?" threads at Steve's. There's a lot of interest and, although it's pretty much the same at the early f-bodies, there are few specifics on the swap. It does seem a lot easier than people think. I'm just pumped that someone actually took the time to outline what they did. Next will be the T56 write-up, specifically modifying the trans tunnel and x-member. I'll hopefully be done with my 6.0L/T56 by then.

 09-04-2008, 11:39 AM


 )
)