Camaro and Firebird: How to Replace Power Window Motor
Here's how to replace a defunct power window motor and getting it working properly once again.
This article applies to the Camaro and Firebird (1990-2015).
While some folks get lucky and have a little warning of their power window motor's impending demise, most of us suffer from a "surprise" moment of failure. You may get stuck with a lowered window in the cold or pouring rain, or a window that won't roll down when you're just trying to get some drive-through grub. If you don't hear the power window motor humming away when you press the window switch, chances are your motor has decided to kick the bucket. Thankfully, the power window motor isn't too terribly difficult to replace, and you can save some hamburger money by doing it yourself.

Materials Needed
- Phillips head screwdriver
- Door panel removal tool or putty knife
- Drill and drill bit
- Replacement power window motor
Step 1 – Remove the door panel
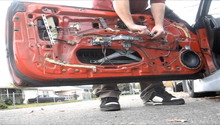
There are five Phillips head screws that must be removed first, all of which are located around the door handle. Once you've removed those five screws, use a door panel removal tool or putty knife and work your way around the outside of the panel to release it from the plastic retention clips. Once loose, lift up and away from the door to remove the panel. Carefully peel back the plastic moisture shield away from the door skin so that you don't rip it.
Step 2 – Remove power window motor
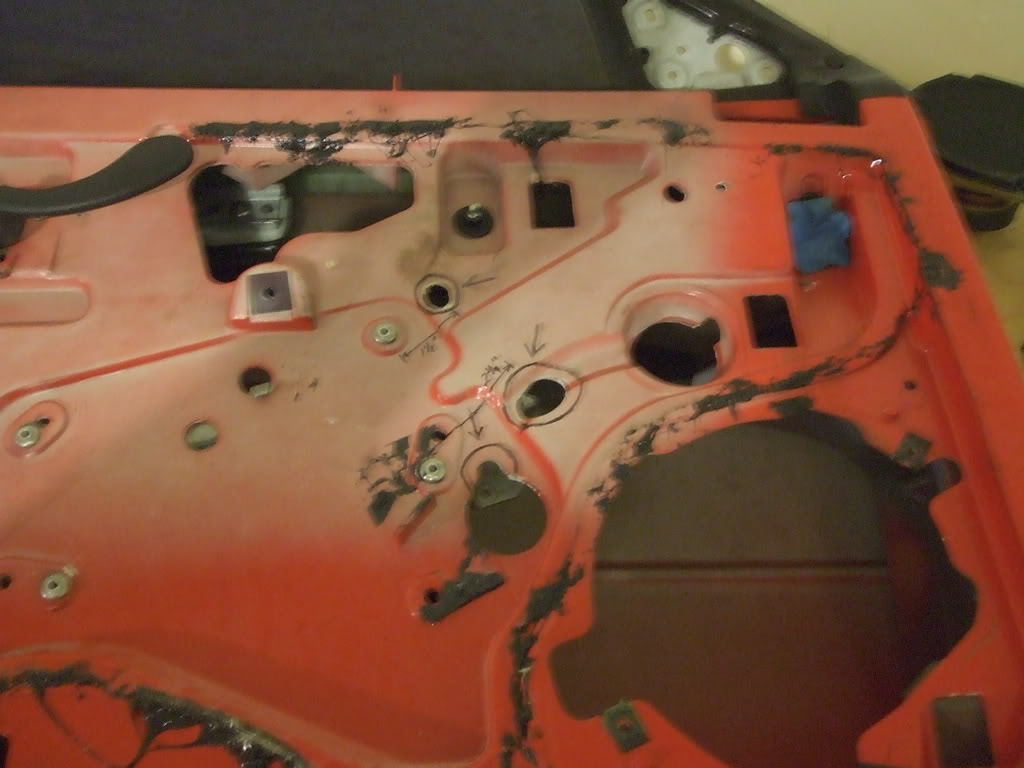
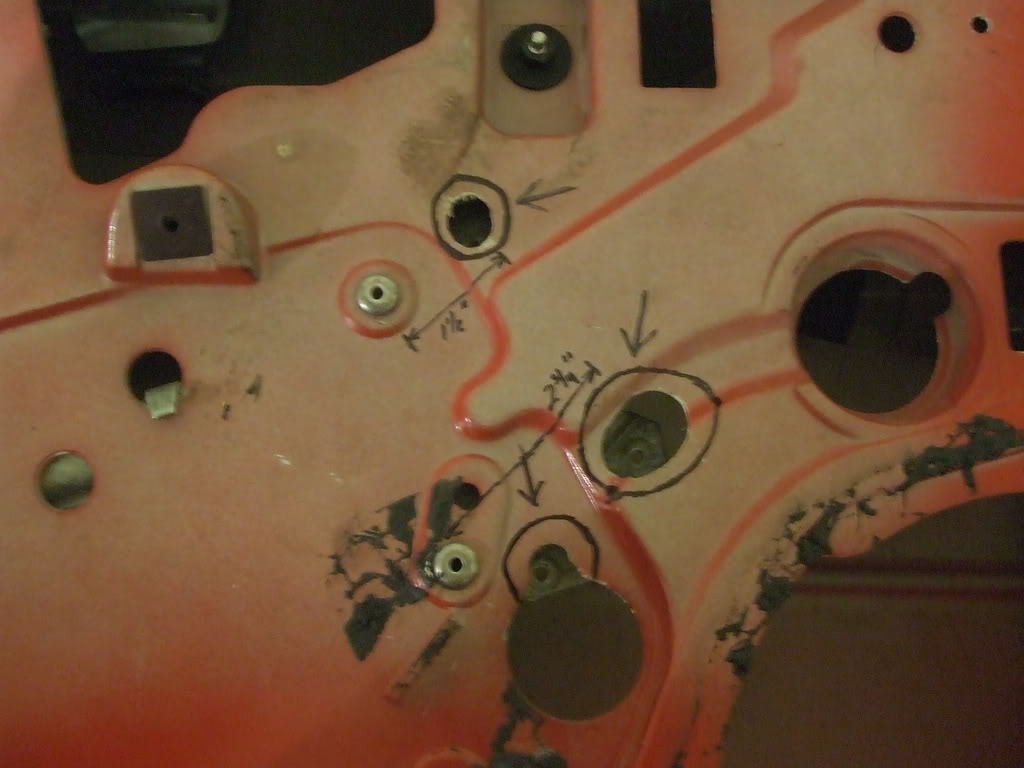
Instead of using screws like many other cars, GM decided to rivet the power window assembly inside the door frame, which means you will need to drill them out to remove it and access the motor. The three circled holes in Figure 2 are the ones you will need to drill to access the three rivets. In the picture, you can see approximately how far over these rivets are located from the exposed rivets. Once you drill the holes, drill out the rivets. Disconnect the wiring harness from the motor and remove it.
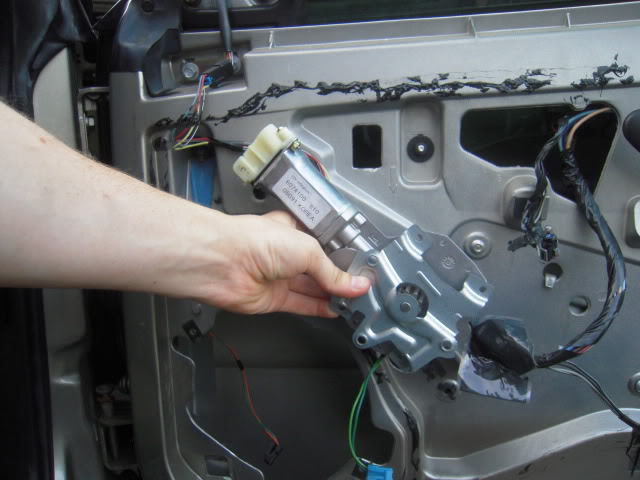
Step 3 – Install the new power window motor
Connect the wiring harness to the new power window motor and guide it into place. Replacement motors come with screws, meaning you won't have to have a riveter to install it. Simply screw the new motor in. Once complete, slide the door panel back in place and push down around the edges to secure it in the clips. Replace the five screws in the panel, and you're done!
Related Discussion
- How to Replace Your Power Window Motor - LS1tech.com