Chevrolet Camaro 2010-2015: How to Install HID Headlights
Installing HID headlights in your 5th generation Camaro will make your lights much brighter. Read on to learn how to complete this installation.
This article applies to the 5th Generation Camaro (2010-2015).
Replacing your stock headlights with HIDs will make your headlights much brighter. Whether you want to see the road more clearly, or you want to modify your lights and make them the brightest around, this DIY will help you achieve both. To install HID lights, you will need a conversion which comes with the HID kit. Read on to learn how to install HID headlights in your Chevrolet Camaro.

Materials Needed
- HID headlight kit
- Socket
Repeat the following steps on both sides of the vehicle.
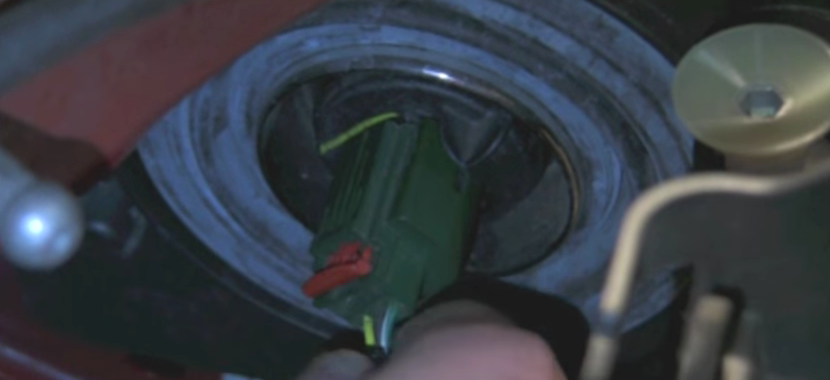
Step 1 – Replace headlight bulb
Before installing the conversion kit, just remove the old bulb, and install the new one. You can achieve that by simply reaching behind the headlight, pulling on the red tab on the bulb's electrical harness, then pulling the electrical harness off. Twist the bulb counter-clockwise to remove. Install the HID bulb in place, making sure the grounding strip on the bulb is facing up, then turn it clockwise 90 degrees to lock it into place.
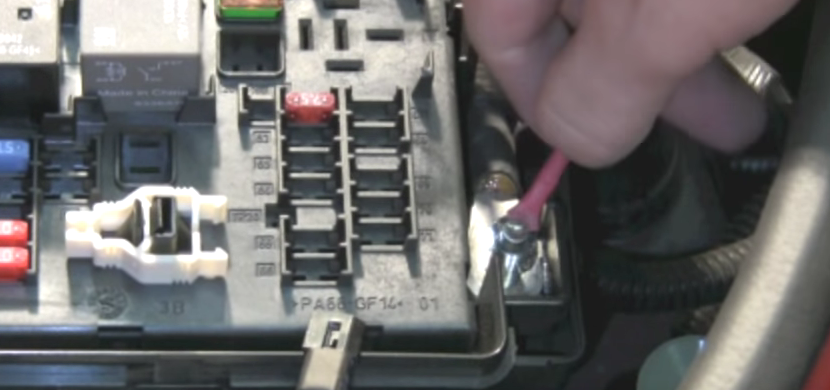
Step 2 – Connect power wire to fuse box
Follow your manual to understand which wire is which. The power wire connects to your accessory post in the fuse box. Open your fuse box, remove the nut on the accessory post, then install the power wire and tighten the nut over it.
Step 3 – Connect wires' connections together
Connect the main wiring harness with the xenon configuration to the stock headlight connector.
Connect the second connection that connects to the ballast, then connect the ground wire to the bolt holding the fender in place. Simply remove the bolt, then put the ground, and feed the bolt through it.
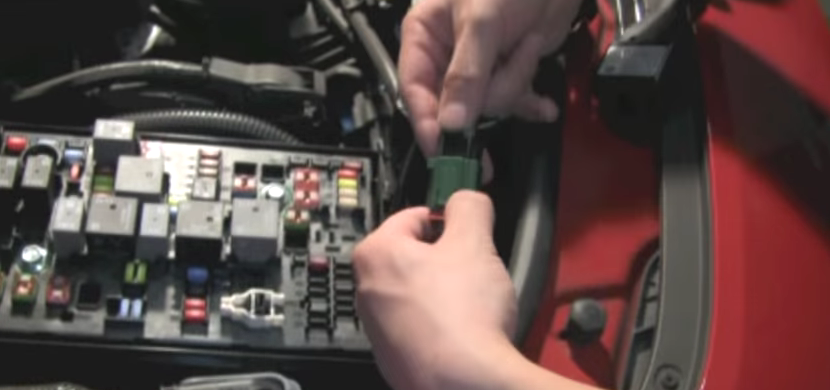
Figure 3. Connect main connector. 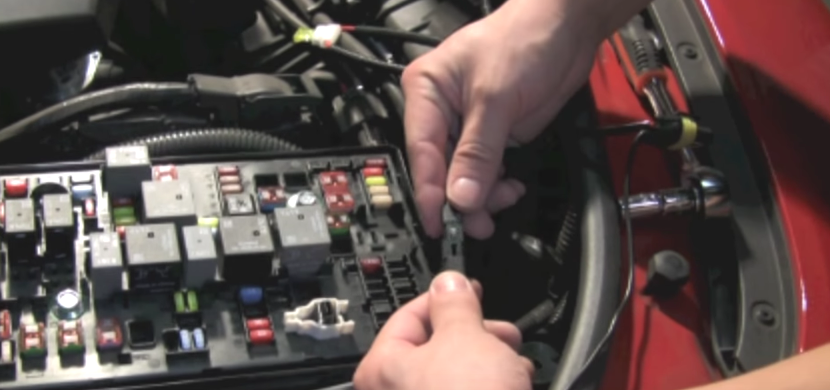
Figure 4. Connect ballast. 
Figure 5. Connect ground.
Step 4 – Connect ballast
Connect the power wire from the accessory wiring harness to the ballast. Then, connect the other two wires to the wires coming out of your HID bulb. Mount the ballast along the fender using the zip ties included with your kit.
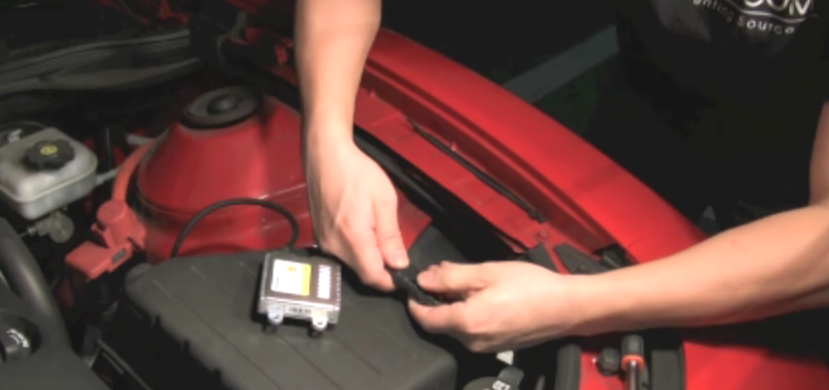
Figure 6. Connect power to ballast. 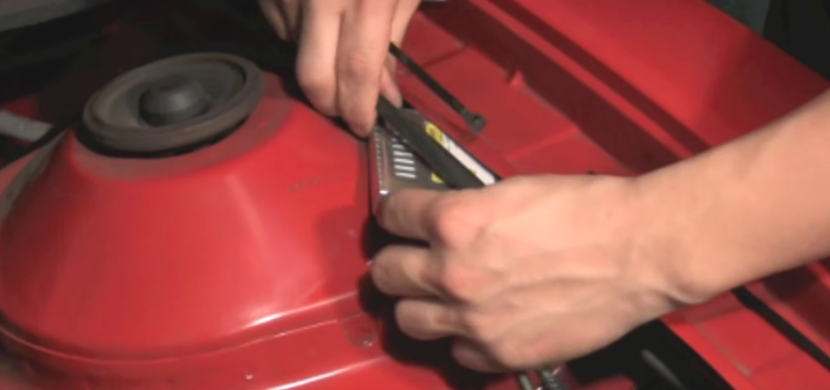
Figure 7. Mount ballast along fender.
Featured Video: How to Install HID Headlights
Related Discussions
- HID kit install - Ls1tech.com
- How to put HID lights - Ls1tech.com