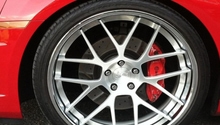
Chevrolet Camaro 2010-2015: How to Paint Your Brake Calipers
So you want to paint the calipers on your Camaro? We've got an excellent paint product that will help you do the job right (and fast).
This article applies to the Chevrolet Camaro (2010-2015).
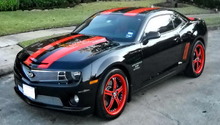
Some exterior modifications are so easy and affordable to complete, you'll simply want to do them on your own. Painting the calipers on your Camaro is one such modification. This do-it-yourself project requires only a few hours of work, and the total cost would be considered "highly affordable" by most Camaro owners. Best of all, brands such as G2 USA offer complete paint system sets that you can purchase online or from a local auto parts store. So say goodbye to searching for specialized tools and hello to a DIY project that is straightforward and simple.

Materials Needed
- G2 Caliper Paint System Set or similar caliper paint kit
- Additional paint brush (optional)
- Plastic bags and painter's tape
- Jack and jack stands
- Lug nut wrench
When it comes to at-home automotive paint applications, there are a number of options from which to choose. Many (2010-2015) Camaro owners swear by the G2 Brake Caliper Paint System Set, which retails online for approximately $40. This self-leveling paint system dries to a "high gloss" finish that many automotive enthusiasts say rivals a professional paint job.

Pro Tip
Even if your paint set comes with a handy paint brush, you might want to consider upgrading to a standard hardware store paint brush instead. That way you won't need to worry about some of the bristling becoming stuck in your paint.
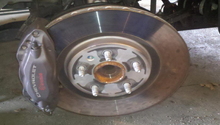
Step 1 – Remove wheels
Remove the wheels of the calipers you want to paint. Undo the lug nuts slightly, lift the car and secure using jack stands, and finish removing the lugs.
Step 2 – Prepare the paint
When using a two-part system, you'll need to start by mixing your two products (e.g., paint and hardner) together to form a kind of 'epoxy paint'. Set the paint aside for a moment while you allow the two products (that should come with the kit) to activate.
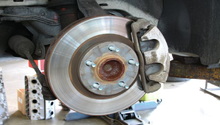
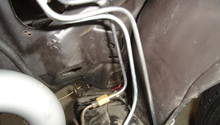
Step 3 – Clean the calipers
Clean your calipers using a caliper cleaner; your paint system set should come with one. Spray your calipers entirely. Wipe then clean after the cleaner has had time to react and lift dirt.
Pro Tip
Though you might be tempted, stay away from degreaser products. Stick to a caliper cleaner only.
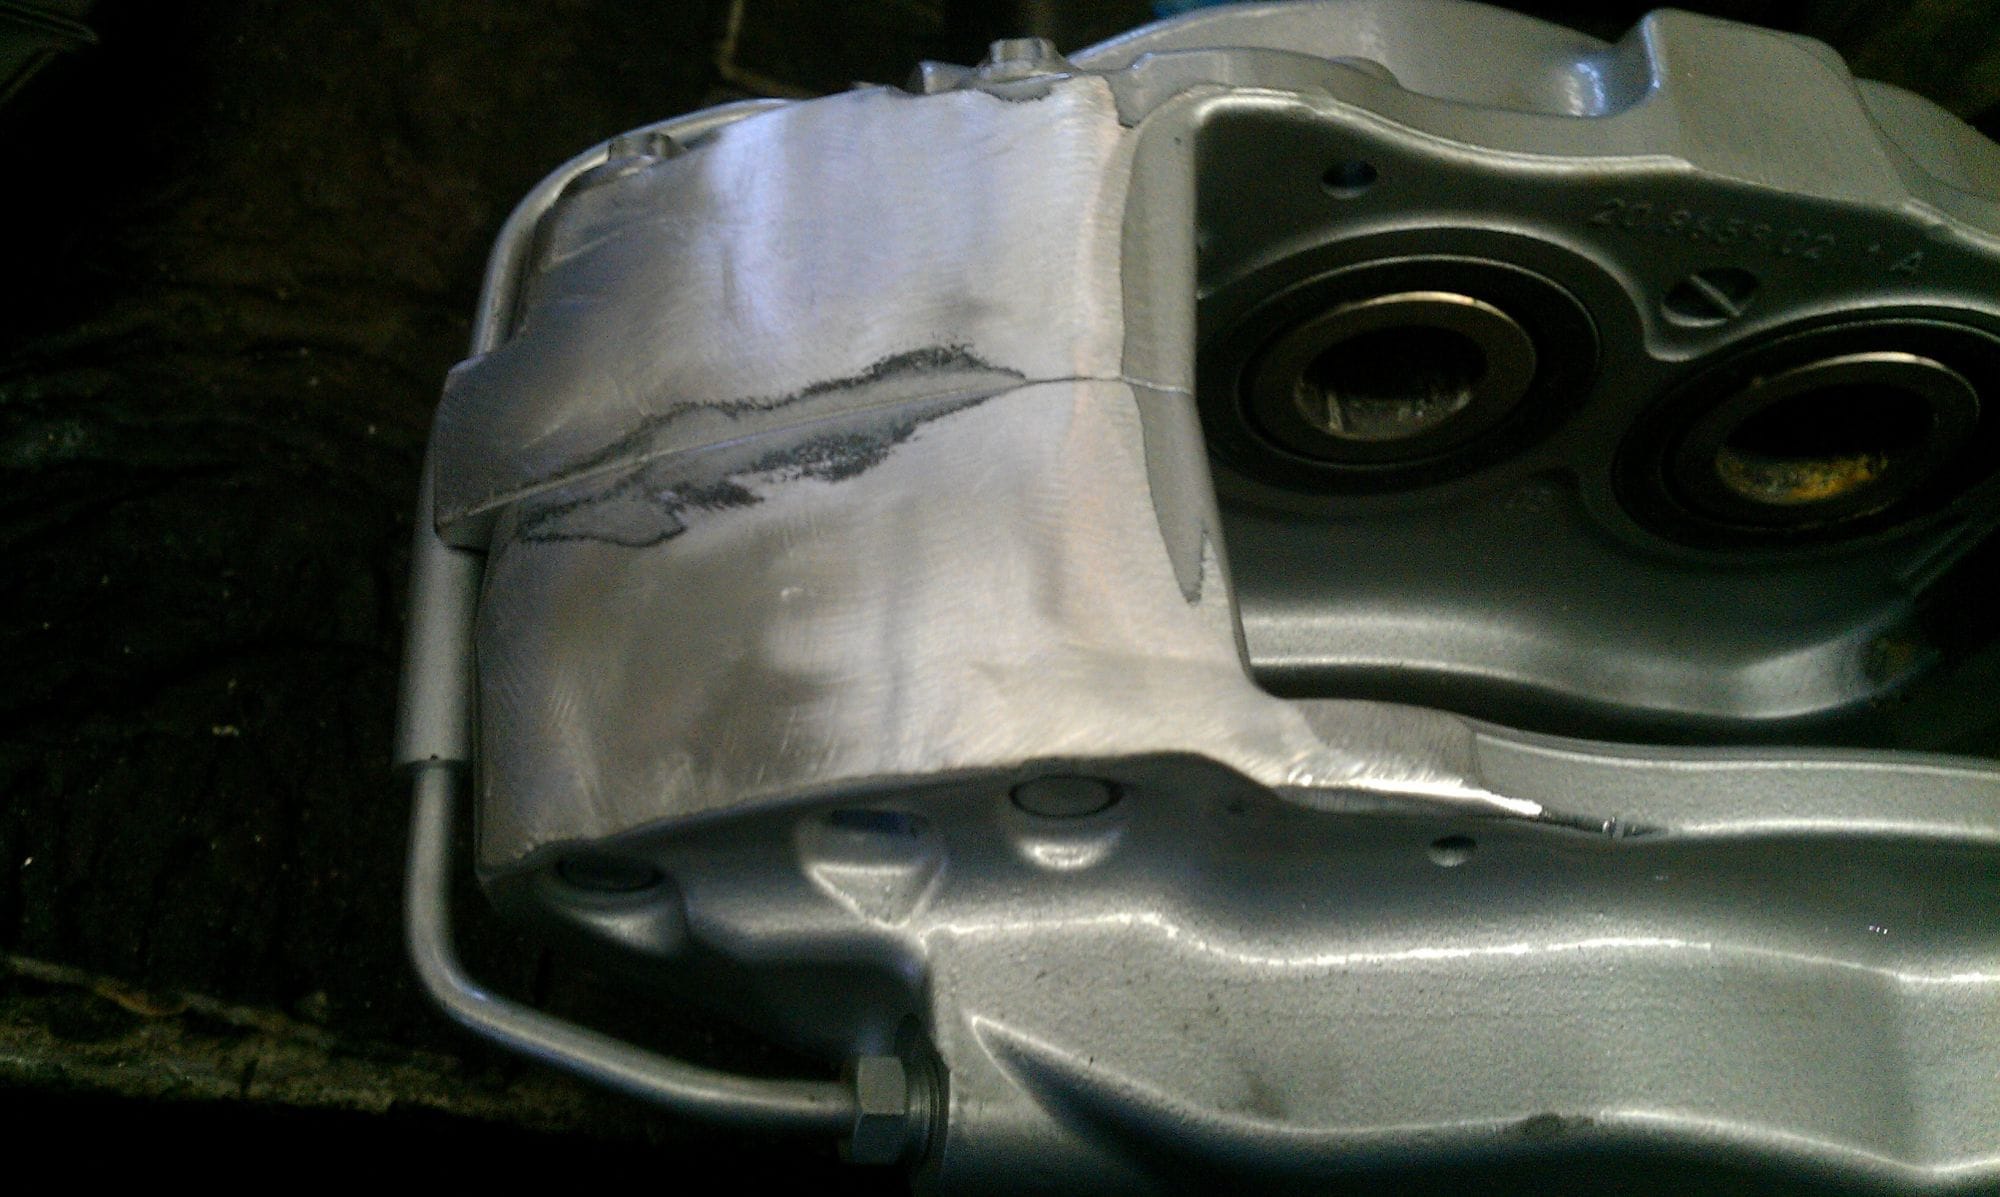
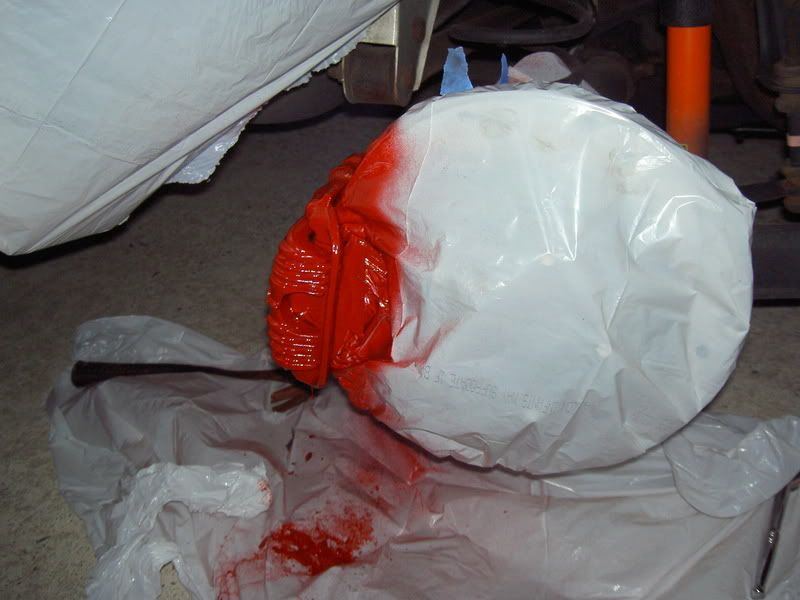
Step 4 – Protect rotor and other components
Use a plastic bag and painter's tape to cover and protect any areas you don't want to be accidentally brushed with paint.
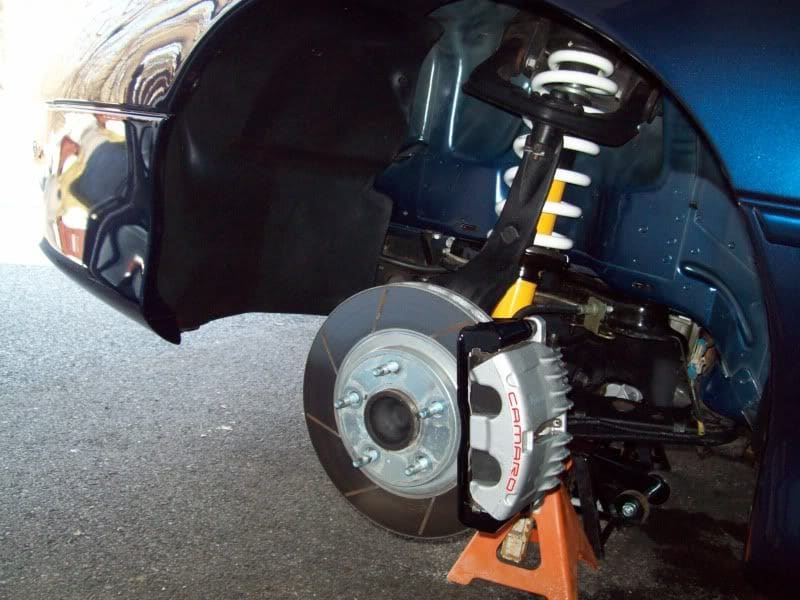
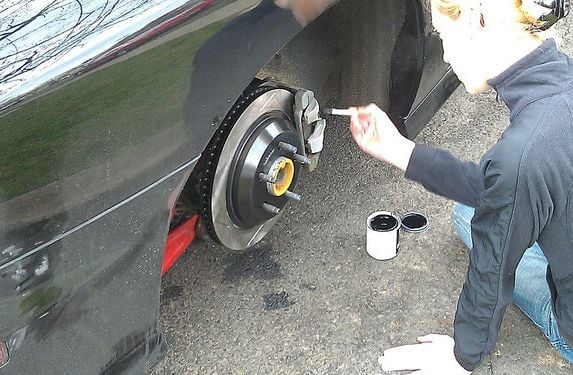
Step 5 – Paint the calipers
Go ahead and dip your paint brush into the paint, and begin applying a fresh coat of paint to your caliper. Move from one side to the next, using an even back-and-forth motion. Overlap each section until the caliper is completely painted. Wait 15 minutes and then apply a second coat of paint. You may apply a third or forth coat, as well. It's recommended to wait 24 hours before re-installing your wheels or driving your car.
Pro Tip
Typically, it takes about 90 minutes for your paint to dry, and 24 hours for it to completely cure. Remember, you should only wait 15 minutes between coats. Add decals once your paint is completely dry, if desired.
Featured Video: Painting Brake Calipers
Related Discussion
- How to Paint Brake Calipers - LS1tech.com