Chevrolet Camaro 2010-2015: How to Change Automatic Transmission Fluid
To ensure a properly working transmission and not to wear out the components prematurely, it is essential to replace the transmission fluid and filter at the specified intervals. Continue reading to find out how.
This article applies to the Chevrolet Camaro (2010-Present).
To be able to replace the entire amount of transmission fluid, a transmission fluid flush is needed. With the method described below (without a flush) about half the transmission fluid is replaced. One way to tackle this problem could be to replace the transmission fluid more often than the specified replacement intervals. This means that the old fluid left in the transmission is diluted with the new transmission fluid more and more for every replacement.

Materials Needed
- Jack and jack stands
- Flat head screwdriver
- 10mm and 14mm socket
- Socket wrench
- Oil drain pan holding at least 7 quarts
- Transmission pan gasket
- Hose and funnel
- Torque wrench (optional)
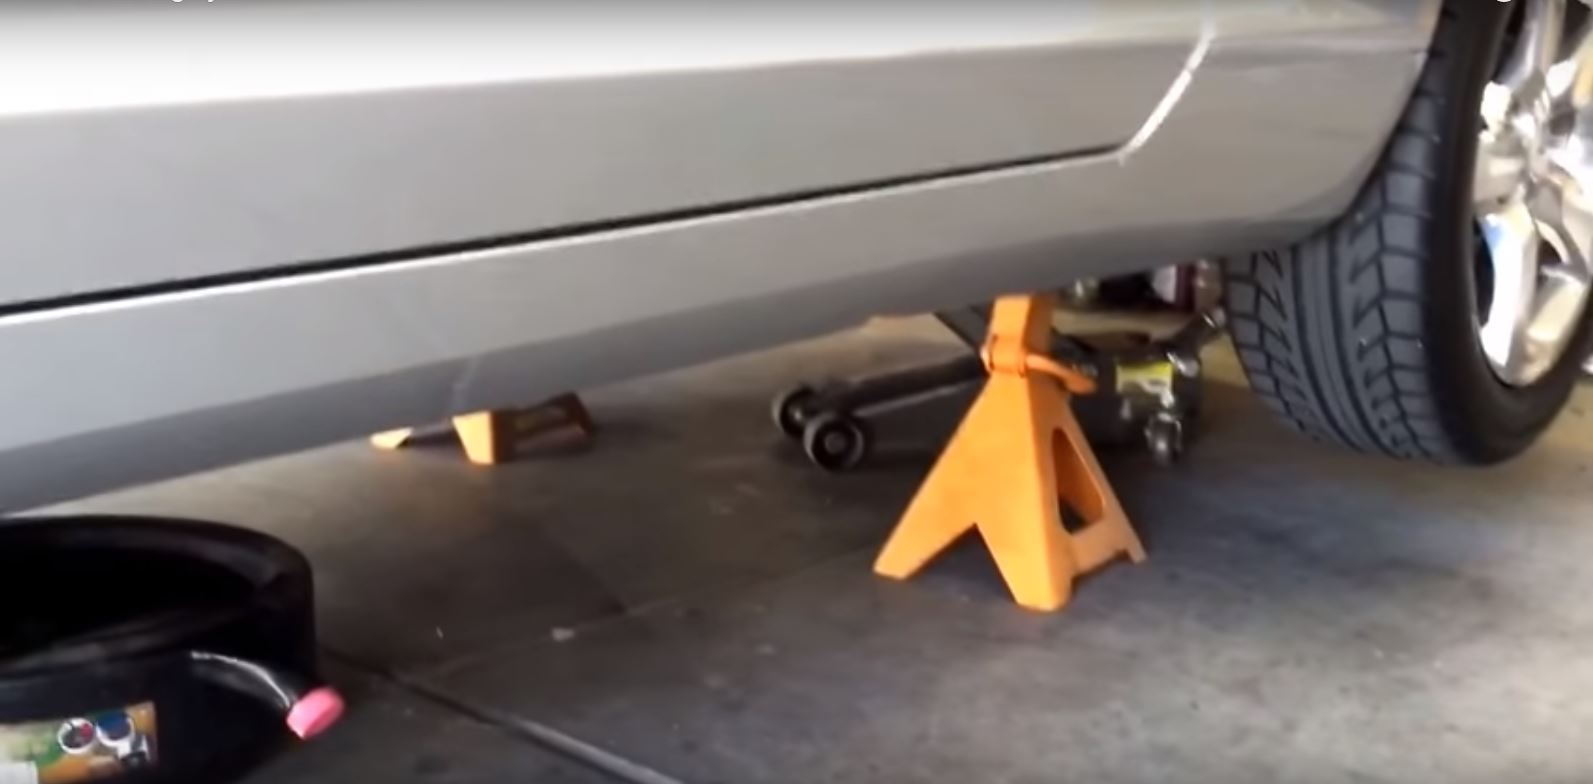
Step 1 – Jack up your car
Jack up your car and put it on jack stands. Make sure the car is level.
Pro Tip
It is very important that your car is level. When you fill the transmission with new transmission fluid, you need to have the car level to ensure the correct level.
Step 2 – Remove the transmission pan
Put an oil drain pan under the transmission. First unscrew the plug in the middle of the transmission pan using a 14mm socket and let the transmission fluid drain out. Then unscrew all the bolts around the edge of the transmission pan using a 10mm socket and gently remove the entire transmission pan. Be prepared, the transmission pan holds several quarts of trapped transmission fluid that could potentially pour out when the transmission pan is removed.
Step 3 – Replace the transmission filter
Once the transmission pan is removed, the transmission filter is visible. The transmission filter is located right under the transmission pan. Remove the filter by wiggling it a little bit and pulling it off at the same time. When the filter is removed, refit your new filter.
Step 4 – Refit the transmission pan
Remove the old gasket and put a new one on the transmission pan. Put the transmission pan back on the transmission and re-screw all the bolts around its edge and tighten them according to factory specifications. Then re-screw the center plug on the transmission pan and tighten it loosely. You are going to remove it again later.
Step 5 – Refill the transmission with fluid
The transmission filler hole is located on the passenger side.
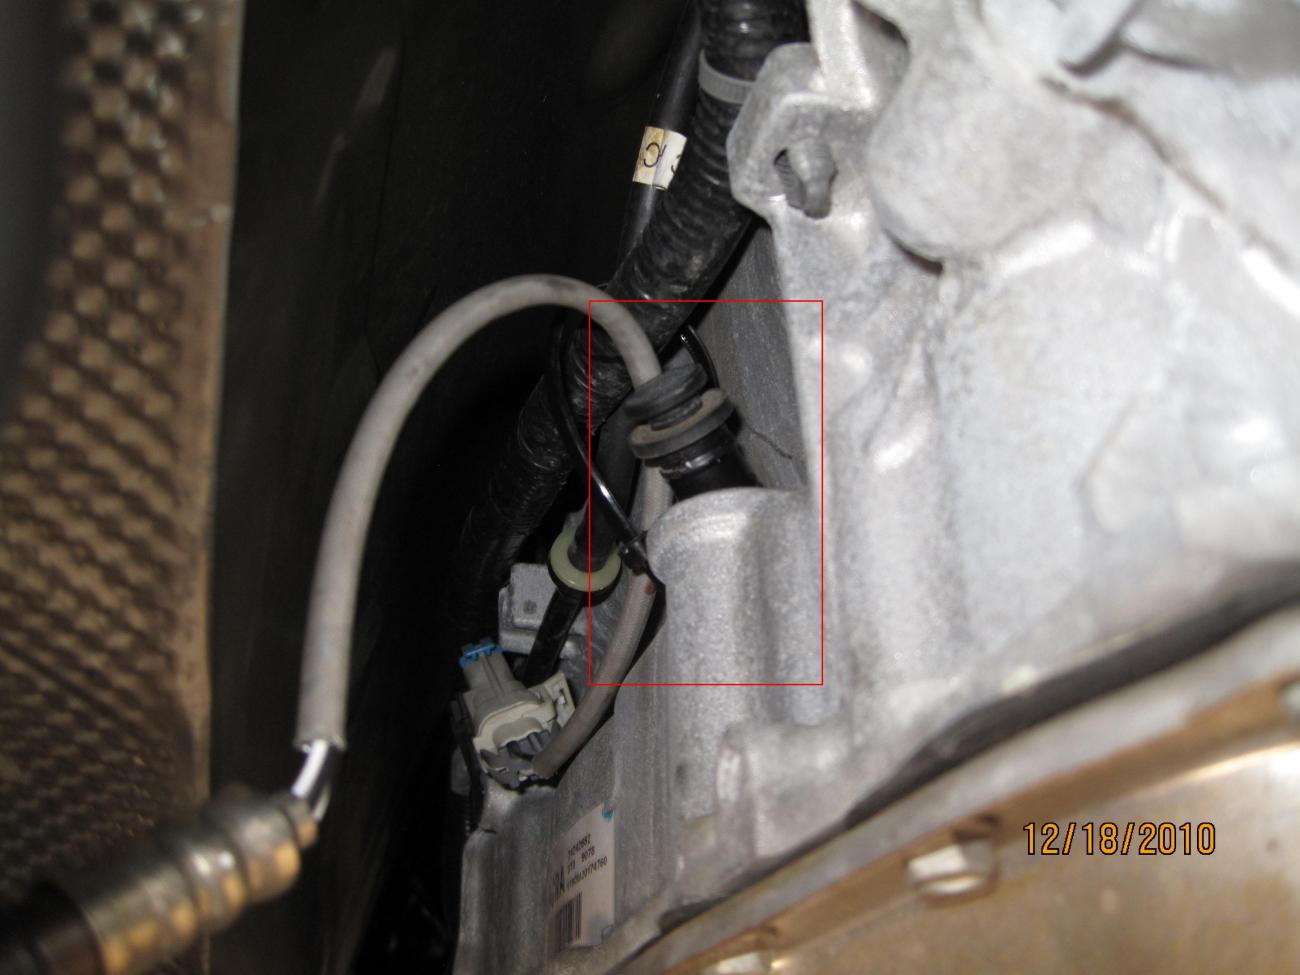
Use a flat head screwdriver and pry the rubber plug out from the filler hole. Next, put a hose in the filler hole and guide the hose up through the engine bay. Pop the hood open and put a funnel in the end of the hose you just guided up there.
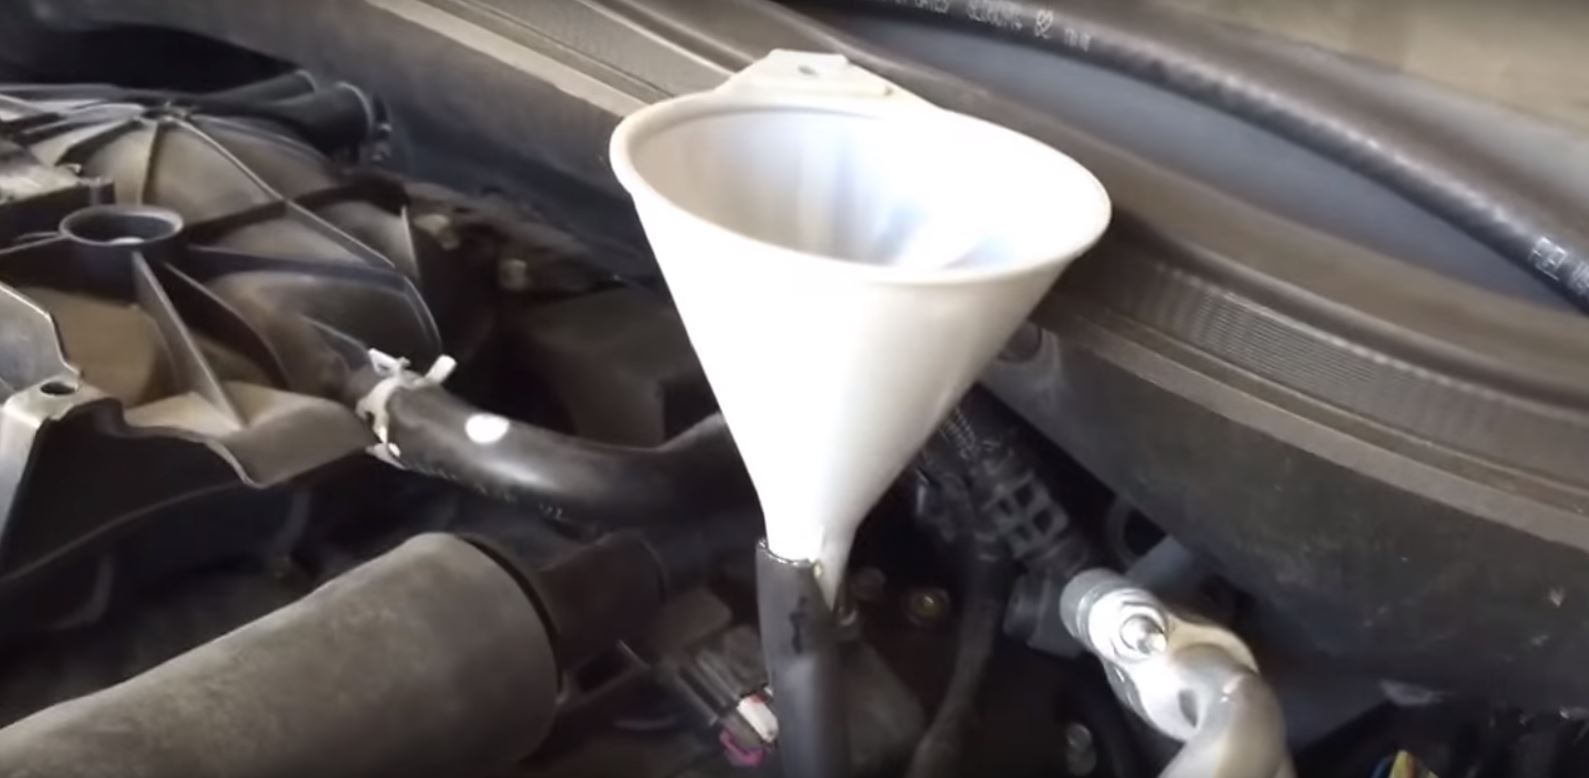
Pour about six quarts of transmission fluid into the funnel.
Step 6 – Adjust to get the correct transmission fluid level
Get in the car and start the engine, then let it idle. Run the transmission through the gears, leaving it in each gear for a few seconds. Let the engine idle at all time. Watch the Driver Information Center in the middle of the dashboard to see the transmission temperature. Run through the gears as described above until the temperature is between 86 to 122 degrees Fahrenheit. If the transmission gets too hot, switch off the engine and let it cool, then repeat the procedure above.
Now put the shift lever in P (park). With the engine still idling, get under the car and remove the plug in the middle of the transmission pan (this plug is actually the fluid level check plug). During this step it is very important that you check the temperature of the transmission fluid on the dashboard now and then to make sure it is within the specified range. If the temperature is not within the range, you get too much or too little fluid in the transmission.
Now pour more transmission fluid into the funnel until you see some fluid coming out of the hole in the middle of the transmission. Wait until the transmission fluid is dripping out of the hole. If the transmission fluid is flowing in a steady stream from the hole, wait until it is only dripping. Then re-install back the plug and torque it according to factory specifications.
Pro Tip
It is very important to get the correct level of fluid in the transmission. Too little or too much fluid can ruin your transmission, so this step is very important.
Featured Video: How to Change Automatic Transmission Fluid
Related Site
- Automatic Transmission Fluid Change - Camaro5.com
