Camaro and Firebird: How to Fix a Tire Leak
If your tire has a slow leak from a puncture, learn how to plug or patch it up with this DIY article.
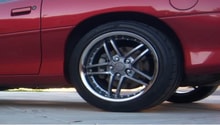
This article applies to the Camaro and Firebird (1996-2015).
Flat tires are caused by many different factors, but road debris is the most common one. Often, the puncture can be "repaired" by patching or "plugging" it. Patching the tire is a more involved process and requires more tools. The tire would need to come off the rim itself, and the underside of the tire where the air "lives" would get rubber patch pasted and bonded on. A plug, on the other hand, places filament into the holes, essentially plugging the hole/puncture. This is a temporary, almost band-aid type of fix. Plugs can fail over time especially if the hole is bigger than the plug or irregularly shaped. Eventually, a real patch should be applied or the tire replaced altogether. Furthermore, if the nail or debris has caused a puncture on the sidewall away from the tread, a plug or patch will not help and only cause a dangerous situation. At that point, the tire should be replaced.

Materials Needed
- Jack and jack stands
- Lug wrench
- Pick/awl
- Skinny flat tip screwdriver
- Soap and water mixed in a spray bottle
- Tire plugging tools
Step 1 – Perform a visual inspection
To determine the cause of your leak before plugging or patching, you'll need to find the source first.
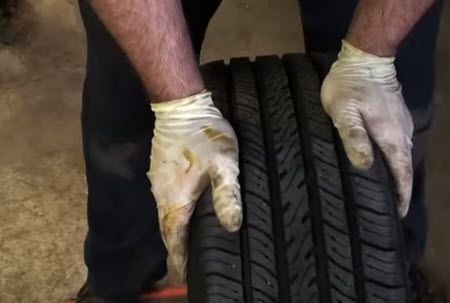
- Jack up and support your car, then remove the affected tire.
- Rotate the tire and visually inspect the tread.
- Use a pick/awl to remove any rocks or other immediately noticeable debris.
Pro Tip
Check the sidewalls and rim area of the wheel where debris can get stuck.
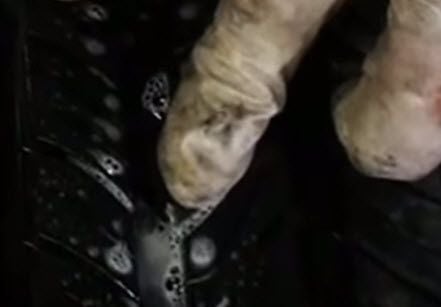
Step 2 – Spray water and soap on tire
Sometimes, a nail or other debris could be tiny or dirty enough to blend in within the grooves of the tires. This test will help you spot the air leak easier.
- Spray sections of the tire after removing all possible debris. Let the areas sit for five to ten minutes.
- Observe the areas for bubbles forming.
- The air leak is evident where bubbles concentrate in one area and start to foam.
Pro Tip
Use a spray bottle with more soap than water combination.
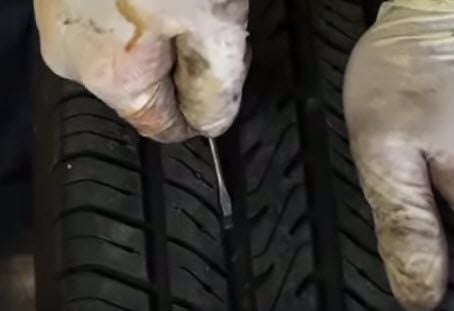
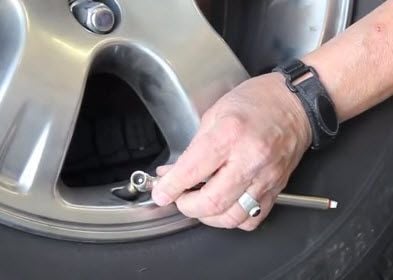
Step 3 – Remove nail/debris
Now that you have located the source of the air leak, the nail or other debris can be removed.
- Use pick or awl to pry the nail out.
Pro Tip
You can use long, needle nose pliers for extra grip.
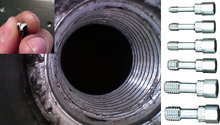
Step 4 – Plug the hole
Once the debris has been fully removed, it's time to plug the puncture.
- Spray silicone grease onto your tire plug tool.
- Insert the tool into the puncture.
- Insert the plug into the puncture to form the plug.
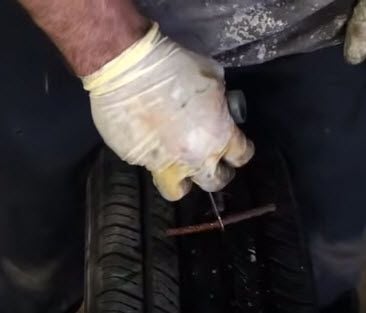
Figure 4. Puncturing tire with plug tool. 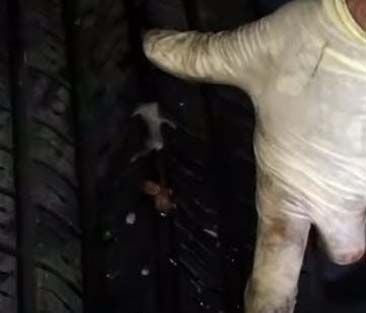
Figure 5. Puncture filled with plug.
Pro Tip
For a more stubborn puncture, you may need to use a hammer to coerce the plug and tool to enter the hole.
Step 5 – Test the seal
Now that the plug is formed, you'll need to ensure the tire is holding air properly.
- Re-install the wheel, then inflate the tire to the recommended PSI. This information can be found on the sticker in the door jamb or within your owner's manual.
- Check the tire after some time to ensure the pressure is stable.
- If pressure has lowered again, repeat the above steps to find another puncture.
Pro Tip
If you have already plugged the tire once, it might not be wise to proceed with another plug. It is best to get the tire replaced if air is still being lost after one attempt to plug it.
Related Site and Video
- VIDEO: How to Plug a Tire - YouTube.com
- Plugs vs. Patches - Tires.about.com