Chevrolet Camaro 2010-2015: How to Install Subwoofer
Your subwoofer is what gives the bass notes in your music some extra oomph, and is a common upgrade for an audio system.
This article applies to the Chevrolet Camaro (2010-2015).
An aftermarket subwoofer is the one of the most common car audio upgrades. In many applications it can add a new level of depth to your sound system. In this article we will cover how to mount the subwoofer in its enclosure, and hook the enclosure up to the amplifier outputs.

Materials Needed
- Drill with Phillips bit
- Subwoofer
- Amplifier
- Subwoofer enclosure
- Speaker wire (length will vary based on application)
- 3/4" wood screws
- 1/8" drill bit
- Sharpie (black or silver)
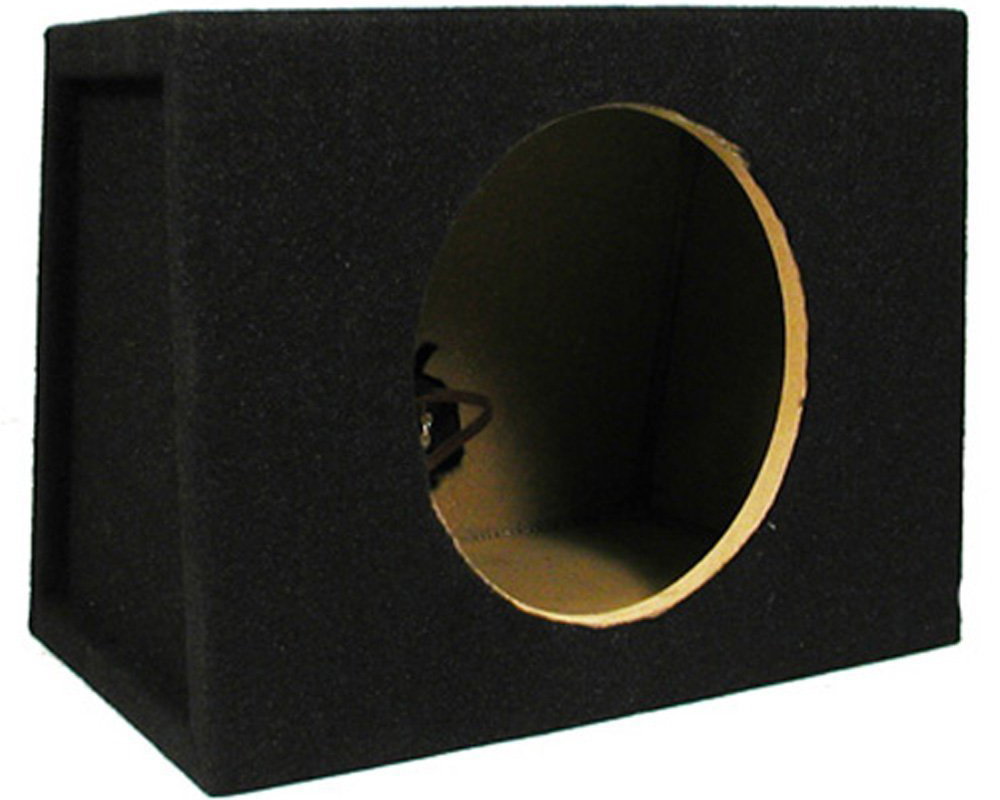
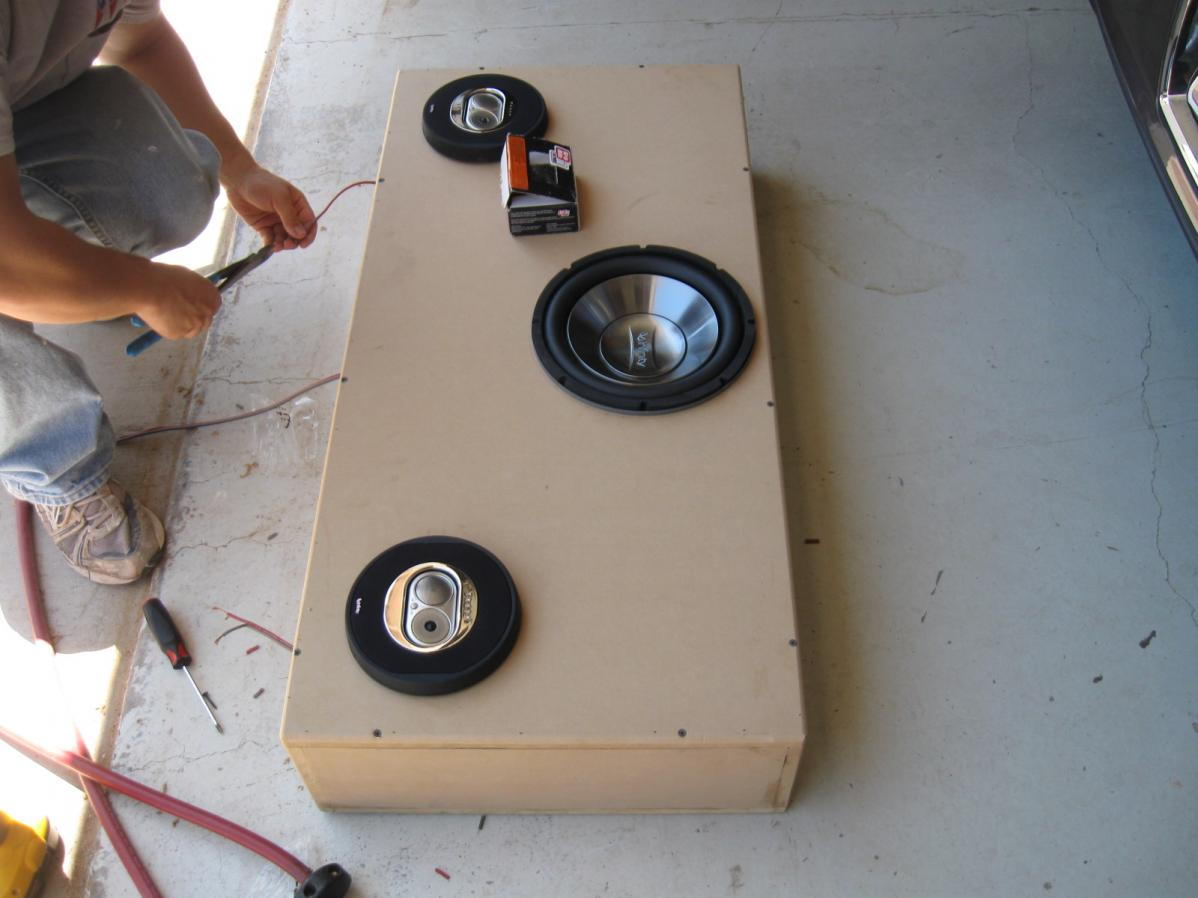
Step 1 – Place the subwoofer in the enclosure
Set the subwoofer in the enclosure and ensure that the magnet or basket do not contact any internal baffles or framing for the enclosure. Rotate the sub so it is facing the desired direction and, with a Sharpie, mark the mounting holes from the subwoofer onto the enclosure.
Step 2 – Wire the enclosure
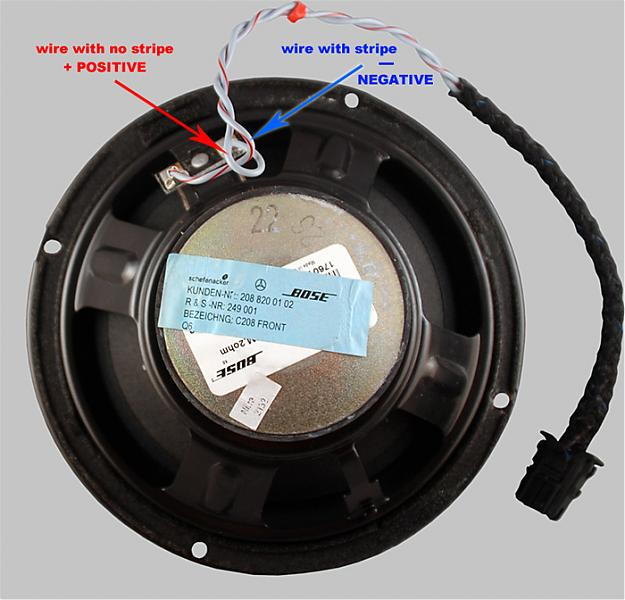
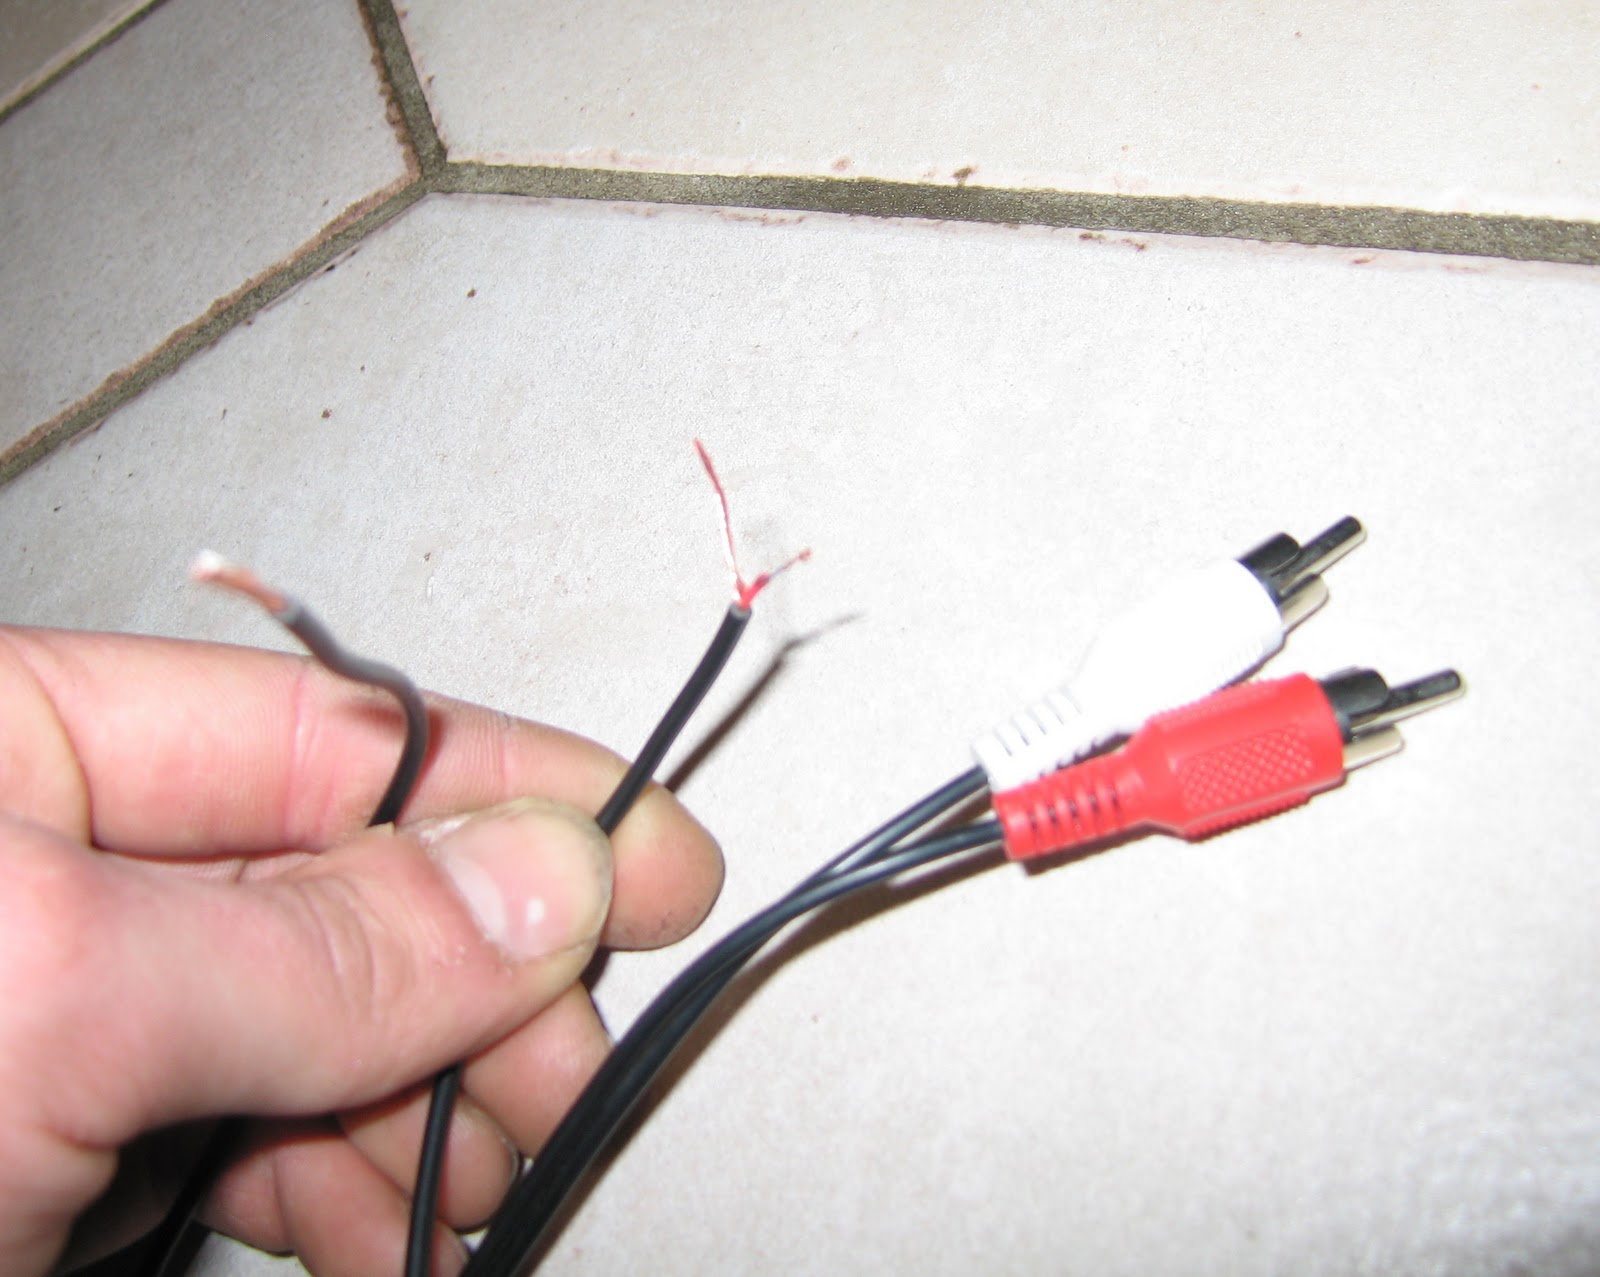
Take your speaker wire and strip two ends. Using either solder or a spade connector, connect them to the terminals inside the enclosure, being sure to wire positive and negative correctly. After that, take your drill with the appropriate drill bit, and pre-drill your mounting holes.
Step 3 – Install the subwoofer
Extend the wire beyond the opening in the enclosure about 8". Cut and strip these ends, then insert them into the terminals on the subwoofer. Place the subwoofer in the opening and align the mounting holes with the holes you drilled. Sink the wood screws into the holes to secure the subwoofer.
Step 4 – Run the speaker wiring from the amplifier
With your remaining speaker wire, strip both ends and insert them into the positive and negative outputs of the amp. Route them to where you intend to place the subwoofer, then add 2' of extra wire as slack. Strip both of these ends.
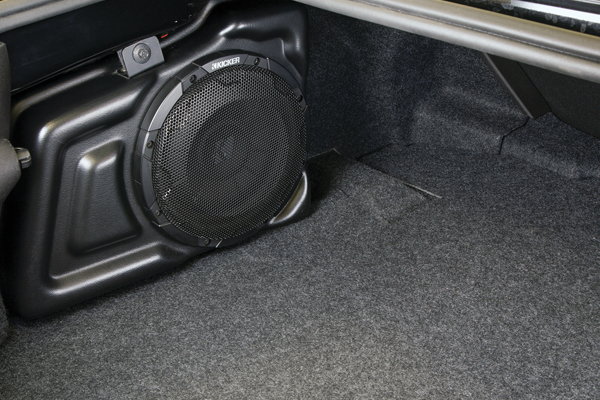
Step 5 – Install the subwoofer into the vehicle
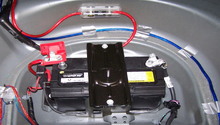
Take your enclosure and place it inside the vehicle. Insert the positive and negative end from the amplifier wiring into the positive and negative terminals on the outside of the enclosure. Place the enclosure where you want it. Depending upon application, brackets or Velcro may be used to further secure the enclosure inside the vehicle.
Related Site
- Camaro Aftermarket Subwoofer Install - UtahCamaro.com