Chevrolet Camaro 2010-2015: Sound System Modifications
The Chevy Camaro offers a range of possibilities when it comes to cutting edge stereo installation.
This article applies to the Chevrolet Camaro (2010-2015).
So, you want to upgrade the factory sound system currently installed in your 5th Gen Camaro but are concerned about the compatibility of leading aftermarket installations? Well, we're here to say don't worry. There are a number of options out there to meet most (if not all) of your needs. The most common upgrades are reasonably priced and are available in both do-it-yourself and professional-level installation kits. Let's go over the top three options you'll want to know about!
Sound System Modifications
Beginner

DIY Cost – $100 to several thousand (an amp and sub combo could run you approximately $300)
Professional Cost – $100+ (labor costs will depend on equipment)
Skill Level – Easy; You'll need to connect the harnesses
One way to modify the sound system in your Camaro is to keep the existing head unit in place and simply purchase a new set of aftermarket speakers, along with an optional subwoofer and/or an amplifier, to boost sound. This option will allow you to keep costs down while achieving a noticeable upgrade to your existing sound system. Further, you won't need to find a compatible head unit for your Camaro or bother with having it installed once you do. Replacing a factory head unit could require advanced-level wiring through the air conditioning controls.
Double DIN touch screen radios are also available. Easy to install, DIY installation kits retail for around $300 and allow you to replace your factory stereo without breaking the bank. Best of all, they fit directly into your factory A/C harness.
Intermediate

DIY Cost – $100+
Professional Cost – Several hundred dollars in labor plus the cost of parts
Skill Level – Moderate; Cutting and wiring are both required
Let's be clear. Installing a head-up display (HUD) is not an easy task. You'll need work slow, keep a close hold on all your interior parts and set aside a least a weekend to get the job done. And if you can work common tools, such as a screwdriver and a ratchet, you can certainly get the job done. You will need a wiring harness, as well as an installation kit, which you can purchase online (costs vary). Your mounting options include your factory dash pad or an updated dash unit. All in all, this job requires time, patience, standard household tools, some cutting and wiring, as well as money.
Advanced
DIY Cost – Not advised
Professional Cost – Several hundred dollars
Skill Level – Professional-level expertise is required
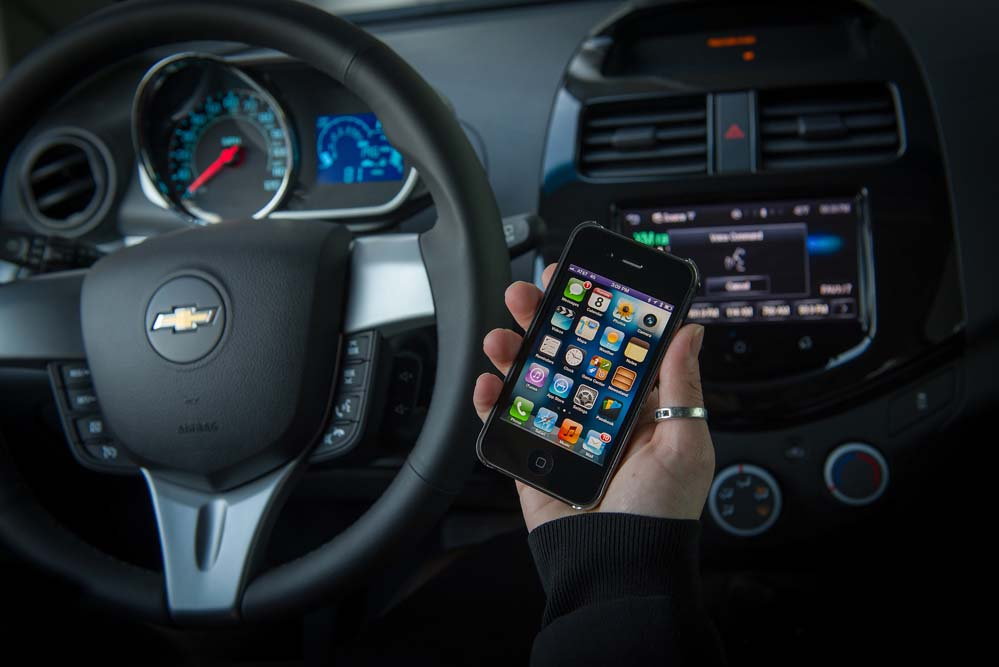
Adding a factory MyLink/Navigation is a perfect professional-level update for music enthusiasts who are willing to spend money in pursuit of great sound, along with a few extra bells and whistles thrown in to boot. This upgrade offers full touchscreen controls, speaker-wide, turn-by-turn GPS directions, and more. It is not an overlay, and thanks to total factory integration, the system is 100% serviceable at local GM dealers. Your system will have the navigation icon directly on the Intellilink/MyLink touchscreen for easy accessibility. Both new and used options are available for purchase.
Related Sites
- Head Unit Replacement Tips - Camaro5.com
- Heads Up Display - SuperChevy.com
- Double DIN Units - Phastekperformance.com