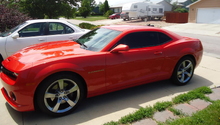
Chevrolet Camaro 2010-2015: Paint Modifications
You don't have to spend a lot of money or leave your car in the shop for days to enjoy a meaningful paint modification. This tutorial explains how you can use Plasti Dip in a variety of ways to enhance your Camaro's appearance.
This article applies to the Chevrolet Camaro (2010-2015).
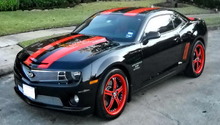
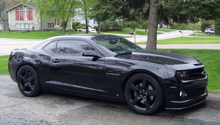
Paint modifications can enhance your Camaro's appearance and fix up any scratches or blemishes that have accumulated over the years. Another benefit of paint modification is that it enables you to outfit your car in a particular color or style. You don't have to spend a lot of money, either. A few cans of Plasti Dip can drastically change the outside of your car and won't cost a fortune. Whether your car is brand new or several years old, here are some paint modification tips and tricks.
Plasti Dip
Plasti Dip is a protective coating that doubles as an excellent budget-friendly exterior modification tool, whether it's for your car's paint, wheels, bumpers, or other parts. The stretchy coating is widely available and comes in several forms, including spray cans and industrial solutions. Here are some ways you can use Plasti Dip to enhance your Camaro's appearance.
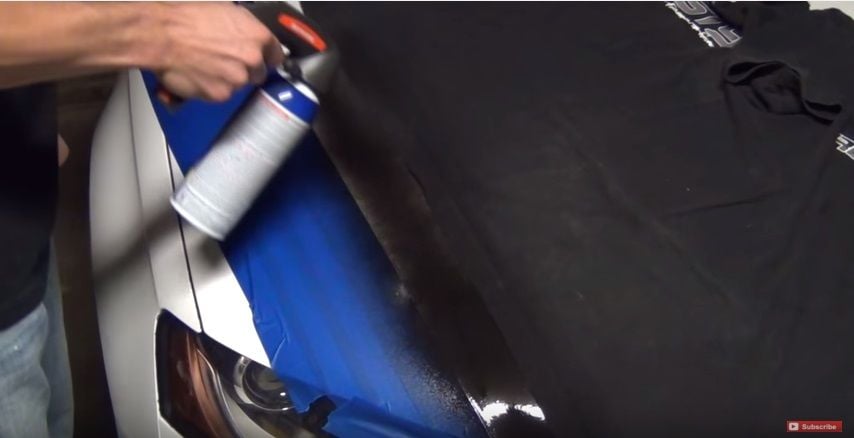
#1 Car's Exterior
DIY Cost – $150
Professional Cost – N/A
Skill Level – Easy; doesn't require prior skills or knowledge.
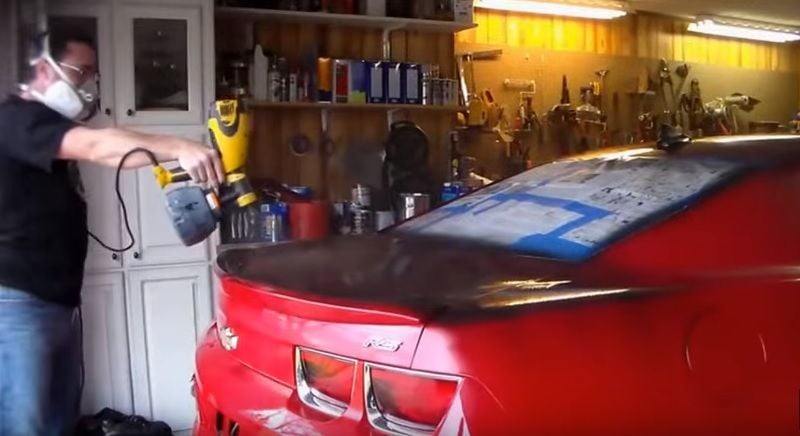
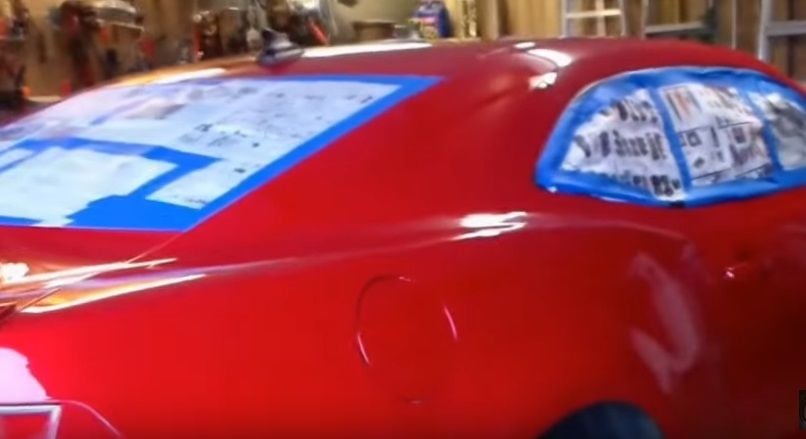
Buy a total of four gallons to ensure you'll have enough to cover your Camaro's paint. This includes two gallons of un-thinned Plasti Dip and two gallons of VM&P. Before you start, cover up the windows with newspaper and masking tape or painter's tape. Using a spray bottle, cover the top and sides with four coatings. Be sure to let each coat completely dry before starting with another.
#2 Camaro's Emblem
DIY Cost – $10
Professional Cost – N/A
Skill Level – Easy; doesn't require prior knowledge or skills.
Start by creating a border (using masking tape or painter's tape) around the emblem. Apply the tape in a square pattern around the emblem. Use a Plasti Dip spray can to apply a good base coat, which includes covering the top, bottom, and middle of the emblem. Let each coat dry. Ideally you should apply three coats of Plasti Dip.
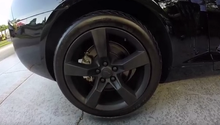
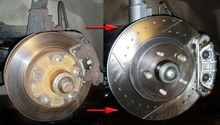
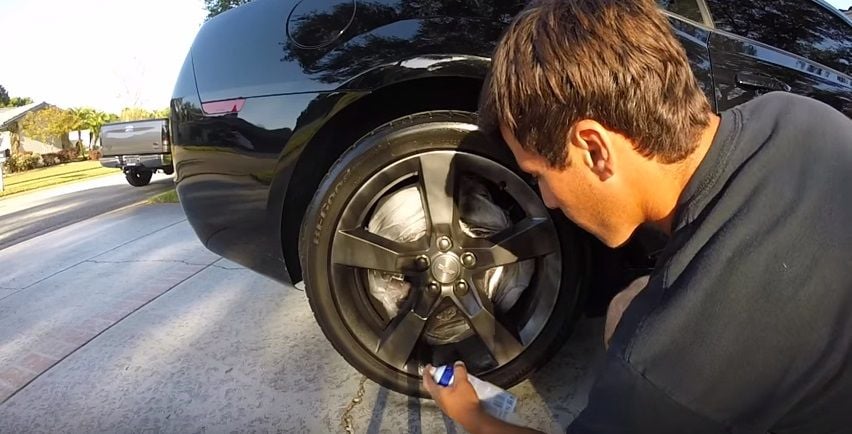
#3 Wheels
DIY Cost – $30
Professional Cost – N/A
Skill Level – Easy; no prior skills or knowledge required.
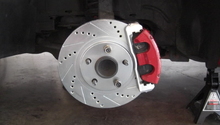
It's possible to Plasti Dip your wheels without removing them. Cover the brakes, rotors, and other components inside the wheel with a trash bag or tarp. Be sure the trash bag isn't covering the wheel at any point, or it could take the Plasti Dip off when you go to remove it. Keep the first coat light, you can go heavy on the last one. Four coats should be enough to cover the wheel.
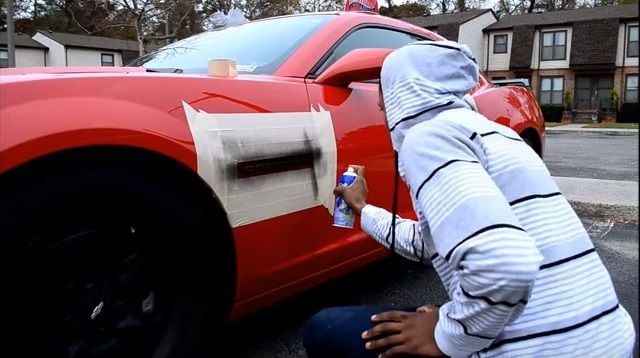
#4 Plasti Dip a Section
DIY Cost – $10
Professional Cost – N/A
Skill Level – Easy; no prior skills or knowledge required.
You can use Plasti Dip to make a line, stripe, or other markings on your car. You'll need to use painter's tape to cover up the area around where you will be applying the Plasti Dip. A spray can trigger, or nozzle, can keep your fingers from getting tired or cramped. Apply four to five coats.
Featured Video How to Plasti Dip 2011 Camaro
Related Discussions and Video
- Plasti-Dip FAQ / Pics - LS1Tech.com.com
- DIY Plasti Dip - LS1Tech.com
- How to Plasti Dip Wheels - YouTube.com