Camaro and Firebird: How to Paint Rims using Plasti-Dip
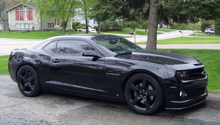
Looking to update the look of your Camaro or Firebird but don’t want to risk making a decision that you might want to change your mind on later down the road? Consider Plasti-dipping the rims. It’s easy, affordable, and non-permanent.
This article applies to the Camaro and Firebird (1990-2015).
Plasti-dipping the rims of your Camaro or Firebird is a great way to add color and style without making any sort of long-term commitment that you might end up regretting down the road. What’s more, it’s cheap and easy to do. Plasti-Dip materials are sold just about everywhere, and all it takes is a few hours of time and patience to get the look. If you change your mind down the road, whether it be the color you’ve chosen, or the Plasti-Dip idea in general, the material is super easy to remove.

Materials Needed
- Soap and water
- Rags or socks
- Microfiber towels
- Index or playing cards
- Trash bags
- Can of Plasti-Dip
- Can of Plasti-Dip glosser
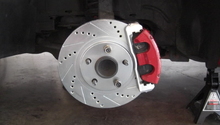
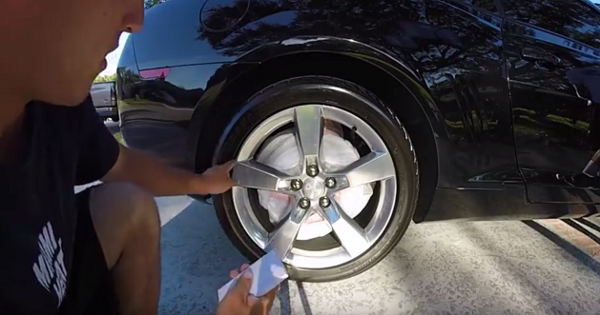
Step 1 – Protect the surrounding area
Cover up the brakes and rotors with a trash bag. Next, protect the tires from random Plasti-Dip spray by placing index/playing cards in the gap between the rim and wheel.
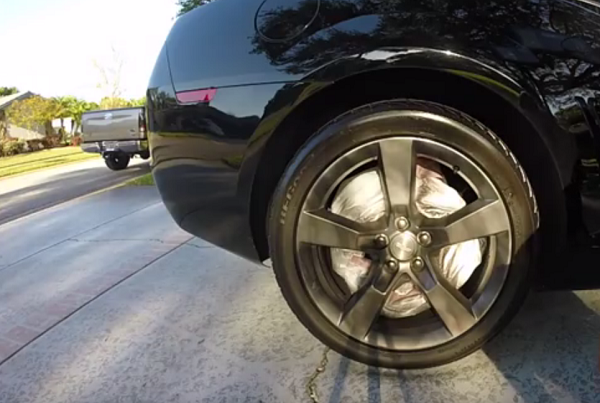
Step 2 –Clean the rims
Any dirt, grime, or brake dust can negatively impact the performance of the Plasti-Dip. Take time to thoroughly clean the rims using soap/water and rags or microfiber towels. Give the rim time to air dry as well – a wet surface will not allow the Plasti-Dip to properly adhere to the rim surface and can lead to early surface cracking of the Plasti-Dip itself.
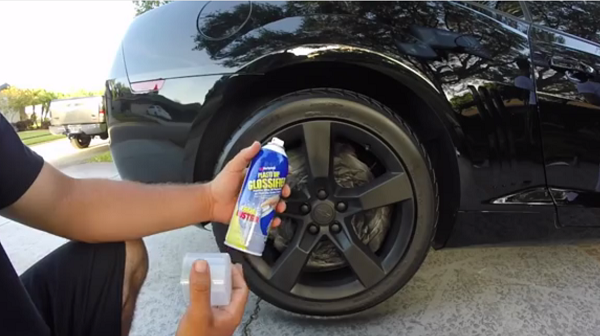
Step 3 – Apply Plasti-Dip
At about six inches from the rim, apply the Plasti-Dip spray. Do a nice, light, even coat – it should be semi-transparent. Allow to fully dry.
Repeat this step four times. Anything more will bubble the paint up, and it will look bad. Anything less will show through. Make sure to remember to shake the can each time you apply.
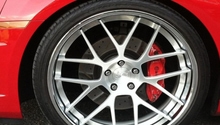
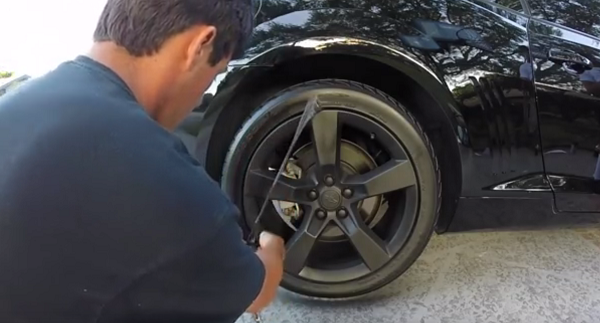
Step 4 – Apply glosser
Once the fourth coat of Plasti-Dip has been applied and dried, apply a coat of Plasti-Dip glosser to give the rims a clean, even look.
Step 5 – Remove bag and random bits of paint
Now that the Plast-Dip and glosser have been applied, remove the plastic bag protecting the rotor and inspect the wheel for random Plasti-Dip spray. Peel up and off the wheel as appropriate. When complete, take a sock or soft rag and rub the wheel as though you are shining it – this will rid the wheel of any remaining unseen Plasti-Dip material.
Featured Video: How to Plasti-Dip Your Wheels
Related Discussions
- Plasti-Dip FAQ and Pics - LS1tech.com
- Plasti-Dip Wheels - LS1tech.com