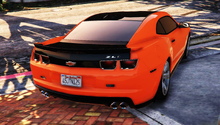
Chevrolet Camaro 2010-2015: How to Plasti-Dip Your Rims
At-home automotive paint applications can turn heads for the right reasons. Keep reading to learn how to paint your rims at home using just a few cans of Plasti-Dip.
This article applies to the Chevrolet Camaro (2010-2015).
Plasti-Dip makes is possible for any (2010-2015) Chevrolet Camaro owner to modify his or her paint in a matter of hours using one of the easiest automotive paint applications on the market. You won't need any special tools to complete this straightforward, do-it-yourself project. Because Plasti-Dip is as easy to apply as a standard can of spray paint, you'll be able to spray your rims from the comfort of your front yard or home garage.

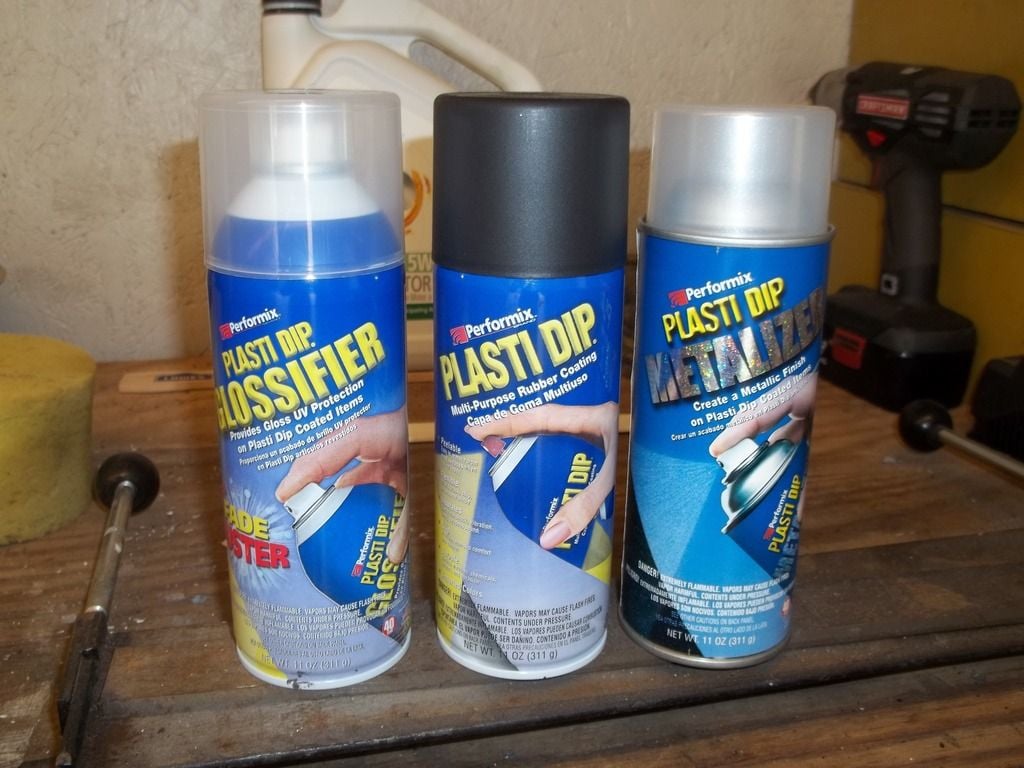
Materials Needed
- Plasti-Dip can(s)
- Plastic bags or newspaper
- Playing or index cards
- Glossifier
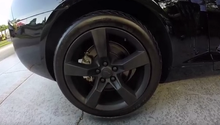
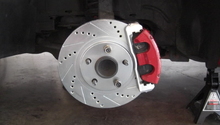
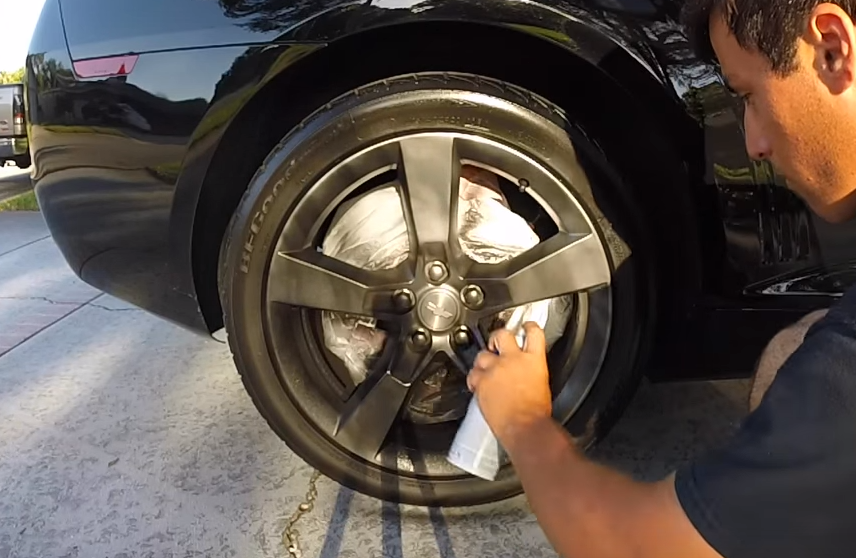
Step 1 – Protect the brakes and rotors
Use plastic bags or newspaper to protect your brakes and rotors from overspray. Go ahead and insert individual playing cards or index cards between the lip of the wheel and your tire. This handy trick will ensure only your rim is exposed to paint, not surrounding parts.

Step 2 – Spray on the paint
Holding the can of Plasti-Dip approximately six to 12 inches from your rims, apply a single coat of paint. Apply the paint using a steady motion, as you move from one section to the next allowing for overlap. Be sure to spray the paint on evenly. The best way to do this is to keep your hand moving as you apply the paint. Allow the first coat of paint to dry for 10-15 minutes, and then apply your second coat. Repeat until you've applied two additional coats for a total of four. Your fourth coat can be thick; however, it must still be evenly dispersed.
Pro Tip
Apply light coats so the paint builds to a nice finish. Continue to check that your protective materials are not pressed against the rim.
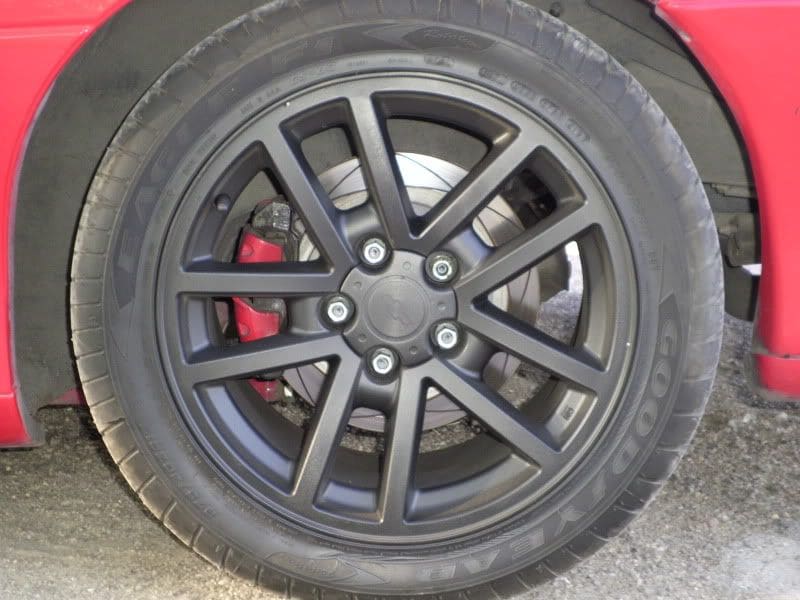
Step 3 – Apply a glossifier
For added shine and luster, add a glossifier, and then allow it to dry for 10 minutes. You only need two light coats (spread across evenly) or one heavy coat.
Step 4 – Allow paint to cure
Allow your paint to cure overnight. Do not remove the plastic bag/newspaper/cards at this time. Once your paint is cured, go ahead and remove your protective materials.
Featured Video: How to Plasti-Dip Wheels
Related Discussion
- Paint Body Work - LS1tech.com