Chevrolet Camaro 2010-2015: Why is My Tire Pressure Light On?
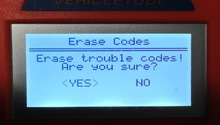
Are you tired of staring at that TPMS warning light? Erasing the light may not be as hard as you think – here's how to do it.
This article applies to the Chevrolet Camaro (2010-2015).
The TPMS sensor on your car is meant to notify you when there is an air pressure issue occurring with the tires. Although they are supposed to warn you of those issues, they are quite sensitive and can often cause warnings to go off for something small. Things changes could be from tire rotations or even a damaged sensor. Check out some common problems that can cause your TPMS light to come on, along with the procedures required to fix them.

Materials Needed (some optional)
- Car key
- Air compressor
- Calibration tool (2011+ models)
- Air pressure gauge
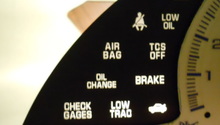
Step 1 – Check the tires' air
Your tires might be low on air.
If your pressure sensor is going off, the first thing you should check is the actual air pressure of each tire.
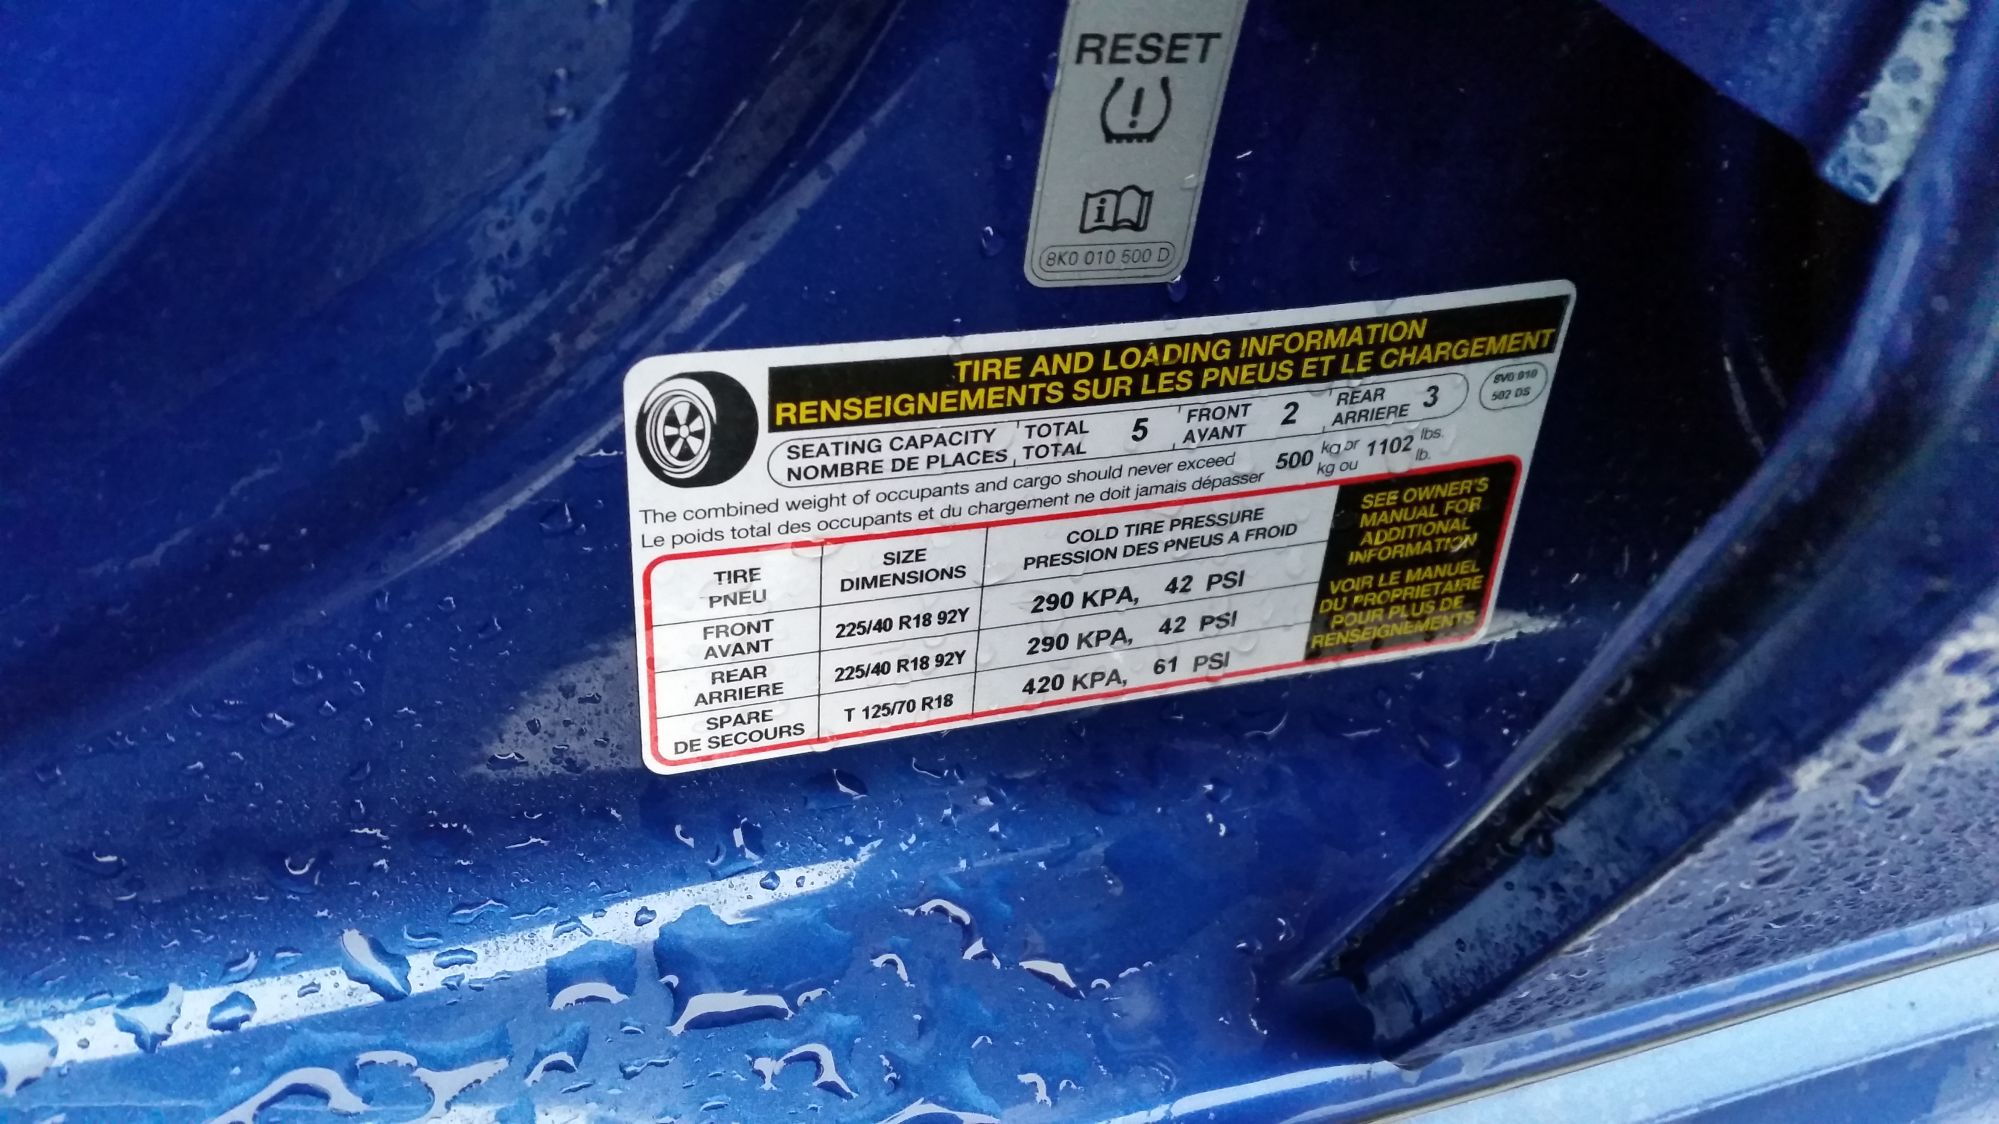
- Take an air pressure gauge (or visit a gas station with an air pump) and open the valve on the tire.
- Check the pressure on each tire, matching it with the recommended PSI level.
- If air is required, fill it up to the appropriate level.
Step 2 – Calibrate the sensors
The sensors may need adjusting.
Answer this question, have you recently rotated your tires? If the answer is yes, then check to see what the recommended tire pressure is for the front of your car. If the air pressure is too low, then add more air in. If everything is as it should be, then you will need to calibrate the TPMS sensors. If your Camaro was built between early 2011 and 2015, you will be able to use the following procedure. However, newer models (2010) require a special calibration tool that has to be used in conjunction with this procedure.
- Place the car in park.
- Turn the ignition to ON, with the car off.
- Use the Driver Information Center (DIC) to access the TPMS vehicle information screen.
- Press the relearn sensor button and wait for the horn to honk twice.
- Begin at the driver side front tire and remove the valve cap.
- Those with the tool, you must press the button on whatever side you are working on in order to activate the TPMS. (Those without the tool, skip this part).
- Either increase or decrease the tire's air pressure for 10 seconds, and wait until the horn chirps. Once it chirps, the TPMS is calibrated.
- Do the same with each side, going in a clockwise rotation.
- Once you reach the driver side rear tire, the horn will chirp twice signaling that the learning mode is no longer active.
- Set each tire to the recommended specifications.
- Place the valve covers back on.
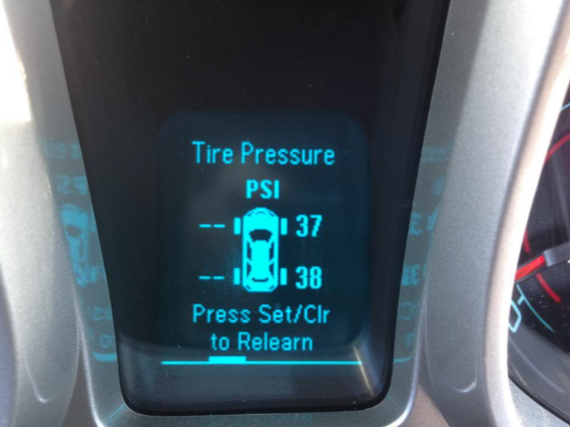
Figure 2. Use the DIC to calibrate the TPMS. 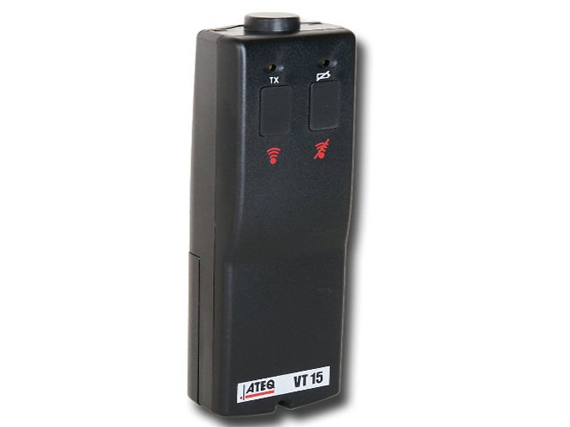
Figure 3. TPMS tool.
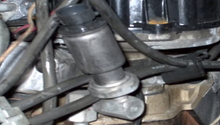
Step 3 – Check the sensors
It may be damaged.
If the recalibration process does not work, then the sensor itself may either be broken or maybe even out of power. Since the TPMS is inside the tire, you will have to take your car into a shop and see if is indeed damaged.

Related Discussions and Sites
- Reset TPMS - LS1tech.com
- TPMS Sensor Calibration - LS1tech.com
- How Do You Reset TPMS? - Camaro5.com
- 2013 TPMS reset/relearn - Camaro5.com