Camaro 1990-2002: How to Replace Parking Lights
Before you get a ticket for faulty parking lights, replace them quickly and easily with this step-by-step guide.
This article applies to the 4th Gen Chevrolet Camaro (1990-2002).
Parking light bulbs, like any other light bulb on your Camaro, are extremely cheap to buy and extremely easy to replace. Dealerships and those "super fast" oil change joints like to point out when these bulbs go out for those very same reasons, which means they can make a handsome profit if you let them change the bulbs for you. But there's really no reason why you should let them take your hard earned money, because all you need is a few minutes and a 10mm socket and ratchet to change those burned out parking light bulbs. Here's how to get it done and save yourself some money in the process.

Materials Needed
- 10mm socket and ratchet
- New parking light bulbs
Step 1 – Remove the burned out parking light bulb
Begin by opening the hood of the car. Crawl underneath and remove the four 10mm bolts in the bottom of the shroud with a socket and ratchet. If you need to replace the parking light bulbs on both sides, repeat these steps to remove the shroud from that side as well. Pull the panel out of the way to gain access to the bulb. Remove the bulb assembly by twisting it counterclockwise. Pull the bulb out of the socket.
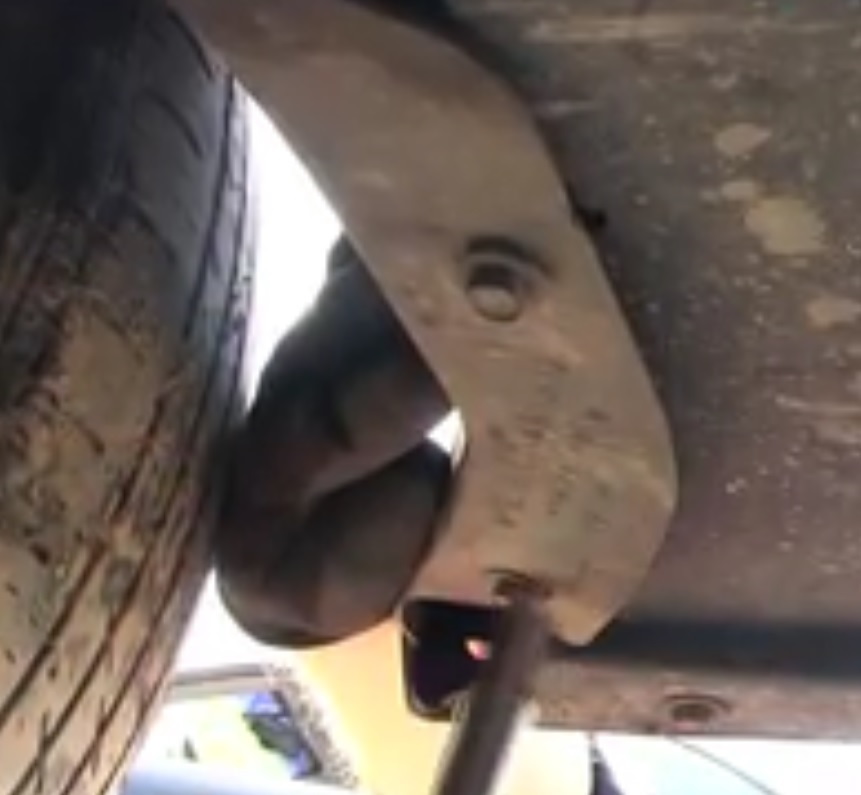
Figure 1. Remove the four bolts from the bottom of the shroud. 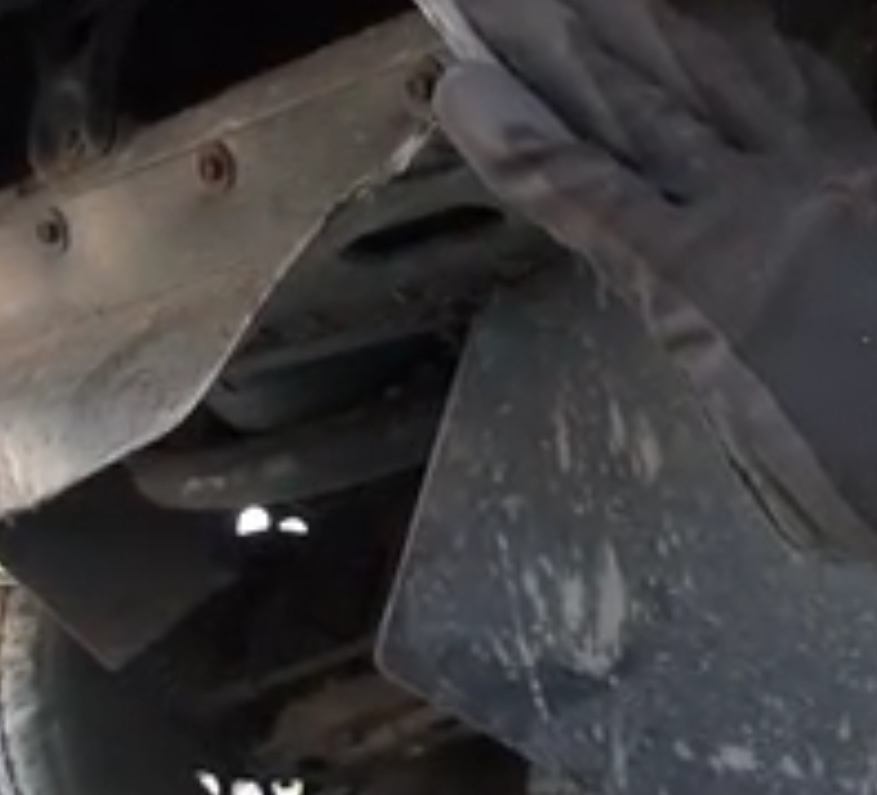
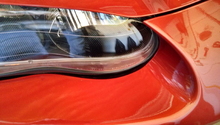
Figure 2. Pull the shroud out of the way to access the bulb assembly.
Step 2 – Install the new parking light bulb
Insert the new bulb into the socket and push down on it until you hear a click. Place the bulb assembly back into the lens and twist it clockwise to lock it into place. Slide the shroud back into place and reinstall the four bolts, then tighten them. If necessary, repeat the steps on the other side. It's a good idea to replace all of the bulbs at once since they are so inexpensive and easy to do. Chances are, if one light goes out, the other probably isn't too far behind.
Related Discussion and Site
- Parking Light Replacement Installation - LS1Tech.com
- Parking Light Change 1993-2002 Chevrolet Camaro - CarCareKiosk.com