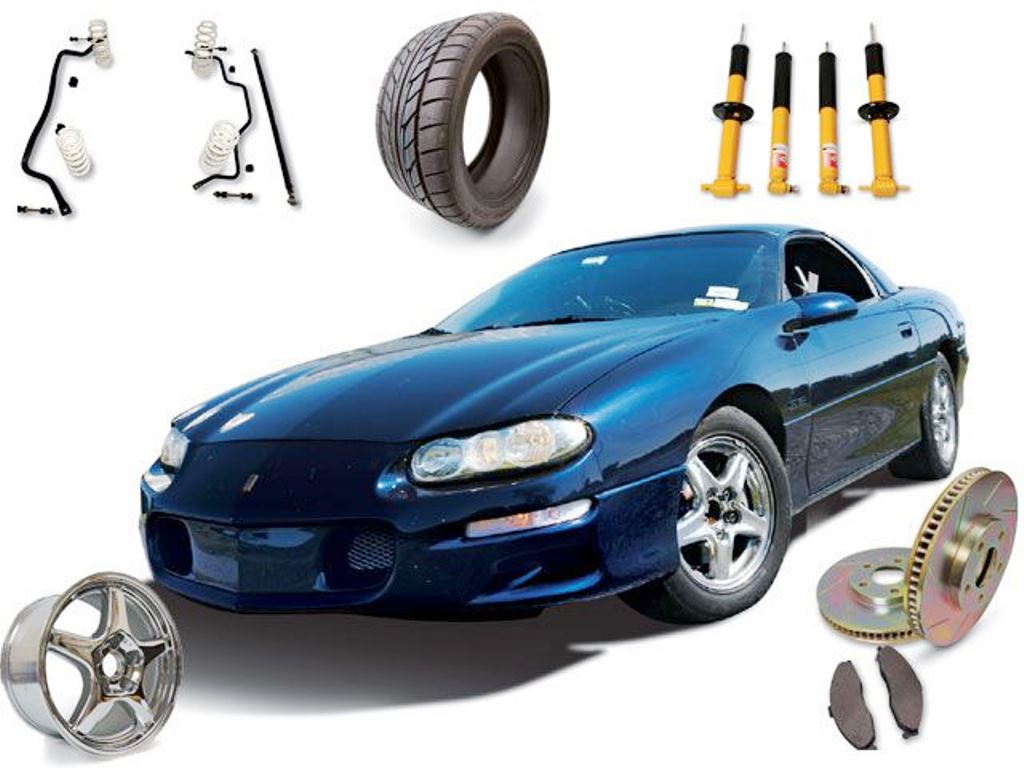
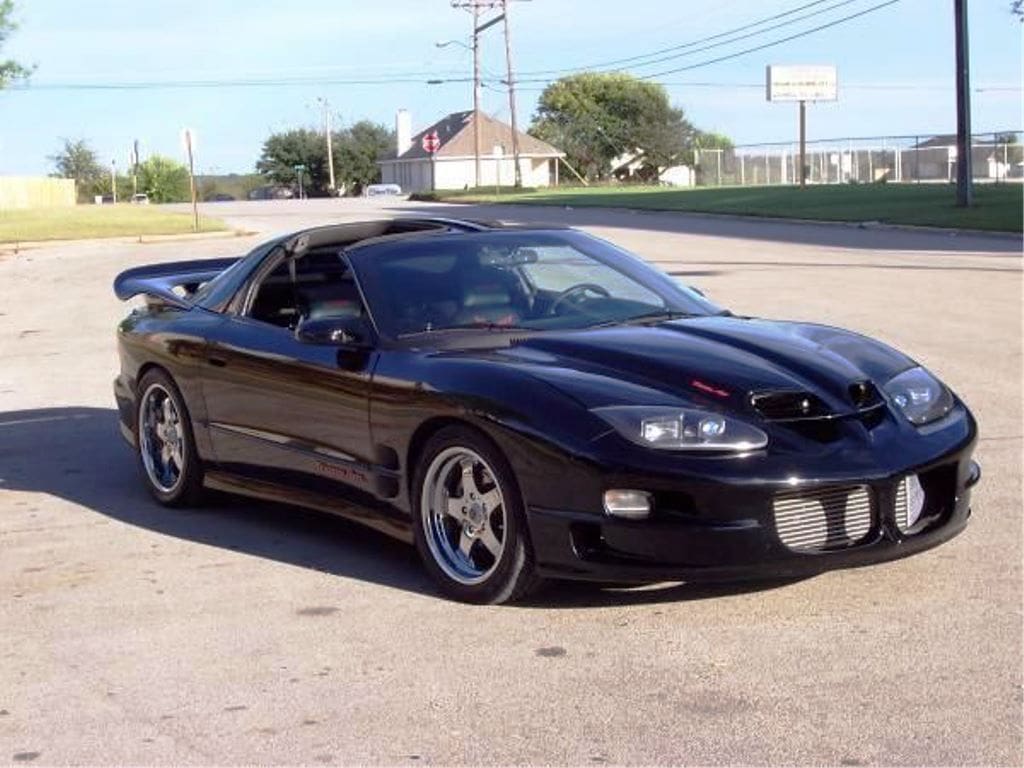
Camaro and Firebird: Brake Modifications
While the braking system on the F-Body works pretty well, there is always room for improvement. Whether you are shooting to just make your car stop like when it was new, or you want it to perform like a road racer, this article will tell you which mods might work for you, from starter mods to advanced.
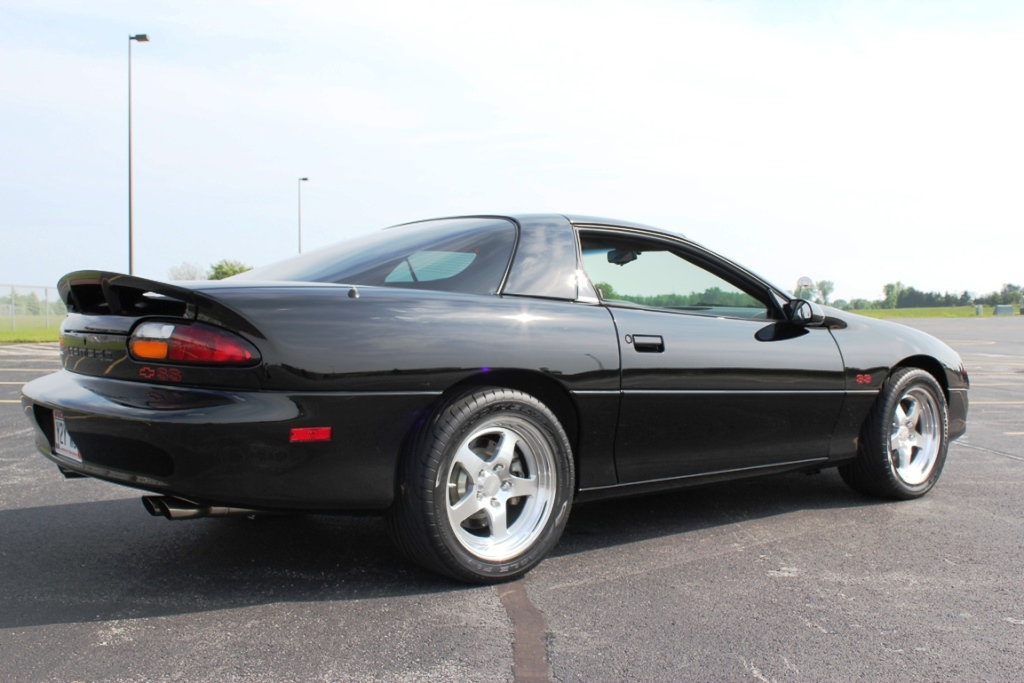
This article applies to the Camaro and Firebird (1993-2002).
You've dropped several thousand dollars into your F-Body to get it to go faster and be quicker, but have you thought about what it takes to draw your ride down from those new found speeds? Improving your car's braking ability is serious business. If you cannot stop your car, what are all those other modifications worth to you? The braking system of your car is probably the most overlooked when building a car. This article focuses on some modifications, which may be useful to you and give you ideas of how involved each is.
Starter Brake Upgrades
This first section covers some easy mods/updates you can do to your braking system. These may seem arbitrary to most, but they are often overlooked, and should be done periodically, even on a non-performance car. These mods are fairly easy to accomplish and can be done in a very short order.
Flush and Bleed Brake System
DIY Cost – $30
Professional Cost – $100-150
Skill Level – Easy; you just need a friend to help.
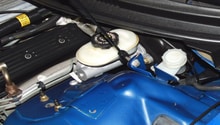
If you haven't flushed your brake system in more than a year, it could be well overdue. Most brake fluid is glycol-ether based and is hydroscopic, meaning it absorbs water over time. This happens even through a closed system like what is found in the 4th Gen Camaro or Firebird. As the brake fluid absorbs water, its boiling point is lowered. This can affect braking performance whether you are driving autocross, running a track day, or just driving on a mountain road. If the brake fluid gets hot and boils, you will find yourself with very spongy, or even no brakes until it cools down again. Brake fluid should be replaced at least every two years to maintain performance, and higher boiling point fluids cost only a little more than the cheapest stuff.
(Related Article: How to Replace Brake Fluid - LS1Tech.com)
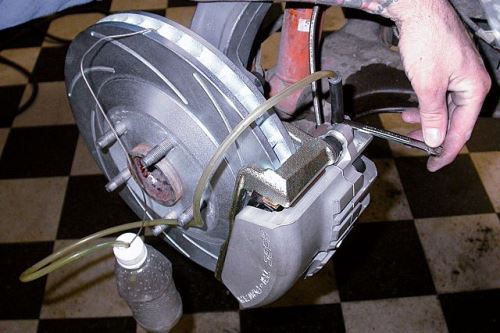
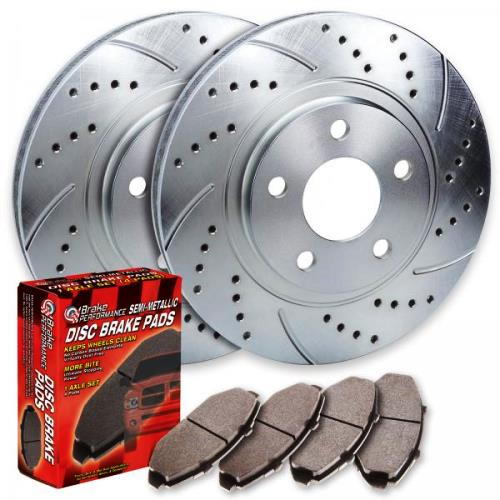
Pads/Rotors
DIY Cost – $200 and $400
Professional Cost – $500 and $700
Skill Level – Easy; can be done in a couple of hours.
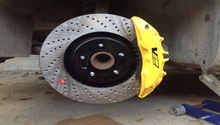
Upgrading to slotted/drilled rotors can help with evacuating gasses and friction material, which come off of the brake pads during braking. By allowing these to escape, the brake pad maintains better contact with the rotor, which improves overall braking. It is of note, drilled rotors have been known to gain stress risers in them at the drilled spot. They also have less thermal mass than a regular rotor, so overall cooling may be affected. There are many upgraded materials for the brake pad, including metallic and ceramic, and they don't really cost any more than OEM stuff. Installation is as easy as a regular brake job.
(Related Article: How to Replace Brake Pads/Calipers/Rotors - LS1Tech.com)
DOT 5.1 Brake Fluid
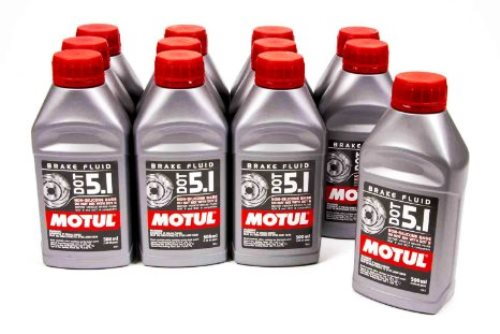
DIY Cost – $60
Professional Cost – $150-200
Skill Level – Easy; you just need a friend to help.
As talked about in the above flushing and bleeding the brakes entry, changing to DOT 5.1 just involves flushing the oil fluid out and bleeding it. The rewards come from the anti-boil properties of DOT 5.1 brake fluid, which must be able to sustain 500 degrees before boiling: DOT 3 is just 400 degrees. Like DOT 3 and 4 brake fluid, DOT 5.1 is is glycol-ether based and is hydroscopic, so should be flushed periodically.
Intermediate Brake Upgrades
This second section covers some more advanced ways to get your 4th Gen to slow faster and have better braking control. These mods will take a little bit more time for the average enthusiast, and cost a little more, while still providing a great upgrade over stock.
Lighter Rims
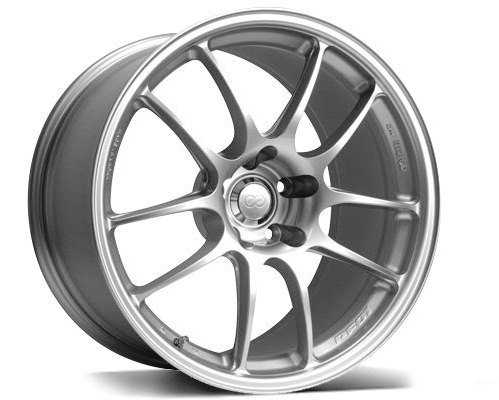
DIY Cost – $450 and up
Professional Cost – $900 and up
Skill Level – Moderate; due to cost involved.
While it is never cheap to replace rims, unloading some excess un-sprung weight can seriously help your braking, as well as your acceleration and your handling. Everyone knows that trimming some weight off of your car will increase the take-off and stopping abilities. What is less known is unloading un-sprung weight, which includes such things as tires, wheels, braking components, and suspension components can give you a 10:1 advantage over sprung weight. In other words, if you can reduce the total wheel weight by 10 lbs, it would be like taking a 100 lb weight out of your trunk.
Replace Soft Rubber with Teflon Lines
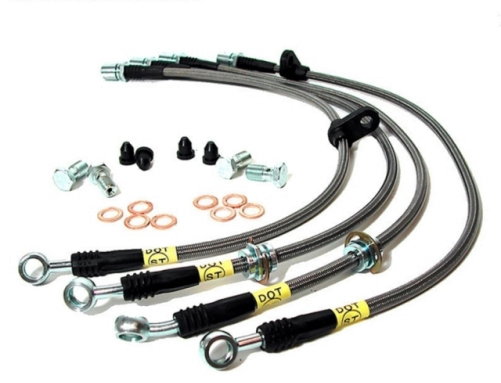
DIY Cost – $150-250
Professional Cost – $250-350
Skill Level – Moderate; knowledge of how brake lines get installed.
Rubber brake lines can bulge somewhat during braking. This can give a soft feel to the pedal. This become extremely pronounced if there is a weak spot in one of the lines. Replacing these lines with ones which are Teflon lined gives a much better pedal feel and firmness.
(Related Article: How to Replace Brake Line - LS1Tech.com)
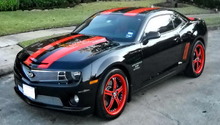
Paint/Powder Coat Calipers
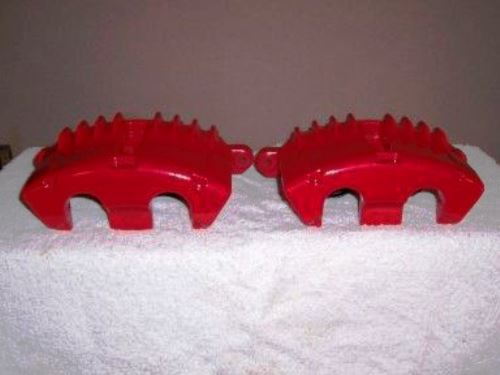
DIY Cost – $20-$300
Professional Cost – $200-600
Skill Level – Moderate; if powder coating, calipers must be rebuilt.
While not necessarily a performance upgrade, painting or powder coating your calipers to a color of your choice can give you the visual presence you're looking for with your car. This will tell everyone the appearance of your car is important to you and how serious you are about performance. Plus, when combined with lighter, open style wheels, they really stand out.
(Related Article: How to Paint Brake Calipers - LS1Tech.com)
Advanced Brake Upgrades
This third section covers some of the more complicated, but effective, mods you can do to your braking system. These mods are a lot more pricey than you've seen in the two previous sections. They are also more involved for the DIY enthusiast. Tackling these mods will take some time and knowledge of how the F-Body is put together.
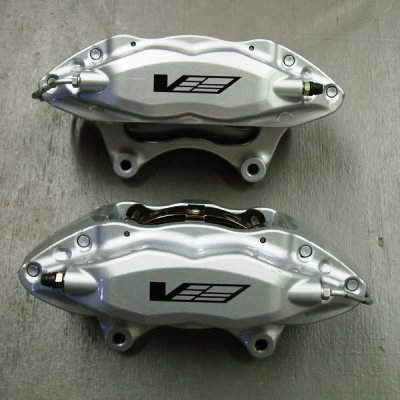
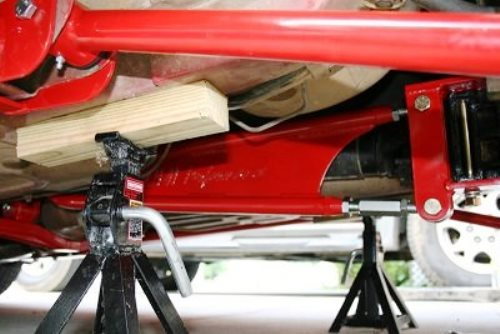
Multiple Piston Calipers
DIY Cost – $500-$1,500
Professional Cost – $1,200-2,500
Skill Level – Advanced; cost can be prohibitive.
By using calipers, which have pistons on both sides of the caliper, you get much more even clamping of the disc. When combine with a well engineered caliper, like those from Brembo, the same amount of force from your foot has a much greater effect on the speed of your car. This can be an expensive mod for your vehicle, depending on the brand of caliper purchased to replace the stock caliper, and if you go with an aftermarket kit that did all the work for you. However, thanks to the forums and GM parts commonality, it is possible to put together a kit using Cadillac CTS-V and Corvette parts for a fraction of an aftermarket kit. Read about it here.
(Related Article: How to Install CTS-V Brakes - LS1Tech.com)
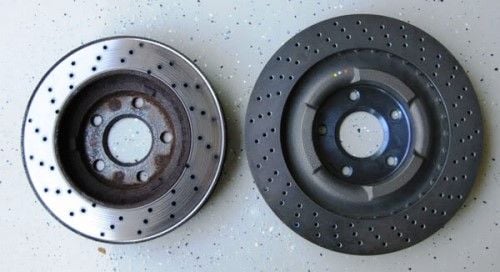
Larger Brake Rotors
DIY Cost – $700-3,000
Professional Cost – $1,200-3,500
Skill Level – Difficult; cost can be prohibitive.
Larger diameter discs have two benefits: 1) greater leverage on the wheel, and 2) greater ability to absorb heat. Going from standard 12" LS1 rotors to 14" or 15" rotors will greatly improve the torque being applied, just like using a tool with a longer handle. Along with the greater torque advantage, having larger rotors also provides a greater thermal mass, which can withstand the greater amount of heat created under heaving loads. A Corvette Z06 rotor is 14" in diameter, and readily available, and can be made to work on a Camaro or Firebird, see how here.
Suspension Upgrades
DIY Cost – $300-$1,000
Professional Cost – $800-2,000
Skill Level – Difficult; suspension setup can be tricky.
An often overlooked part of braking is the suspension. Whether it's rubber bushings or the uni-body itself, your brakes can only apply as much force as the tires have traction. Parts such as sub-frame connectors, lower control arms, torque arm, and poly bushings can stiffen up the suspension, giving the tires a more direct contact tot he road. A quality brand of aftermarket shocks will help as well.
Related Discussions
- Super Cheap Big Brake Kit Info - LS1Tech.com
- CTS-V Brake Install with Pics - LS1Tech.com
- F-Body CTS-V Calipers 14" Rotors and 17" Rims - LS1Tech.com
- F-Body 6-Piston CTS-V Brake Conversion Questions - LS1Tech.com