Camaro and Firebird: How to Clean Foggy Headlights
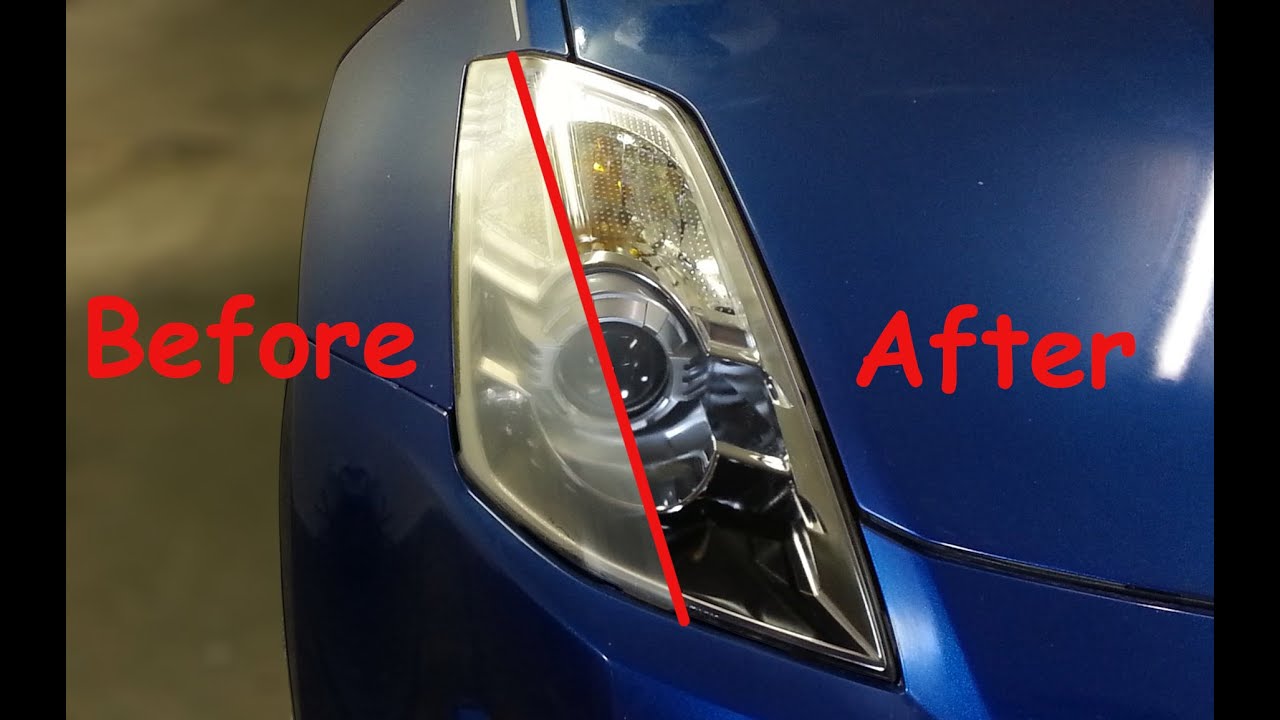
Did you know there are fast and simple DIY solutions to restoring foggy headlights? Here are our top picks!
This article applies to the 4th/5th Gen Camaro and the Pontiac Firebird (1990-present).
Restoring the headlights on the 4th/5th Gen Camaro or the Pontiac Firebird is a relatively easy job to complete on your own. Largely considered a beginner's DIY project (due to a minimum DIY time and cost factor), virtually anyone can carry out the required tasks of this project. You won't need any specialized tools, and the entire process can be done in one sitting. Let's go over the step-by-step instructions you'll need to follow, as well as look at some truly cost-effective, at-home alternatives to already low-cost cleaning and restoration headlight kits and other products.

Materials Needed
- Microfiber cloth
- Headlight restoration kit or headlight lens cleaner
- Oven cleaner (optional)
- Toothpaste (optional)
- Toothbrush (optional)
- Sandpaper
- Painter's tape
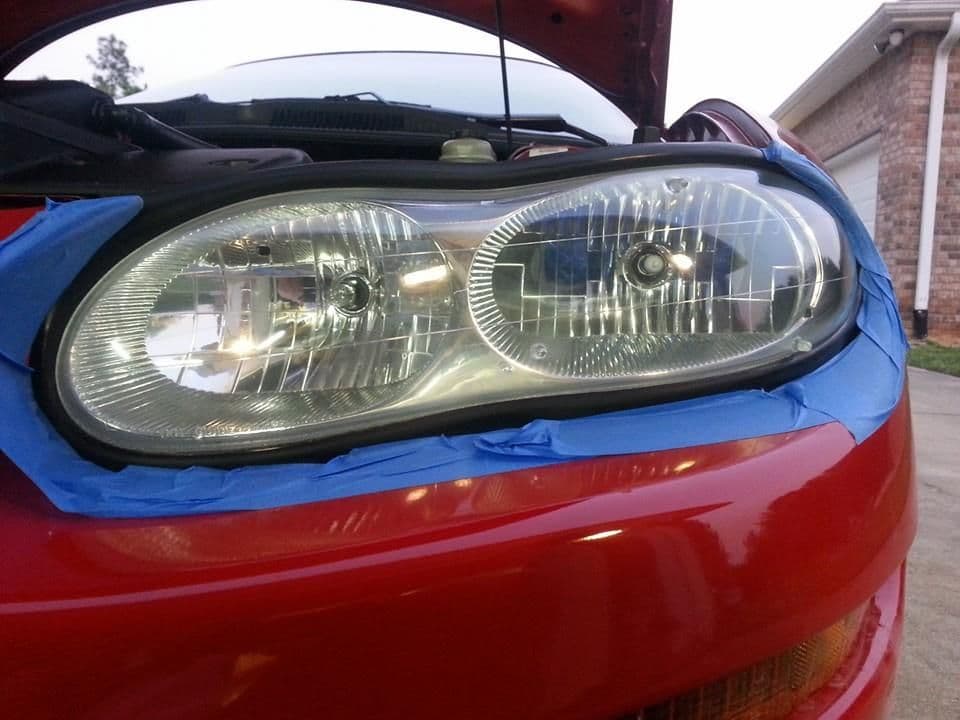
Step 1 – Clean the lens
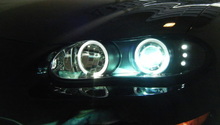
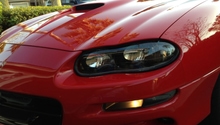
It's recommended to tape off the headlight lens before beginning to protect the paint. Remove surface contaminants using a top-of-the-line headlight lens cleanser. Or, for a cheap DIY alternative solution with equally impressive results, apply a thick layer of oven cleaner. Wipe the solution from the lens after it's had time to work. Toothpaste also works remarkably well. Work either option into the lens and remove using a clean microfiber cloth. Rinse as needed.

Pro Tip
Headlight lens restoring kits are available for as low as $10 online and through a local auto parts store.
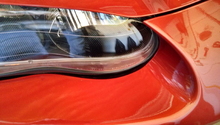
Step 2 – Wet sand the lens
To remove a stubborn deposit, sand the lens using several sheets of sand paper. Start with a courser grit and then switch to a finer grit as your headlight becomes more clear and vibrant. Water works as a great lubricant when wet sanding a foggy headlight. Commercial sanding lubricants are also available for sale, starting at around $6.
Step 3 – Apply a polishing compound
Apply a one-step polishing compound to each headlight lens. It's recommended that you use one that contains a synthetic paint sealant. These types of compounds not only deliver shine, but also provide a long-lasting coat for continued protection; thereby, increasing shine.
Step 4 – Buff the lens
If you own an electric buffer, go ahead and grab it. It's generally recommended that you use a 1800-2000 RPM setting accompanied by a clean wool pad. Apply an even amount of pressure as you go. Continue until the compound is fully absorbed.

Related Discussions
- DIY Headlight Cleaning Tips - LS1tech.com
- Buffing Tips - LS1tech.com
- Headlight Cleaning Tips - LS1tech.com