Chevrolet Camaro 2010-2015: How to Replace Your Tail Light Bulb
Having a burnt tail light bulb can cost you a hefty ticket. Learn how to replace it here.
This article applies to the 5th Gen Camaro (2010-2015).
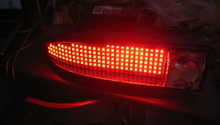
The tail light in the Chevrolet Camaro serves as a very important safety feature. Having a burnt out tail light bulb can not only be a hazard, it could also cost you a ticket. Replacing the bulb is an easy process; you just need to obtain the proper bulb for your Camaro, then read this guide to learn how to replace it. The process should be done in no time, and it requires simple household tools. Read on to learn how to replace the tail light bulbs on your Camaro.

Materials Needed
- Flathead screwdriver
- Tail light bulb
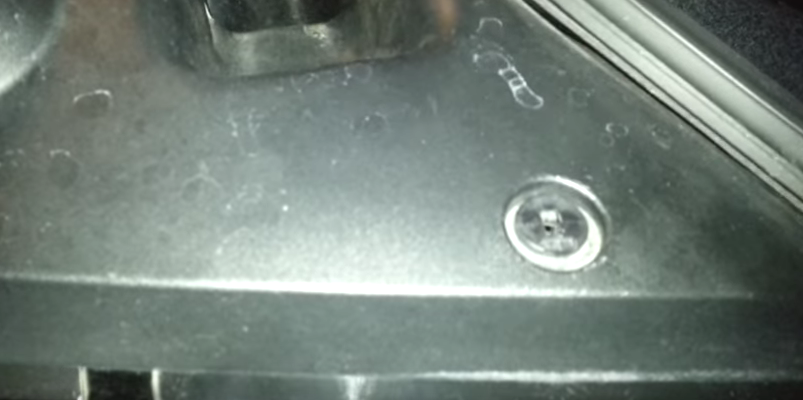
Step 1 – Remove plastic panel
Open your trunk, then remove the plastic panel on top of your tail light. It is held in place by three tabs. Insert your flathead screwdriver under each of the tabs, and gently pry it up. When you remove the tabs, the plastic panel can come right off.

Figure 1. Remove plastic panel. 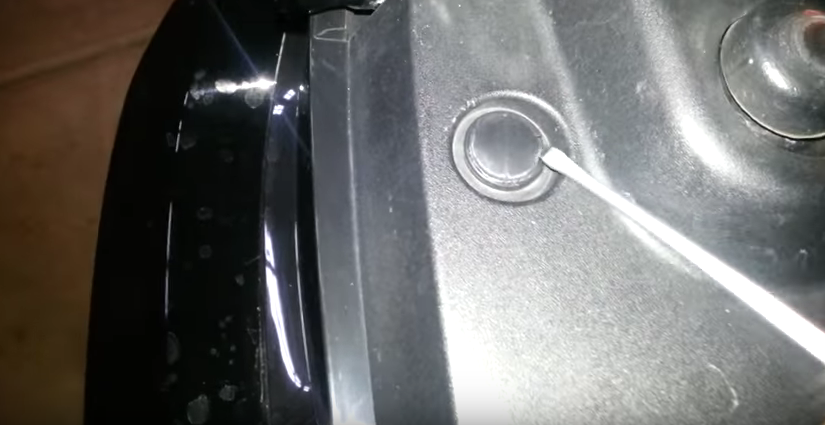
Figure 2. Remove tabs.
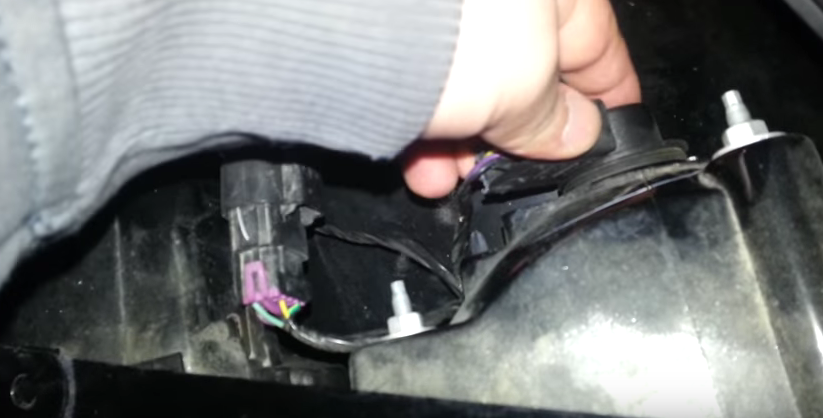
Step 2 – Replace bulb
Once you remove the plastic panel, this will reveal the light bulb. To pull the light bulb out, pull the plastic harness up to disconnect it. Pull the bulb out of the plastic harness, then install the new one in place. Put the plastic harness with the bulb back in, then push it down to lock it in place.
Step 3 – Install plastic panel
Align the plastic panel in place, then put the tabs in their holes and push them in to lock it in place.
Featured Video: Tail Light Removal
Related Discussion
- Tail Light Removal - LS1tech.com