Slideshow: Hot Rod's Pro Tips for your Next LS Build
LS engines are quite different from their older small-block counterparts, therefore, using a few tricks and specialty tools as mentioned by Hot Rod Network can be quite useful for anyone that is new to the LS game.


Learning The LS
LS engines are now ingrained in the Chevrolet Performance catalog, so if enthusiasts enjoy turning wrenches themselves it is likely that many they will cross paths with one sooner or later. While the LS family is technically an evolution of the small-block V8, they are quite a departure from engines of old and will naturally have some specific requirements during final assembly. Hot Rod Network has recently put together a shortlist of tools, tips, and tricks that will come in handy for those new to building LS engines while also working as a healthy reminder for the LS veterans out there.
Head Bolt Washers - Rough Em Up
When assembling an LS performance build, folks often use a high strength cylinder head bolt or stud kit such as those offered by ARP. LS engines typically have a smooth spot finish at each of the cylinder head bolt locations that have the potential to allow the washers to spin when torquing down the heads, thus not achieving the proper torque specs and potentially damaging the bolt or stud. ARP suggests roughing-up the underside of the washer that goes against the cylinder head with 60-grit sandpaper to give it the necessary bite when torquing down the heads.
>>Join the conversation about these pro tips right here on LS1Tech.
Oil Pump Gear Alignment Made Easy
GM has a specific set of instructions when installing a new oil pump that requires individuals to take a series of measurements with feeler gauges between the pump gears before torquing the pump in place and reinstalling the pump cover. This can be a bit tedious trying to hold feeler gauges in place while also working the wrench, but luckily it can all be avoided in one simple step to ensure you get that necessary .002" of clearance between the gears. Simply install the pump to the block finger tight before rotating the engine over 4 to 5 revolutions. The gears will align themselves with the proper clearance and the pump can then be torqued to spec. To verify clearance, the cover can easily be removed and the gears checked with feeler gauges.
>>Join the conversation about these pro tips right here on LS1Tech.
Rocker Trunnion Upgrade
The valvetrain tends to be quite good in LS motors, but when higher valve lift and increased spring pressures come into the equation, the stock rocker arms need to be addressed. Fortunately, numerous companies offer rocker arm trunnion upgrades that are a cost-effective alternative to purchasing a new set of rockers. Kits consist of all the necessary hardware to replace the tiny roller bearings from each rocker with uprated bearings or bushing to help cope with increased spring pressure and higher engine revs. Swaps can be completed using simple tools, but a small trunion conversion tool as offered by Summit Racing and Jegs can make the job a bit easier.
>>Join the conversation about these pro tips right here on LS1Tech.
Choosing The Correct Oil Pump O-Ring
Using the correct O-ring on your oil pump pickup tube can be the difference between having a healthy flow of oil throughout the engine or sucking air and potentially causing catastrophic failure. Depending on the engine's application, they typically use different style pickup tubes that can be easily distinguished from one another. If the pickup tube is tapered or has a small indentation/groove a factory red O-ring or Mellings green O-ring should be used. If the tube looks like more of a traditional pickup tube with a straight cut where it enters the pump, a blue OEM O-ring or black Mellings o-ring is the correct part. Whenever a new oil pump is purchased, two O-rings are typically included, so be sure to select the correct O-ring for your application.
>>Join the conversation about these pro tips right here on LS1Tech.
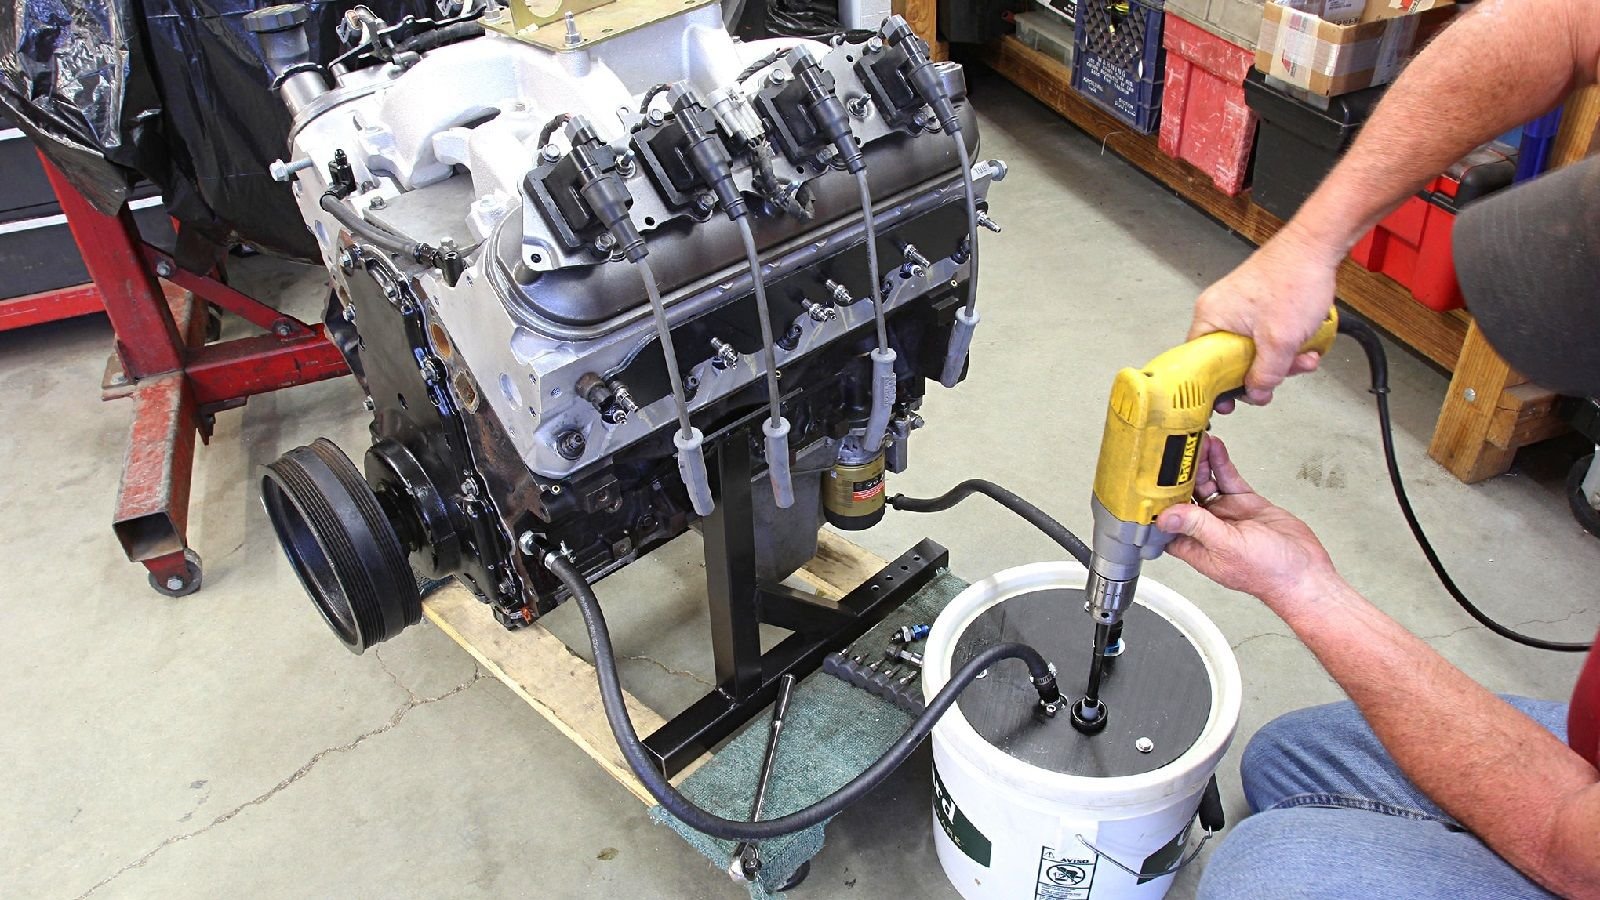
New Engine Pre-Lube
It is necessary to circulate the engine oil before attempting to fire up a new engine for the first time and is an equally good idea to do so for an engine that has been dormant for an extended period. This can be accomplished on an LS engine by removing the oil galley plug at the front of the block on the driver's side and pouring oil directly into the pump via a 3/8" or smaller hose. A few ounces will typically do the trick, but if this fails, one should resort to pressure lubing at the same plug. Pressure lubing requires a small tank to send pressurized oil into the engine. A pre-lube service tank can be had for around $100 or can be built on the cheap at home. Instructions on building your own can be found here.
>>Join the conversation about these pro tips right here on LS1Tech.
Lifter Support
A cam swap is fairly straightforward on an LS engine assuming the lifters stay in place. With the lifters located under the cylinder heads, GM devised small plastic lifter holders that are designed to hold the lifters in place while the camshaft is being removed to eliminate the need of removing the cylinder heads. Unfortunately, these plastic holders do not always do their job and lifters can drop down into the crankcase. The good news is that there are specialty tools available that insert into each lifter bank after the pushrods have been removed to hold the lifters up. As an alternative to purchasing the tools,24 inches of 5/16" diameter aluminum or steel bar stock with a tapered end on both banks have been used with great success by many LS engine builders.
>>Join the conversation about these pro tips right here on LS1Tech.
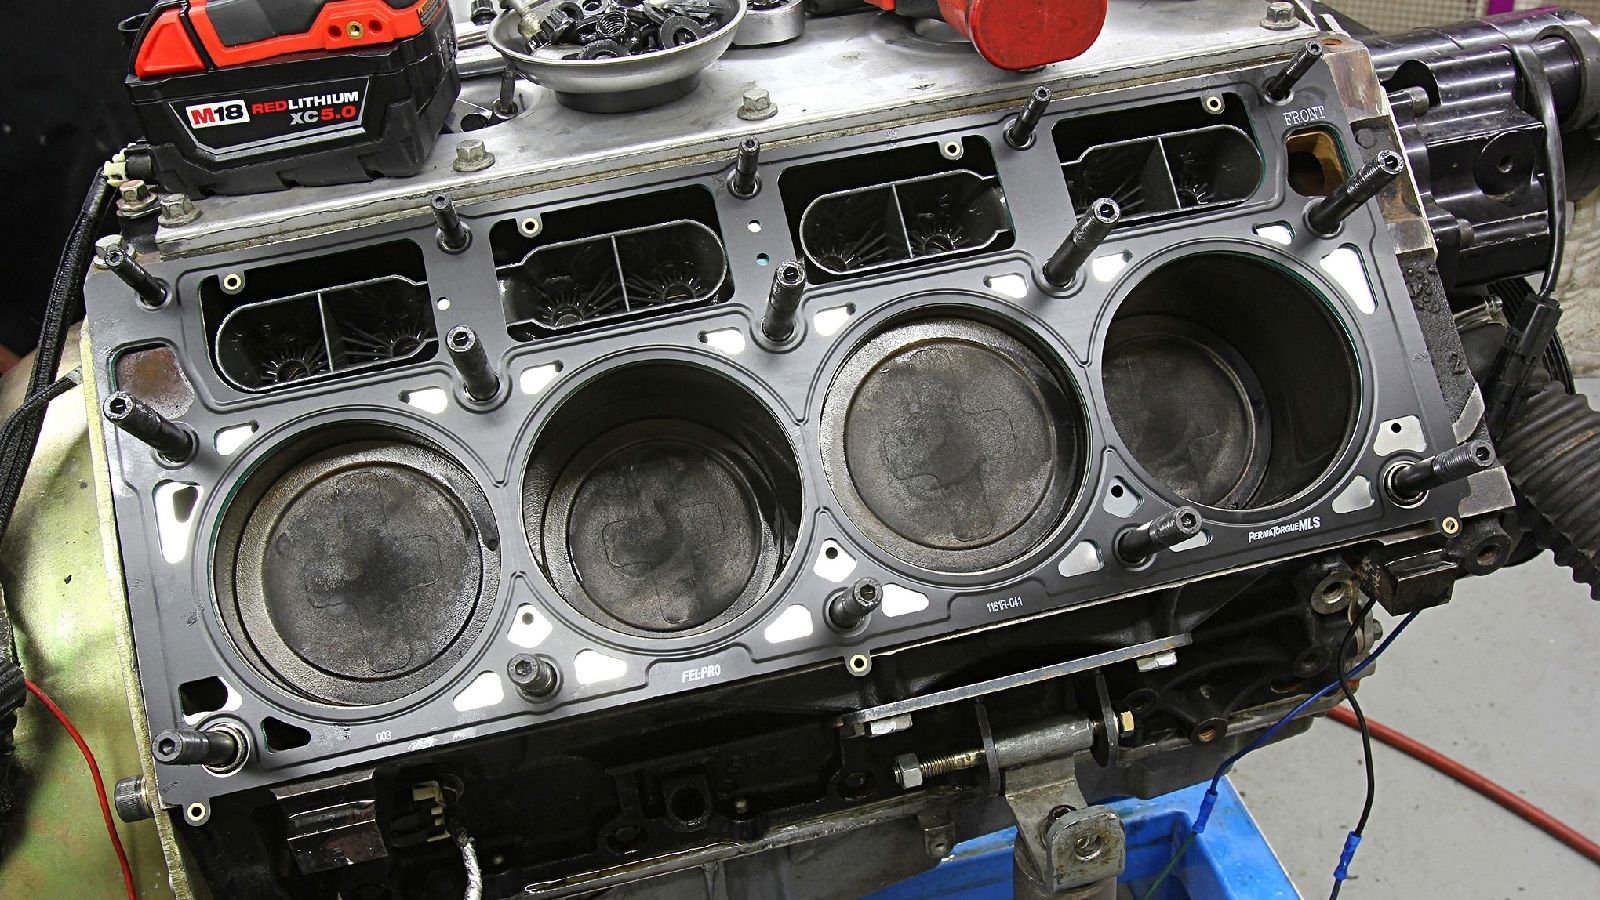
Head Gasket Considerations
If you are removing the cylinder heads for any reason, it can be beneficial to install a thinner head gasket to slightly up the compression ratio and pick up a few more horsepower. This is one of those "while you are in there" kind of mods that is essentially free horsepower on stock engines. As always, it is a good idea to measure that the piston-to-head clearance is at least the minimum of .040" to ensure that bad things don't happen at high rpm.
>>Join the conversation about these pro tips right here on LS1Tech.
Cover & Seal Installation Made Easy
GM, unfortunately, designed the LS engines without any dowels to locate the front and rear covers to the block, so things can get messy if they are not properly aligned during installation. Mr. Gasket now makes several tools to align the covers and install the seals that are a drop in the bucket compared to the pricey GM instruments. The LSTC1 and LSRC1 tools simply insert into the opening of each cover and fit over the ends of the crankshaft to center the covers while installing them to the block. The tools can then be flipped over and the seals properly driven into the covers. Additionally, be sure to apply a pea-size drop of RTV sealer at the corner of each cover during installation where it meets with the oil pan to prevent pesky oil leaks.
>>Join the conversation about these pro tips right here on LS1Tech.
For help with your maintenance and repair projects, please visit our how-to section in the forum.