


Project Flyenlow: 3.4 V6/T5 to LT1/T56 swap
Thread Starter
12 Second Club
iTrader: (22)
Joined: Nov 2005
Posts: 2,726
Likes: 22
From: Huntersville, NC
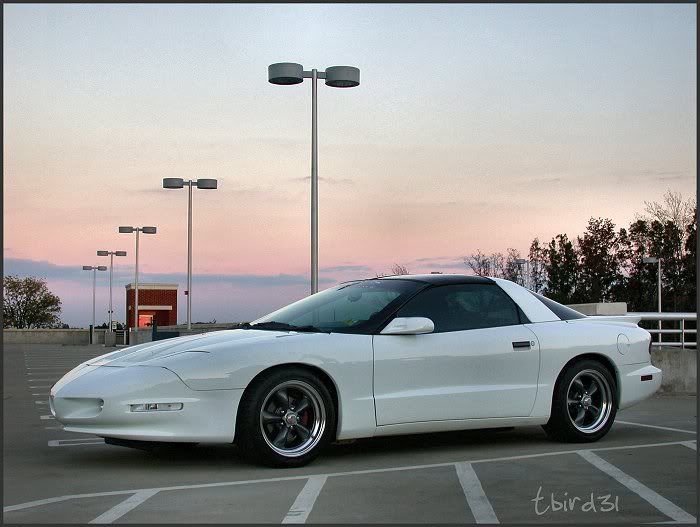
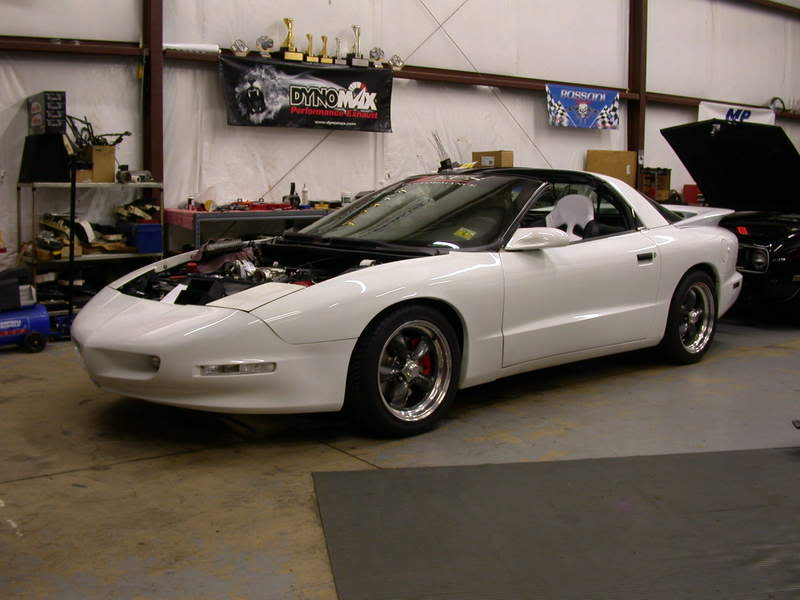
When I bought my 1995 Firebird on October 1st, 2003 it had a 3.4 Liter V6 M5. Since buying it I've always had the desire to go faster/handle better. I started from the ground up pretty much. A catback(Flowmaster) and wheels(chrome Firehawks) were first. Then, I bought a friend’s (WS6FirebirdTA00) old suspension setup back in Nov 2005 (springs/shocks). This past summer I bought and installed a UMI adjustable TA and PHB, along with LCAs and relo brackets.
Now comes the best part, motor swap time. Before I decided to do the swap, I wanted to sell my car and buy a newer WS.6 or something of the sort. After becoming good friends with the guys at Zeus Performance(Charlotte, NC) I decided otherwise. I wanted to keep my car and do a swap. And so it began:
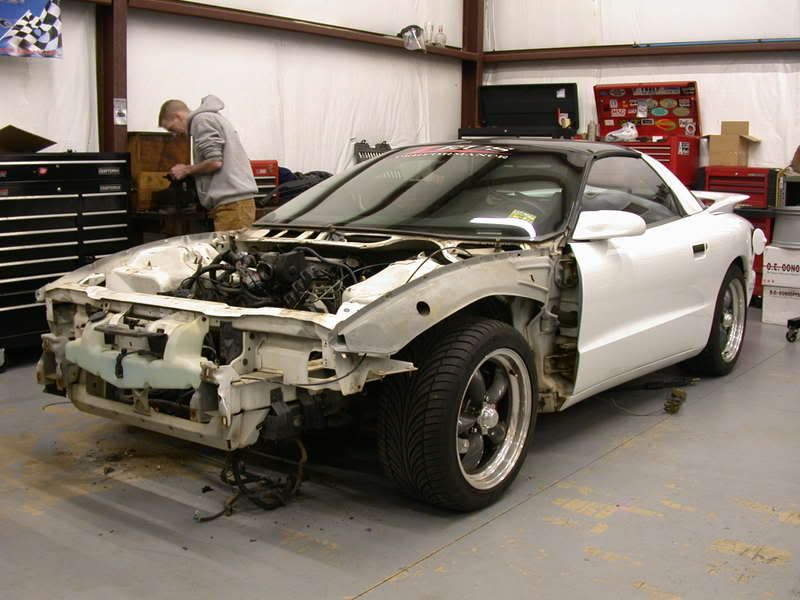
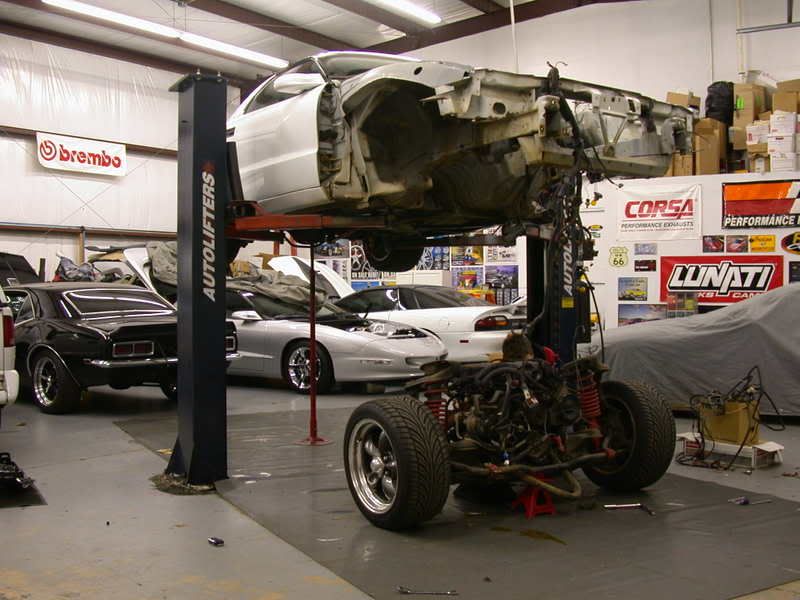
This process began in June 2007 when I initially bought a wrecked 97’ Anniversary Z28...my car has now been off the road for almost 3 months...it's come a LONG way...
Engine:
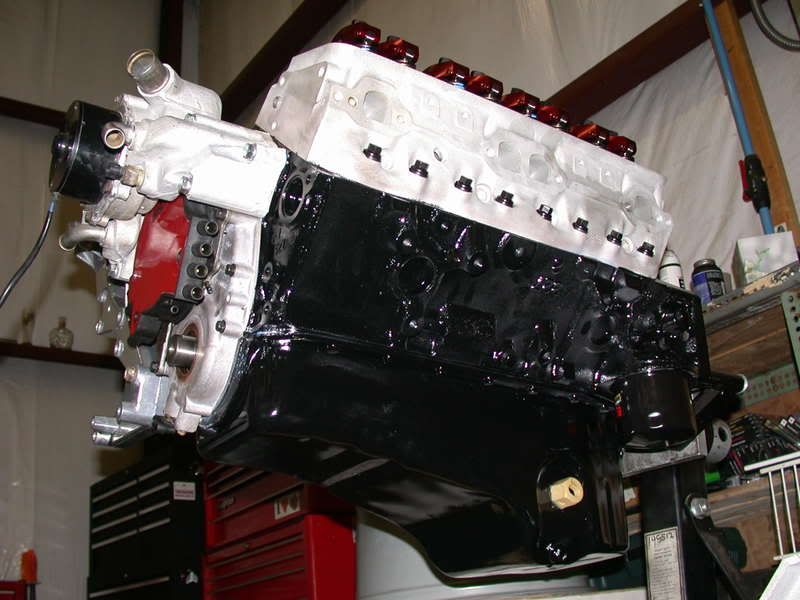
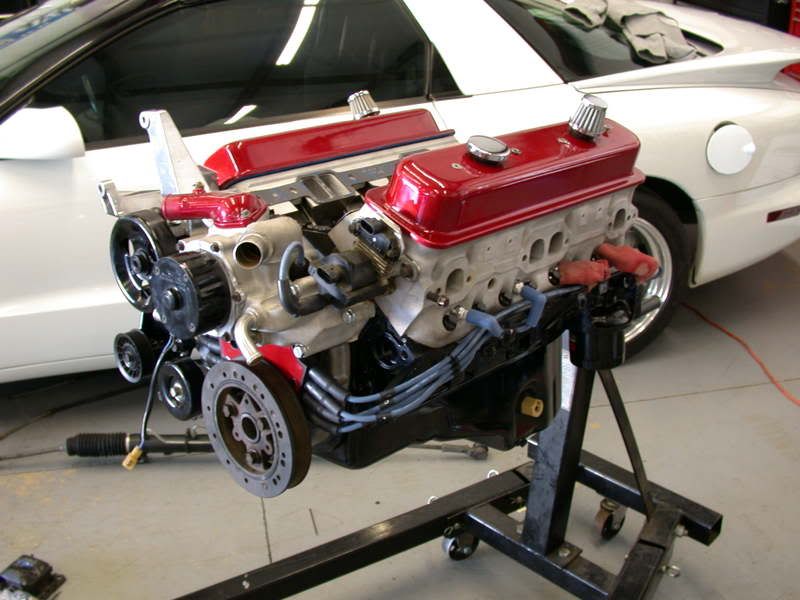
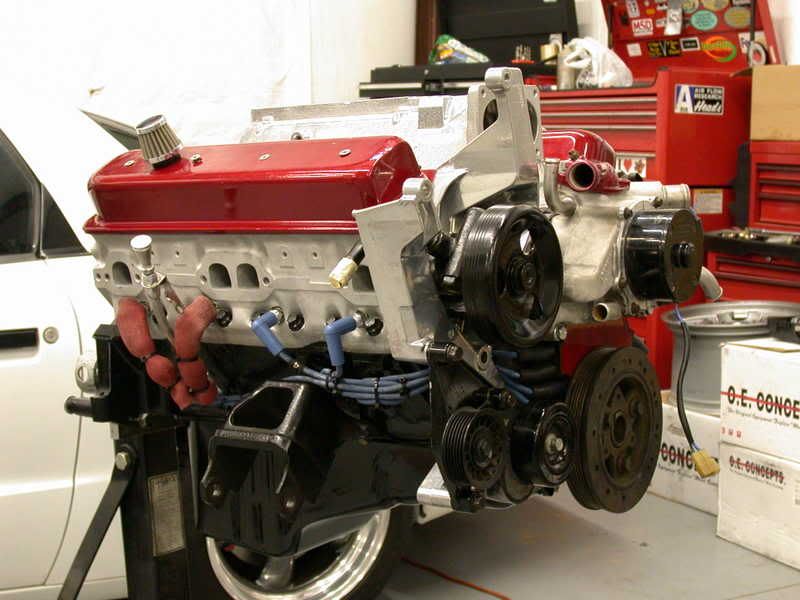
-355ci LT1
(aftermarket crank, SCAT rods & SpeedPro pistons)
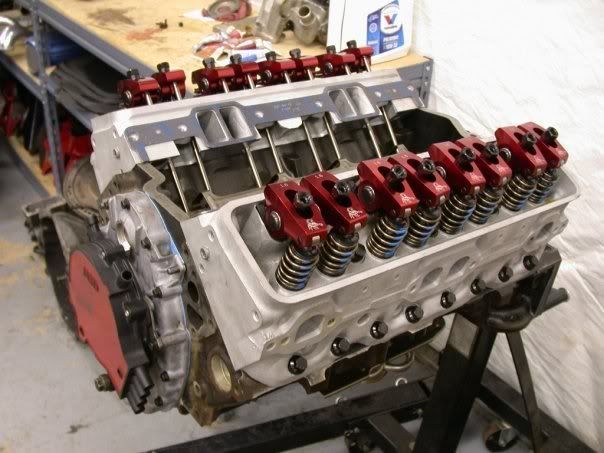
-stock LT1 heads
(cleaned, decked to 11.2 CR, 3 angle valve job w/ all new valves & 918 springs)
-Impala head gaskets to bump CR to 11.5:1
-CC503 cam
-double roller timing chain
-CSR electric water pump
-Scorpion 1.6 RR
-emissions delete
-AC delete
-charcoal canister/line delete
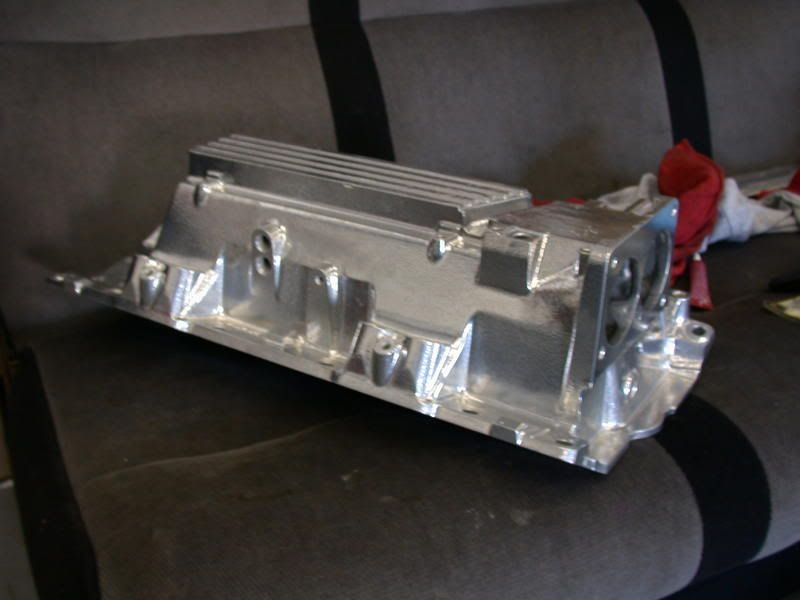
-fully hand ported LT1 intake manifold
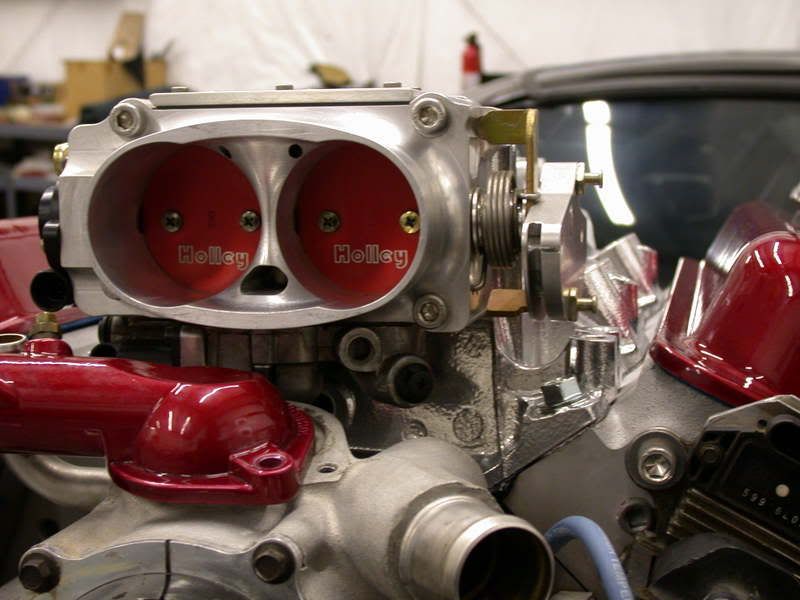
-Holley 58mm throttle body
-160* thermostat
-Tuned by Alvin @ PCM4Less
-MSD Billet Opti
-Moroso wires
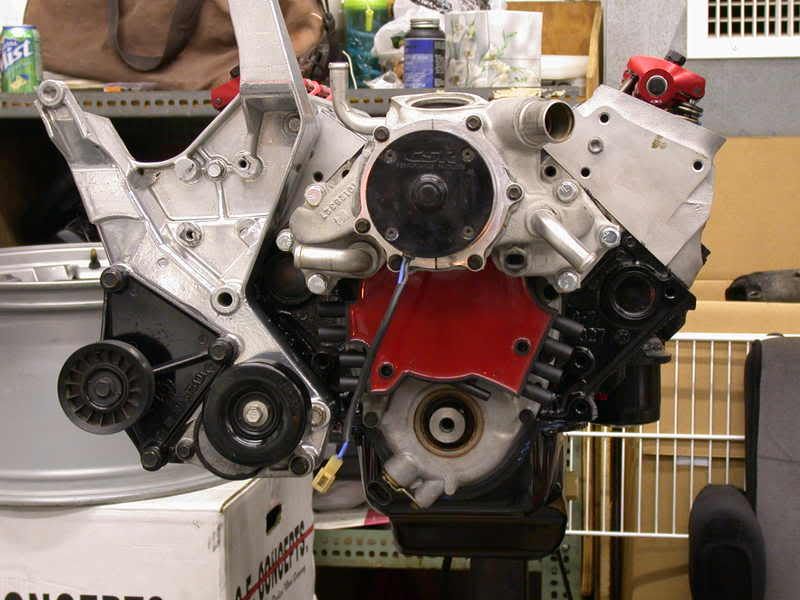
-Custom Power Steering setup
Exhaust:
-Jet Hot Long tubes
-Hooker ORY
-GMMG Chambered stainless steel catback
Fuel:
-stock injectors (soon to be 30lbs)
-Walbro 255 pump
Drivetrain/Brakes:
-D&D Stage 2 T56
-stock clutch
-billet steel Flywheel
-Pro 5.0
-aluminum driveshaft
-4.10s back to 3.42s (4.10s coming again)
-LS1 brakes
-ABS delete
other:
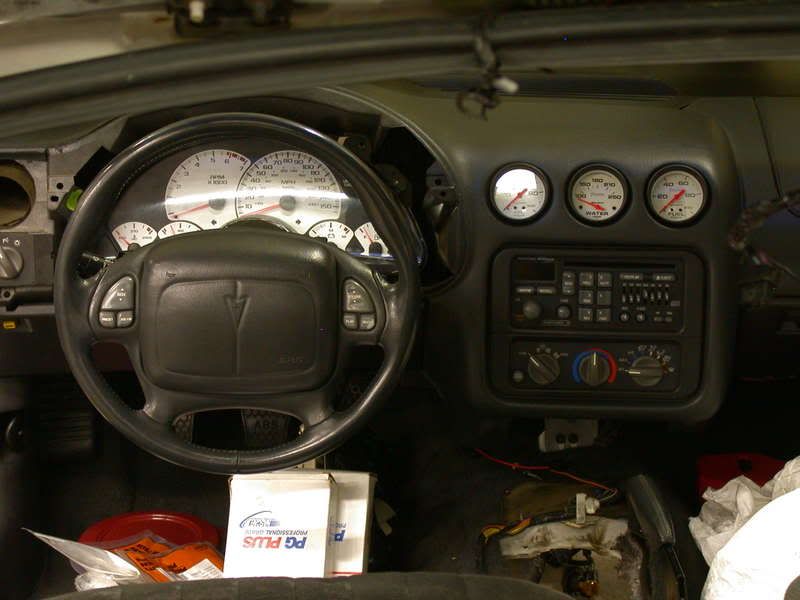
-Gauges: mechanical:oil/fuel pressure - electric:water temp
-TA high rise hatch
-Edelbrock Coilovers/IAS shocks
Future Plans:
-LPP Stainless Steel Headers
-Custom Y-Pipe to gain clearance
-C5 brake upgrade
-UMI TA relocation brace
Here are the pictures of the swap:
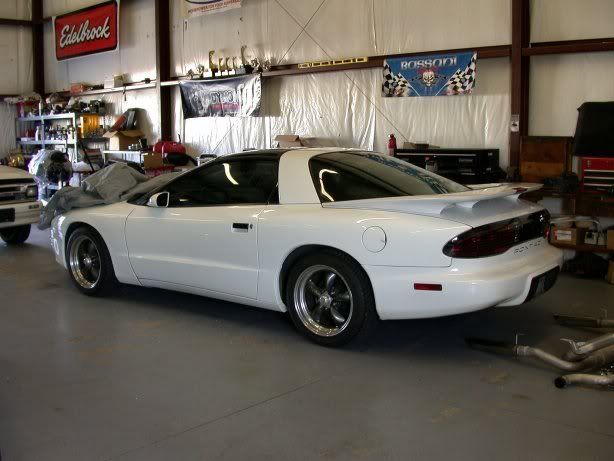
Before the teardown
New hatch
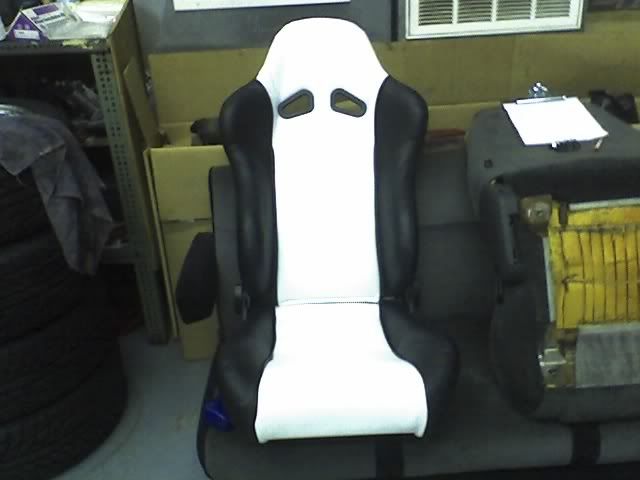
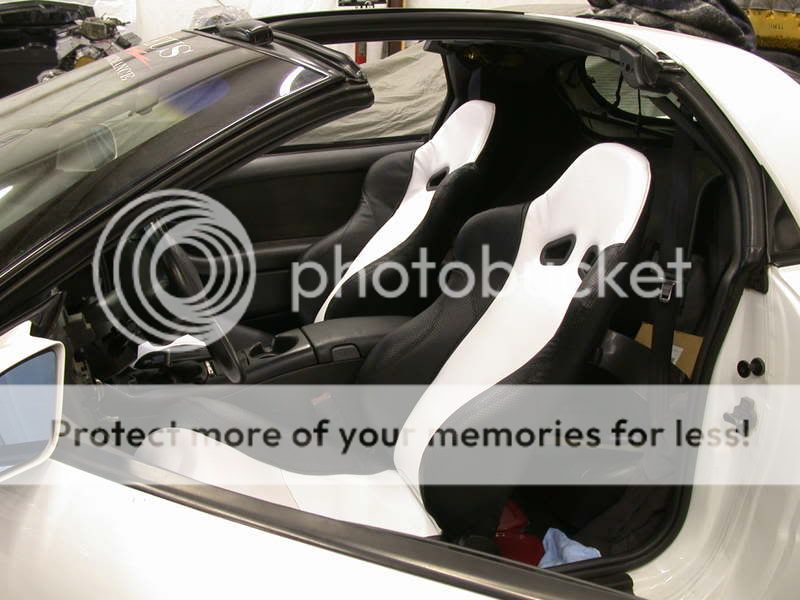
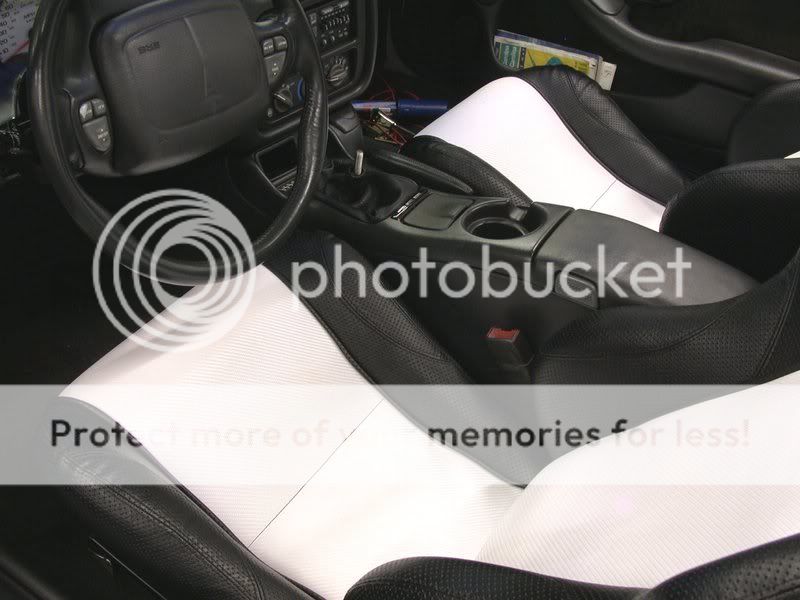
New seats
interior
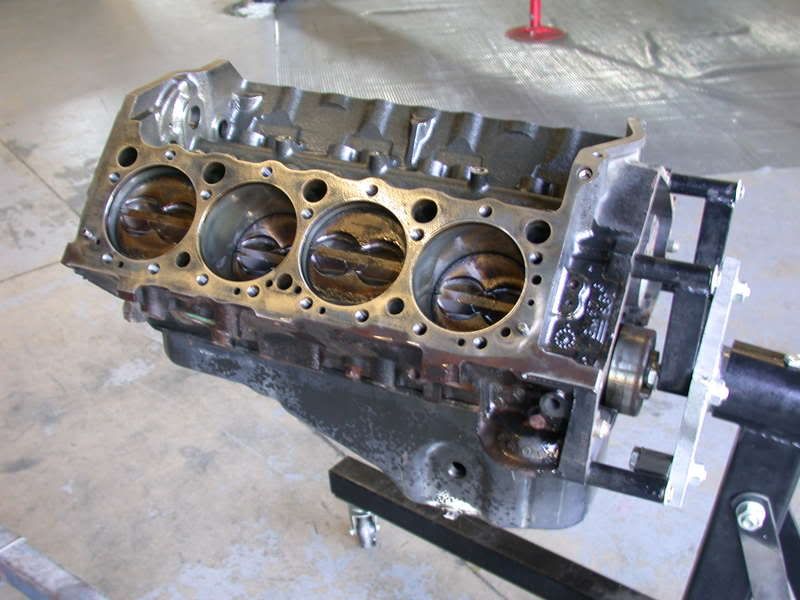
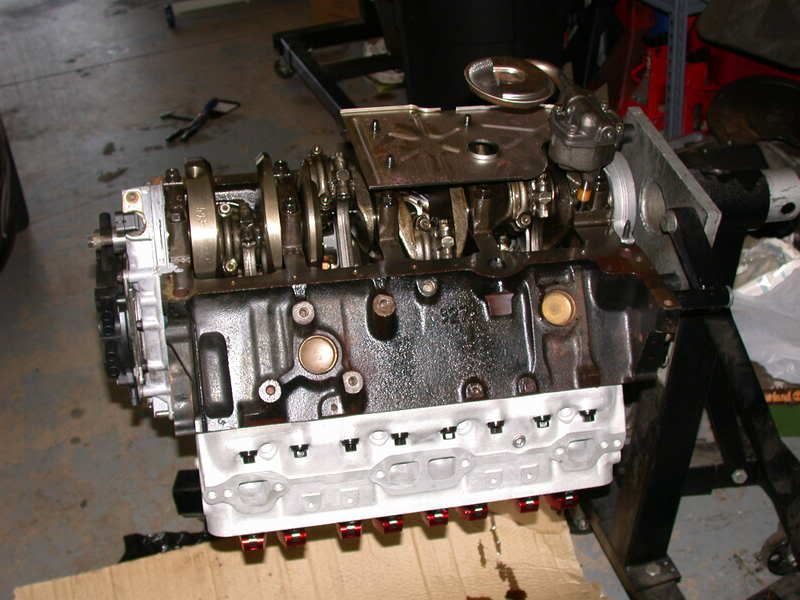
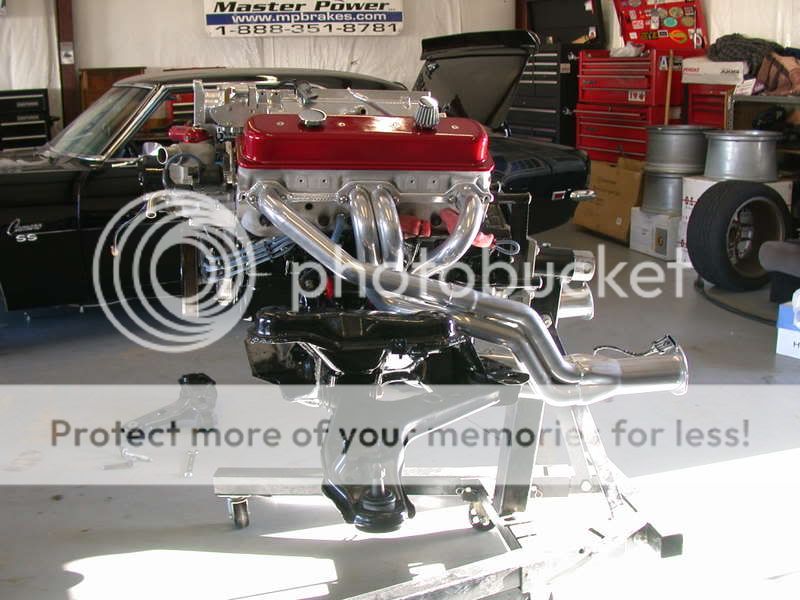
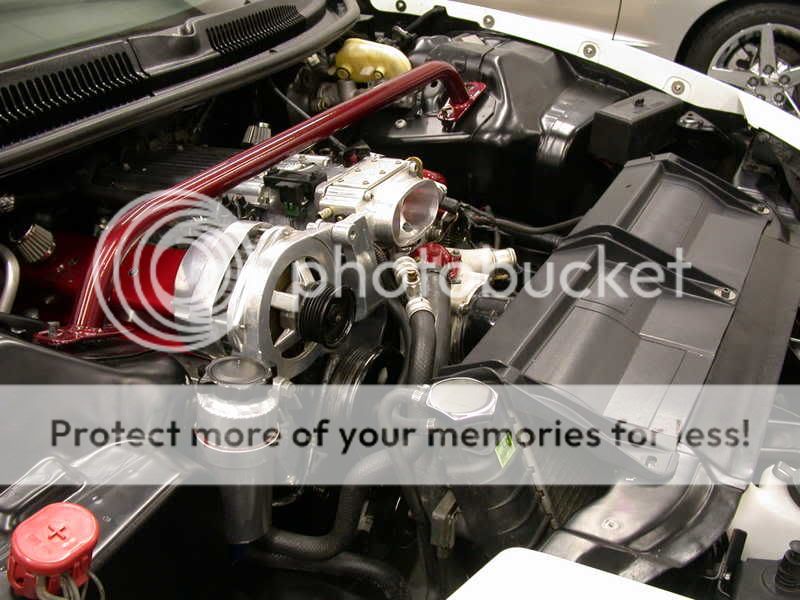
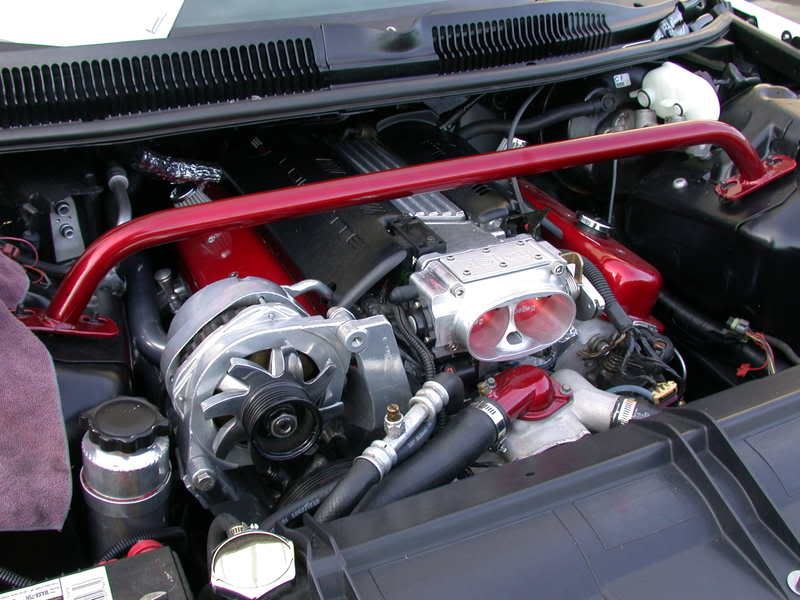
Motor
Tearing apart the car
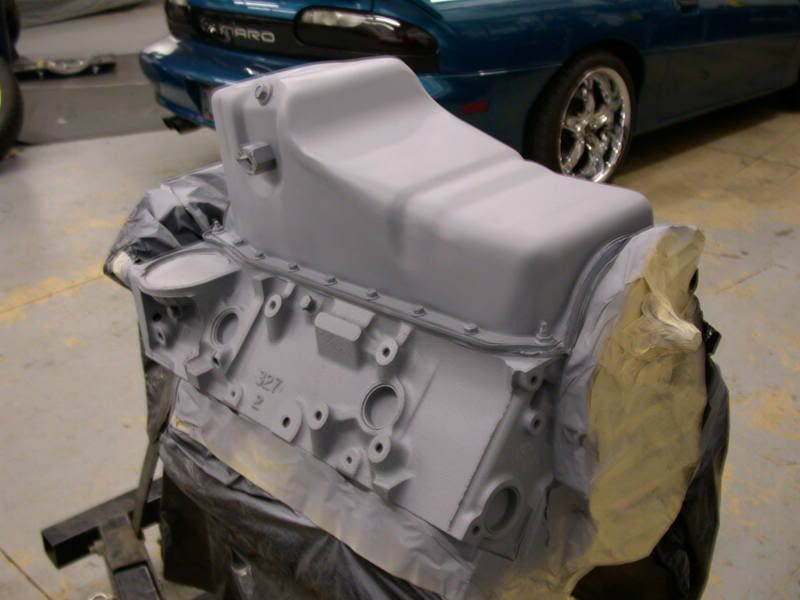
Ceramic coated intake
MMM
Peace out V6
Vroom vroom
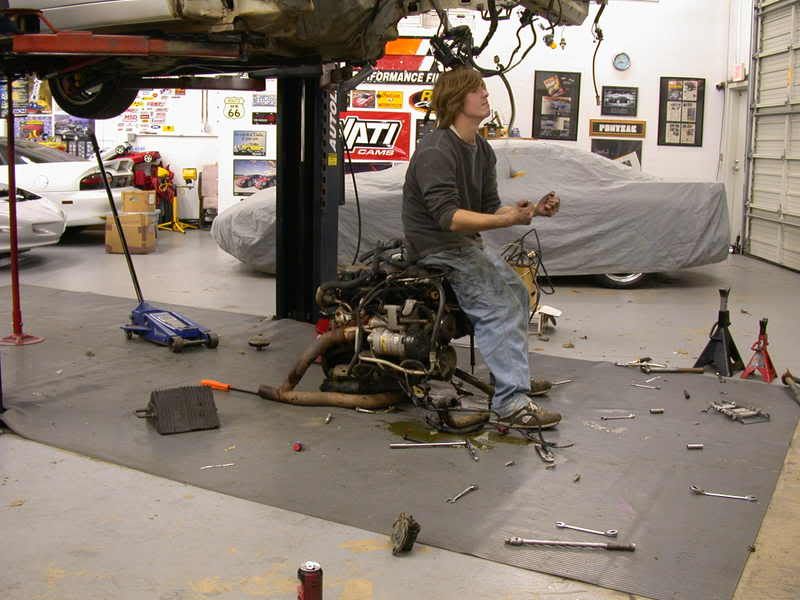
Nasty ****...
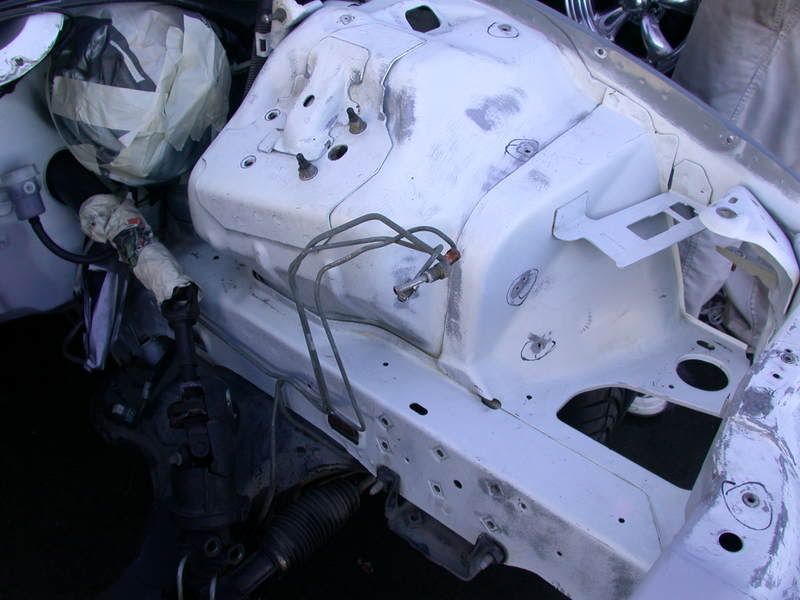
primed

Now comes the best part, motor swap time. Before I decided to do the swap, I wanted to sell my car and buy a newer WS.6 or something of the sort. After becoming good friends with the guys at Zeus Performance(Charlotte, NC) I decided otherwise. I wanted to keep my car and do a swap. And so it began:
This process began in June 2007 when I initially bought a wrecked 97’ Anniversary Z28...my car has now been off the road for almost 3 months...it's come a LONG way...
Engine:
-355ci LT1
(aftermarket crank, SCAT rods & SpeedPro pistons)
-stock LT1 heads
(cleaned, decked to 11.2 CR, 3 angle valve job w/ all new valves & 918 springs)
-Impala head gaskets to bump CR to 11.5:1
-CC503 cam
-double roller timing chain
-CSR electric water pump
-Scorpion 1.6 RR
-emissions delete
-AC delete
-charcoal canister/line delete
-fully hand ported LT1 intake manifold
-Holley 58mm throttle body
-160* thermostat
-Tuned by Alvin @ PCM4Less
-MSD Billet Opti
-Moroso wires
-Custom Power Steering setup
Exhaust:
-Jet Hot Long tubes
-Hooker ORY
-GMMG Chambered stainless steel catback
Fuel:
-stock injectors (soon to be 30lbs)
-Walbro 255 pump
Drivetrain/Brakes:
-D&D Stage 2 T56
-stock clutch
-billet steel Flywheel
-Pro 5.0
-aluminum driveshaft
-4.10s back to 3.42s (4.10s coming again)
-LS1 brakes
-ABS delete
other:
-Gauges: mechanical:oil/fuel pressure - electric:water temp
-TA high rise hatch
-Edelbrock Coilovers/IAS shocks
Future Plans:
-LPP Stainless Steel Headers
-Custom Y-Pipe to gain clearance
-C5 brake upgrade
-UMI TA relocation brace
Here are the pictures of the swap:
Before the teardown
New hatch
New seats
interior
Motor
Tearing apart the car
Ceramic coated intake
MMM
Peace out V6
Vroom vroom
Nasty ****...
primed
Last edited by tbird31; Mar 2, 2009 at 06:25 PM.
Thread Starter
12 Second Club
iTrader: (22)
Joined: Nov 2005
Posts: 2,726
Likes: 22
From: Huntersville, NC
motor's ready
k-member and breaks

before

during

after
apparently moe caught me with the camera...

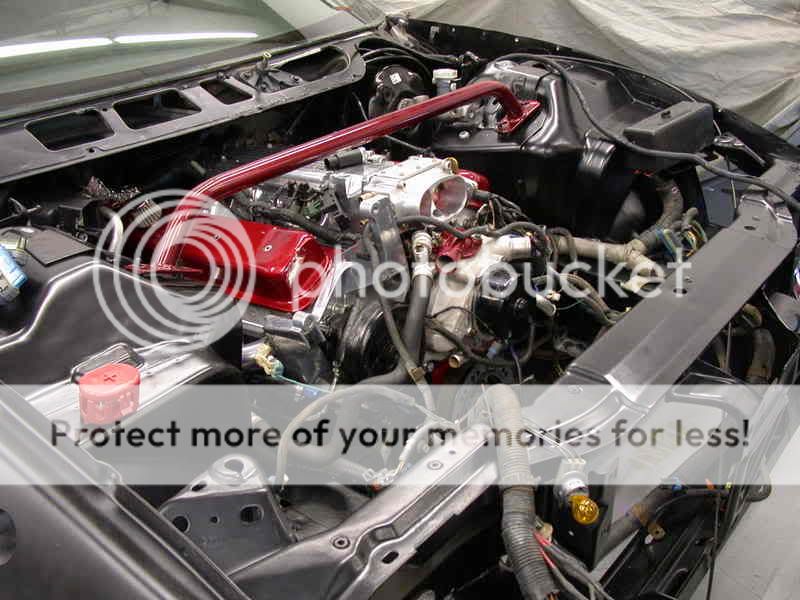
finished prduct
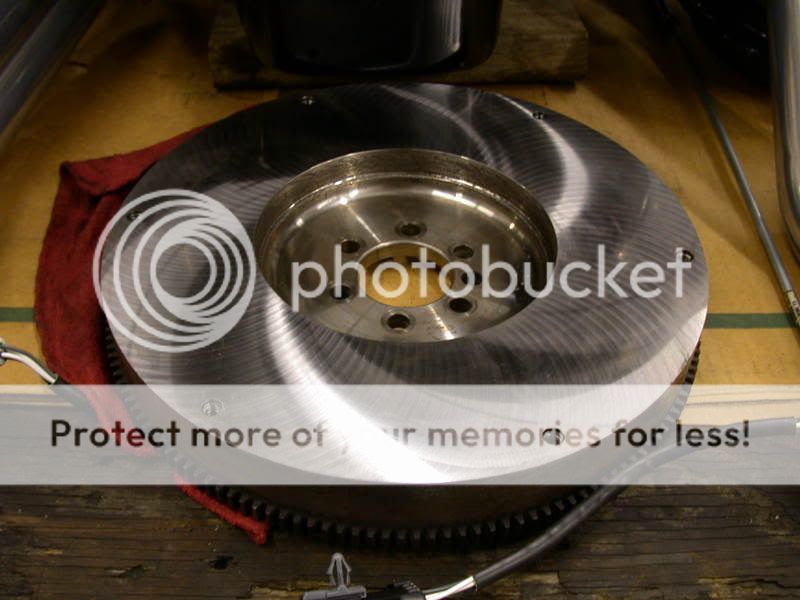
resurfaced flywheel
motors in!
car should've been black dang it...
k-member and breaks
before
during
after
apparently moe caught me with the camera...
finished prduct
resurfaced flywheel
motors in!
car should've been black dang it...
Thread Starter
12 Second Club
iTrader: (22)
Joined: Nov 2005
Posts: 2,726
Likes: 22
From: Huntersville, NC
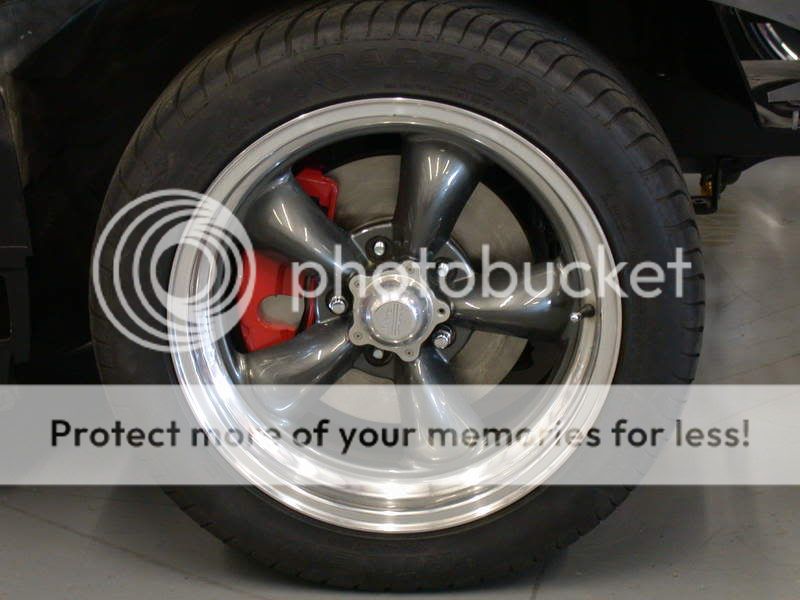
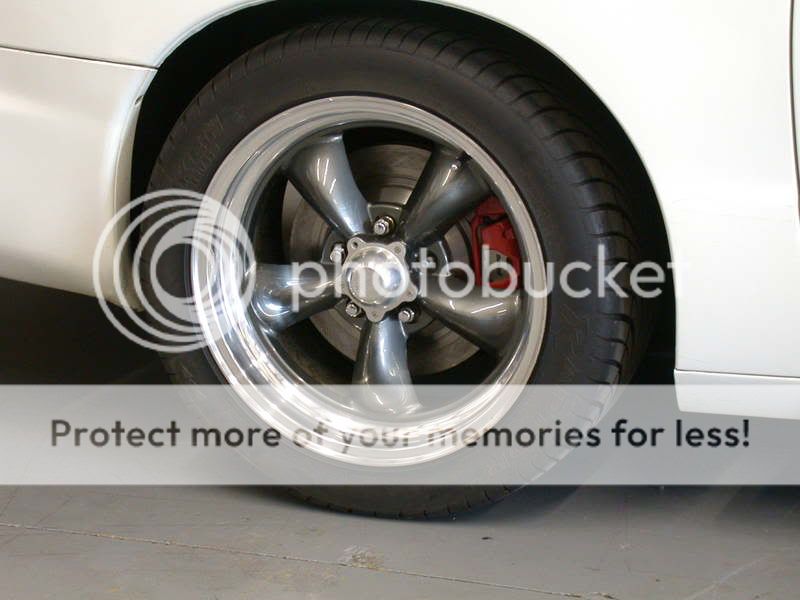
LS1 brakes
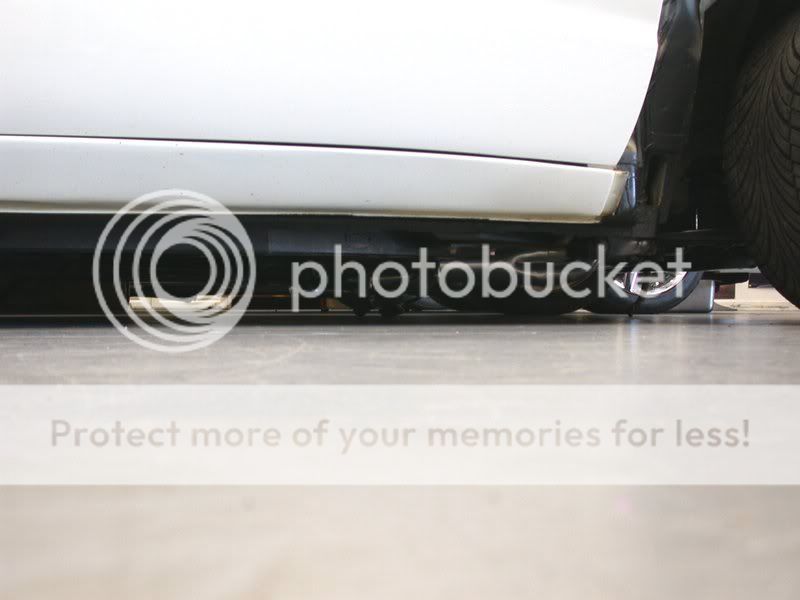
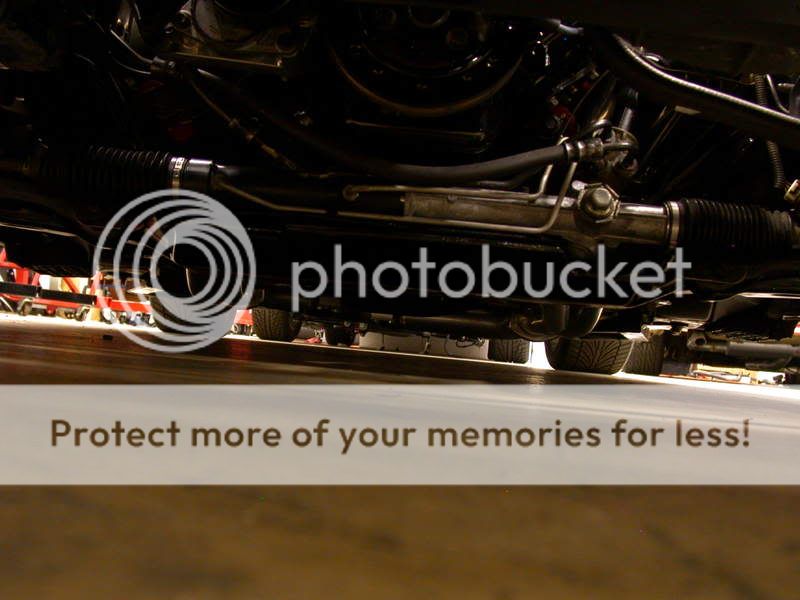
something tells me i'm going to have ground clearance problems :roll:
coming together
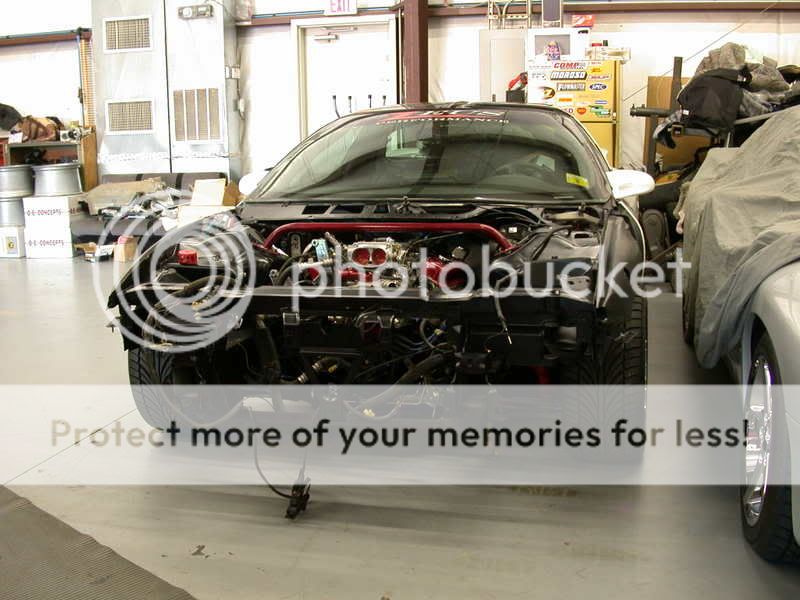
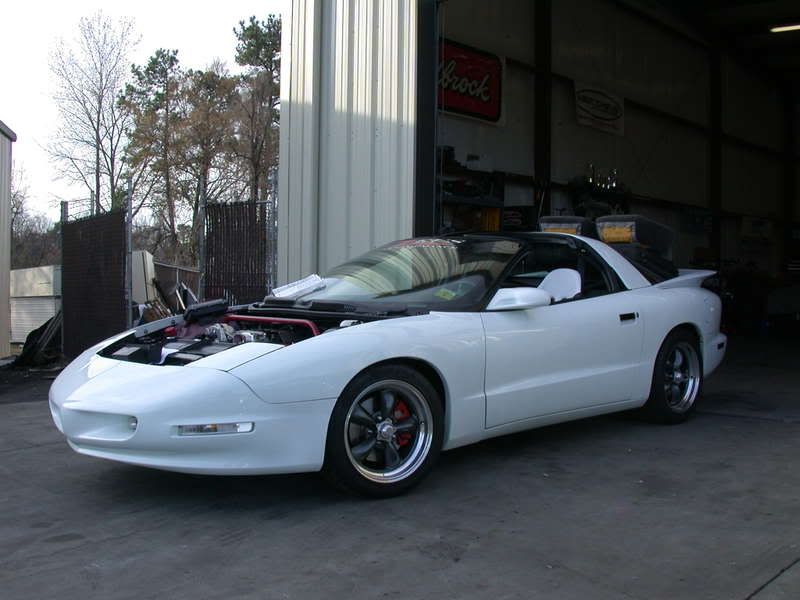
looking somewhat decent again
Here are some pictures of the exhaust finished up.
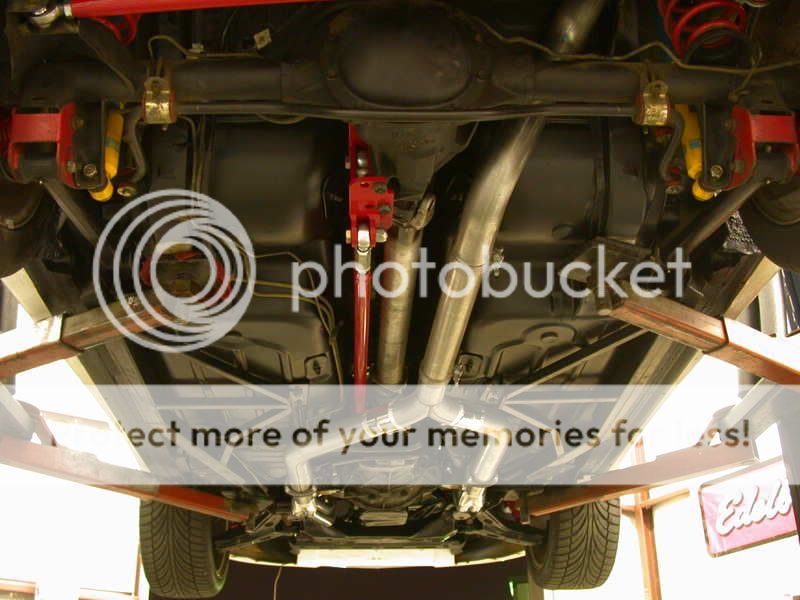
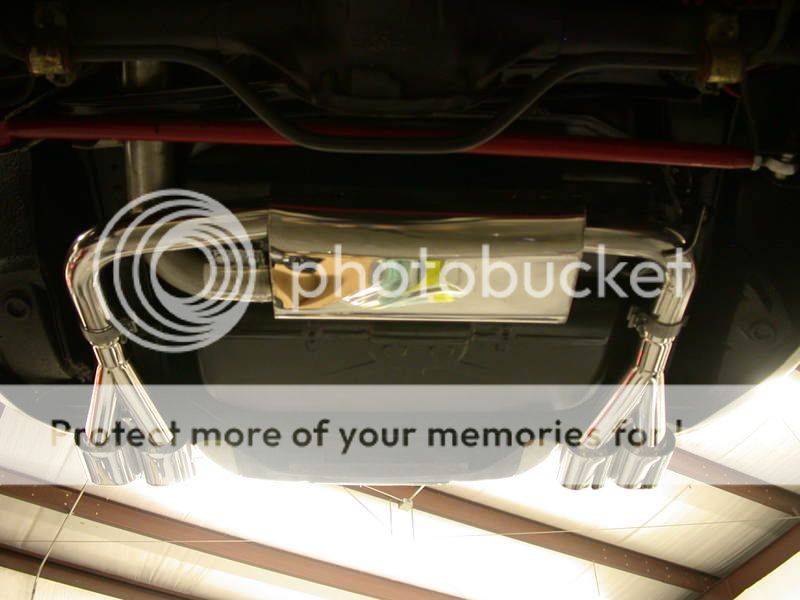
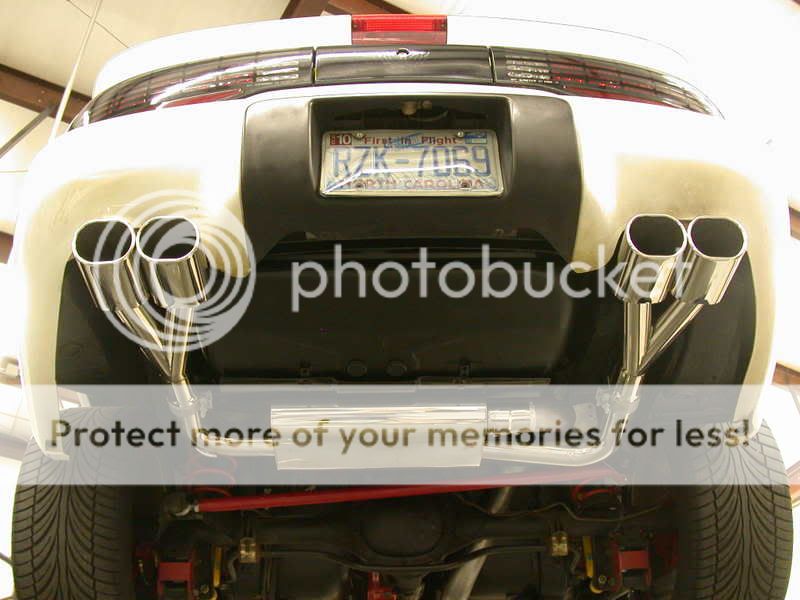
Aparently I made the Y-pipe tuck up pretty well.
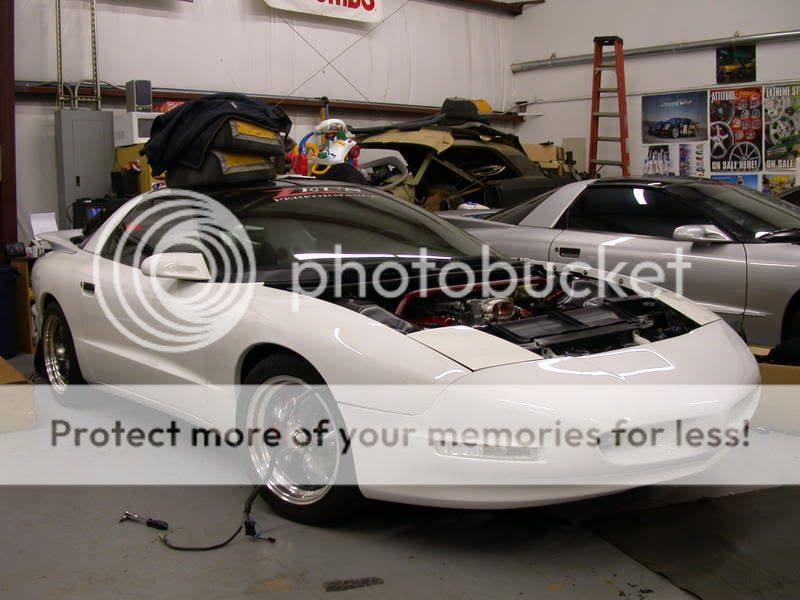
Latest picture, the rest of the work can pretty much be done on the ground:
something tells me i'm going to have ground clearance problems :roll:
coming together
looking somewhat decent again
Here are some pictures of the exhaust finished up.
Aparently I made the Y-pipe tuck up pretty well.
Latest picture, the rest of the work can pretty much be done on the ground:
Thread Starter
12 Second Club
iTrader: (22)
Joined: Nov 2005
Posts: 2,726
Likes: 22
From: Huntersville, NC
Preciate it man. I've started it up but we're having fuel issues. Hopefully it'll be sorted out and finished this week. Still have a good bit of work to do.
I dont usually curse on the boards... but HOLY ****... That is one of the best looking 93-96 birds Ive seen. Not even sure which part of it makes it so nice to me...but I love it!!!
Not only is the car clean and very tasteful, but your work seems to be top notch. I really want to do my under carrige like that for my build this spring. Thats so nice to have it all cleaned and painted and looking good...even in the places people wont see.
Definitely keep us posted with the progress that you have left, and get some vids and what not of it finished!!
J.
Thread Starter
12 Second Club
iTrader: (22)
Joined: Nov 2005
Posts: 2,726
Likes: 22
From: Huntersville, NC
Update:
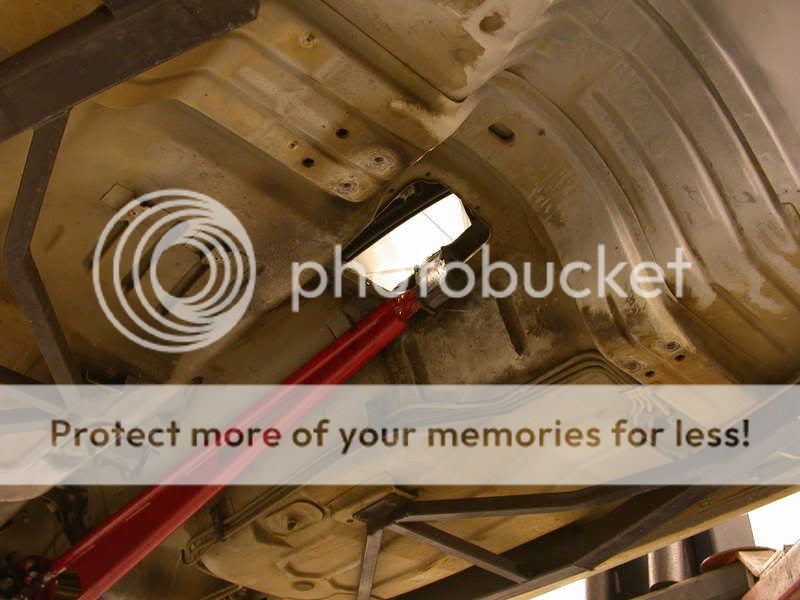
Ok, so I bartered and got a 5k mile rearend...and it might just have 4.10s and a TA cover. So I cleaned it and we welded the axle tubes...might prolong the issue of the all mighty 10 bolts. We shall see:
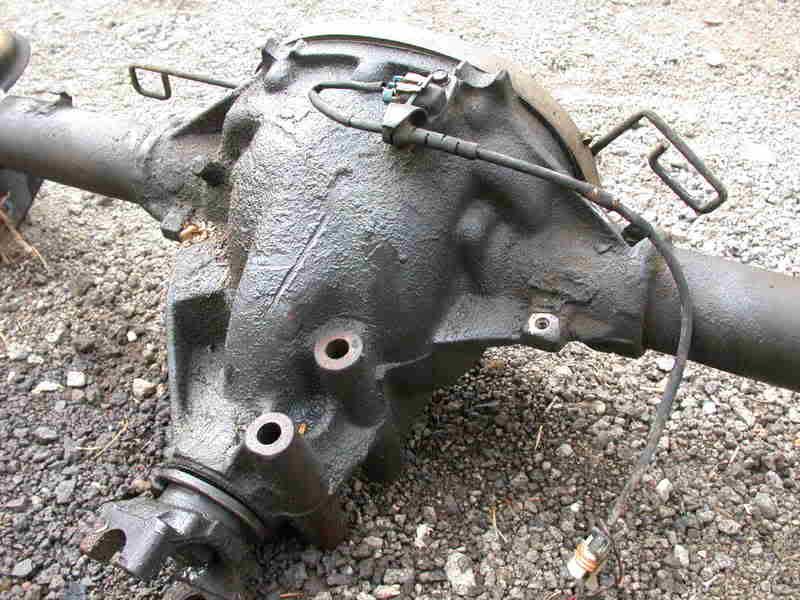
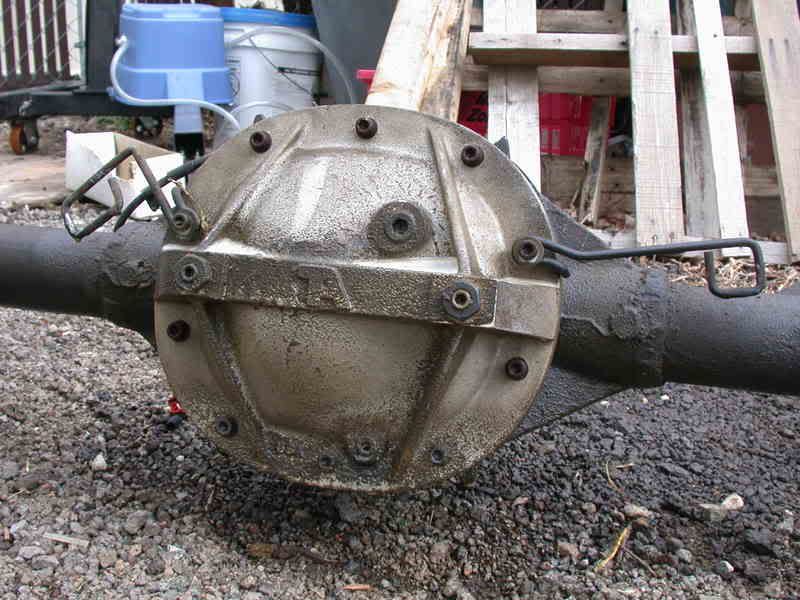

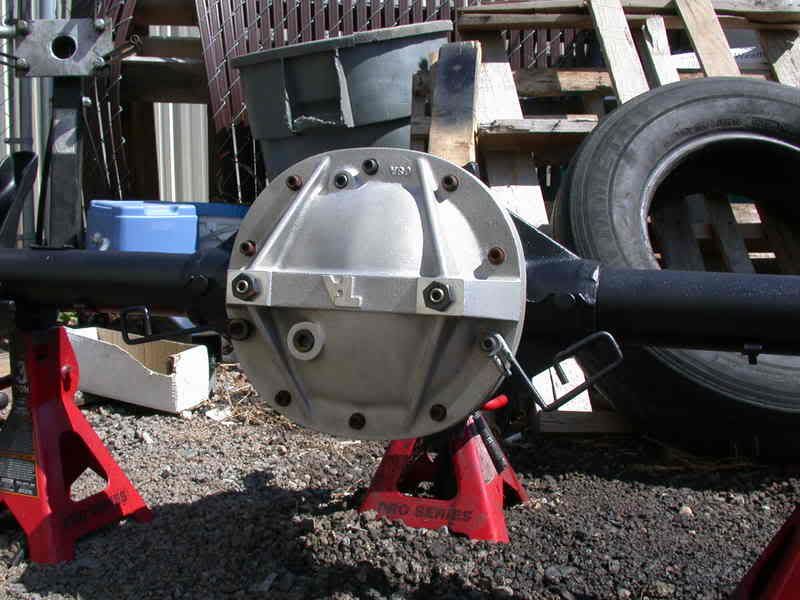
Ok, so I bartered and got a 5k mile rearend...and it might just have 4.10s and a TA cover. So I cleaned it and we welded the axle tubes...might prolong the issue of the all mighty 10 bolts. We shall see:
Trending Topics
LS1 Tech Stories
The Best V8 Stories One Small Block at Time

Topdon ONE vs. Artidiag 800 BT2: Which is the Diagnostic Tablet For You?
Pouria Savadkouei
Gas Monkey Built a 6-Wheel Ferrari Testarossa With a Corvette LT4 Engine
Verdad Gallardo
7 Most Reliable High-Performance Engines GM Has Ever Built
Verdad Gallardo
Amazing '71 Camaro Restomod Is Modern Muscle Car Under the Skin
Verdad Gallardo
6 Common C5 Corvette Failures and What's Involved In Repairing Them
Pouria Savadkouei
Retro Modern Bandit Pontiac Trans AM Comes With Burt Reynolds' Autograph
Verdad Gallardo
Top 10 Greatest Cadillac V Series Performance Models Ever, Ranked
Pouria Savadkouei
Top 10 Most Powerful Chevy Trucks Ever Made!

Hennessey's New Supercharged Silverado ZR2 Has 700 HP
Verdad Gallardo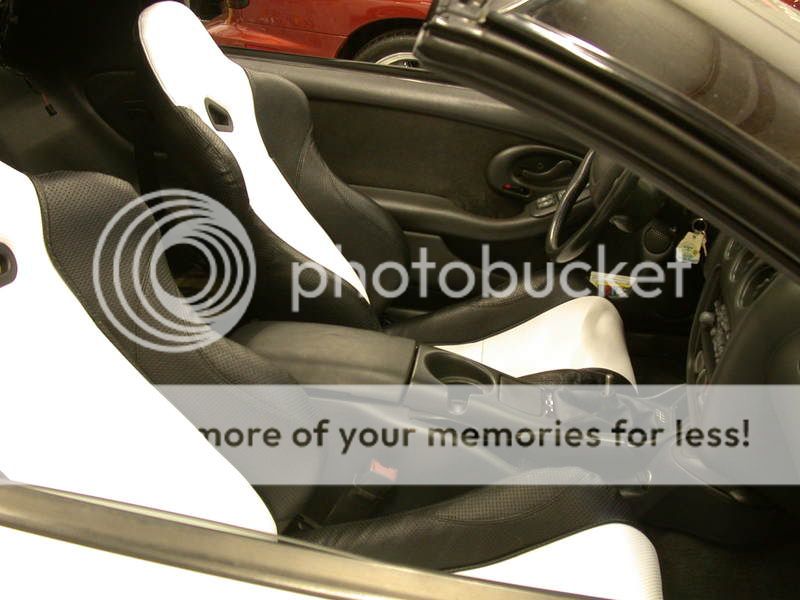
Thread Starter
12 Second Club
iTrader: (22)
Joined: Nov 2005
Posts: 2,726
Likes: 22
From: Huntersville, NC
I finished up wiring the radiator fans yesterday. I am still using the V6 engine bay harness so it was wired for 1 fan instead of 2. I just spliced off of the exsisting wires and added a new plug.
Question I had though is that I don't know if it will decrease the power that is fed to the fans since it will be split. Just hoping it won't affect them in a negative way and make the car not cool off fast enough. I figured it should be ok.
Brakes and computer tomorrow. Car should be on the road by the end of the week. Fingers crossed.

Thread Starter
12 Second Club
iTrader: (22)
Joined: Nov 2005
Posts: 2,726
Likes: 22
From: Huntersville, NC
she runs, idles and moves on her own.
brakes are left...
I used a duplicolor truck bedliner for the underbody and then a high heat semigloss black for the engine bay.
brakes are left...
I used a duplicolor truck bedliner for the underbody and then a high heat semigloss black for the engine bay.

Thread Starter
12 Second Club
iTrader: (22)
Joined: Nov 2005
Posts: 2,726
Likes: 22
From: Huntersville, NC
Launching!
Joined: Jan 2008
Posts: 233
Likes: 0
From: unknown
By spraying the underbody of the car and the engine bay black, was one of the best idea/choice to make. It really adds alot. I like all the work I see. Those wheels look perfect on a white T/A. and the stance looks so nice. But you may have clearence issues with your long tube headers. Just a lil something that you might want to look into, is SLP has and or is still in the process of making new long tube headers that help alot alot with ground cleanerence issues.
P.S. I am going to keep looking back at your car for reference because eventually my 1992 Firebird is going to go through this process.
P.S. I am going to keep looking back at your car for reference because eventually my 1992 Firebird is going to go through this process.
Thread Starter
12 Second Club
iTrader: (22)
Joined: Nov 2005
Posts: 2,726
Likes: 22
From: Huntersville, NC
By spraying the underbody of the car and the engine bay black, was one of the best idea/choice to make. It really adds alot. I like all the work I see. Those wheels look perfect on a white T/A. and the stance looks so nice. But you may have clearence issues with your long tube headers. Just a lil something that you might want to look into, is SLP has and or is still in the process of making new long tube headers that help alot alot with ground cleanerence issues.
P.S. I am going to keep looking back at your car for reference because eventually my 1992 Firebird is going to go through this process.
P.S. I am going to keep looking back at your car for reference because eventually my 1992 Firebird is going to go through this process.