Camaro and Firebird: How to Check Tire Pressure
Learn how to maintain and check your tire pressure to keep your safety up to par and your gas mileage up to snuff.
This article applies to the Camaro and Firebird (1990-2015).
Your vehicle's tire pressure is an important factor in operating your vehicle in optimally safe conditions. An improperly inflated tire can be dangerous to you, your passengers and other drivers around you. Most tire manufacturers have their recommended tire pressure ratings listed on the door jambs of the vehicle or in the owner's manual. Often, you will see "max tire pressure" embossed on the sidewall of your tires. This number is the maximum amount of air pressure the tire can be inflated. However, this is not the tire pressure rating you want to reach when inflating your tires. The operating tire pressure is the number you're looking for.
Many newer vehicles have TPMS or Tire Pressure Monitoring Systems integrated into each wheel that provides data to your vehicle's ECU or "on board computer" that will digitally display the pressure values on each corner. This is a convenient and useful feature to always keep tabs on your tire pressure. However, If you have an older vehicle, using a manual gauge at regular intervals should suffice. The standard tire pressure for Camaro's and Firebird's is between 30 and 32 psi. It is key to maintain the appropriate pressure on all four corners.

Materials Needed
- Tire pressure gauge
- Portable tire inflation tool
- Pliers (optional)
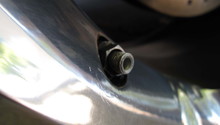
Step 1 – Remove valve stem cap
Before you can check the tire pressure on the first wheel, you'll need to access the valve stem.
- Twist the valve stem cap off in a counter clock wise motion.
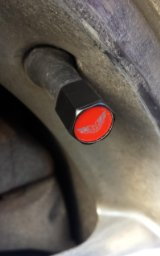
Pro Tip
Sometimes valve stem caps can be stubborn in removal. You can use a set of pliers for extra grip.
Step 2 – Check tire pressure
Now that the valve stem is exposed, you can check the pressure on the first tire.
- Affix the tire pressure gauge to the valve stem.
- Apply slight pressure and observe the measurement rod jut out from the gauge.
- If the tire pressure is within the recommended ratings, replace the valve stem cap and move on to the next wheel.
- If the tire pressure is above the recommended ratings, use the knob on the back of the tire pressure gauge to release some air.
- If the tire pressure is not within recommended ratings, proceed to Step 3.
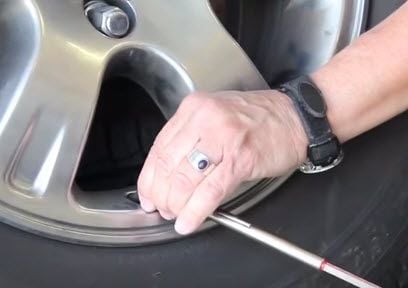
Figure 2. A tire pressure gauge is more accurate than eyeballing it. 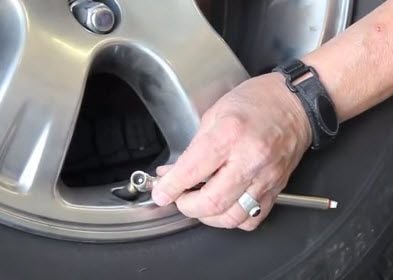
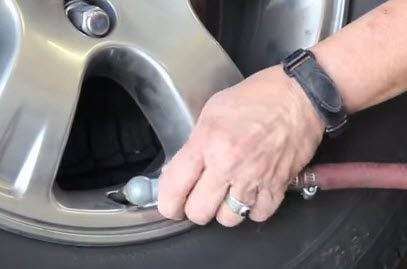
Figure 3. Time for some inflating.
Pro Tip
You can listen for a slight "hiss" when you push the tire pressure gauge against the pin in the valve stem.
Step 3 – Inflate air as needed
If one or more of your tires seems to be low in pressure, you will need to inflate with air.
- Affix the air inflation hose to the valve stem.
- Apply light pressure for a short period of time (roughly 10 seconds).
- Use tire pressure gauge to determine if optimal pressure has been met.
- Replace the valve stem cap.
- Repeat for the remaining tires.
Pro Tip
Depending on how low the pressure is, you will need to use your best guess as to how long you keep the air hose attached. Again, bear in mind that you don't want to over-inflate the tires. Use the tire pressure gauge in conjunction with the air hose to get the tire up to spec.
Featured Video: How to Check Tire Pressure
Related Discussion
- Factory Tire Pressure 2002 Camaro - LS1Tech.com