Camaro and Firebird: Suspension Performance Diagnostic Guide
The suspension system must maintain correct angles and range of motion to remain satisfactory to the driver. When free play occurs, it worsens exponentially over time. If left unchecked long enough, the vehicle can become unsafe to drive. A quick inspection may point directly to the problem area.
This article applies to the Chevrolet Camaro/Firebird (1993-2002).
Suspension problems usually don't go unnoticed. Whether noise is present or the steering is effected, you're sure something is out of the ordinary. The suspension is comprised of many different components. Visual identification of the problem is often most difficult, due to areas being hard to access and requiring significant strength to maneuver. Once the most common problem areas are found, inspection can be completed in a few short steps.

Materials Needed
- Tire inflator
- Air pressure gauge
- Floor jack
- Jack stand (x2)
- Pry bar
- Tape measure
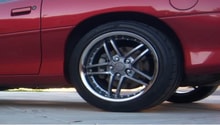
Step 1 – Perform a visual inspection
A visual inspection of the wheels, tires, and ride height will help you locate the problem.
- Park on a level surface.
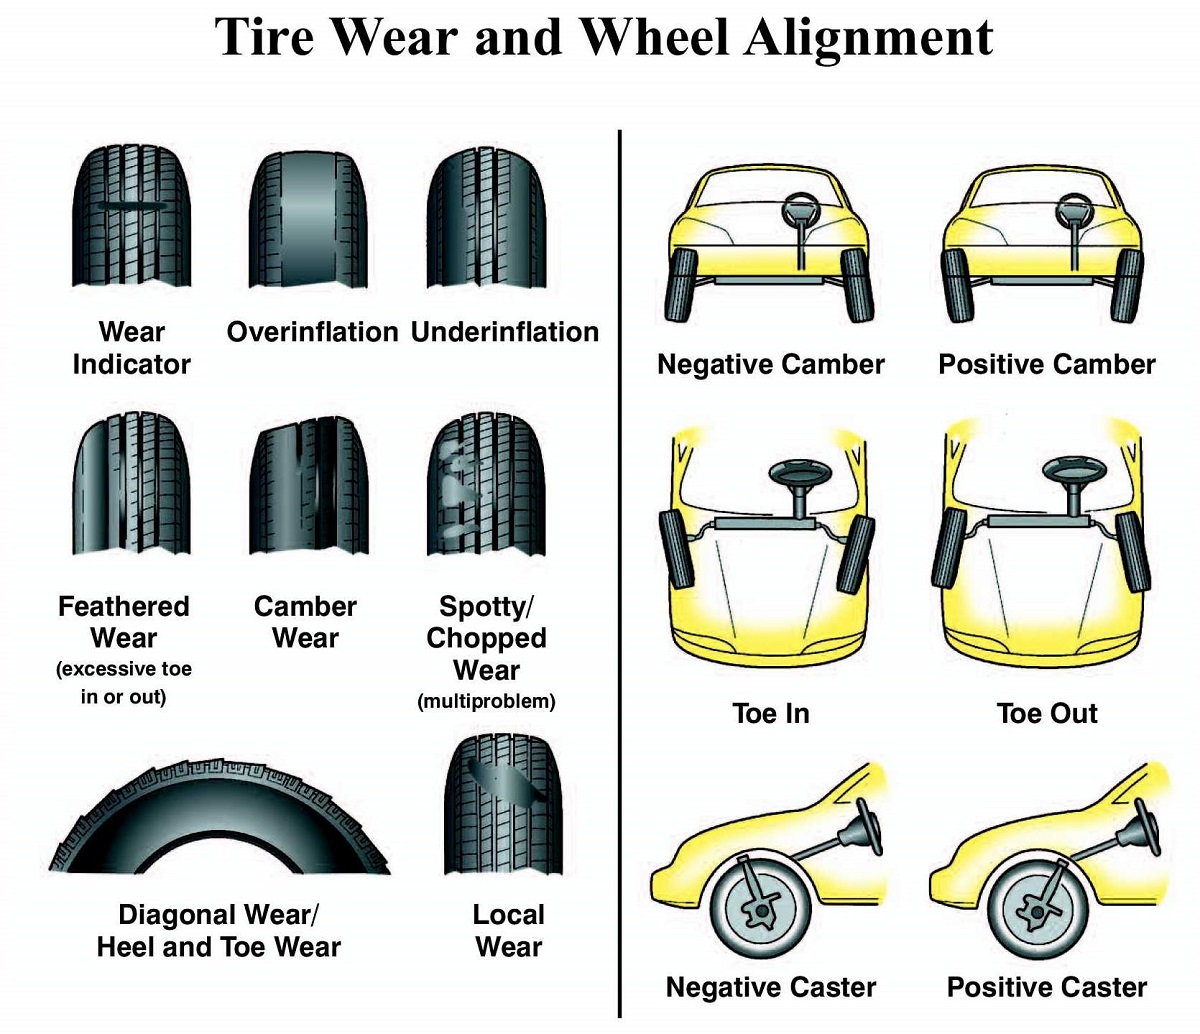
- Looking down the side of your vehicle, look at the angle of your wheels in relation to the body and road. The wheels should be almost perfectly aligned straight ahead and vertically to maximize the tires contact with the road. Have an alignment performed if this is not the case.
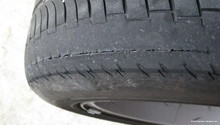
- Inspect the tires for uneven wear. Look for wear only occurring on the sides or middle of the tire. A "cupping" wear pattern may indicate worn suspension components. Adjust tire pressures to factory specification.
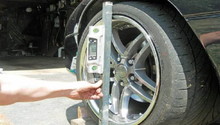
- Use a tape measure to find the ride height at each corner. Measure from the ground at the base of the tire to the bottom of the fender. Make sure the tire pressures are alike. A sagging corner can indicate a worn shock or spring.
Wheel alignments should be done annually for your vehicle. Over time, as suspension components wear, and the day-to-day commute, along with the occasional bump against a curb, your vehicle's alignment can slowly shift out of spec, causing odd handling and abnormal tire wear.
Step 2 – Road test
A road test will help detect the problem area.
Drive the vehicle on a straight road at normal highway speed. Note any of these movements:
- Vehicle wander - The vehicle does not drive in the intended direction. This may indicate mis-adjusted caster angles or looseness in the steering/suspension components.
- Drift - The vehicle moves to the side while you hold the wheel steady. Loose/worn steering components, low tire pressure, insufficient caster, and/or incorrect toe may cause a drift.
- Pull - The steering wheel moves to one side. First, adjust your tire pressures. If your visual inspection located a worn tire, try switching it to the other side to see if the pull moves direction. Mis-adjusted camber or caster will create a pull. If the pull occurs only while braking, locate the worn component in the steering/suspension system or braking system.
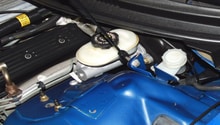
Accelerate from a stop. You may find the vehicle steering to one side (torque steer). This may be caused by:
- Unequal axle lengths
- Worn inner/outer tie rod ends
- Loose or worn engine/transmission mounts
- Loose or worn control arm bushings
Turn to the right and left:
- Do you notice hard steering? This may be due to a problem with the power steering system or a bind in the steering. Positive caster can create hard steering as well.
- Does the steering wheel not return to center? A condition known as "memory steer" is caused by binding pivot points such as ball joints, tie-rods, and strut bearings. The steering gear or rack and pinion may also create it.
Drive over a bump. Does the wheel turn?
- "Bump Steer" is caused by incorrect angles in the steering linkage.
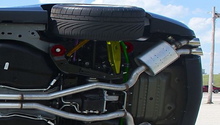
Step 3 – Measure play in the suspension components
Correctly moving a suspension component during your check can mean the difference between finding and missing the problem.
To measure play in the front suspension ball joints:
- Raise the front of the vehicle onto jack stands. Refer to the article: How To Jack Up Your Car for the 4th generation Camaro/Firebird.
- Wiggle the front wheels up and down, watching for play in the lower ball joint. Zero play should be observed.
If your Camaro/Firebird uses a spring on top of lower control arm you'll need to:
- Raise the lower control arm with a jack until the springs force is removed from the ball joint.
- Wiggle the wheel side-to-side and up and down, looking for play in the joint. Zero play should be observed.
Check the other joints and bushings in the suspension system using a pry bar. Look for damaged rubber:
- Locate the joint you want to inspect. Use the leverage of the pry bar to move the component against the bushing. Replace the bushing if cracks become apparent.
As a general rule, steering and suspension components are best inspected with the vehicle resting in its normal position. An alignment rack allows the technician to measure the free play and record the alignment angles to best determine whether a component is bent or worn.
If you're bringing your vehicle to a repair shop, write down your observations and give them to the technician.
Related Discussions
- Camaro SS Suspension Issues - LS1Tech.com
- Suspension Issues on '99 - LS1Tech.com
- Body Flex and Suspension Issues - LS1Tech.com
- Checking Control Arm Bushings - Tire Issues - LS1Tech.com
- Bad Handling - LS1Tech.com