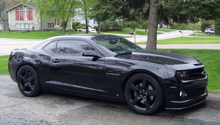
Camaro and Firebird: How to Paint Your Brake Calipers
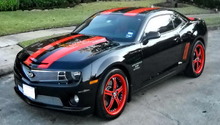
Are the wheels on your Camaro or Firebird looking a little dated and beaten after a long winter of driving through snow, sleet, and salt? If so, give them a makeover by painting the brake calipers.
This article applies to the Camaro and Firebird (1990-2015).
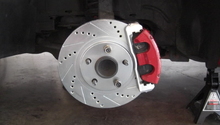
Painting the brake calipers on your Camaro or Firebird will give the car a fresh, sporty look. The actual chore of painting the calipers is easy enough, but it does require some know-how. For instance, the calipers themselves get hotter than the actual engine, so selecting the correct paint is paramount. Read on to learn more about this fun project that can lead to some truly eye-catching results.

Materials Needed
- Brake cleaner
- Hard-thistle brush
- 500-degree engine paint
- Blue painter's tape
- Garbage and plastic bags
Step 1 – Lift the car, remove the wheels, and clean the calipers
To access the calipers, you need to lift your car and remove its wheels.
When complete, clean the brakes of dust and dirt built up on the caliper using the brake cleaner and thistle brush. Clean thoroughly and make sure they’re dry before moving on to the next step.
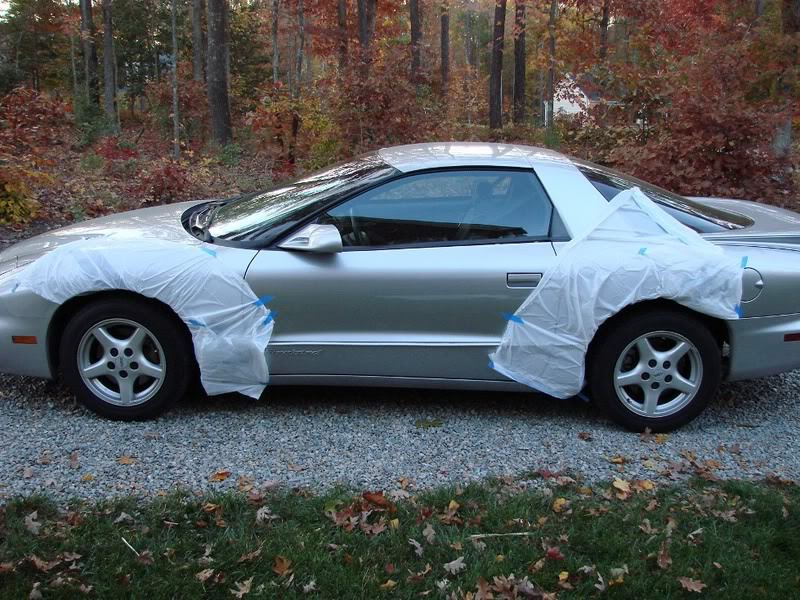
Step 2 – Protect the car
Split garbage bags along the seams and use painter’s tape to stick them within the wheel well and around the immediately surrounding body area of the car to protect from random paint splashes.
Step 3 – Use painter’s tape to protect additional areas
You may not want to paint every part of the caliper (e.g. the back of the caliper). If this is the case, now’s the time to use painter’s tape to protect the areas from being painted.

Step 4 – Protect the rotor
Use a piece of paper towel/rag and place it underneath the bracket to protect the rotor closest to the calipers from paint. Apply a plastic bag around the rest of the rotor to protect it as well.
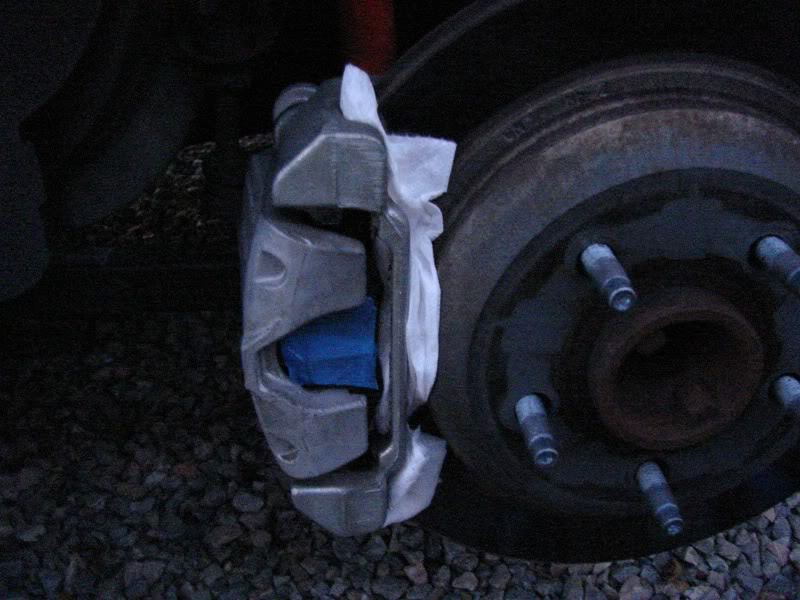
Figure 4. Plastic bag behind caliper. 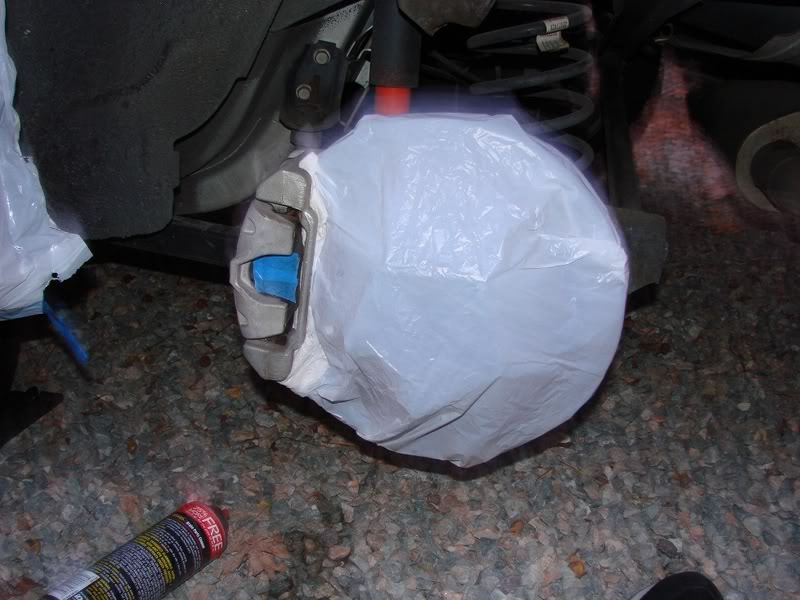
Figure 5. Plastic bag around rotor.
Step 5 – Begin painting
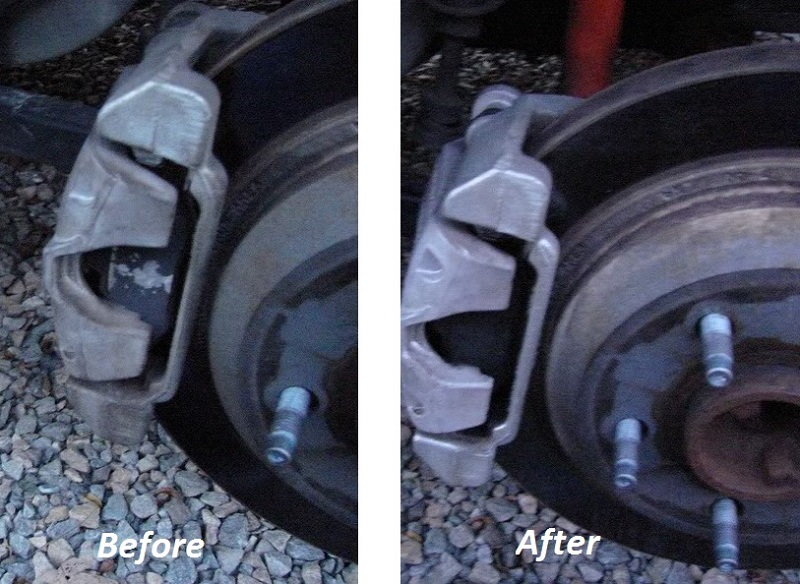
Using 500-degree paint (remember, this component gets hot, so you need the special paint), apply a light layer of paint to the calipers. Do NOT apply a heavy layer. A couple of light layers will look better than a thick layer of paint. Allow to dry and re-apply a new layer. A good look will require about 3-4 layers of paint. To pass the time, you may want to clean your car’s wheels and rims, to give the whole area a fresh, new look.
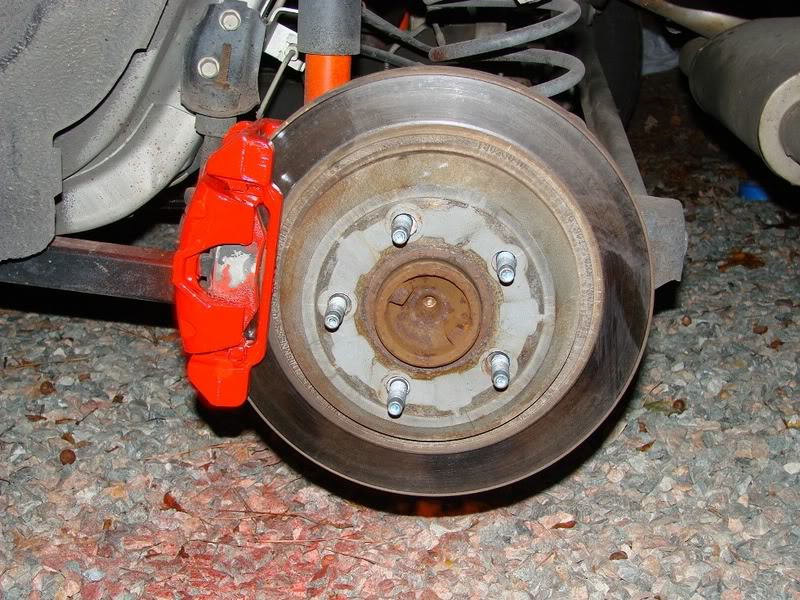
Step 6 – Remove bags/tape and inspect for random paint splashes
Take time to clean away any paint splashes to ensure a consistent look throughout the calipers. When finished drying, reattach the wheels and lower the car.

Related Discussions
- How to Paint Your Brake Calipers - LS1tech.com
- Spray Versus Brush Painting Calipers - LS1tech.com
- Do I Need High Temp Spray Paint Calipers? - LS1tech.com
- What to Use to Smooth Calipers before Painting? - LS1tech.com
- Brake Caliper Painting Writeup - LS1tech.com