Chevrolet Camaro 2010-2015: How to Flush Radiator
Flushing your radiator periodically ensures that your cooling system continues to function properly. Here's how to get the job done on your 5th generation Camaro.
This article applies to the Chevrolet Camaro (2010-2015).
Your radiator needs regular maintenance, just like every other part of your vehicle, to keep it safe and reliable. The purpose of the coolant in your engine is to remove the heat in the radiator and keep the engine at a safe temperature. The coolant is circulated through the engine block, radiator, and heater core by the water pump. Now imagine the fluid making that journey every day countless times and all the debris it picks up along the way. After time, the coolant becomes dirty and not as effective as it once was. Keep things cool and clean with regular coolant flushes in order for your Camaro to stay on the street.

Materials Needed
- Coolant
- Radiator flush kit
- Radiator flush
- Funnel
- Jack and jack stands
- Drain pan
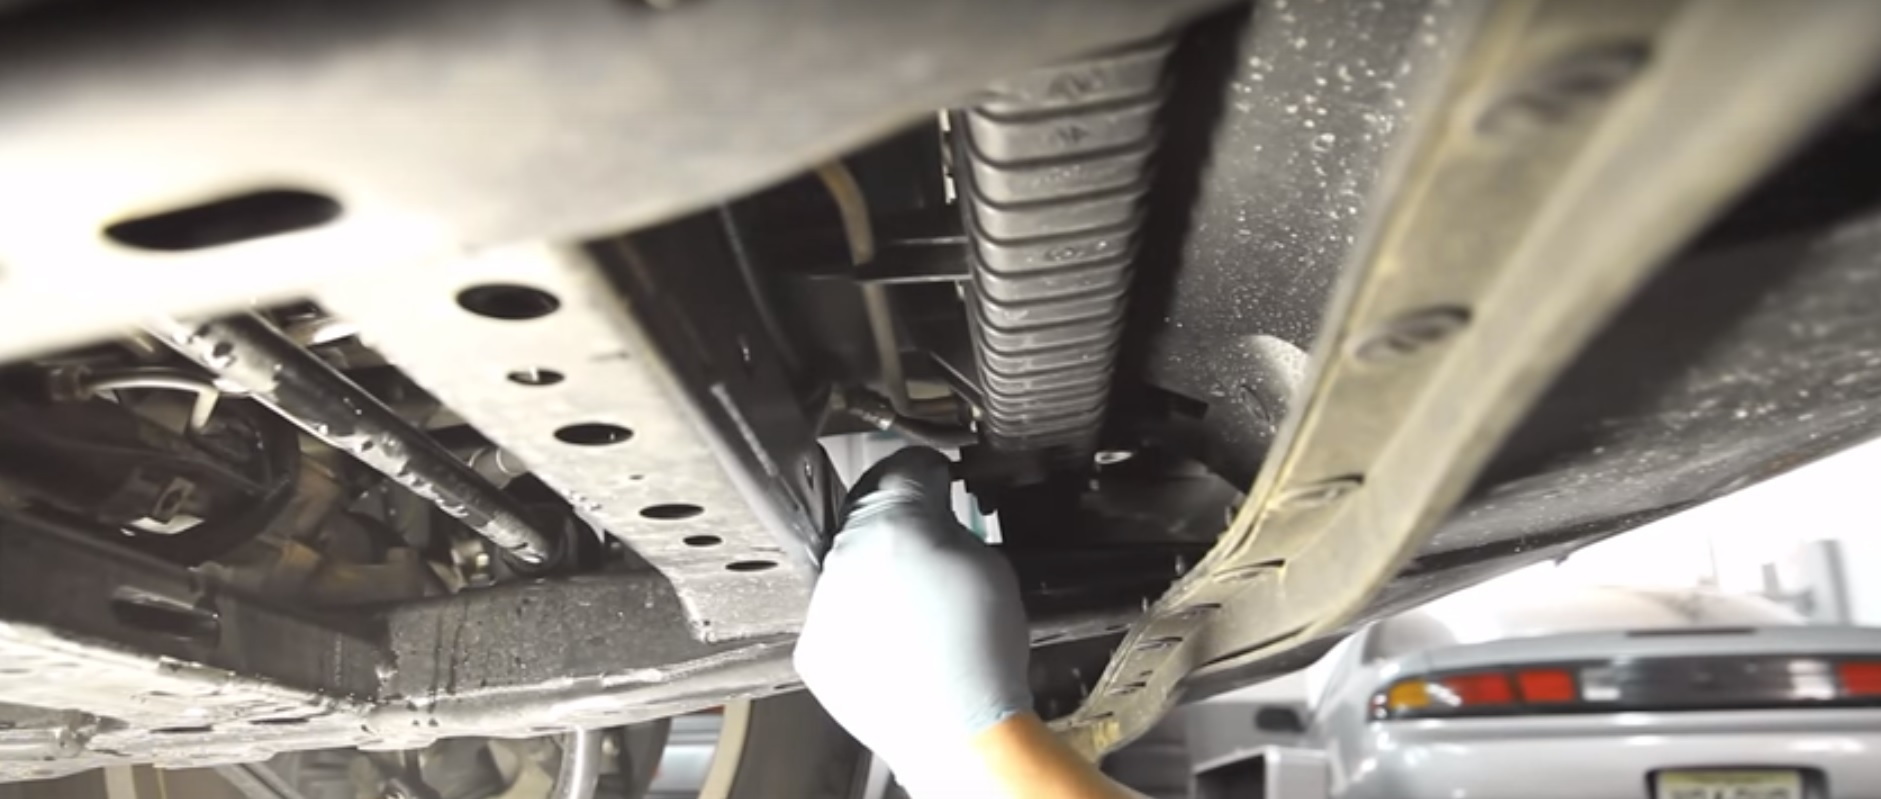
Step 1 – Drain the coolant from the radiator
Lift the front of the car up and place it on jack stands. Pop the hood and remove the radiator cap. Crawl under the car and locate the drain plug on the bottom of the radiator, then position a drain pan underneath it. Twist the drain plug to open it and allow all the coolant to drain out. If your coolant is dark or brownish in color, it is bad and the system should be flushed at this time. If the coolant is orange, green, or yellow in color, a flush isn't necessary at this time and you can simply refill the radiator with fresh coolant. Once the old coolant has drained completely, close the plug.
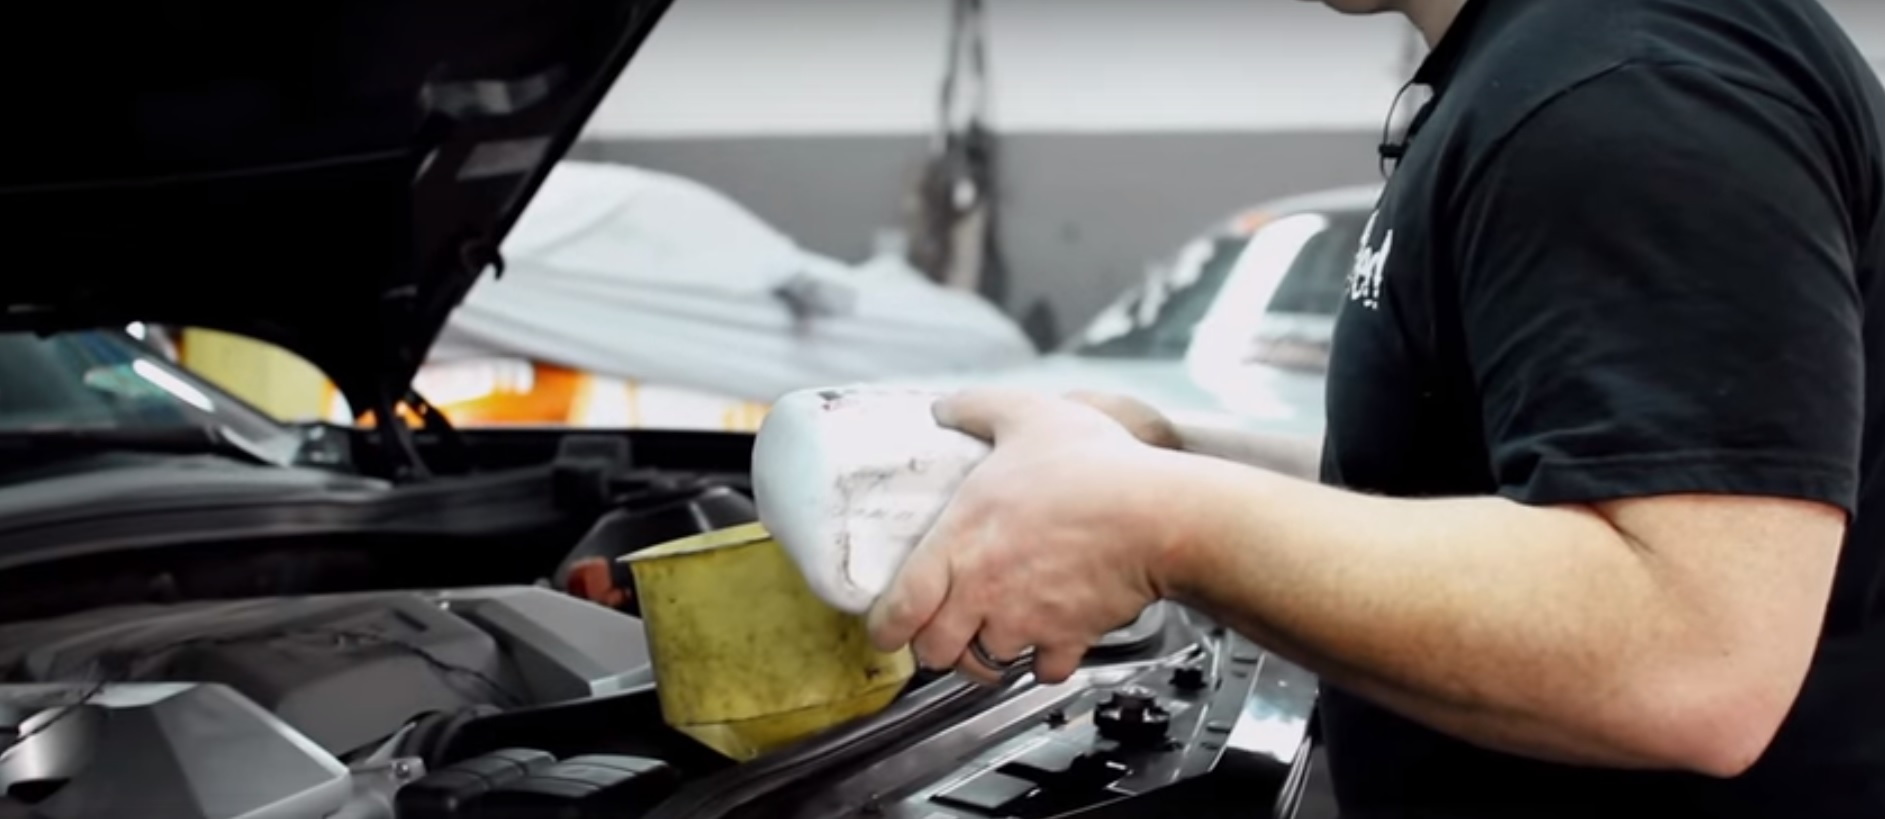
Step 2 – Flush radiator
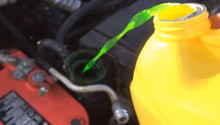
Fill the radiator with the radiator flush chemical and replace the radiator cap. Start the engine and allow it to come up to operating temperature. Open the drain plug and allow the chemical to drain out. Install the "T" from the flush kit where the radiator cap goes, according to the manufacturer's instructions. Generally, the heater hose that goes from the block to the heater core will be installed into the "T." Drain the attachment, then back flush with a water hose until the water that comes out is clean and clear. Open the drain plug on the bottom of the radiator and allow all the water to drain out. Close the drain plug and fill the radiator with fresh coolant to the cold line, then remove the flush kit. Start the engine and let it come up to temp with the radiator cap off, then top it off as needed. Once finished, install the radiator cap.
Related Discussions
- Doing a Radiator Flush - LS1Tech.com
- Radiator Drain and Fill vs. Flush - LS1Tech.com
- Best Way to Flush Coolant - LS1Tech.com