Chevrolet Camaro 2010-2015: How to Replace Radiator
Whether your radiator is just damaged or you want to install a new performance part, this article will show you how to get it done right.
This article applies to the Chevrolet Camaro (2010-2015).
The radiator in your Camaro is an important part of the cooling system. This cooling system is made up of the radiator, thermostat, coolant fan, fan relay etc. If any of them fail, then it is dangerous to attempt to operate the vehicle. Radiators are heat exchangers used to transfer thermal energy from one medium to another in order to cool and heat at safe temperatures. Replacing the radiator is a wise decision that will keep your Camaro off the side of the road and in the fast lane where it belongs.

Materials Needed
- Lineman's pliers
- Flat head screwdriver
- Ratchet
- 10mm socket
- 13mm socket
- 19mm socket
- Pick
- Coolant
- Funnel
- Jack and jack stands
- Drain pan
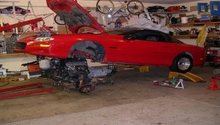
Step 1 – Prepare the vehicle
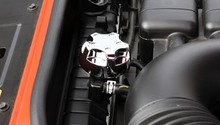
Before beginning, make sure that the car is completely cool; you don't want to get burned by hot coolant. Jack the front of the car up and place it on jack stands, then open the hood. Remove the radiator cap. Locate the drain plug on the bottom of the radiator and slide the drain pan underneath it, then open the plug to allow all the coolant to drain. Remove the intake hose by unscrewing the clamp with a flat head screwdriver to loosen it. Remove the line from the air intake box. Unplug the mass air flow sensor and remove the top of the air box.
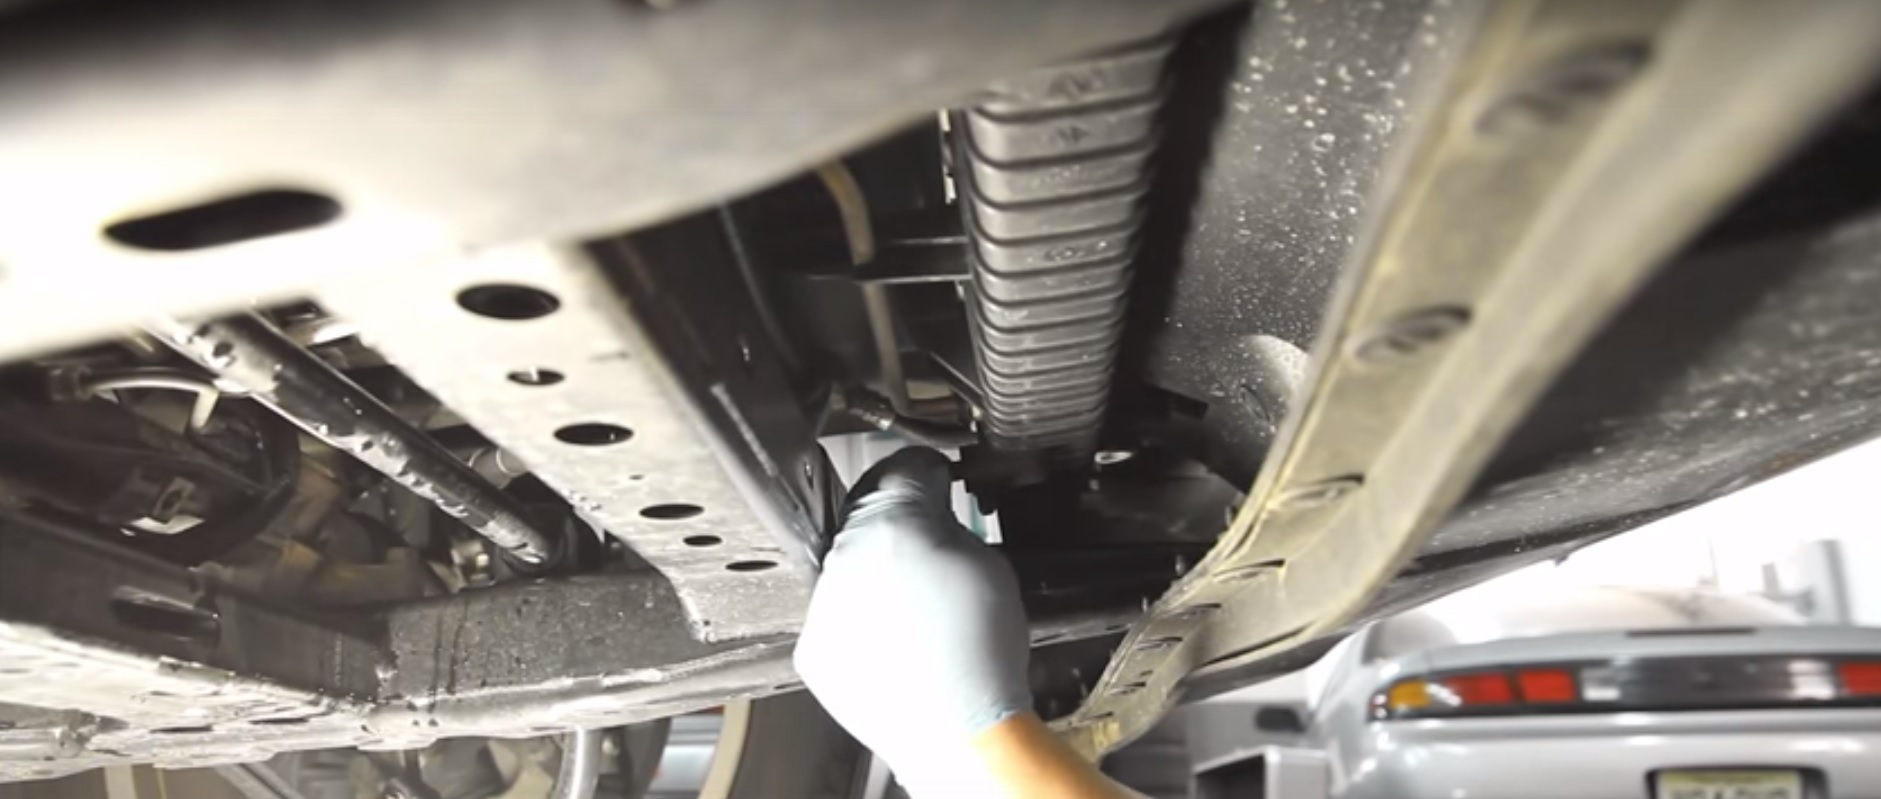
Figure 1. Open the drain valve on the bottom of the radiator and allow the coolant to drain. 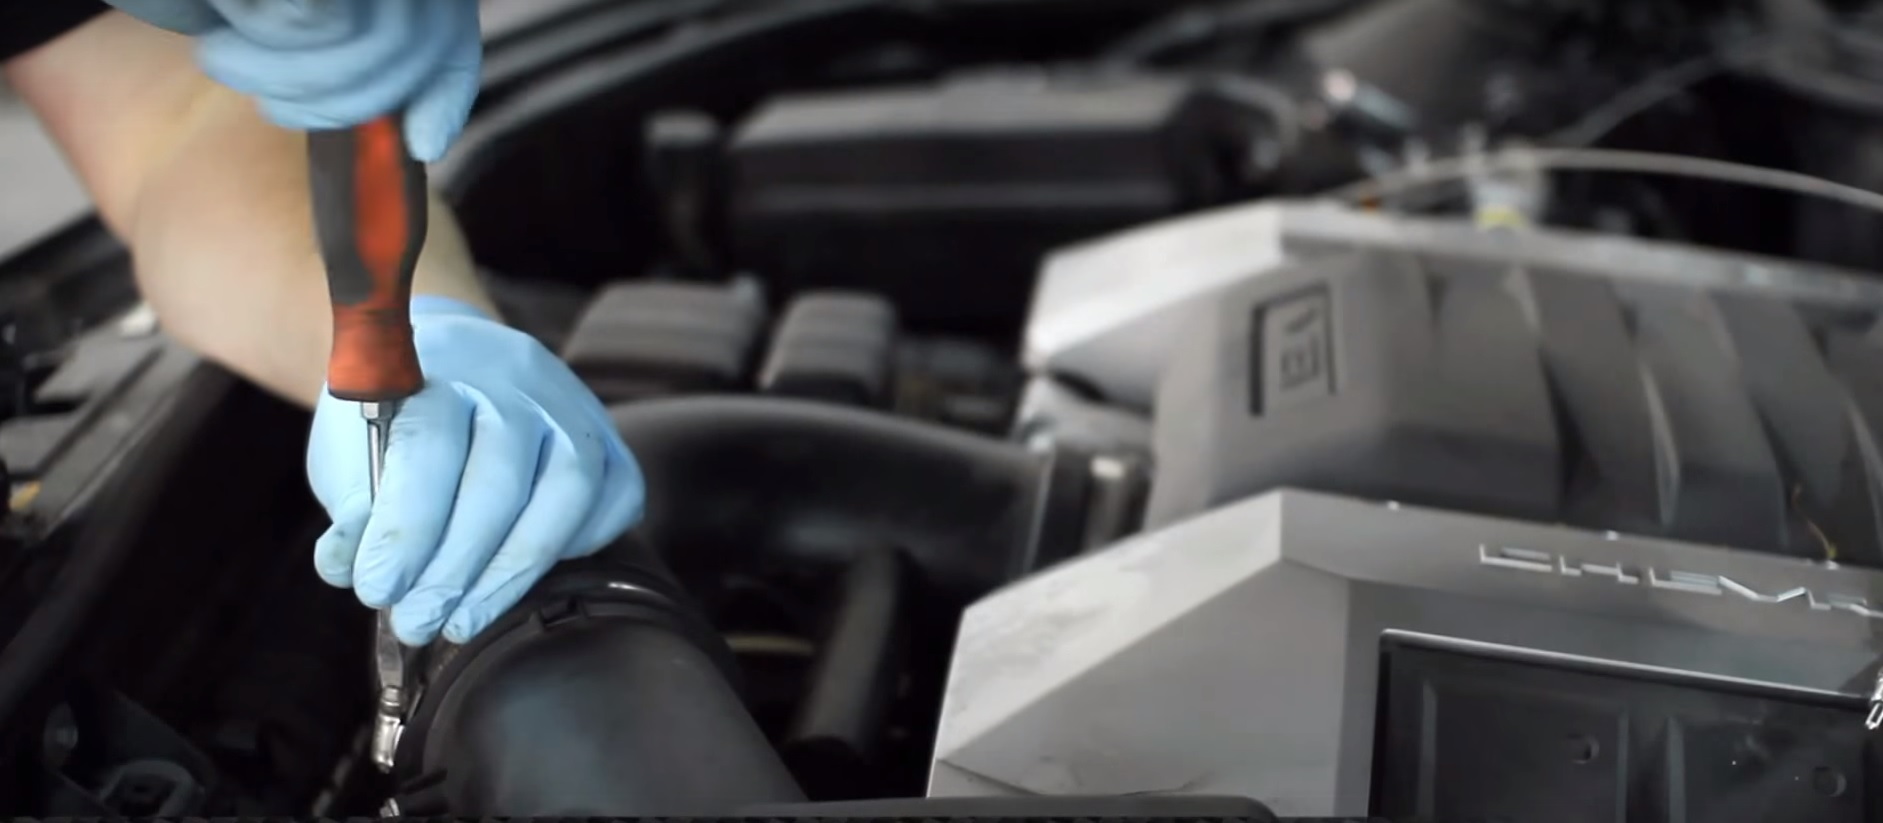
Figure 2. Remove the air inlet hose. 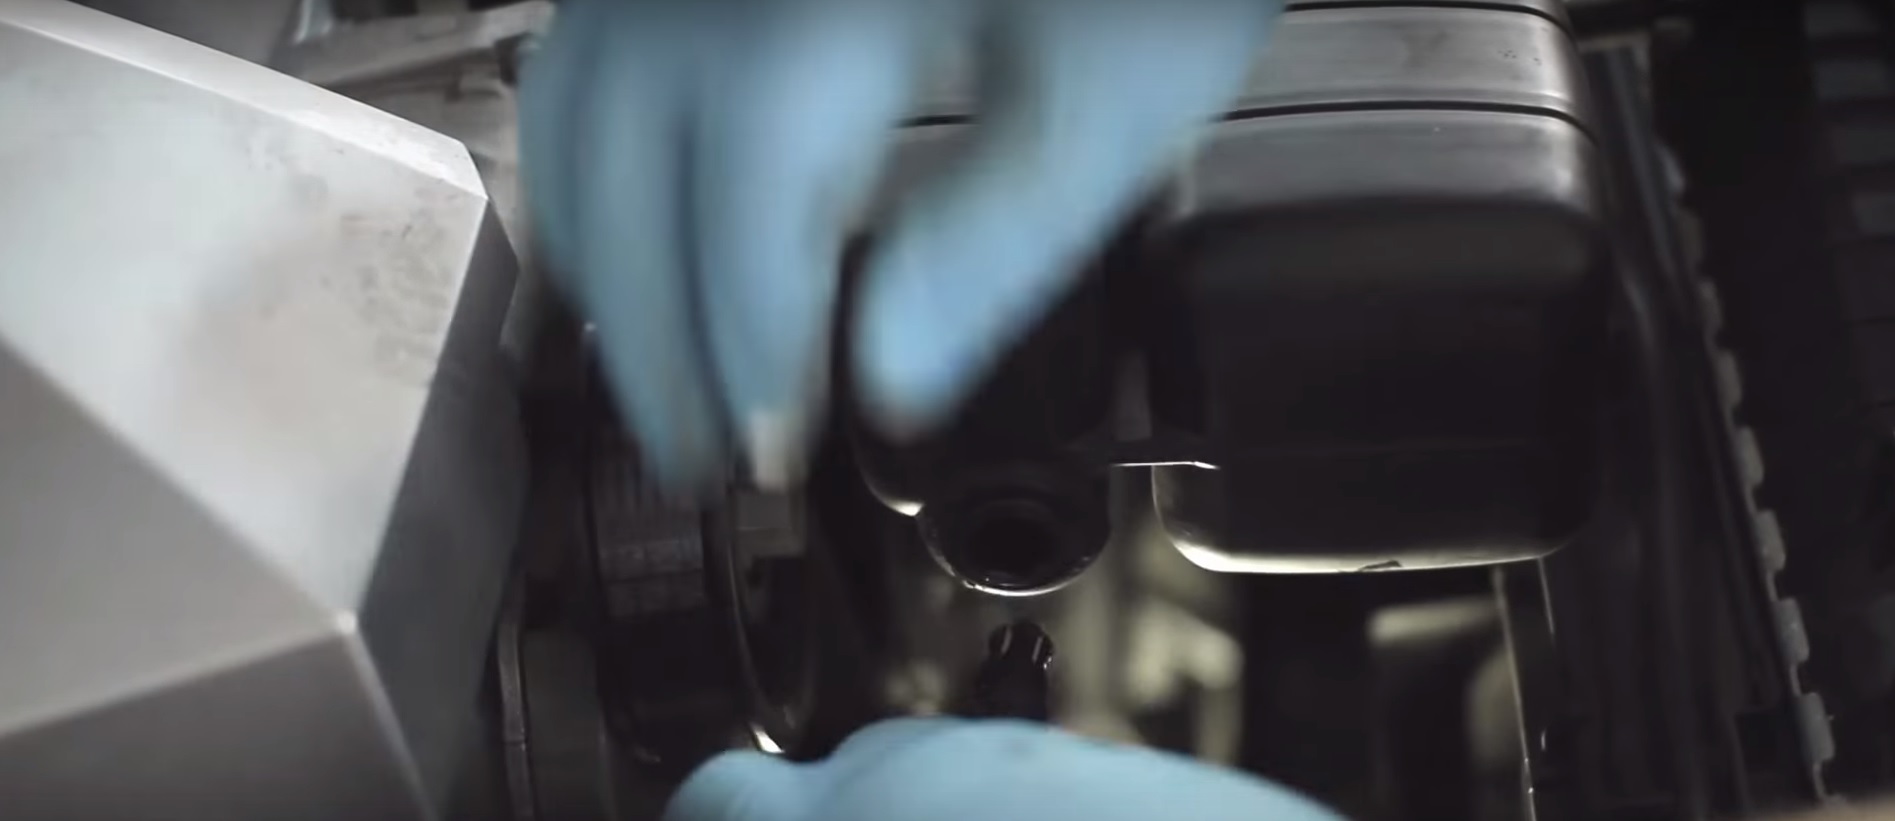
Figure 3. Remove the line from the air intake box. 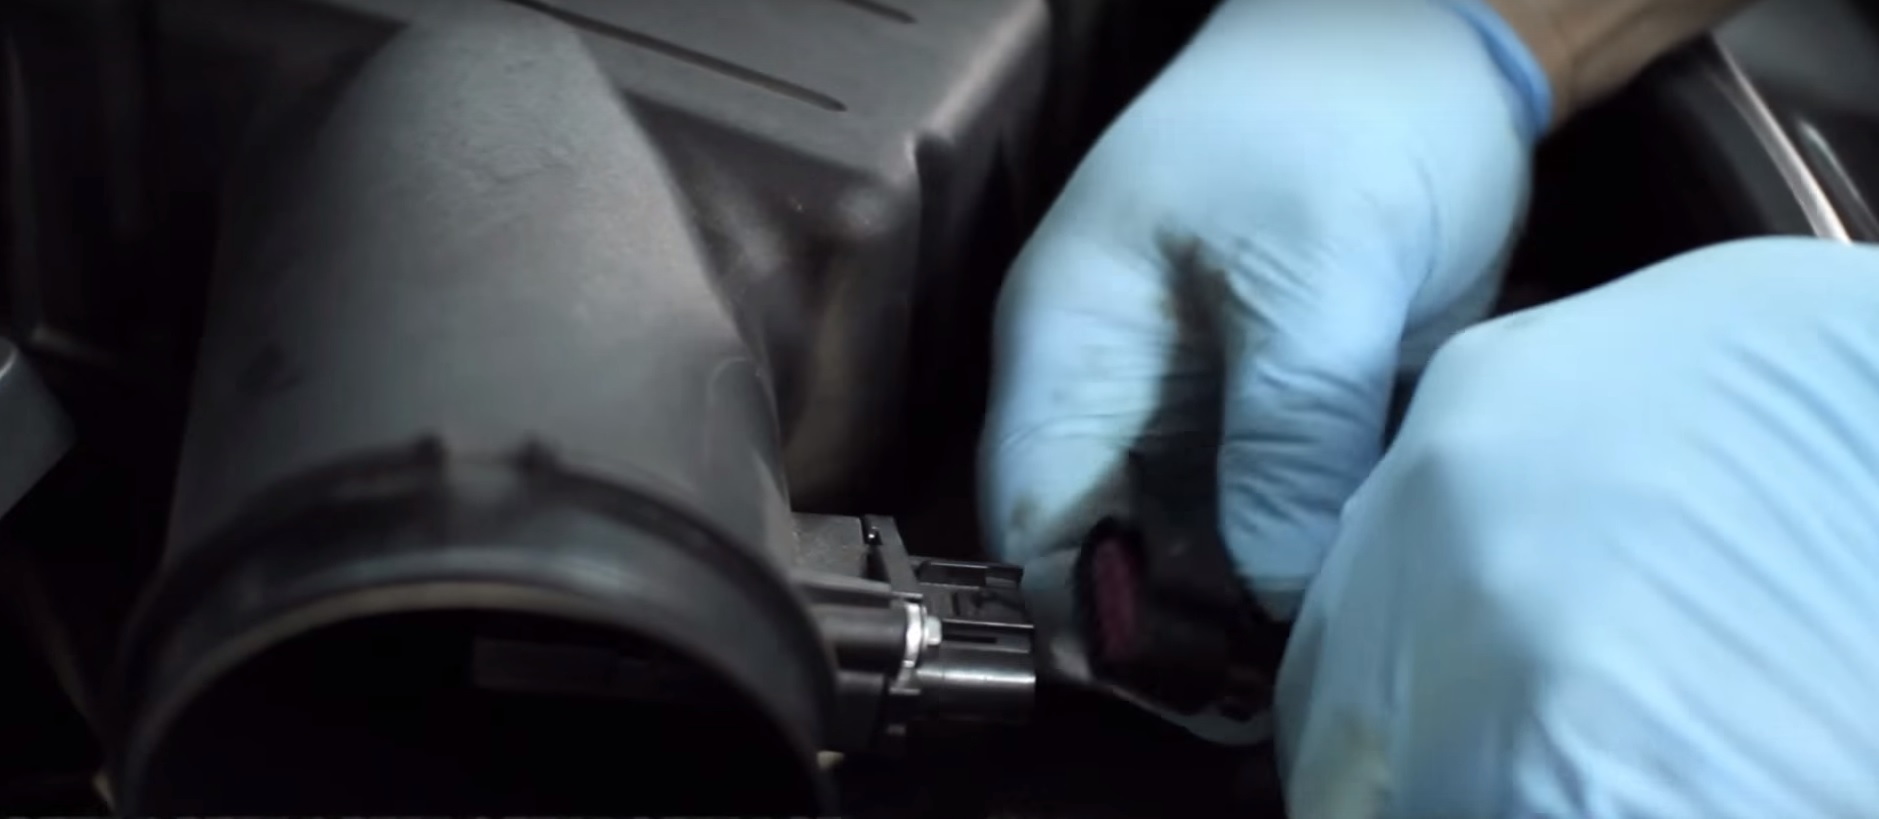
Figure 4. Disconnect the mass airflow sensor. 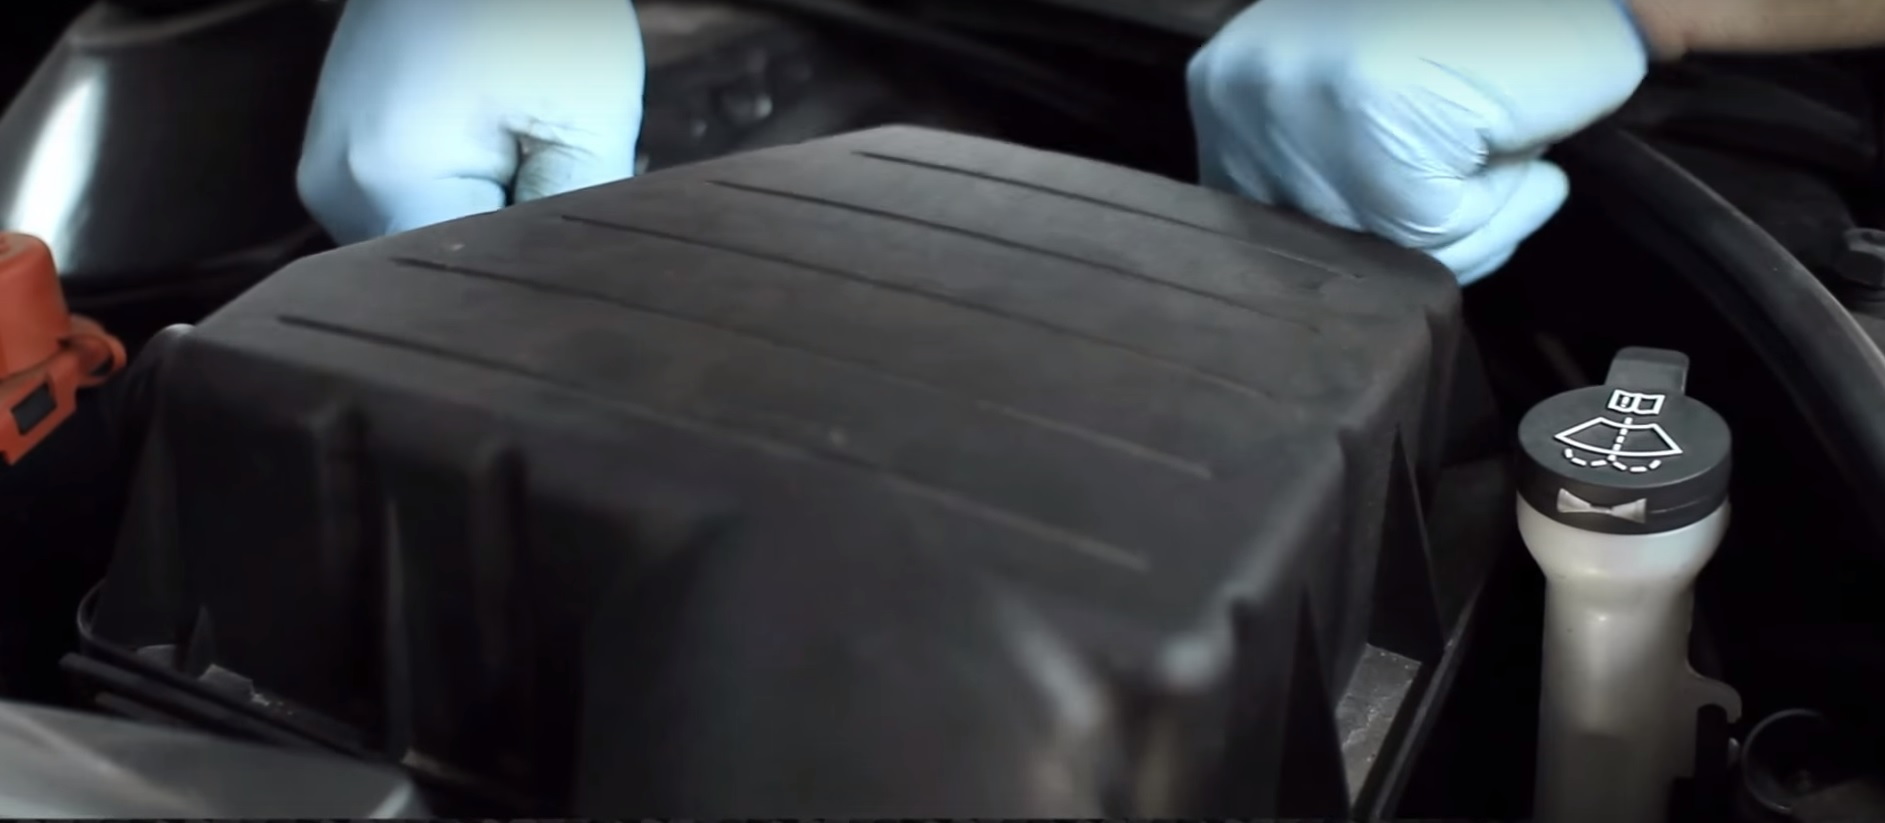
Figure 5. Remove the top of the air box.
Step 2 – Remove the old radiator
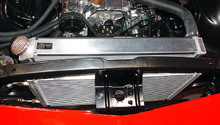
Use a pair of Linemen's pliers to remove the upper radiator hose from the radiator. Remove the two overflow hoses from the radiator. Remove the lower radiator hose from the thermostat housing. Unplug the fan shroud and disconnect it from the radiator by removing the 10mm bolts. Remove the transmission cooler lines by sliding the plastic rings back and using a pick tool to pry off the piece of wire that holds them in place. Have a drain pan ready, as some coolant will leak out. Remove the upper radiator mounting brackets by removing the 10mm bolts. Pull the radiator slightly forward so you can access the 13mm bolts that hold the A/C condenser on the radiator, then remove the condenser. Then pull the radiator out.
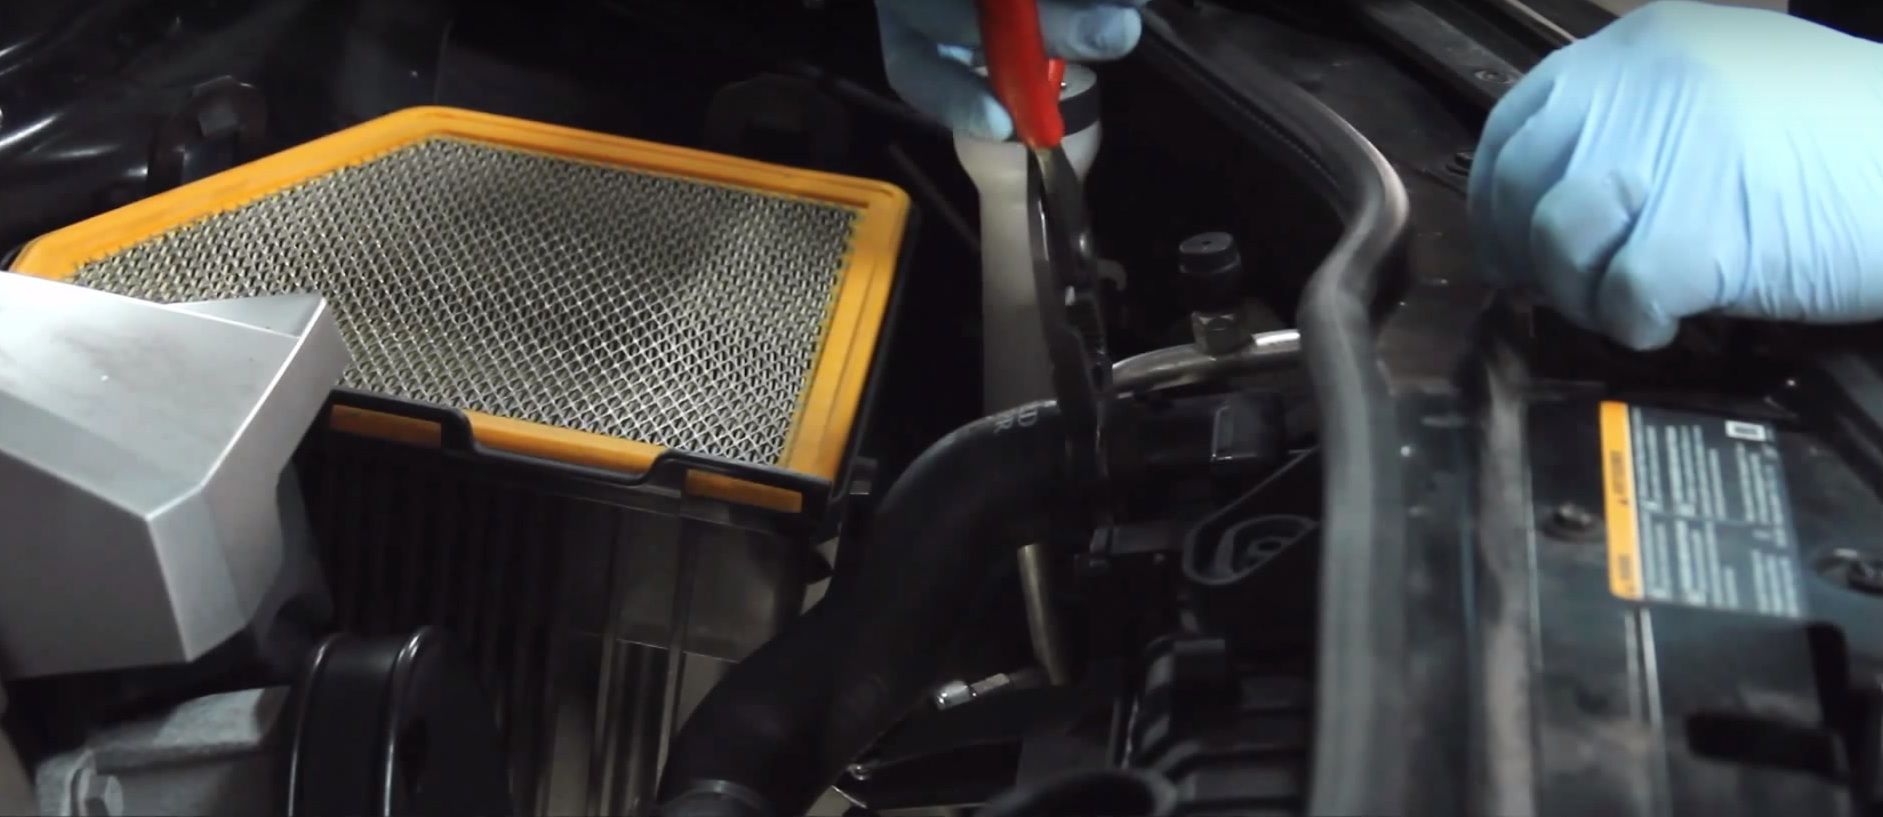
Figure 6. Disconnect the upper radiator hose. 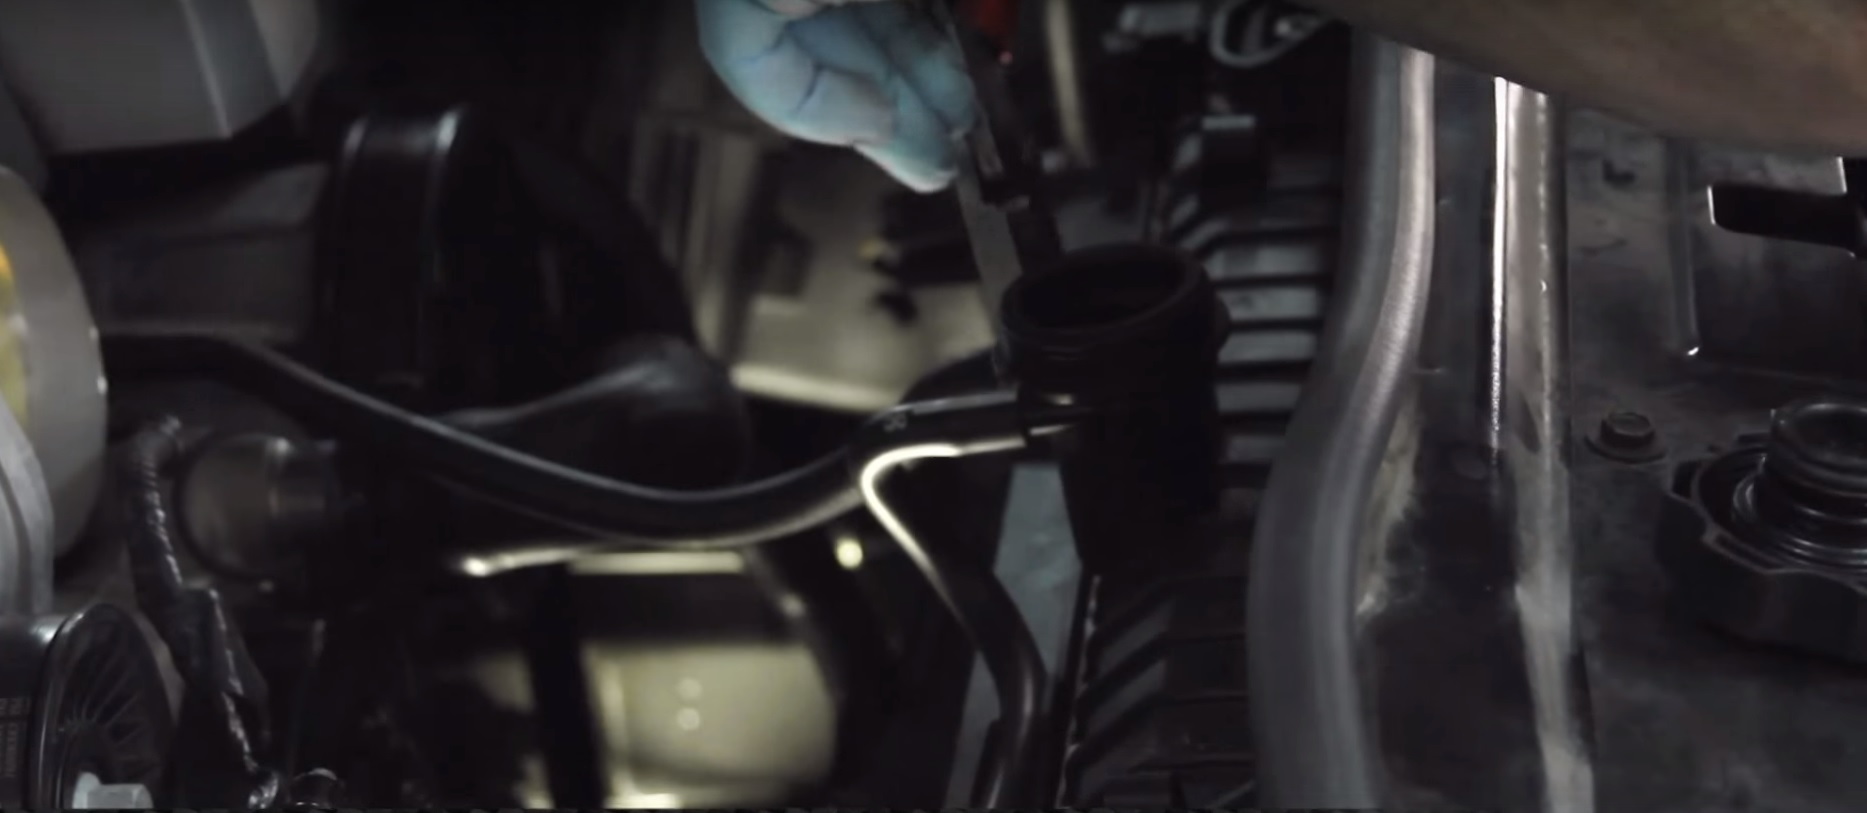
Figure 7. Remove the two overflow hoses. 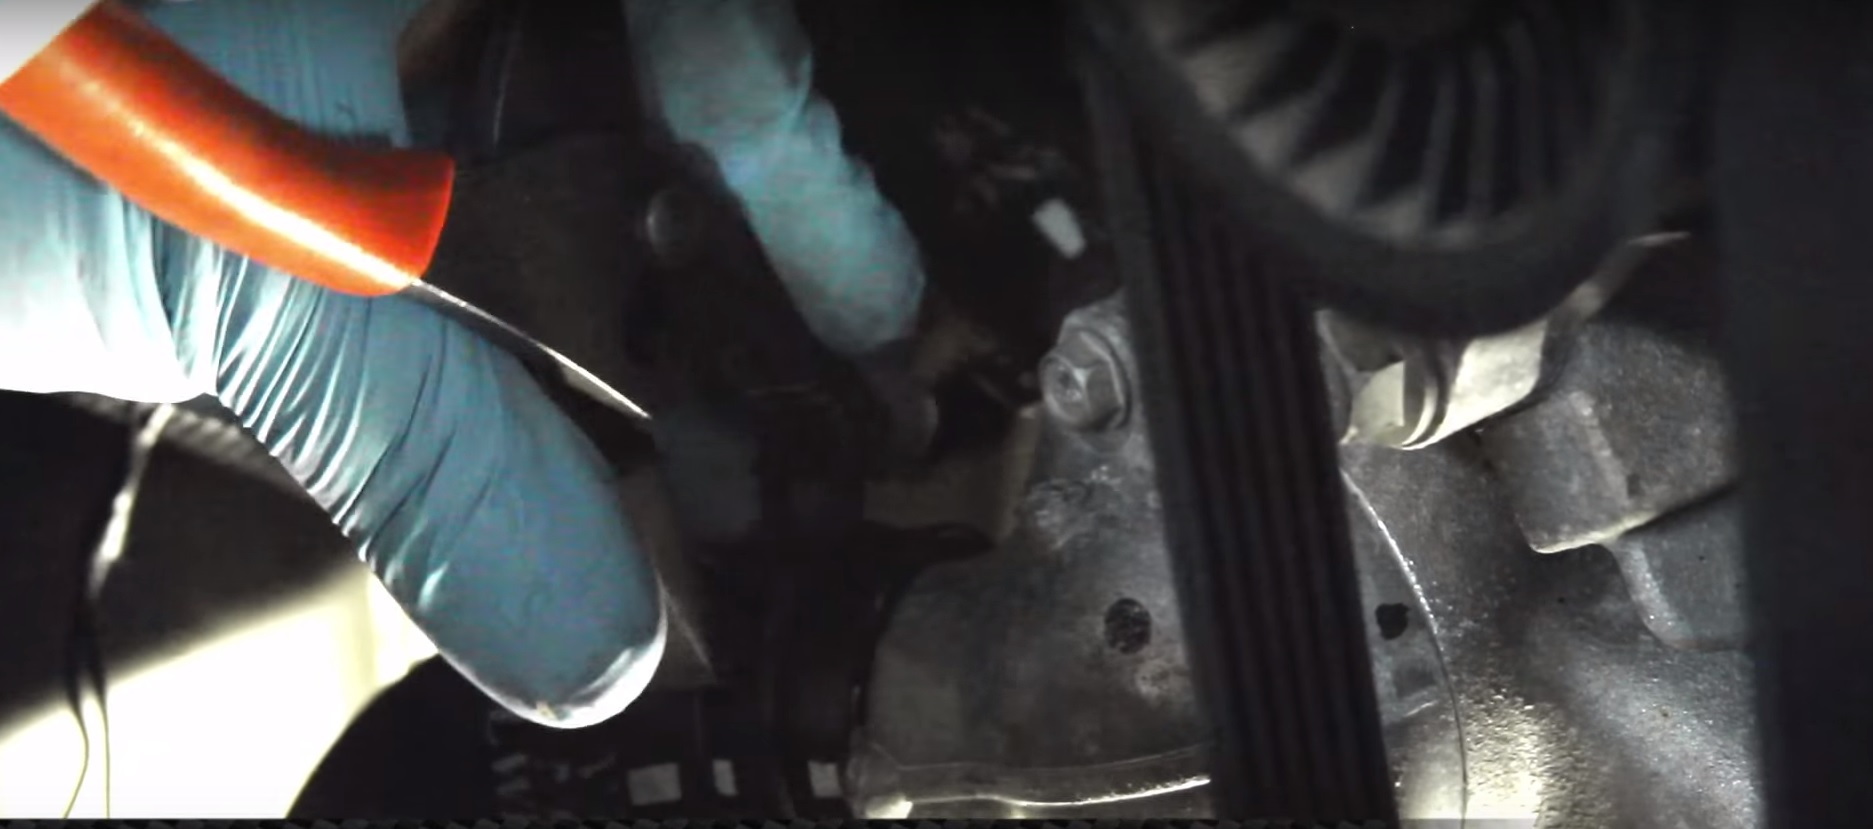
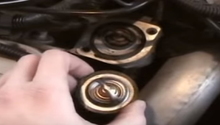
Figure 8. Remove the lower radiator hose. 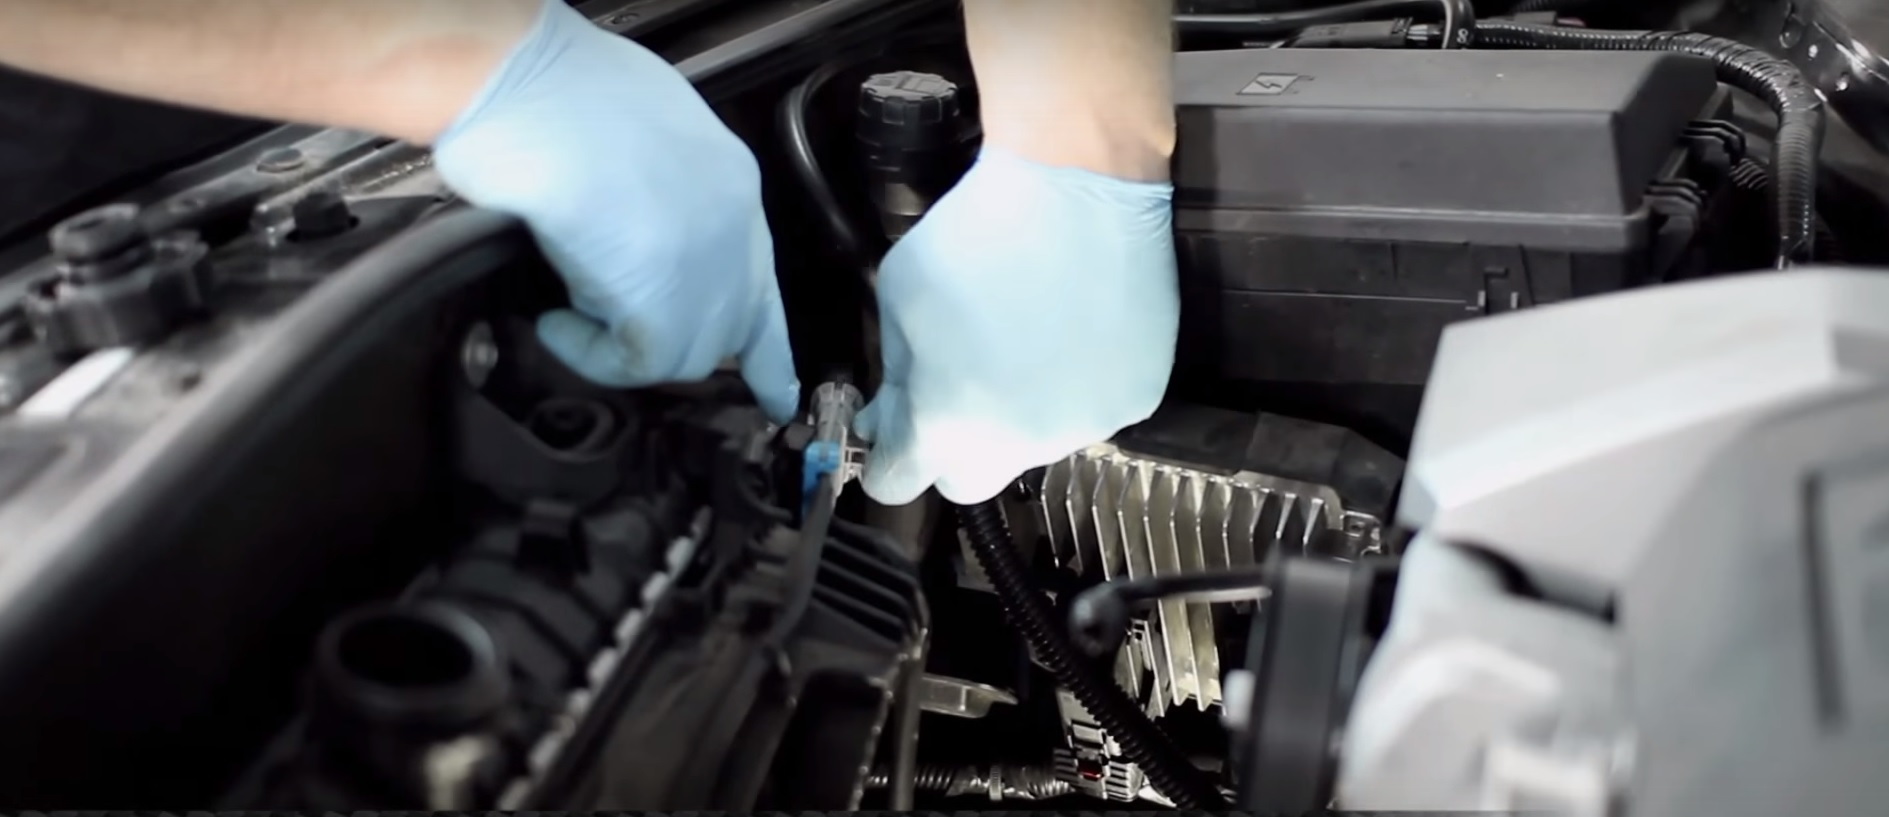
Figure 9. Unplug the fan shroud connection.
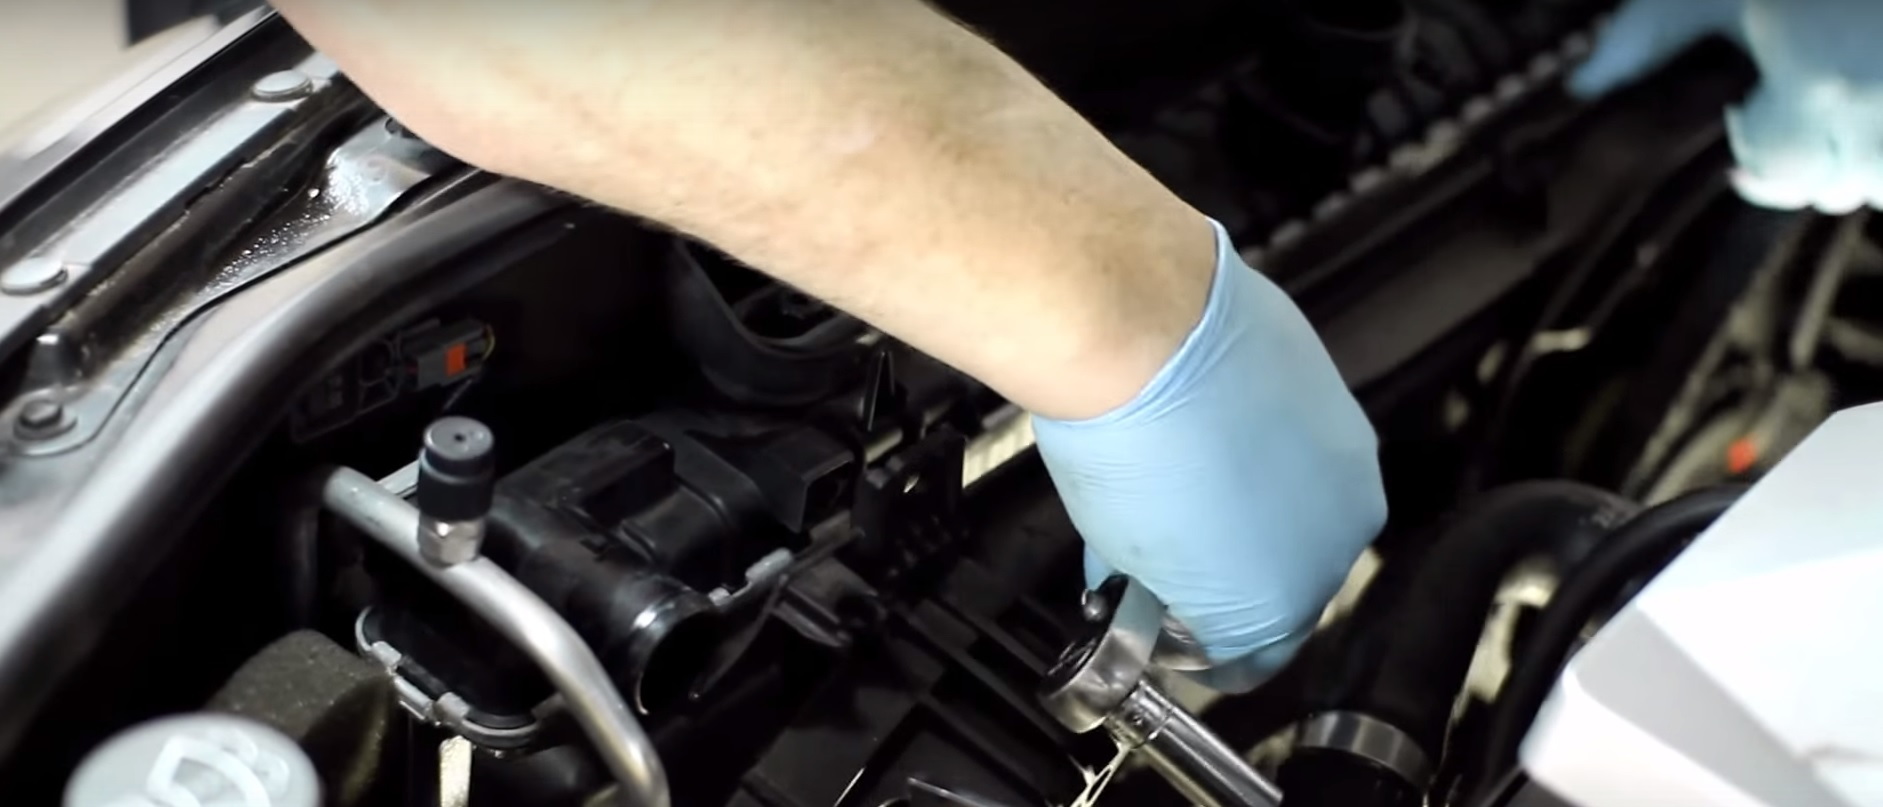
Figure 10. Remove the fan shroud. 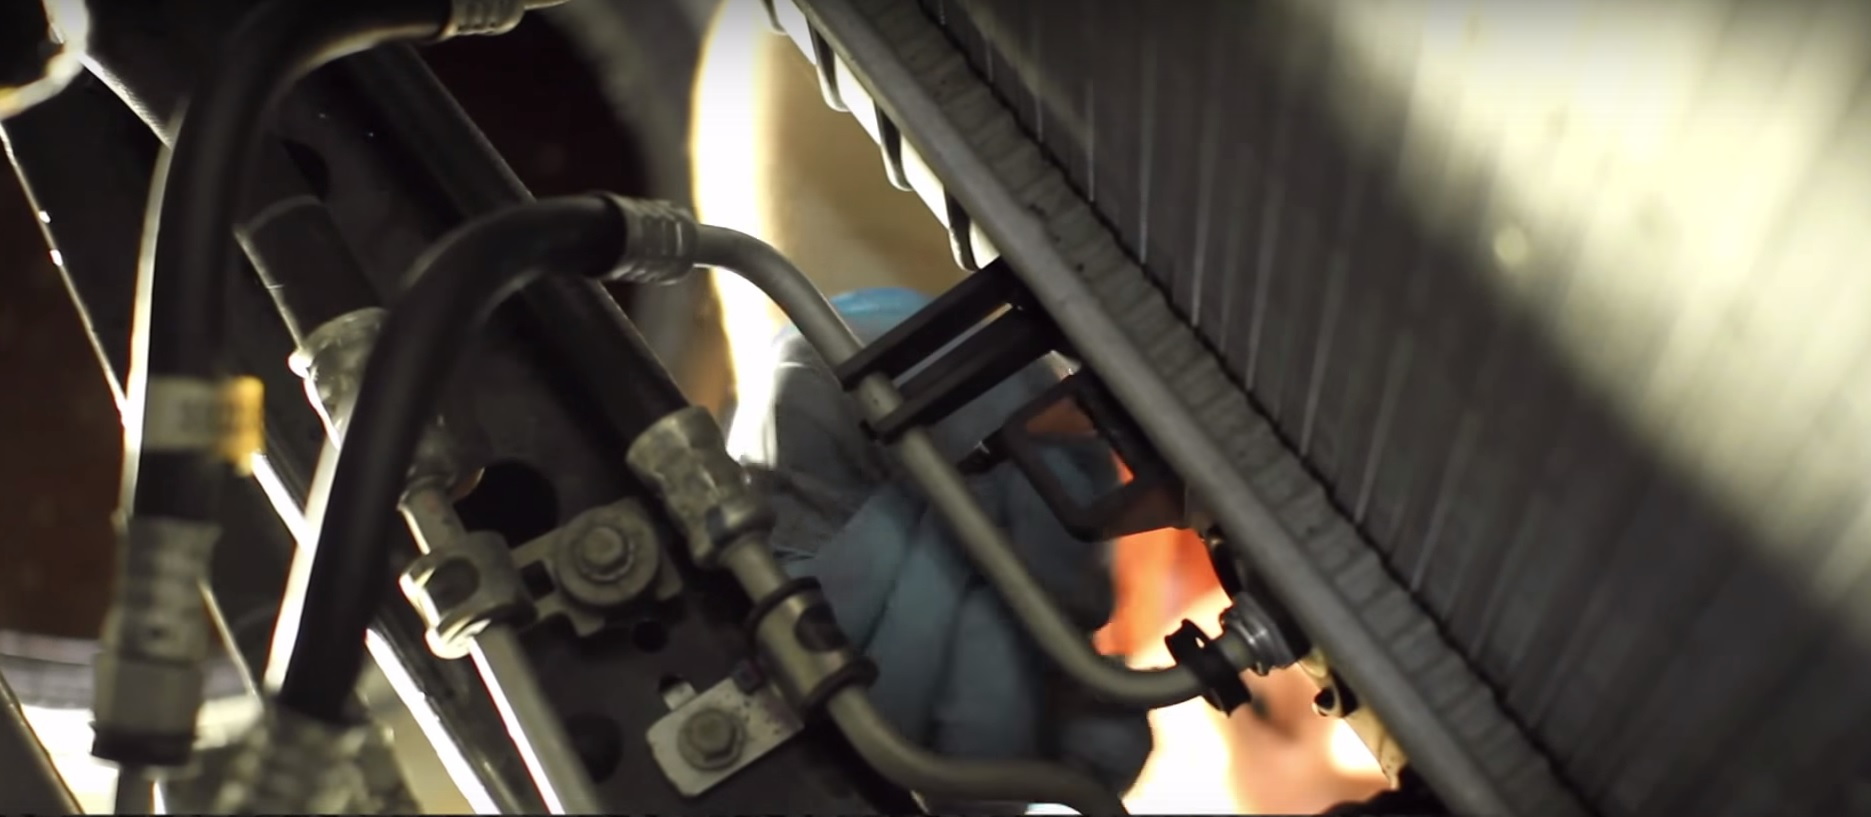
Figure 11. Remove the transmission cooler lines. 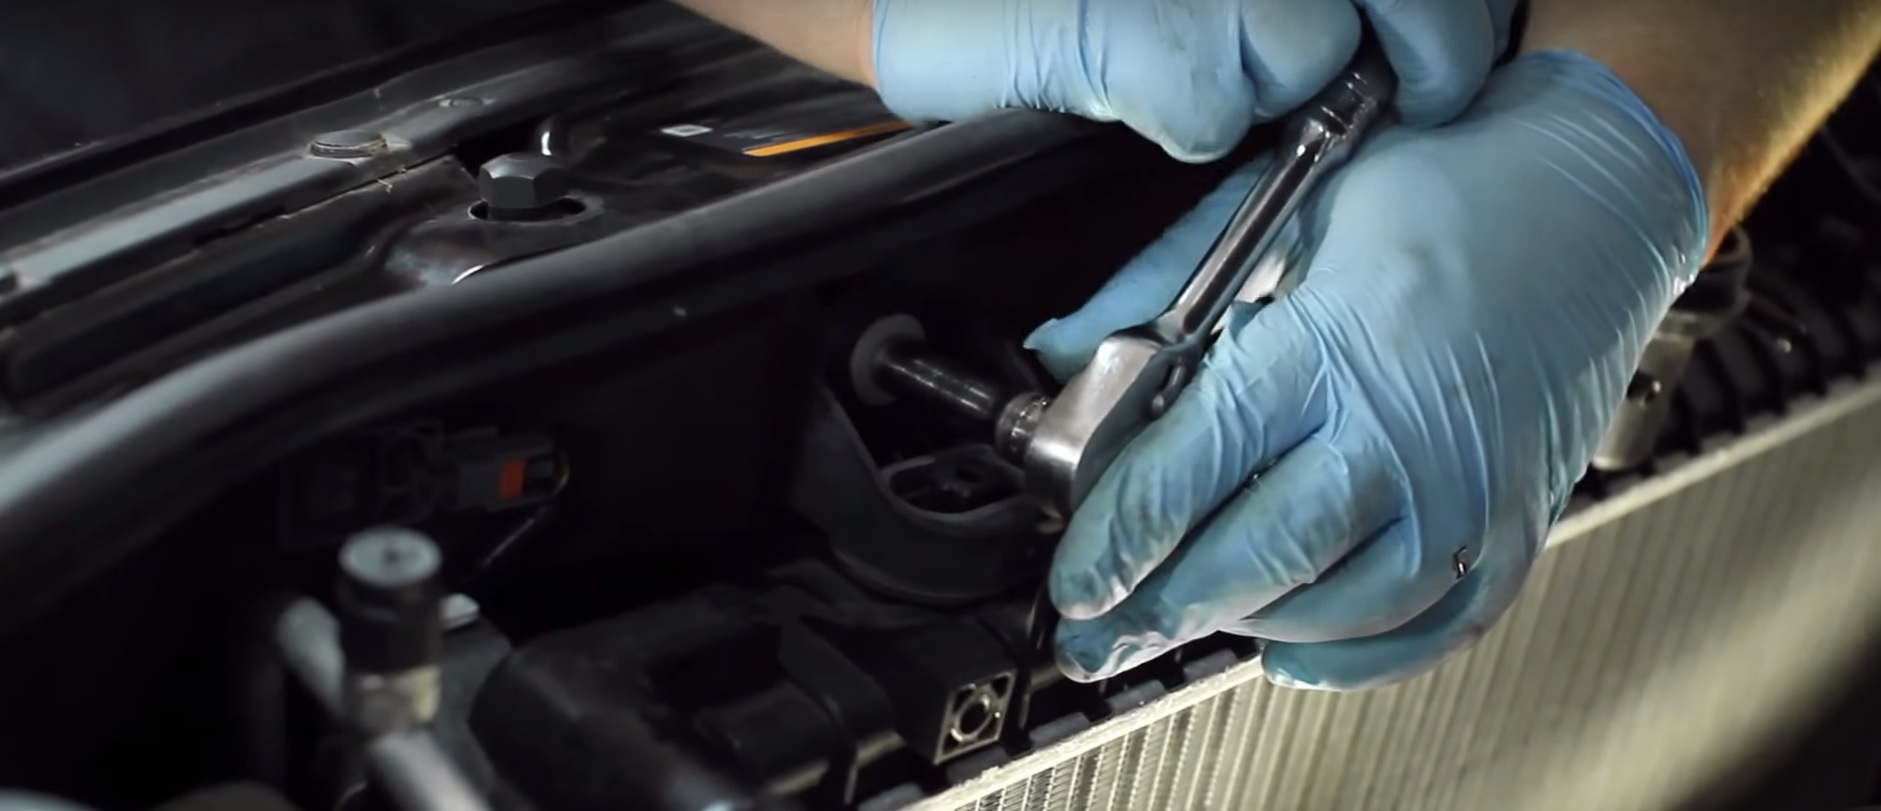
Figure 12. Remove the upper radiator mounting bracket bolts. 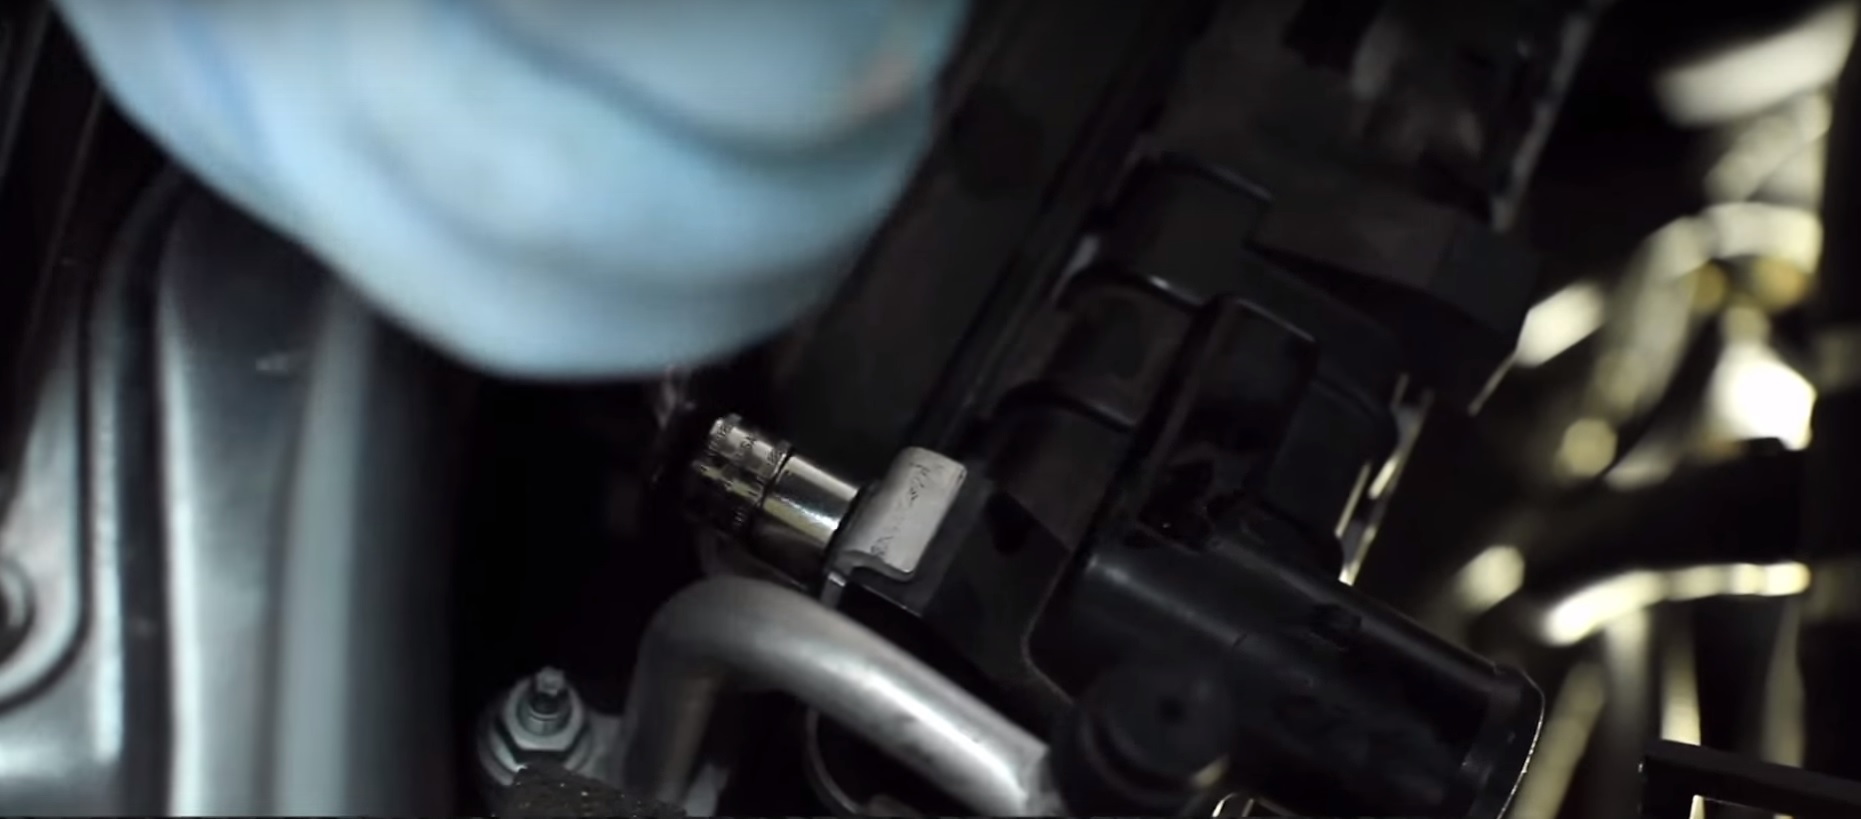
Figure 13. Remove the A/C condenser bolts.
Step 3 – Install new radiator
Remove the lower radiator hose from the old radiator and install it on the new one. Transfer the rubber lower mounting stays from the old radiator to the new one by simply pulling them off and sliding them on, then transfer the transmission cooler line connections using a 19mm socket. Slide the new radiator into the engine bay and reconnect the A/C condenser. Reconnect the transmission cooler lines and reinstall the fan shroud. Plug in the fan shroud and reinstall the bolts. Reattach the upper mounting brackets, then reconnect the lower radiator hose to the thermostat housing. Reattach the upper radiator hose and overflow lines. Reinstall the air box top, plug the mass air flow sensor in, and reinstall the factory air intake tube and tighten. Plug in the air intake line. Refill the system with coolant. Turn the heat on high, then start the car. Keep an eye on the temperature gauge and once the car is up to operating temp, turn it off and top off the coolant.
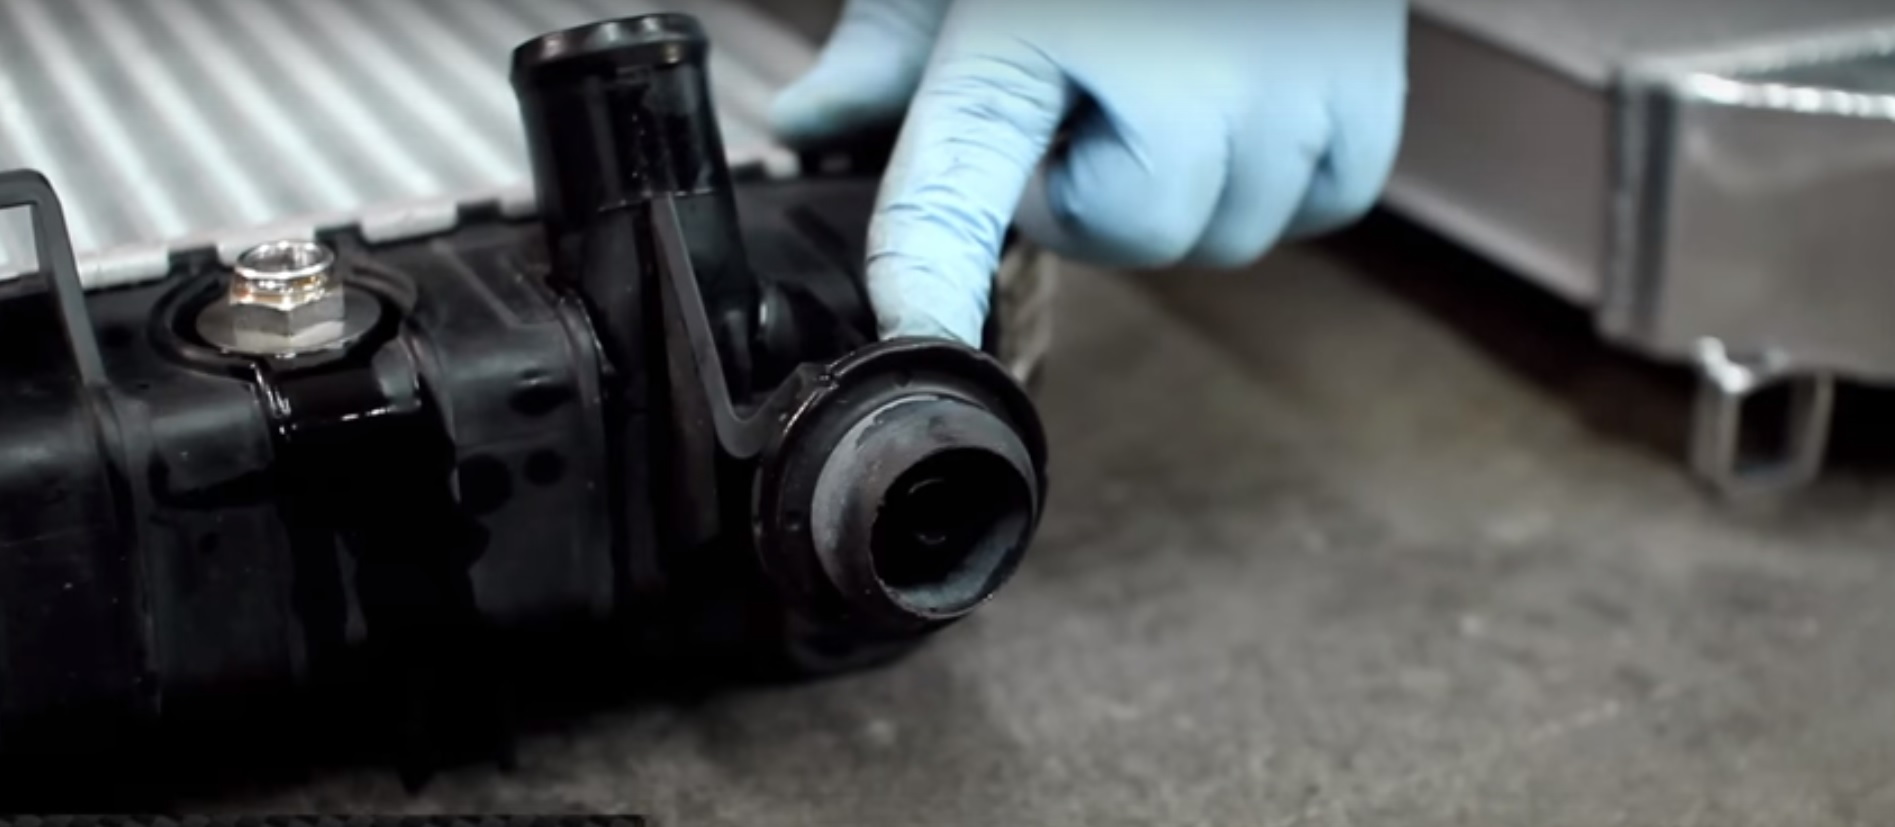
Figure 14. Transfer over the rubber lower mounting stays. 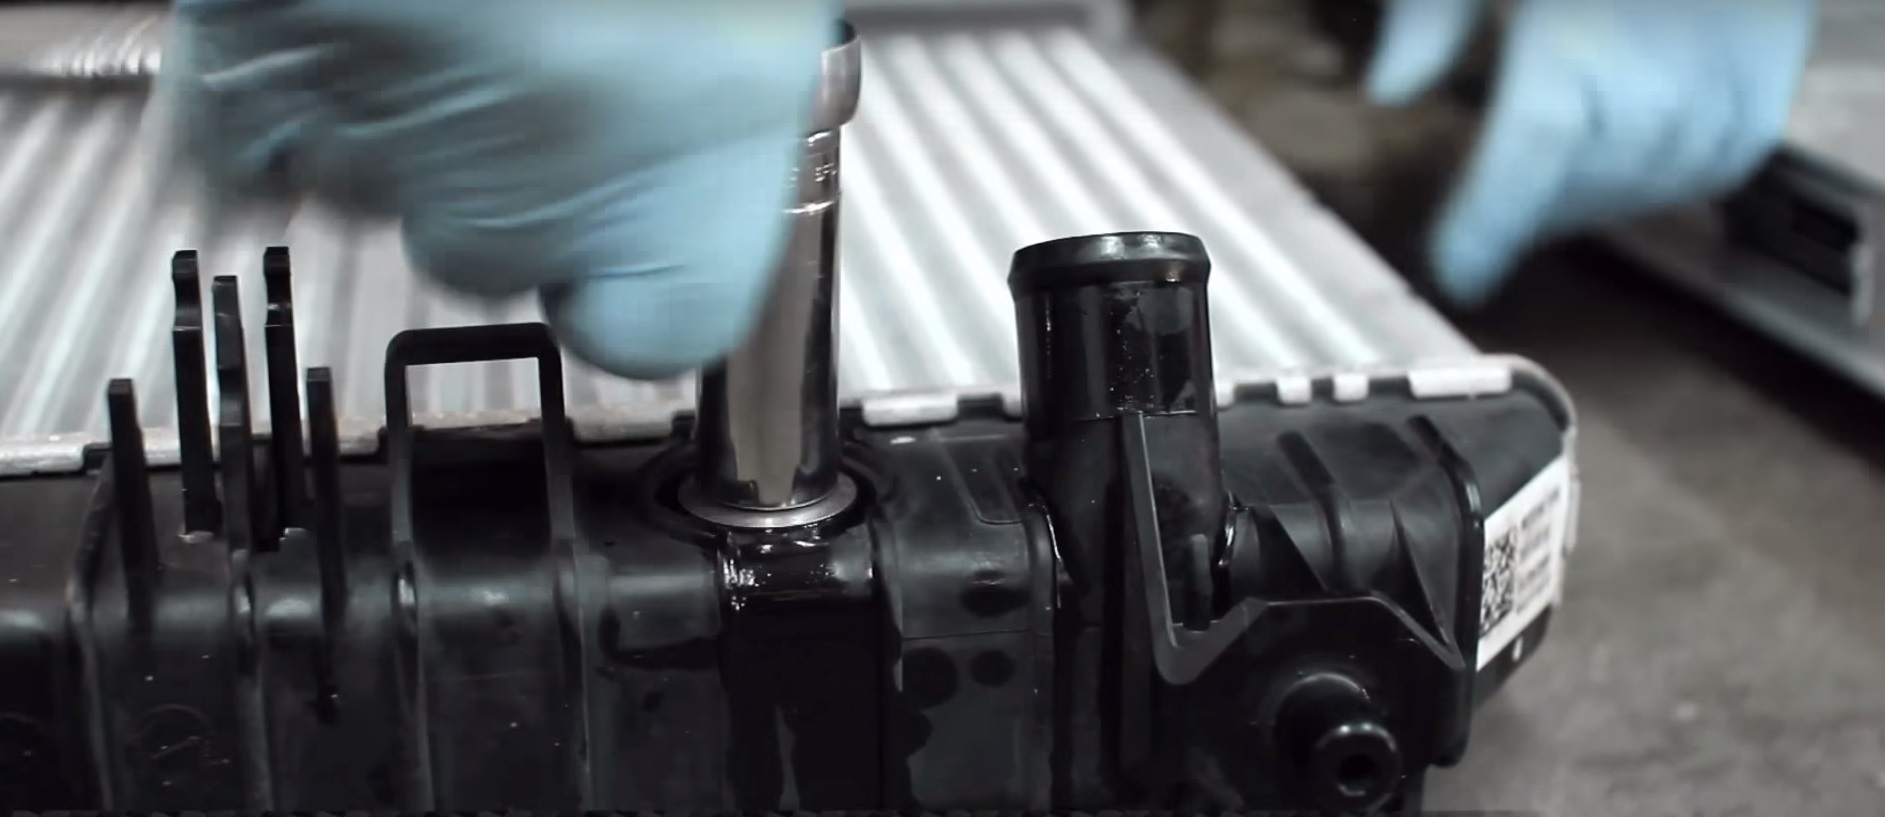
Figure 15. Transfer the transmission cooler line connections.
Featured Video: How to Install Mishimoto 2010+ Chevy Camaro Radiator
Related Discussions
- How to Change Thermostat - LS1Tech.com
- Input on Intercooler Sought - LS1Tech.com