Chevrolet Camaro 2010-2015: How to Install Halo Headlights
Replacing the stock headlight with halo ones will make your Chevrolet Camaro stand out from the rest. Read on to learn how to swap them.
This article applies to the Chevrolet Camaro (2010-2015).
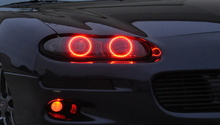
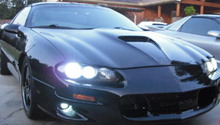
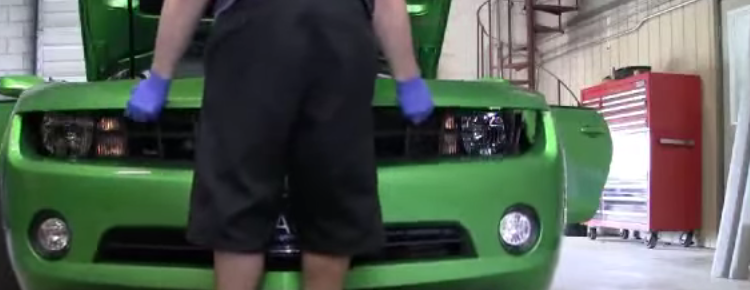
The halo headlights are aftermarket headlights with a ring of bulbs, which adds a very nice effect to the headlights in your Chevrolet Camaro. The aftermarket world offers a variety of halo headlights, which vary in price, intensity, and quality. After you choose the right brand for your budget, the process is similar for all. You just need to remove the stock headlights, then install the new ones. However, it takes a little more than just an easy swap; you actually have to remove the bumper to gain access to the headlights' screws. This guide will assist you in the process of removing your stock headlights and installing your new halo ones.


Materials Needed
- Flathead screwdriver
- Socket set
- Hex screwdriver
- Halo headlights
Do the steps below for both sides.
Step 1 – Remove bumper clips
There are six clips on top of the bumper. Use your flathead screwdriver to pry them up a little, then continue to remove them with your hands. Remove the two 10mm bolts on each side of the bumper, on the top.
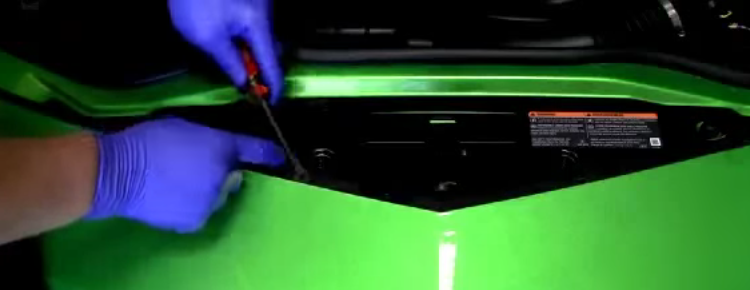
Figure 2. Remove six clips. 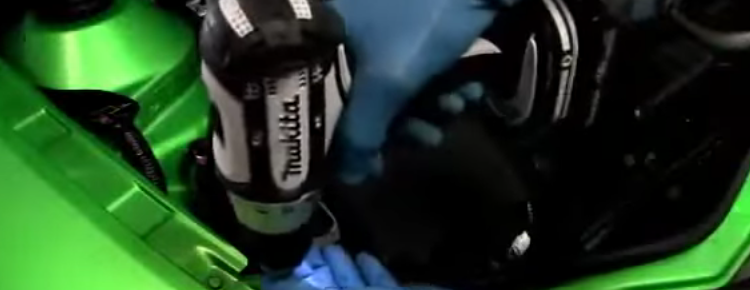
Figure 3. Remove two top bolts.
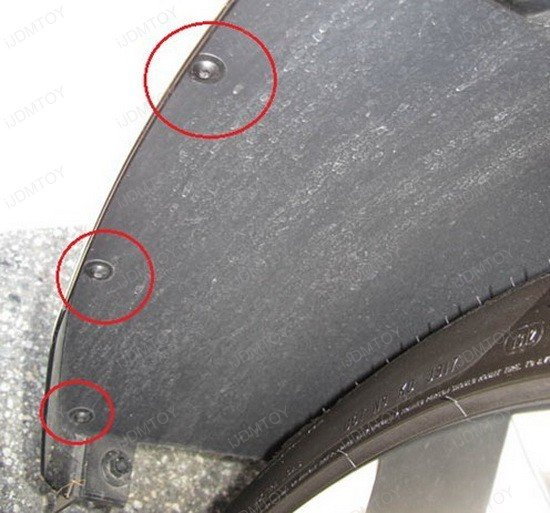
Step 2 – Remove fender liner
The fender liner is held in place with three T20 hex screws. Remove the screws, then remove the fender liner out of the way. Make enough room so you can reach inside.
Step 3 – Remove bumper nuts
When you reach inside the wheel well, you will feel three 10mm nuts holding the bumper to the fender. Use your socket to remove the three nuts through the wheel well.
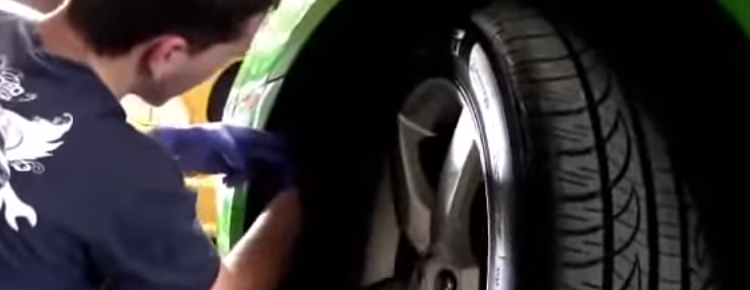
Figure 5. Remove three nuts. 
Figure 6. Nuts' location.
Step 4 – Remove bumper
It's recommended to ask a friend for help when removing the bumper to avoid scratching it. Remove the two 10mm bolts on the bottom of the bumper, then lift the bumper up and out to remove. Be sure to gently set it somewhere so you don't scratch the paint.
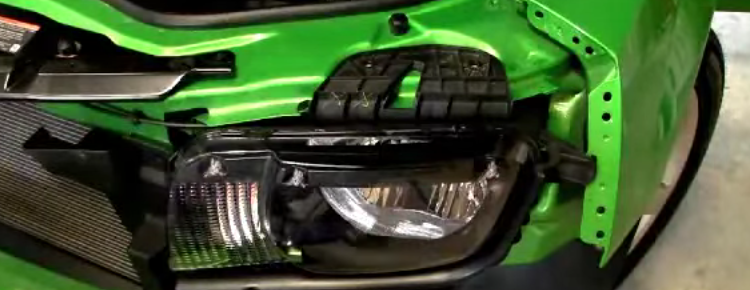
Step 5 – Replace headlight
The headlight assembly can be removed by removing the four 7mm screws holding it in place. Remove the screws, then slowly pull the headlight up and out. Keep in mind that the electrical harness is still connected, so once you pull it far enough, squeeze the connector's tab, and pull it off to remove it from the bulb. Connect the harness to the new headlight bulb, then install the halo headlight in place. Tighten the four 7mm screws, then install the bumper back on.
Tighten the two bolts on the bottom as well as the two nuts on each side holding the bumper to the fender, and tighten the three screws holding the fender liner in place. Tighten the two 10mm bolts on each side of the bumper (on the top), then install the six retainer clips back on the top of the bumper.
Related Discussion
- Halo Headlights - Ls1tech.com