Firebird 1999-2002: How to Replace Headlights and Fog Lights
Are your headlights and fog lights damaged, as yellow as the sun, or otherwise looking shabby? Here's how to replace them the easy way.
This article applies to the Pontiac Firebird (1999-2002).
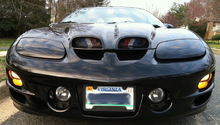
Headlights and fog lights go through a lot of abuse over the years, as they face endless road grime and nasty conditions. Over time, they simply get dirty and oftentimes damaged, requiring replacement. Even though the Firebird has flip up headlights, replacing them isn't as complicated as you might think. Doing this job yourself can save you a pretty hefty bundle of money over letting a dealership do it for you, and it will really improve the looks of your ride. Here's how to get it done without breaking your back, or your bankroll.

Materials Needed
- Phillips screwdriver
- 10mm socket and ratchet or wrench
Step 1 – Remove the headlights
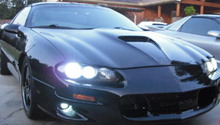
Pop the hood and make sure the headlights are in the "up" position. Remove the two Phillips screws from the side of each headlight (facing in toward the car). On the other side of each headlight (facing outward, away from the car) there are two other screws that must be removed as well. Use both hands to pull off the trim piece that surrounds each headlight. Remove the two Phillips screws on top of each headlight and the two on the bottom. Remove the trim piece around the headlights. Pull the headlights out and disconnect the three prong connector from the back of each one.
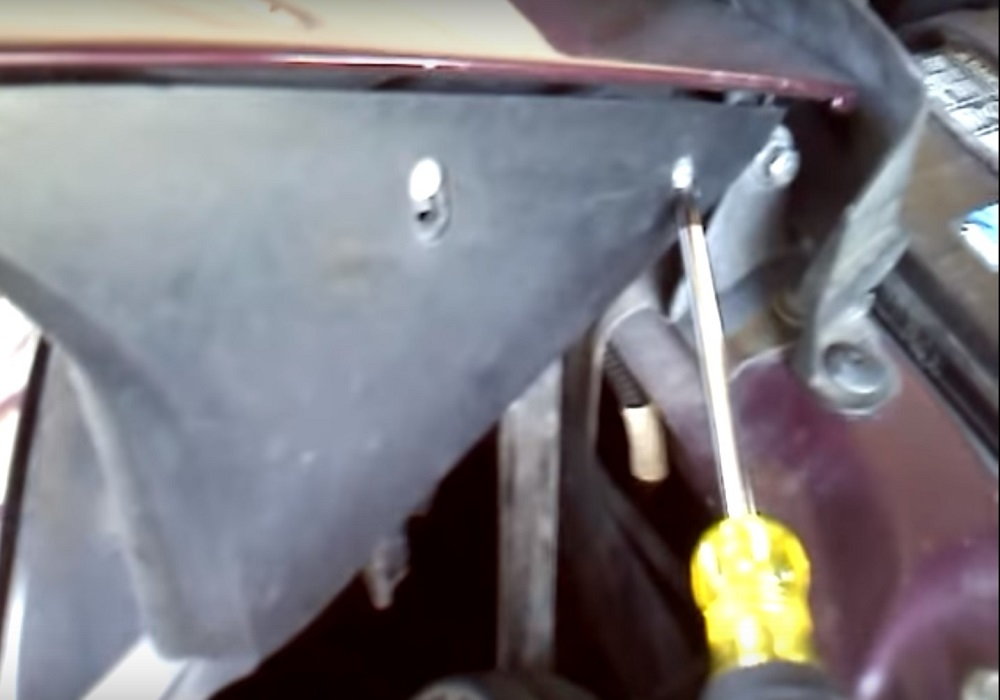
Figure 1. Remove the two screws from each side of each headlight. 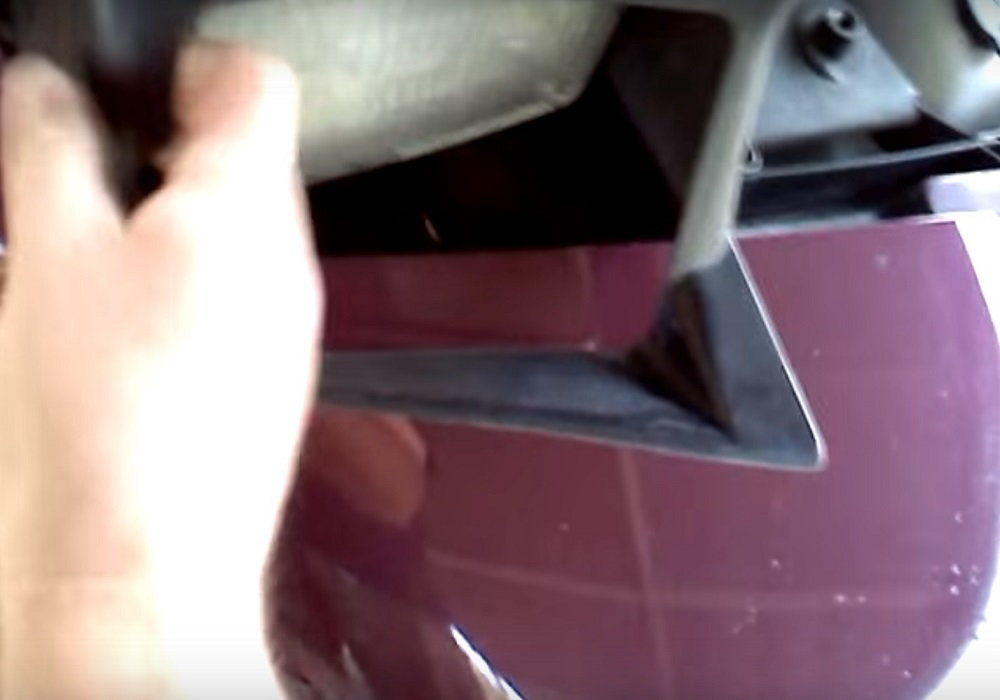
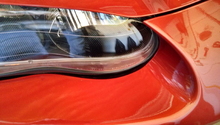
Figure 2. Pull the trim piece off. 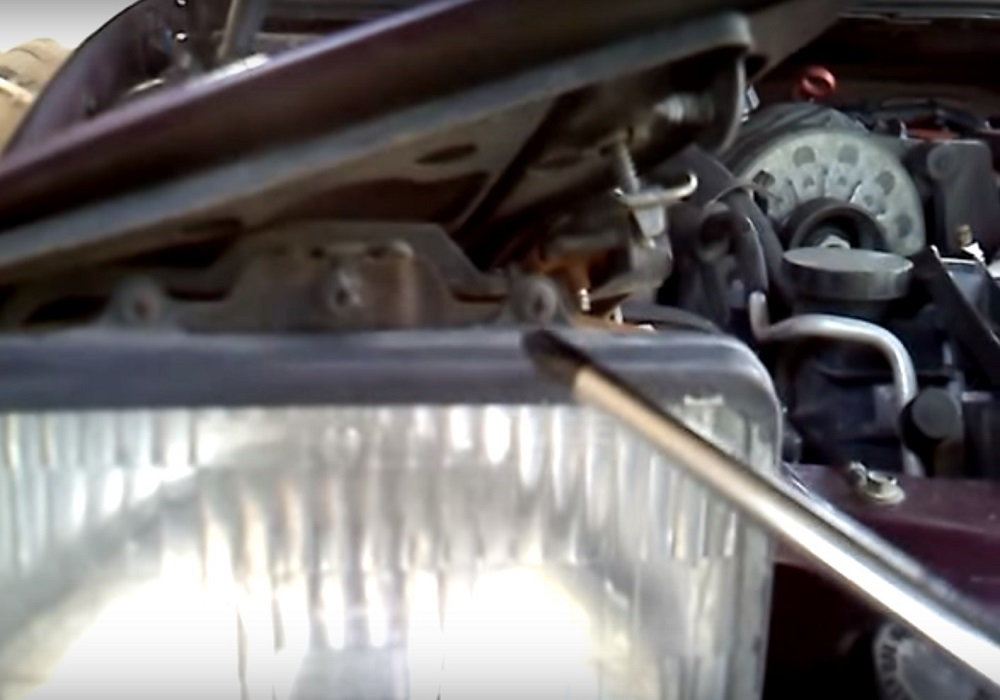
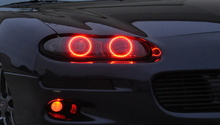
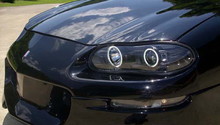
Figure 3. Remove the four screws from the headlight bezel. 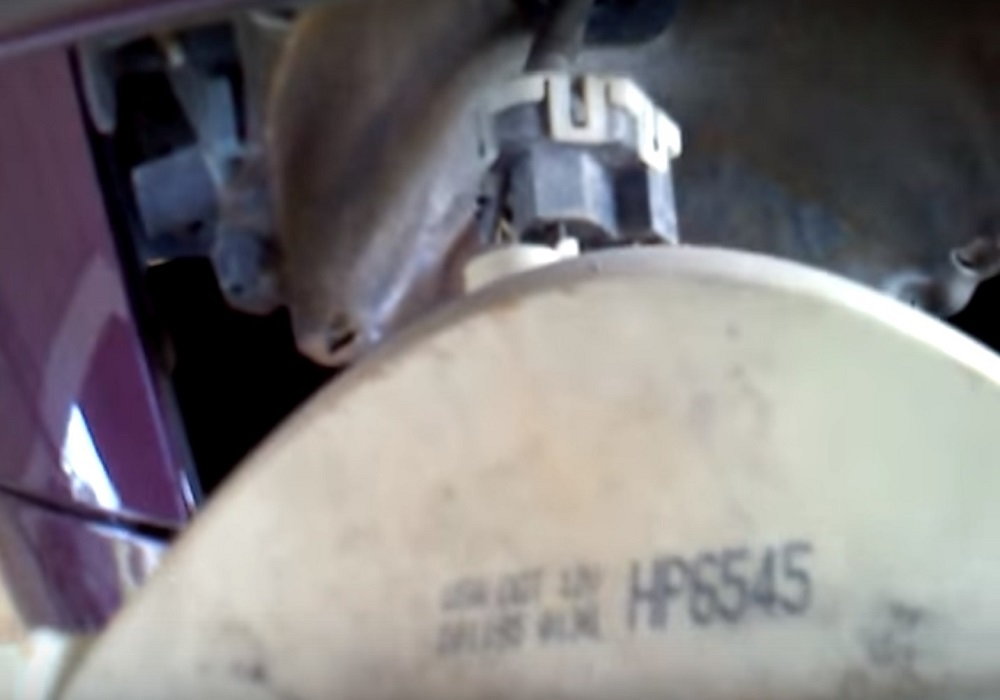
Figure 4. Disconnect the electrical connector from the rear of the headlight.
Step 2 – Install new headlights
Plug the three prong connector into the back of each new headlight. Place the trim ring around the headlights and replace the four Phillips screws. Push the headlight trim piece back into place and reinstall the four screws on the sides of each headlight.
Featured Video: How to Change Firebird Headlights
Step 3 – Replace fog lights
Crawl underneath the car and locate the flap door access panels that are just in front of each tire. Remove the two 10mm bolts that hold each one in place and pull the panel out. Reach up inside and remove the three screws holding each fog light in place, then twist the bulb connector counterclockwise to remove. Install the new fog lights by inserting the bulb connector and turning it clockwise, replacing the three screws. Replace each access panel and reinstall the two bolts in each.
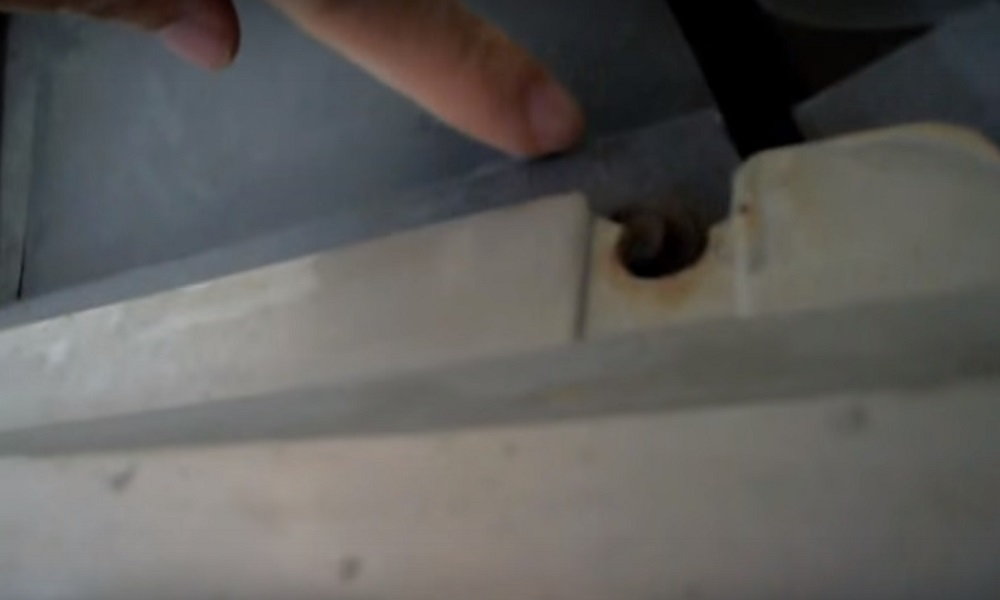
Figure 5. Remove the two screws from each access panel to access the fog lights. 
Figure 6. Remove the three screws to remove the fog light.
Featured Video: How to Change Foglight on Firebird
Related Discussions
- How to Access My Fog Light Bulb - LS1Tech.com
- Can You Remove Fog Housing Without Removing Bumper - LS1Tech.com
- All Comments/Questions About Headlights Go Here - LS1Tech.com
- Replacing Headlights on '94 - LS1Tech.com
- Fog Lamp Replacement - LS1Tech.com