Camaro and Firebird: How to Install a Double Din Stereo Head Unit and Bezel
For those looking for a truly high-end stereo system, you'll need to make room for a double DIN system. This article will show you how.
This article applies to the Chevrolet Camaro & Pontiac Firebird (1990-2015).
So you've just bought a fancy new stereo head unit with a touch screen and satellite radio, but then you realize that there's no way to fit it into that single DIN slot in your car. Don't worry about it. It's not as hard as you'd think to fit a double DIN head unit into a Camaro or Firebird. All it requires is some minor modifications to the dash.

Materials Needed
- Double DIN head unit
- Double DIN bezel
- Two (2) metal corner brackets
- Dremel tool w/ cutting wheel
- Flathead screwdriver
- Phillips head screwdriver
- Drill
- Zip-ties
- Wire cutter and wire crimper
- Butt connectors
- Extra screws
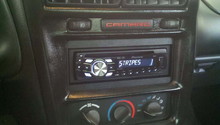
Step 1 – Remove old head unit
Pry off the old bezel around the head unit. You should see four screws holding your old head unit down. Remove these four screws, then slide the radio out. Disconnect the antenna wire and the speaker wiring harness. Then, set the head unit aside.
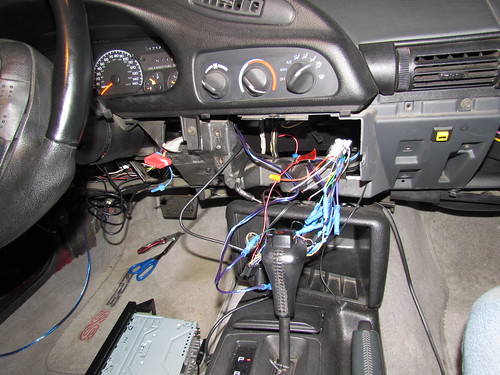
Step 2 – Modify the dash
In order to get the double DIN head unit to fit, you'll need to take some measurements of your new head unit and the space it'll be fitting into. You'll probably need to cut out the tray at the bottom to make it fit. A dremel with a cutting wheel will make short work of it. If the head unit goes farther back than your old head unit, you may need to take out some of the back panel as well. You'll want a bit of space in the back not just for the wires, but for airflow as well because a larger head unit will put out more heat which could damage the wires and the head unit if that heat has nowhere to go.
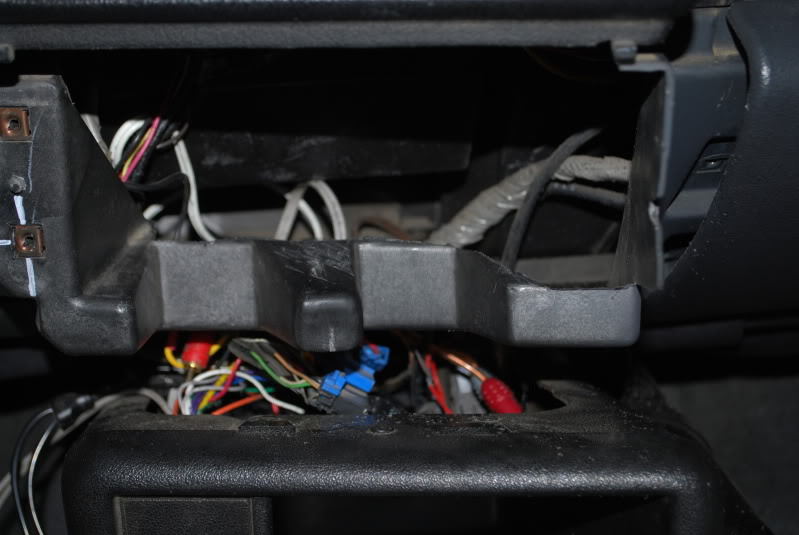
Pro Tip
When cutting, be very careful that you don't slice any wires or into your HVAC controller.
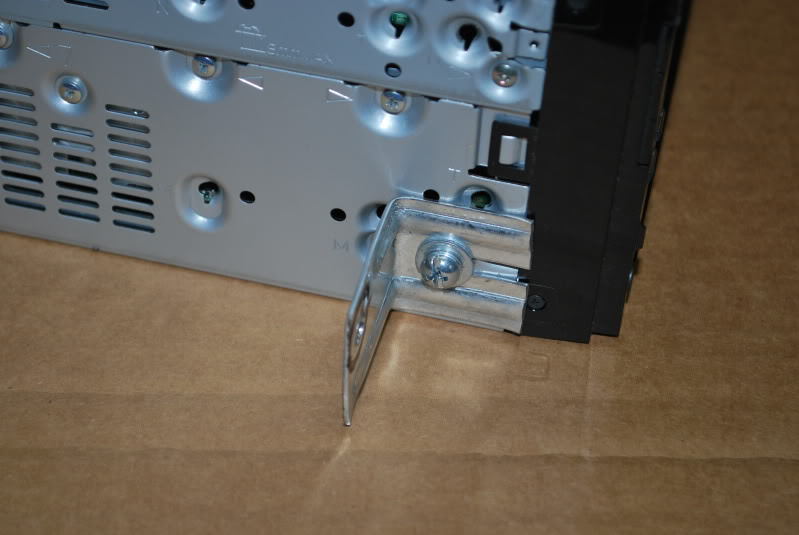
Step 3 – Prepare new head unit
If your new double DIN head unit does not come with brackets, then you'll have to put on brackets of your own. Take a pair of metal corner brackets and find a place to mount them on the head unit. Make sure that they'll line up with the holes on the dash, otherwise you'll have to drill new holes. Once you've made certain that the brackets will fit into place, install them to the head unit.
Before you install the head unit, you'll need to connect your wiring harness. Aftermarket head units often require an adapter for the wiring harness, and so you'll need to connect the wires from the harness to the adapter using butt connectors. Use a wiring guide that's hopefully been provided by the head unit manufacturer to help you connect the wires because you do not want connect the wrong wires. To connect the wires, cut off the ends of either wire and slide them into the butt connector, and then crimp the connector. Give it a quick tug to make sure the wires won't come loose, then repeat for the other wires until the wiring harnesses have been connected.
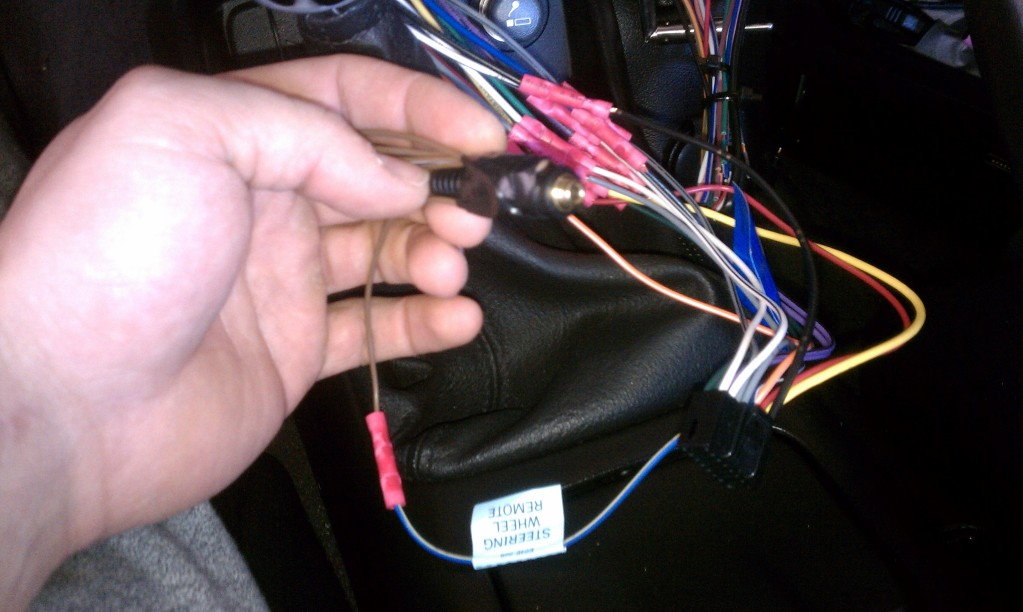
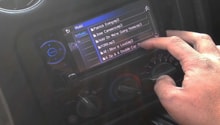
Now is a good time to test the head unit and make sure that the radio antenna and speakers are all wired correctly. When you're done, tie up the loose wires into a bundle so they won't get in the way later.
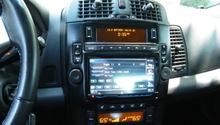
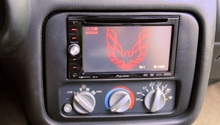
Step 4 – Install double DIN head unit and bezel
Once your brackets and wires are attached, you're ready to install the new head unit. Slide it into the dash just like the old head unit. Line up the brackets then attach the screws. Don't tighten them down one at a time. Instead, go around to each one and tighten them evenly so you don't damage the dash. Then, finally, attach clips to your new bezel and fit it around the double DIN head unit. If you have the correct bezel, it should fit just right.

Pro Tip
If you're not interested in buying a bezel for your new head unit, it's also possible to modify your old bezel with some precise cutting.
Featured Video: Double DIN Radio Install in 1998 Pontiac Firebird
Related Discussions
- 1994 Camaro Double DIN Install Pics and Info - LS1Tech.com
- Double DIN Installation - LS1Tech.com
- Swapping Head Unit - How Long Should Install Take? - LS1Tech.com
- Double DIN Install in My Trans Am - LS1Tech.com