Camaro and Firebird: How to Install XM Satellite Radio
Everyone loves listening to music in their cars, and XM radio is a great way to stream the latest and greatest. Satisfy your listening desires by installing XM radio in your Camaro or Firebird.
This article applies to the Camaro and Firebird (1990-2015).
With all the advancements in automotive technology today, more and more car manufacturers are equipping their vehicles with the capability of XM Satellite radio. This is a paid subscription service that allows the user to utilize the standard built-in head unit to adapt to a satellite frequency, offering a broad range of music across all genres. A common subscription service is Sirius XM. The XM tuner is a built-in box usually located under the dash below the glove box on the passenger side. This tuner then connects via a harness to the antenna on the stock head unit. The subscription service lives within this box. Unfortunately, for most GM cars, this means you cannot use standard plug-and-play Sirius XM radio head units. However, if your car was never equipped with XM radio capability, you can add it with a couple of hours worth of DIY work following this guide.

Materials Needed
- XM Satellite head unit OR adapter
- Non-marring pry tools
- Flat and star-shaped screwdrivers
- Double-sided tape
- Crimping tool
- Electrical connectors
- Electrical tape
- Test light or electrical probe
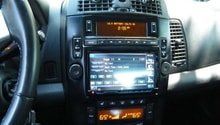
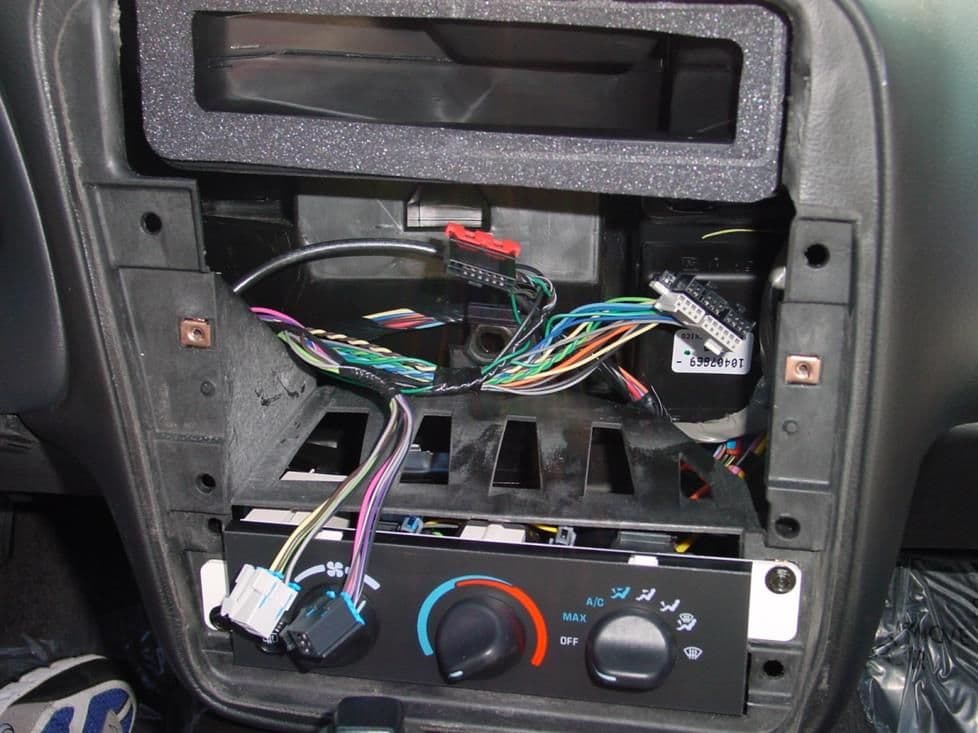
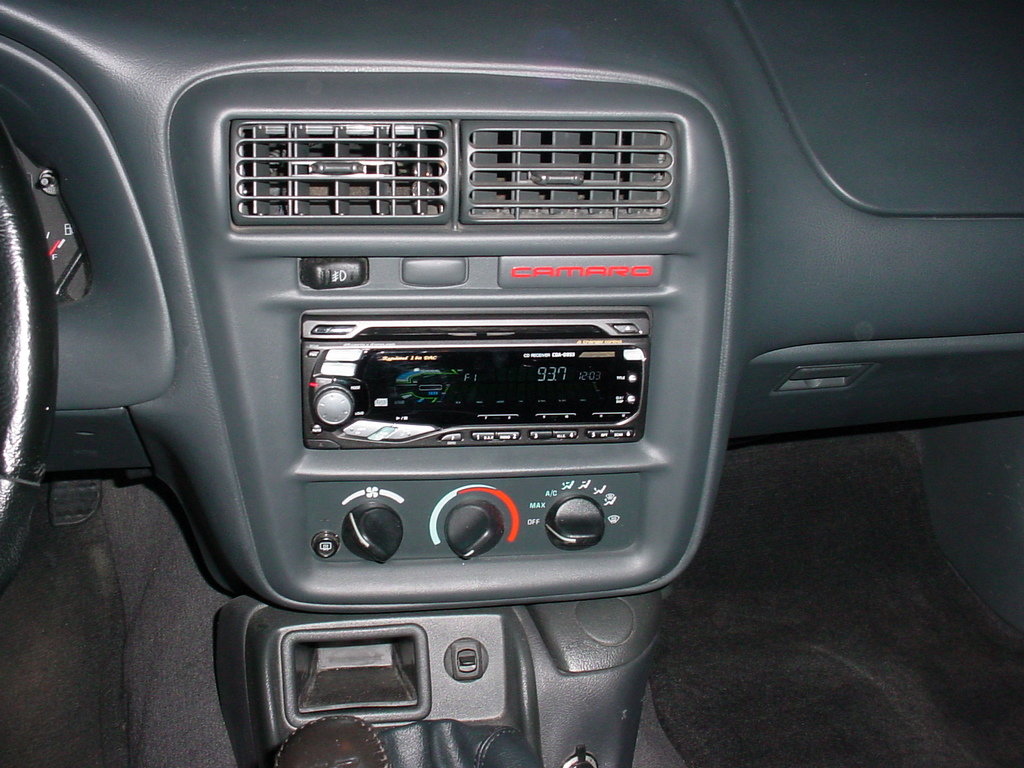
Step 1 – Remove the stock head unit
In order to use your new satellite-ready head unit, the old one will need to come out. The process to remove the standard unit varies slightly but the general process is the same. You can also convert your existing head unit to accept XM radio setups with the right adapters.
- Use non-marring pry tools to remove surrounding trim.
- When bolts holding the unit in are exposed, remove them with a screwdriver.
- With the unit loose, disconnect all harnesses behind the unit.
Pro Tip
Once the harness is exposed, you will be able to determine if your vehicle is already "satellite-ready" if there is a square blue connector on the back of the standard head unit. This is also a good time to determine your power source or "hot" wire that will be used on the new XM unit.
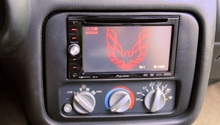
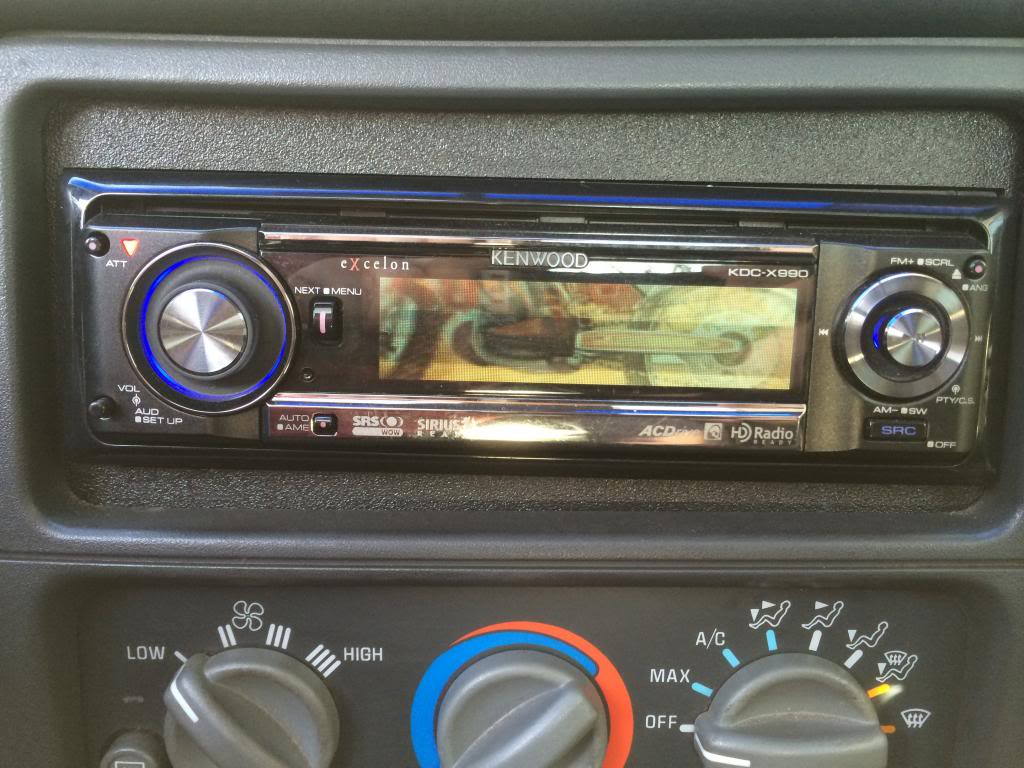
Step 2 – Install adapter or new head unit
Once you have removed the old unit, it can be replaced with the new XM-ready unit, or you can begin the process to convert your existing unit to accept XM tuners.
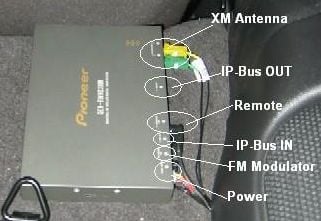
- Connect necessary adapters to desired port on old unit.
- Connect included harness to existing radio harness (may require wiring and splicing).
Pro Tip
You can use standard RCA cables to connect the adapter to the old unit. Again, most kits come with the necessary wires/adapters.
If you have purchased a kit from Best Buy, it will include all necessary adapters and harnesses and require little-to-no wire splicing, making the process more or less "plug-and-play."
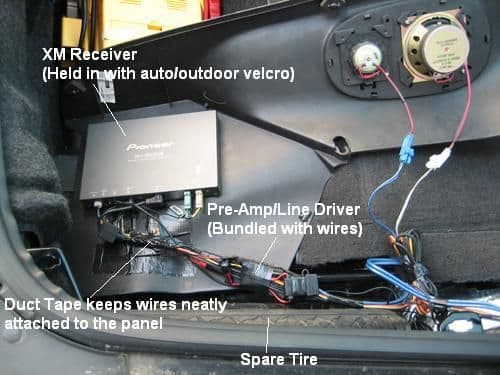
Step 3 – Mount the receiver
Depending on the unit you have purchased, the receiver could be built in or separate. If it's the latter, you'll need to determine where and how to mount this unit.
- Use double-sided tape to mount the receiver to the bottom of the glove box on the passenger side.
- Loosely run the wiring behind the glove box or within the glove box panels or from wherever the unit is being mounted.
Pro Tip
You may want to "run" the wiring you plan to use on connecting the receiver to the unit to get a feel for how much room you will need and where to mount the receiver.
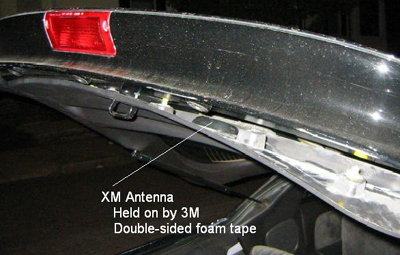
Step 4 – Mount the XM antenna
In order to enjoy all the various genres of XM radio, you'll need a great antenna that picks it all up. The XM antenna is superior to your vehicle's standard AM/FM antenna and will need to be mounted somewhere that doesn't obstruct the signal.
- Use double-sided tape to secure the antenna to the top of the hatch glass.
- Route the wire through the A-pillar or under the dash to meet the receiver or head unit.
Pro Tip
It may also work to place the antenna under the windshield cowl on the passenger side. Again, keeping in mind to keep the antenna clear of interference.
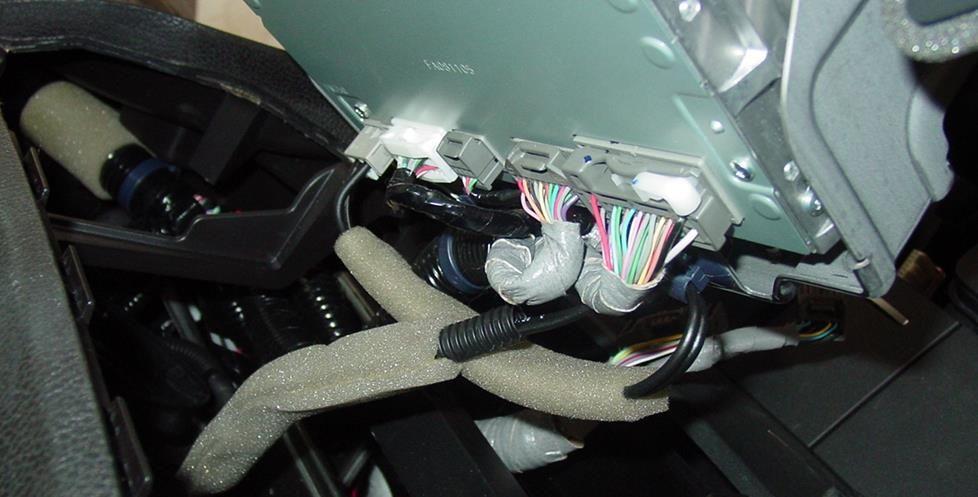
Step 5 – Run your wiring
Once your have mounted the components in their positions, it's time to wire them up.
- Connect provided harness or adapter to your head unit to the vehicle's existing radio harness.
- Connect head unit to receiver using provided wiring.
- Run antenna wiring from hatch glass through A-pillar to meet the receiver.
Pro Tip
You can mount your receiver inside the glove box for easier access to wiring sources. Zip-ties and double-sided tape will help to keep your wiring neat and tidy.
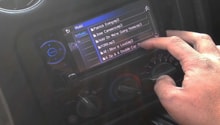
Step 6 – Test the system
Now that everything is wired and connected, it's time to test it all.
- Turn the radio on and select XM option.
- Drive through your neighborhood and ensure playback is continuous.
Pro Tip
Since XM is a satellite radio frequency, you may want to drive through areas which have tall buildings our high mountains to ensure you're getting the best signal with the placement of your antenna.
Related Discussions and Site
- XM Radio Install Breakdown - Fadingarrow.com
- Installing XM Radio in Vehicles that are Satellite-ready - LS1tech.com
- Understanding Whether your Vehicle or Head Unit is Satellite-ready - LS1tech.com
- Power Sources - LS1tech.com
- Mounting Satellite Antennae - LS1tech.com