Chevrolet Camaro 2010-2015: How to Install an Aftermarket Stereo
Most factory stereos come with a bare minimum of options and sound quality, whereas an aftermarket stereo can give you a sound quality increase as well as more options for phone integration.
This article applies to the Chevrolet Camaro (2010-2015) with base-level audio.
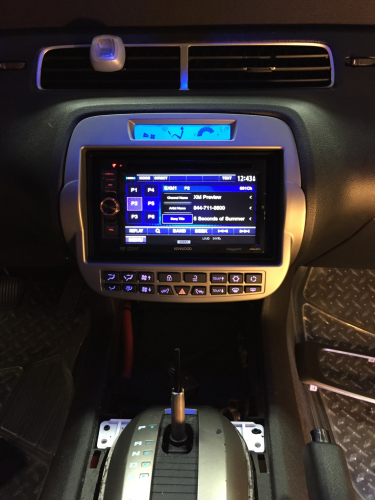
Upgrading a stereo system has many benefits, like adding satellite radio and using Bluetooth for audio streaming and hands-free calling. This guide shows how to install an aftermarket stereo system in your Camaro.

Materials Needed
- 7mm socket w/ ratchet
- Nylon pry tool
- Drop cloth
- Metra Kit 99-3010S
- Metra Antenna Adapter VWA4B
- Steering Wheel Control interface module (Axxess ASWC-1 or iDatalink ADS-MSW)
- Radio of your choice
Step 1 – Remove the center console side panels
Using your nylon pry tool, pry up the shifter trim. Take care when prying to not crack the panels. Do the same for the trim surrounding the radio bezel.

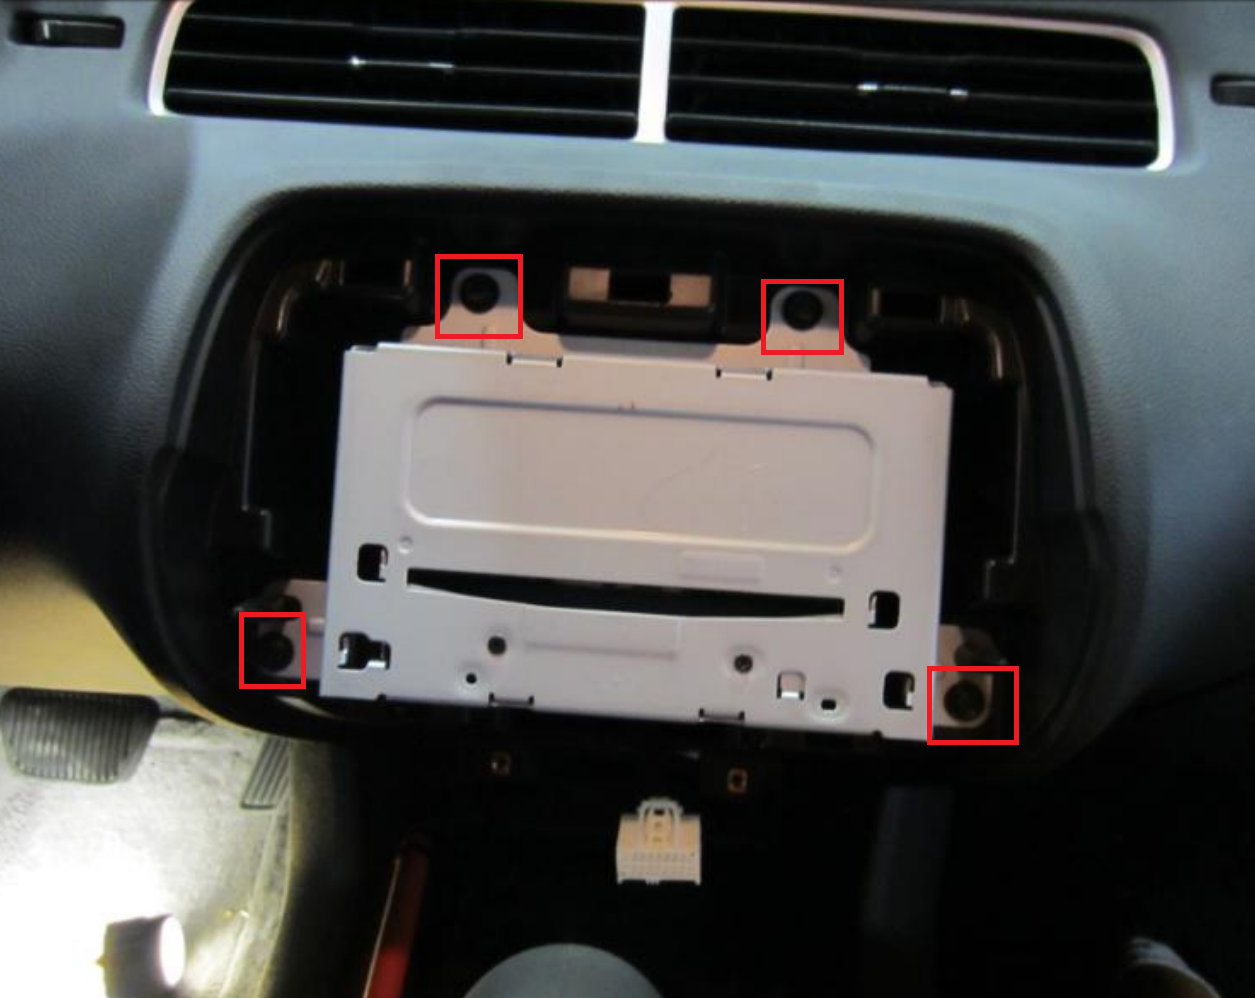
Step 2 – Remove the radio
Underneath the radio there are two 7mm screws. Remove these, then carefully pry out on the edges of the radio trim/HVAC control panel. After that is removed, you will see the radio held in with four 7mm screws. Remove these, and the radio will come out.
Step 3 – Trim the in-dash plastic
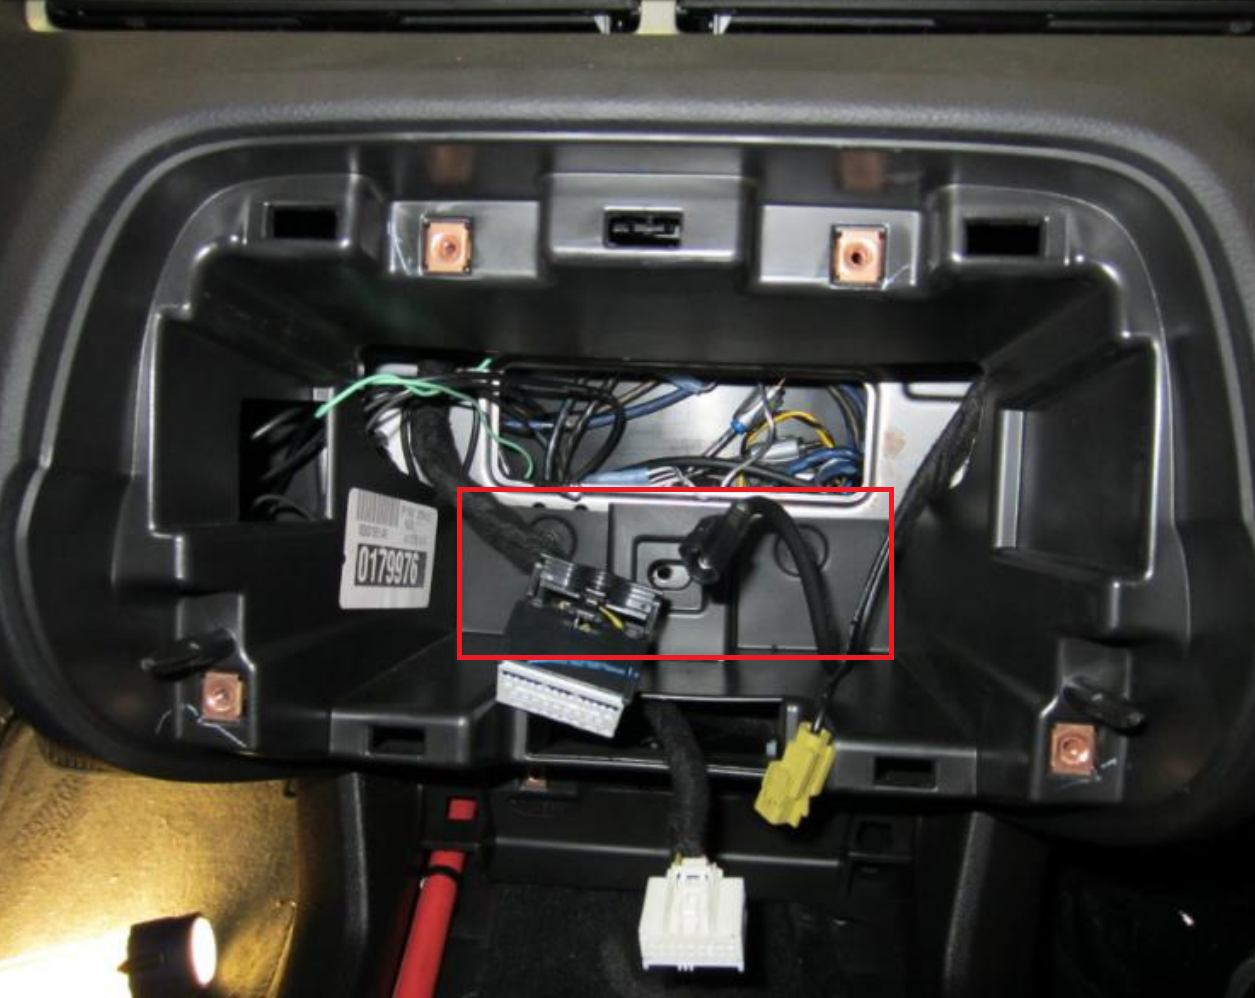
There isn't much room in the radio housing for all of the extra wiring and modules that you're installing. The easiest way to get everything to fit is to trim away some of the plastic behind the dash. This can be done with an air saw, dremel, or a hammer and chisel. Cut away the outlined portion in the picture below.
Step 4 – Remove the clips from the factory trim
The small plastic clips are what hold the factory radio trim in place. These can be removed by spreading the two ends apart and lifting away from the trim. A pair of 90-degree pick tools work well here. Install these clips on the aftermarket trim piece.
Step 5 – Assemble the kit and wiring
Follow the instructions in the aftermarket dash kit to mount the radio to the brackets. This will vary based on the size of the radio you purchased.
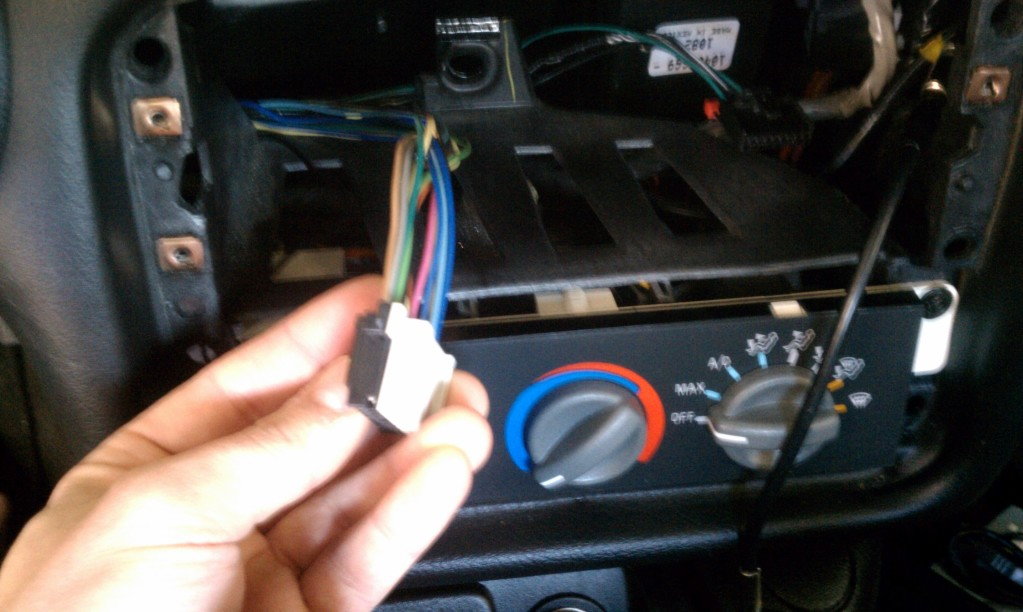
Wiring is simple. Both the radio harness and the aftermarket adapter harness should use standard CEA wiring colors.
Constant +12v: Yellow
Ground: Black
Accessory: Red
FL +,-: White, White/Black
FR +,-: Grey, Grey/Black
RL +,-: Green, Green/Black
RR +,-: Purple, Purple/Black
- Blue/White is your amplifier turn on; if you don't hook this up, you will get no audio from your radio.
- Orange or Orange/White is for illumination. If your radio does not have this color tape up the open end of the harness.
- Brown is for mute. If your radio does not have this color, tape up the open end of the harness.
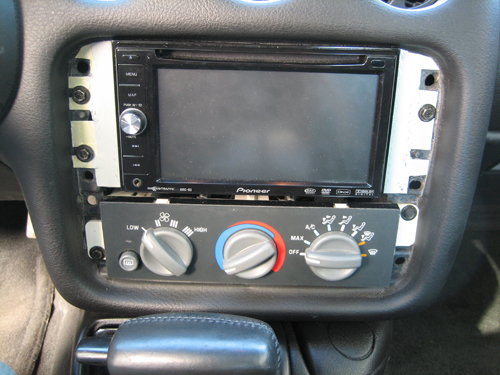
Step 6 – Install the radio and radio trim
Being careful to route the wires into the cavity you created, insert the radio into the pocket, and reinstall the four screws that held the factory radio in place. Install the aftermarket bezel and seat firmly by applying pressure to each clip location. Install the two screws that held it in place.
Step 7 – Reinstall shifter trim
Reinstall the shifter trim, making sure that each clip is properly seated in the console.
Related Videos
- 2010 Chevy Camaro Stereo Installation - Youtube.com
- How to Remove Radio/Cd Changer from 2010 Camaro - Youtube.com