Chevrolet Camaro 2010-2014: Car Stereo Sound Diagnostic
There are a number of things that can go wrong with an audio system. Here's how to check where the issue is stemming from.
This article applies to Chevrolet Camaro (2010-2014).
As cars age, so do their audio components, which often receive much more abuse than a transmission or an engine. In this article, we will go over the basics of an audio system and what can go wrong.

Materials Needed
- Digital Auto-ranging multimeter with a variety of test leads
- Various tools to remove interior panels
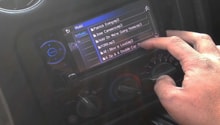
Step 1 – Identify which audio system you have
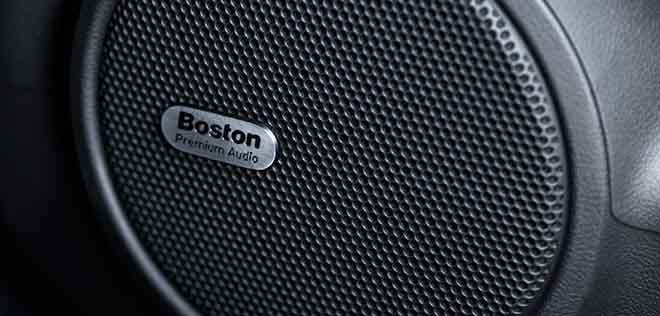
There are two trim levels that came in the Camaro: Standard, and the Boston Acoustics. The Boston system is easily identified by the label text on the front speaker grilles.
Pro Tip
The Boston Acoustics system means there is a factory amplifier in the left side of the trunk, behind a panel.
Step 2 – Test the speakers
Speakers are usually the first audio component to break. Either they blow from being played too loud or from distorted sound, or the cone deteriorates due to age or moisture. Usually, a blown speaker is identified by a rattling noise, especially when heavy bass notes hit. The easiest way is to test the resting DC resistance of the speaker.
For Boston Acoustics:
- Remove the driver's side trunk panel and locate the factory amplifier. The output is the middle plug. Take your multimeter and set it to Ohms (or resistance).
- The speaker wire pairs are as follows:
- Front Left +,-: Tan, Gray.
- Front Right +,-: Light Green, Dark Green.
- Rear Left +,-: Dark Blue/White, Dark Blue.
- Rear Right: Light Blue, Light Blue/Black.
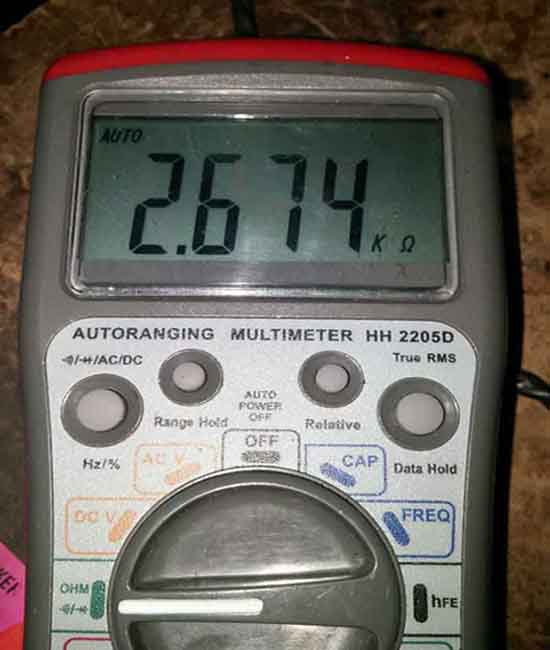
- If resistance is abnormally high (usually a blown speaker will read 1 kOhm+), then the voice coil in the speaker is damaged and the speaker needs replacing.
- If resistance is normal but the sound is still there, a physical inspection of the speaker is required. For fronts, the door panel must be removed. Check that the surround (the part that attaches the speaker cone to the basket, usually made of rubber) is intact and has not separated from the cone or basket. Check the cone for punctures or damage. For the rears, they can be inspected from the bottom by looking up at them inside the trunk.
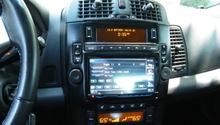
For Standard Audio:
- Remove the radio from the dash and unplug it. Take your multimeter and set it to Ohms
- The speaker wire pairs are as follows:
- Front Left +,-: Tan, Gray.
- Front Right +,-: Light Green, Dark Green.
- Rear Left +,-: Brown, Yellow.
- Rear Right: Dark Blue, Light Blue.
- If resistance is abnormally high (usually a blown speaker will read 1 kOhm+), then the voice coil in the speaker is damaged and the speaker needs replacing.
- If resistance is normal but the sound is still there, a physical inspection of the speaker is required. For fronts, the door panel must be removed. Check that the surround (the part that attaches the speaker cone to the basket, usually made of rubber) is intact and has not separated from the cone or basket. Check the cone for punctures or damage. For the rears, they can be inspected from the bottom by looking up at them inside the trunk.
Pro Tip
Most speakers are 4 Ohm speakers. This does not necessarily mean you will see exactly 4 Ohms on the meter. 2 Ohms in either direction is an acceptable range to see.
Step 3 – Check the outputs
Occasionally, the channels in a radio or an amplifier will go bad and stop outputting sound. If your speakers have stopped working but test okay with resistance and a physical inspection, then a bad channel is a likely culprit.
For Boston Acoustics:
- On the factory amplifier, the plug nearest the front of the vehicle is the input side. Take your multimeter and set it to AC Volts, usually denoted by a sine wave.
- Turn your radio on and play some music (static or white noise works as well).
- The inputs from the radio into the amplifier are:
- Front left +,-: Tan, Dark Green.
- Front Right +,-: Light Green/White, Orange/Black.
- Rear Left +,-: Brown/White, Brown.
- Rear Right +,-: Dark Blue, Tan.
- Get a reading of voltage with the radio with the lowest volume setting. Steadily turn it up and check to see for an increase in voltage. These are low-level (low voltage) inputs so you will only see a small jump. As long as it is consistent, your radio is outputting to the amplifier.
- Be sure to test the outputs (same speaker wires listed in Step 2) to make sure the amplifier is working.
For Standard Audio:
- The radio is a bit trickier. The plug is not as easily accessed with the radio plugged in and generating signal, so some creativity may be required.
- Speaker wires are the same as listed in Step 2.
- Read the voltage with the volume at zero. Usually you will see a little bit of voltage in the lines, but small (a few thousandths at most). Steadily increase the volume. If the voltage increases with the volume your radio is outputting, then you can be certain that the radio channel is working properly.
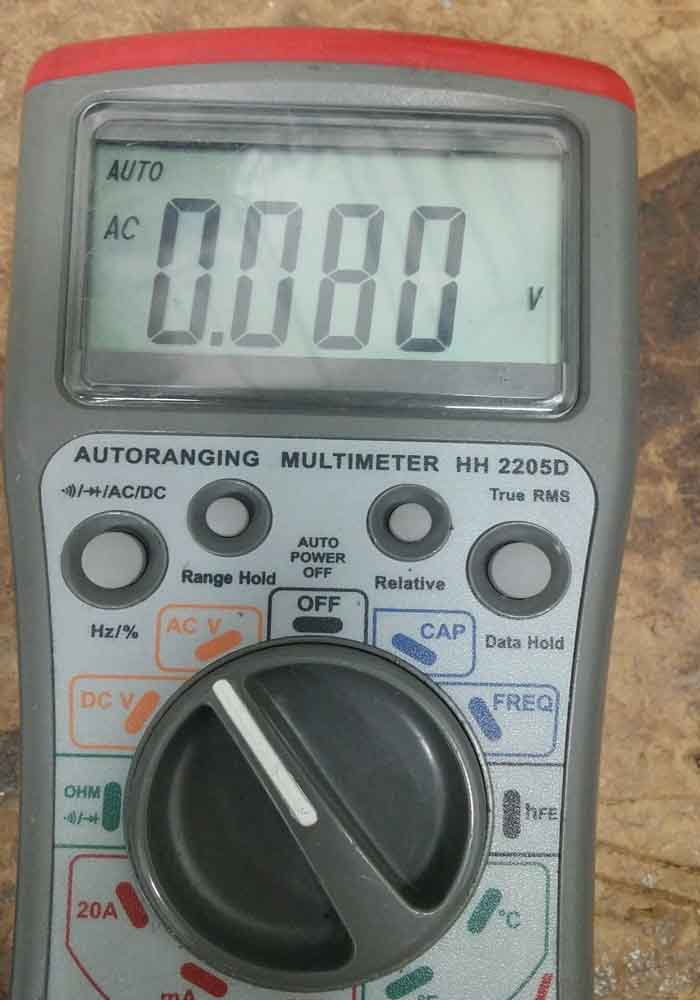
Figure 3. At low volume, you will typically see 1v AC or less. 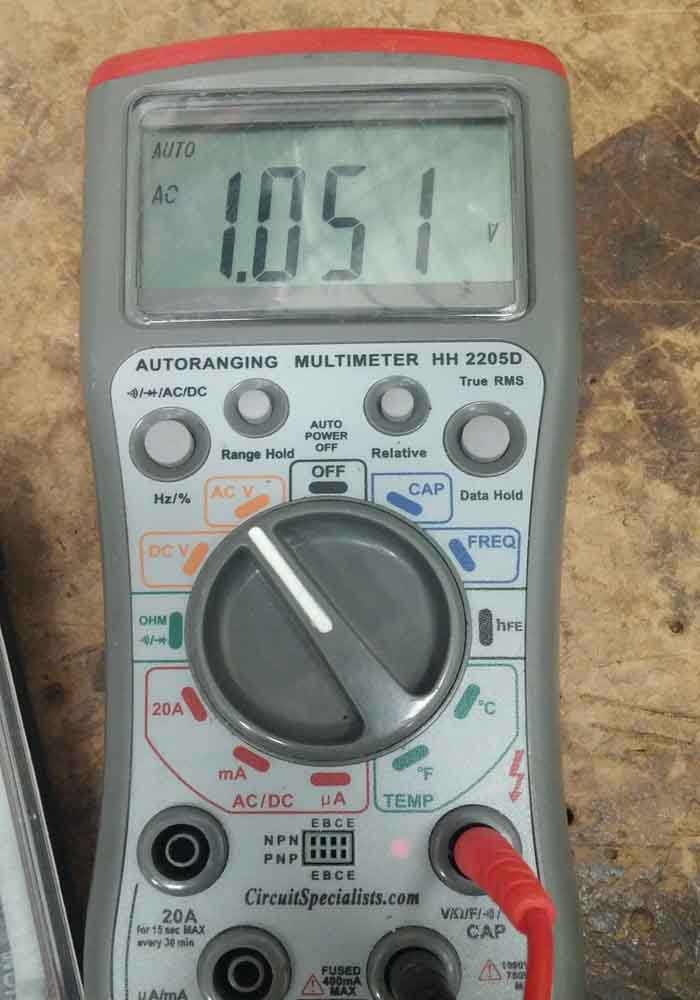
Figure 4. With the volume nearly maxed, you should see a significant jump in voltage.
Between these two tests, you should be able to diagnose what is causing the audio issue, and from there make a decision about replacement or repair.
Related Sites
- 2010 Camaro Radio Problems - Camaro5.com
- Help with Boston Acoustics Speakers - ModernCamaro.com