Camaro and Firebird: How to Remedy Stuck Clutch Pedal
A sticky clutch pedal is more than just an annoyance; learn what to do to get it back in proper order.
This article applies to the Chevrolet Camaro (1993-2015) and Pontiac Firebird (1993-2002), as well as Chevrolet Corvette (1998-2004).
One of the most common issues among Camaro, Corvette and Firebird LS1 owners is a sticky clutch pedal. The pedal can either become stuck on the floor, mid-way between top and bottom, or simply just painfully slow in returning to the top position. Regular maintenance and ensuring that your clutch fluid (DOT 3 or 4 brake fluid) is always clean and clear is the best medicine to prevent this from happening. Unfortunately, if you are reading this, it has happened and now you are trying to figure out why and how to fix it. Luckily, the various way to correct this problem are fairly simple to execute in your own garage. You may need an assistant or a helper, but this sure beats the high price you'd pay if you took your problems to a pro. Fortunately, you do not need a professional to get you on the road again; just a couple of hours and you'll be smiling again.

Materials Needed
- Phillips and flat head screwdrivers
- 7mm and 13mm sockets and ratchet
- Teflon tape
- Shop rags
- Catch can or receptacle for old brake fluid
Step 1 – Remove the clutch pedal return spring
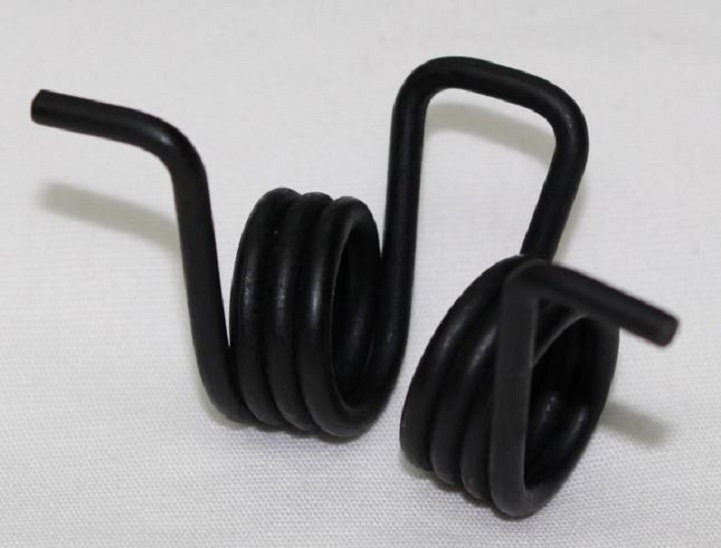
At the top of the clutch pedal (on the underside) there is a U-shaped clutch pedal return spring. Remove this spring and your pedal may stop sticking. You may or may not have any success with this solution, or it may be only short term. There are plenty of mixed reviews, but this is the cheapest, easiest and quickest action you can take in an attempt to solve your problem.
Step 2 – Drain and bleed your clutch lines
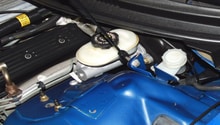
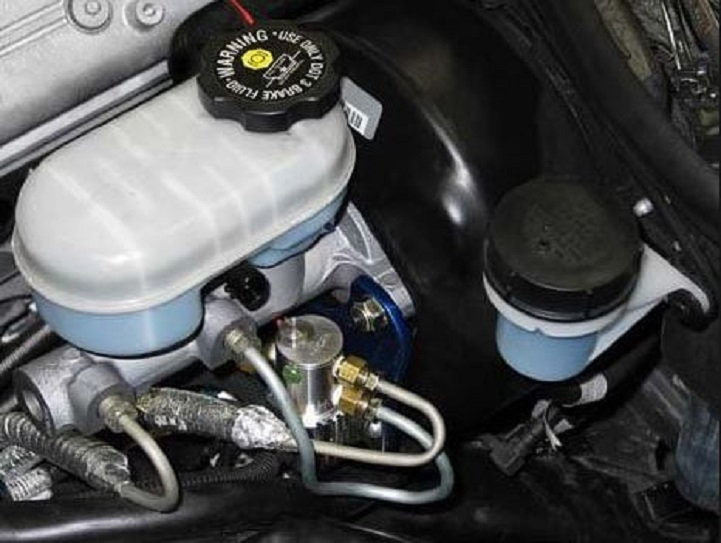
If removing the spring did not work, or only worked for a very short time, the next step to take is to drain and bleed your clutch system. The clutch fluid is plain old brake fluid, either DOT 3 or DOT 4 will work. DOT 4 may be a better choice going forward. Remove the cap from the reservoir and make sure to keep it full of fluid. You will need quite a bit of DOT 4 brake fluid for this job.
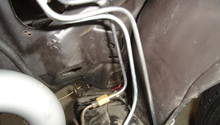
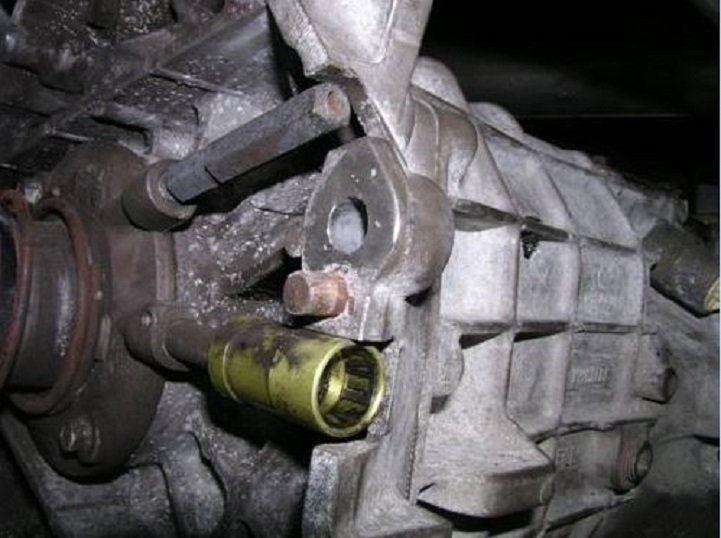
- Find the bleeder screw on top of the transmission above where the master cylinder line connects to the slave cylinder.
- With a reservoir full of fresh fluid, open the bleeder screw until fluid starts to drip.
- Have a helper press down on the clutch all the way.
- Close the bleeder valve.
- Lift the clutch pedal back to the top.
- Open the bleeder valve.
- Press the clutch back to the floor.
- Close the bleeder valve.
- Repeat these steps and make sure that you maintain a full reservoir at all times to prevent air from getting back into the system.
- Repeat the process until the system is full with clean, clear fluid. This could take up to an hour.
Step 3 – Try the drill mod
If nothing has solved your problem at this point, you will want to drill out the master line next. Even if your pedal is not stuck anymore, you may want to consider this step anyway. The master cylinder line at the end where it plugs into the cylinder has a very small hole where the hydraulic fluid gets pushed through the line. During fast and hard shifting, this hole just isn't large enough to allow sufficient fluid to pass. The drill mod takes a small drill bit to enlarge this opening. The larger diameter hole will allow more fluid to pass through the line and at a faster rate. This step requires the removal of the master cylinder. Since you have it off the car, you may want to just replace the master cylinder at this point.
- Remove the driver's side dash under the steering column (two Phillips and two 7mm screws).
- The trunk release switch is still connected to the back side of this panel and needs to be disconnected.
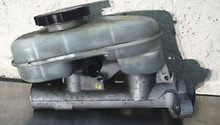
- Once you pull off the panel, you'll see the master cylinder behind the clutch pedal.
- Remove the two 13mm nuts that mount the cylinder to the firewall.
- Find the rod from the master cylinder to the clutch pedal and at the end, you will find the retaining clip. You may need to look with your hands until you find it. Remove this clip.
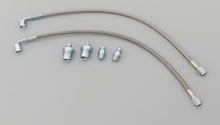
- Use a 7mm socket to remove the heat shield from under the car that covers the braided clutch line.
- Follow the braided line to the transmission.
- Use two small flat bladed screwdrivers to push the white clip in toward the transmission and the braided line will pop right out.
- Disconnect the white master cylinder reservoir under the hood by removing the push pin screw that holds it in place.
- Pull the master cylinder out and up from behind the firewall, and have a helper guide the push rod through the firewall hole behind the clutch pedal.
- The braided line, master cylinder and pushrod are now out of the car.
- Now is a good time to swap out the master cylinder if you choose to do so. It is also much easier to bench bleed the cylinder than to do it on the car.
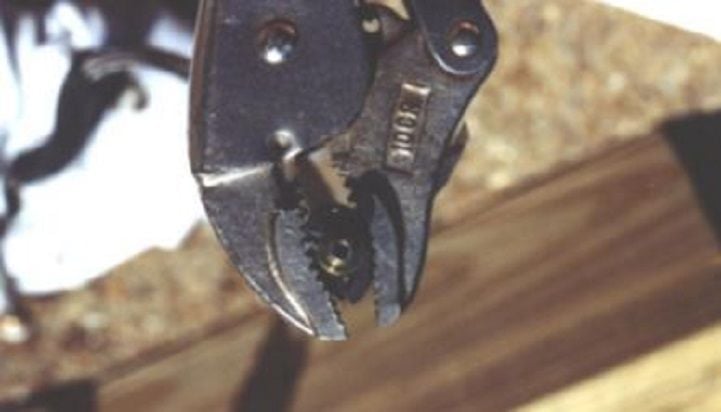
- Use a small punch and hammer to knock out the roll pin that holds the braided line into the cylinder.
- Remove the braided line.
- Take a 1/8" drill bit to the end of the line that connects into the master cylinder. Take care to remove all the metal shavings and don't allow them to fall into the hose. The idea is to open this hole up for a bigger restriction of fluid.
- Press the end of the quick connect down to open it up and pour fluid through the line in order to flush out any shavings that may be in there.
- Reassemble the line into the cylinder (replacing the cylinder if you so chose).
Step 4 – Bench bleed the master cylinder
Once you have the braided cable drilled out and everything put back together, you'll want to fill up the master cylinder with DOT 4 brake fluid and put the cap back on. You'll be pre-bleeding the system before you install it back onto your vehicle.
- Fill the master cylinder with DOT 4 brake fluid and replace the cap.
- Let the fluid flow through the braided cable.
- Grab the quick connect end of the braided cable and push in on the quick connect end to open the port.
- Have an assistant push and pump on the actuating or pushrod forcing the fluid out of the line.
- Continue holding it open until all the air is released and the fluid flows freely.

Pro Tip
When you are bleeding the line or otherwise working with brake fluid, take care to not get any on any painted surface of your car. Brake fluid instantly eats paint and is very good at it.
Step 5 – Reinstall the master cylinder and bleed again
Reinstall the master cylinder and make all the connections, except for the braided line to the transmission. You have to first open the bleeder valve.
- Once everything is reinstalled, open the bleeder valve to let pressure off the system.
- After a few seconds, open the reservoir and top off with fluid.
- Close the reservoir cap and close the bleeder valve.
- Connect the braided line quick connect clip back into the receptacle.
- Press the clutch pedal to the floor and open the bleeder valve.
- Repeat this process until the clutch feels back to normal and always make sure that the reservoir stays full.
- At the end of the process, top the reservoir back up with fluid.
Step 6 – Take a test drive
At this point, you have done just about everything possible to resolve the problem. Your clutch should no longer be sticking and from this point on, you should regularly check your clutch fluid and replace once it starts getting dark. If it's black, you've waited too long. If your clutch still sticks from the get go, you most likely have a slave cylinder piston issue. The slave unit is getting heated up and the piston rod inside is swelling up and getting bound up. To remedy this, the transmission has to be dropped in order to get to the slave and if you are going this far, you might as well just replace the entire clutch assembly. This is very costly and labor intensive. Otherwise, if your clutch is no longer sticking, congratulate yourself for quite an accomplishment.
Related Discussions
- Sticking Clutch Pedal Write Up - LS1Tech.com
- Clutch Stuck Read Easy Fix - LS1Tech.com
- Clutch Sticking to Floor? - LS1Tech.com
- Clutch Sticking to Floor After Hard Acceleration Problem Solved! - LS1Tech.com
- Need Help Clutch Stuck to Floor and Car is Stuck in Gear - LS1Tech.com
- Mcleod Clutch Install - InstallUniversity.com
- McLeod Master Cylinder and Drill Mod Install - InstallUniversity.com