Camaro and Firebird: How to Replace Brake Fluid
Over time, your brake fluid can get pretty nasty and eventually cause some problems. Here's how to properly flush your system and get rid of any nasty contaminants.
This article applies to the Camaro and Firebird (1990-2002).
Flushing out old brake fluid isn't something that you are going to do as often as say, changing your oil, but that doesn't mean that it isn't a very important maintenance task. Letting brake fluid sit in your system for too long can lead to water absorption, which reduces the peak boiling temperature of the fluid. What this means is the brake fluid has a lower threshold before it boils over and reduces available brake pressure. If you're driving your car hard and your brake fluid boils, your brake pedal will go soft and you will have seriously reduced your car's ability to come to a halt, which is terrifying. It's a good idea to follow your car's recommended maintenance schedule in this case at the very least. And the good news is, flushing the brake fluid is something that you can do at home with a friend's help and a little bit of spare time.

Materials Needed
- Brake fluid
- Turkey baster
- Drain pan
- Length of 1/4" clear tubing
- A buddy
- Pressure bleeder (optional, but a good investment at $25-$100)
Step 1 – Drain the old brake fluid
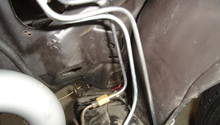
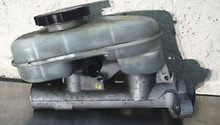
Open the hood and remove the cap from the master cylinder. Use a turkey baster to remove as much brake fluid from the master cylinder as possible, then fill with fresh fluid. Alternatively, you can purchase a pressure bleeder for between $25 to $100. This is a good investment in the long run because it makes the bleeding procedure much easier and less time consuming. There are many different kinds of bleeders on the market, so be sure and follow the manufacturer's instructions.
Figure 1. Remove as much fluid from the master cylinder as possible using a turkey baster. 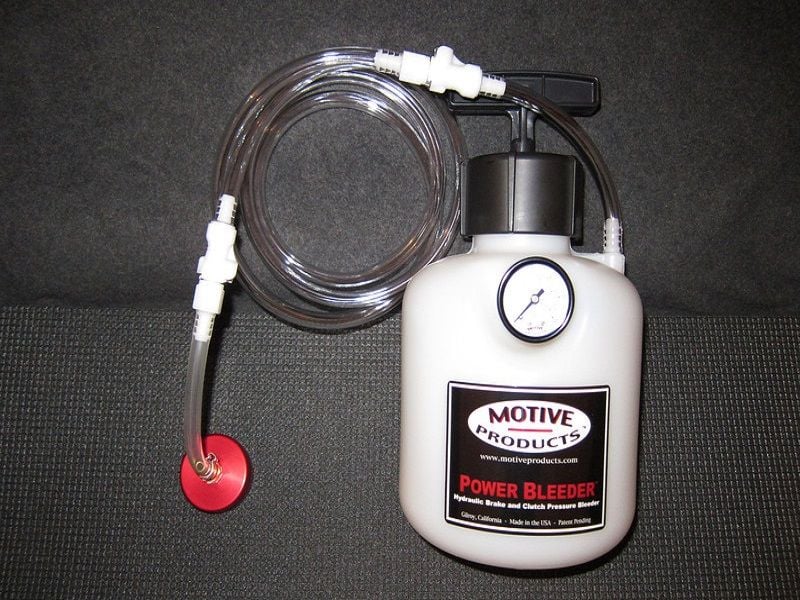
Figure 2. Pressure bleeders are a good investment that can save you some time flushing the system.
Step 2 – Flush the braking system
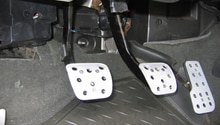
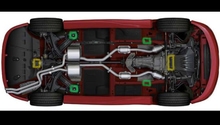
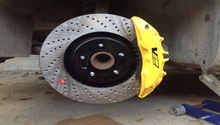
You will need to bleed one brake line at each wheel one at a time. When bleeding brakes, always start with the caliper furthest away from the master cylinder and working your way towards it. For the 4th Gen Camaro, this means the passenger's rear caliper, driver-side rear, passenger-side front, and then finally the driver's front side. Attach a length of 1/4" clear tubing to the first brake line bleeder valve and route it to a drain pan. Have a buddy pump the brake pedal a few times, then hold the pedal down with some pressure. At this point, open the bleeder screw and allow the fluid to drain. Make sure there are no air bubbles coming out before proceeding. Once your buddy feels the brake pedal touch the floor, close the bleeder screw. Once the screw is completely closed, have your buddy lift off the brake pedal. Be careful not to lift off the pedal before the bleeder screw is closed, as this will suck air into the system. Once complete, top off the master cylinder with fresh fluid and repeat these steps at each wheel until complete.
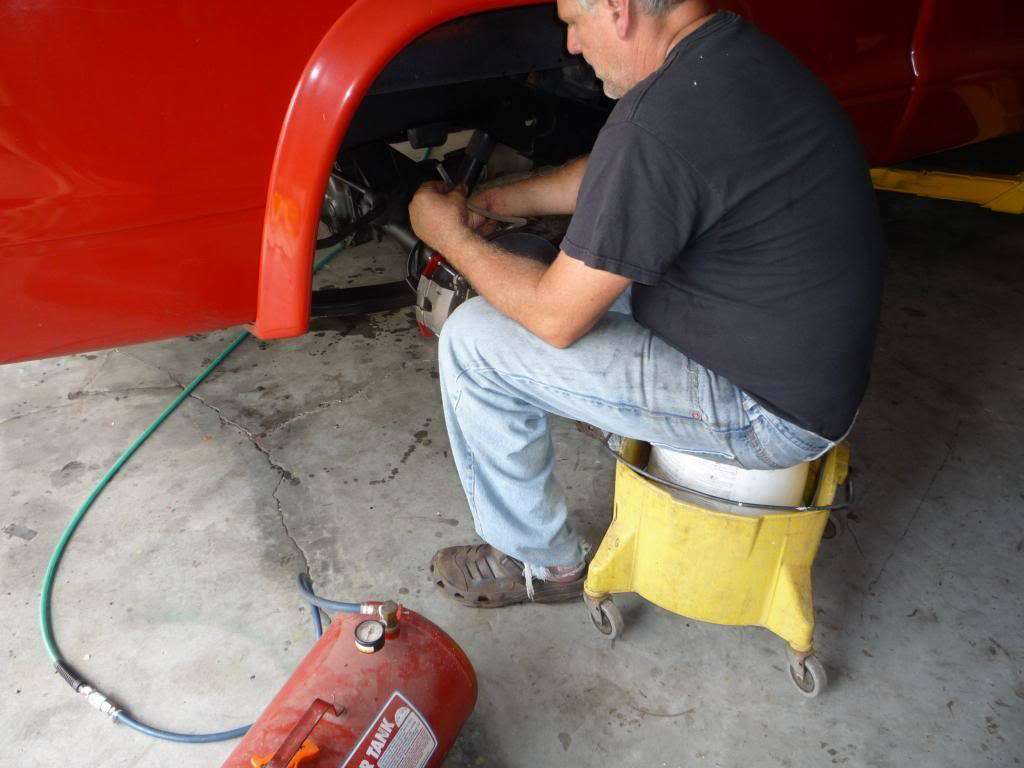
If air bubbles are visible in the escaping brake fluid, that means that there is air trapped in the system, which is bad. You will have to keep bleeding that particular caliper until the fluid runs clear. At which point, you can move on to the next caliper and repeat until all four calipers are done. Do not let the brake fluid reservoir go dry, or you'll induce more air into the system and have to do the whole process over again.
Once all four calipers are bled, top off the brake fluid reservoir to just BELOW the max line. Mount the wheels back on to the car and lower it down. Take a cautious test drive around the block and ensure that the brake pedal feels firm. After that, you are done.
Related Discussions
- Brake Fluid Flush - LS1Tech.com
- Easy Way to Flush Brake Fluid - LS1Tech.com
- Need Help Flushing Out Old Brake Fluid - LS1Tech.com